6L80 Sonnax ZIP Kit, Pressure Switch rebuild, remote filter install, and fluid flush in 2013 Escalade ESV (Pic heavy)

Disclaimer: Links on this page pointing to Amazon, eBay and other sites may include affiliate code. If you click them and make a purchase, we may earn a small commission.

OP
OP
skpyle

skpyle

Full Access Member
Joined
May 15, 2021
Posts
395
Reaction score
1,025
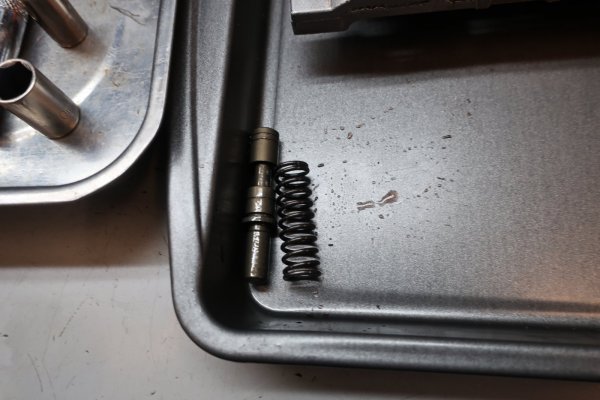
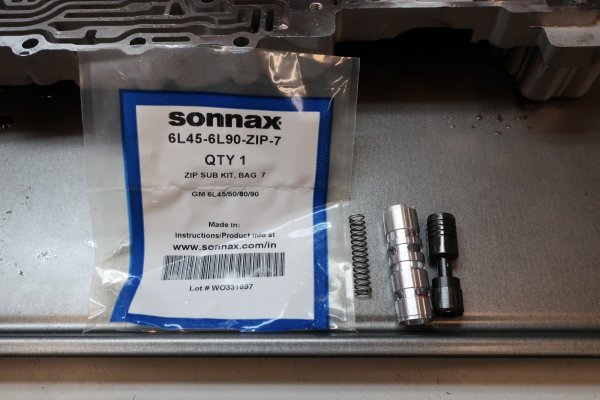
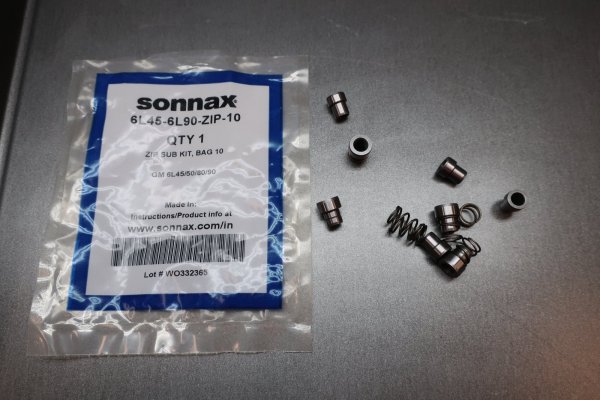
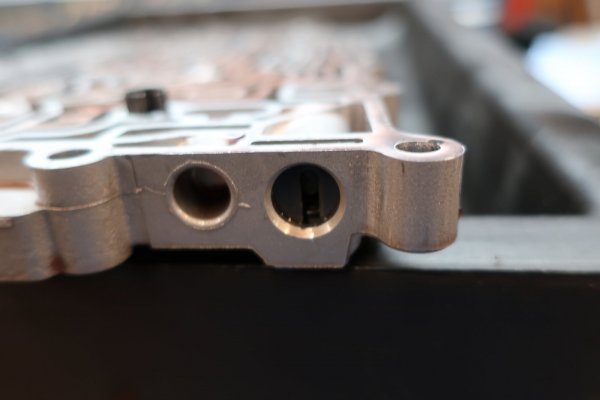
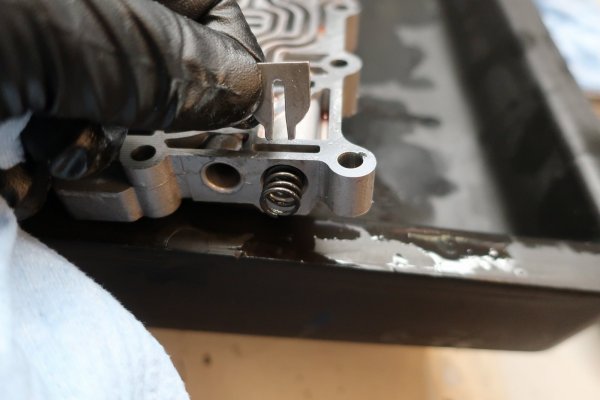
Next step was to install the Sonnax Actuator Feed Limit Valve. Again, valve held in place by a retainer. This time, the spring was on the outside of the valve, up against the retainer. Had to be careful to hold both 'sides' of the spring when pushing in to free the retainer. After I got my old valve out, I looked at the instructions, and went looking for the new valve. In the kit bag, I found the sleeve and the spring, but no valve. I had been gypped!!! No. I am just an idiot. The valve was inside the sleeve...
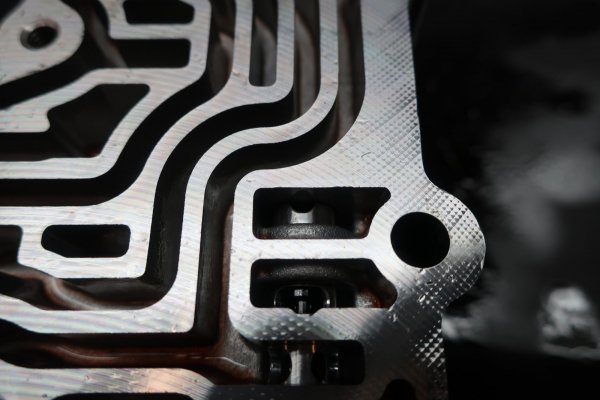
I installed the sleeve, being careful to orient the grooves to the inside, followed by the valve, with the spring seat to the outside, and then the spring. And then again fight the spring to install the retainer.
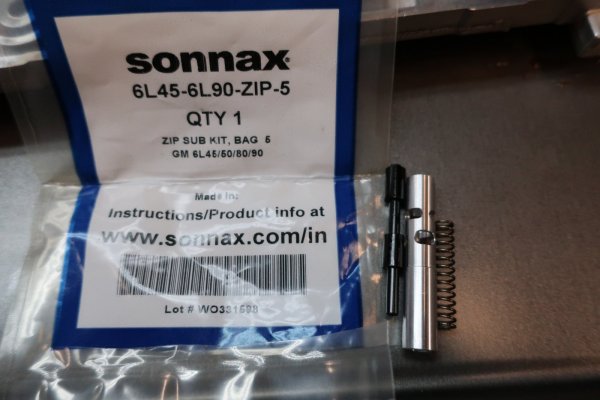

2021-10-24 073.JPG
Actuator feed limit valve kit. Note: I removed the valve from the sleeve for the photo. Because I was dumb and couldn't find it earlier.

2021-10-24 069.JPG
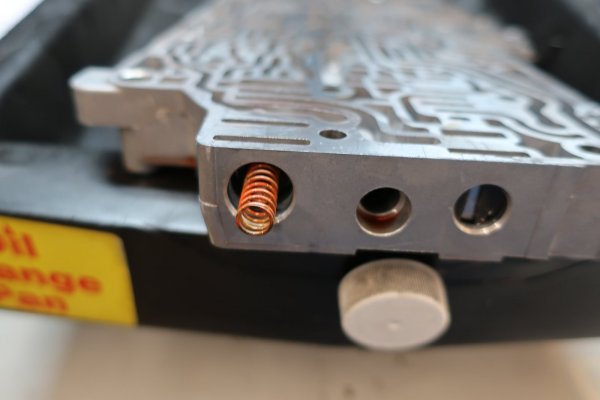
Actuator feed limit valve, spring peeking out behind the retainer.

2021-10-24 071.JPG
Spring and retainer.


2021-10-24 072.JPG
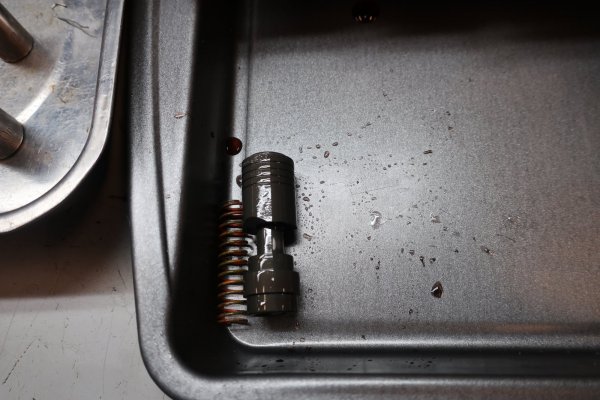
OE actuator feed limit valve and spring.

2021-10-24 075.JPG
Looking at the sleeve through the valve body, you can see the one of the grooves at the top.
 
OP
OP
skpyle

skpyle

Full Access Member
Joined
May 15, 2021
Posts
395
Reaction score
1,025
Next step was to install the Sonnax Clutch Select Valve Spring kit. However...I did NOT do this. Because the ZIP kit instructions told me not to. This spring kit is for mid-'10 and earlier 6L80's with the earlier separator plate. My 2013 6L80 had the updated separator plate and revised springs. I did, however, install the O-ringed end plugs. So, nothing to see, no photos. These plugs installed just like the four end plugs I installed earlier.


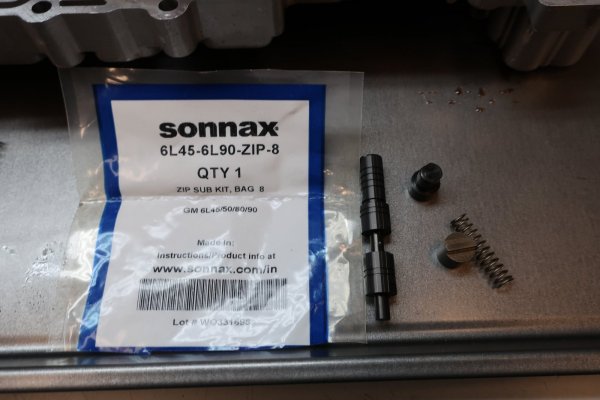
Next step was to install the Sonnax Compensator Feed Regulator Valve. Like everything else, retainer, spring, and valve. Installed the new sleeve, valve, and spring. Oriented the sleeve so the chamfered slot end faced inward.


2021-10-24 076.JPG
Compensator feed regulator valve kit.


2021-10-24 077.JPG
OE spring after the retainer was removed.


2021-10-24 078.JPG
OE compensator feed regulator valve and spring.
 
Last edited:
OP
OP
skpyle

skpyle

Full Access Member
Joined
May 15, 2021
Posts
395
Reaction score
1,025
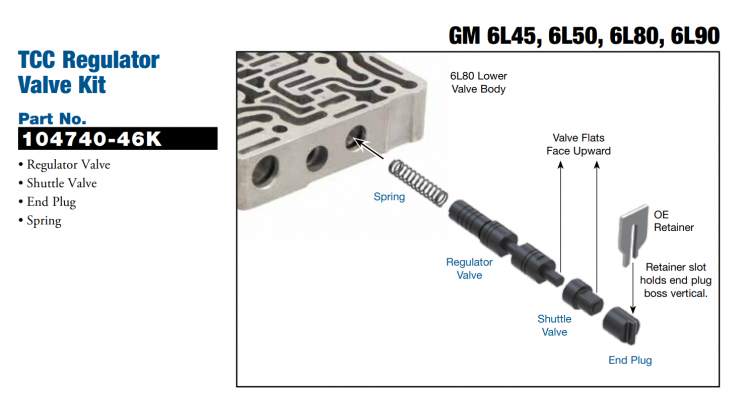
Next step was to install the Sonnax TCC Regulator Valve kit. The instructions stressed assembling and orienting the new valve components correctly as per the diagram.


Sonnax TCC regulator valve.PNG
Screenshot of TCC regulator valve kit instructions showing assembly and orientation.


Same as before, remove retainer, end plug, valve assembly, and spring. Install new components in the correct order and orientation, reinstall the retainer.


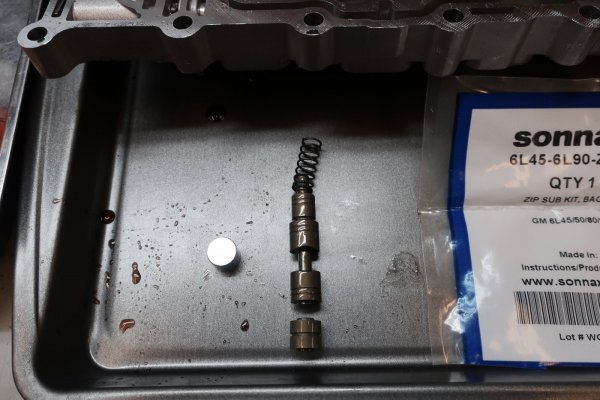
2021-10-24 080.JPG
OE TCC regulator valve assembly.


2021-10-24 079.JPG
Sonnax TCC regulator valve assembly.
 
OP
OP
skpyle

skpyle

Full Access Member
Joined
May 15, 2021
Posts
395
Reaction score
1,025
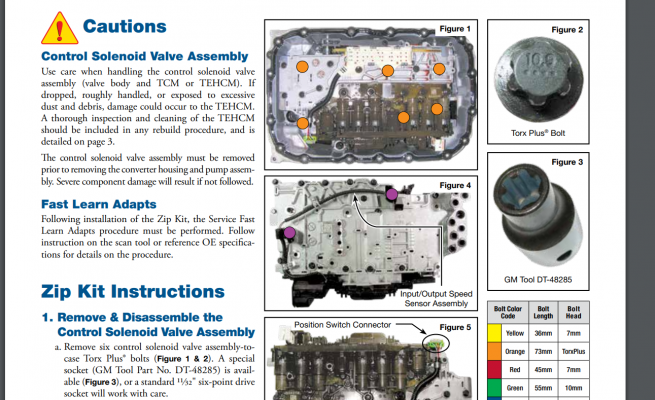
Random interjection: earlier, when I was talking about removing the valve body screws, I could not find any decent photos of the EP10 Torx Plus headed screws. The Sonnax ZIP kit instructions had a good image of them, and the socket.


Sonnax valve body EP10.PNG
Screenshot of Sonnax ZIP kit instructions referring to the valve body to transmission case securing bolts with the EP10 Torx Plus head and the factory GM tool to remove/install them.
 
OP
OP
skpyle

skpyle

Full Access Member
Joined
May 15, 2021
Posts
395
Reaction score
1,025
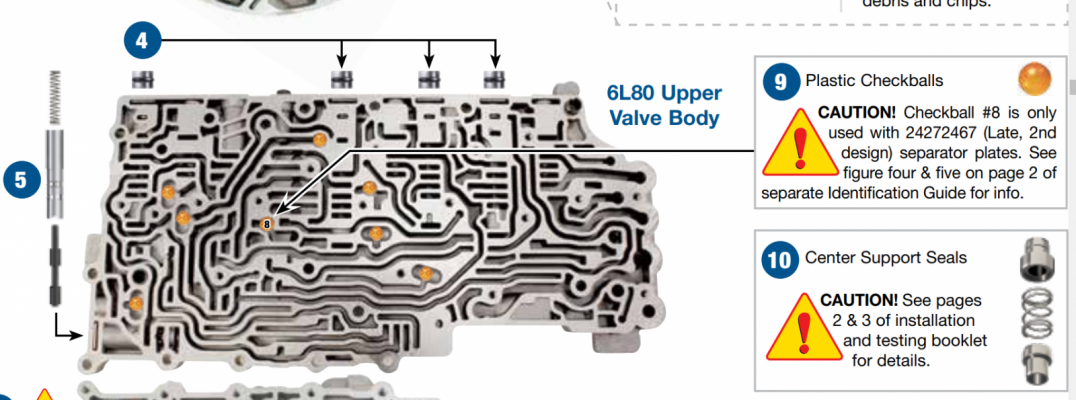
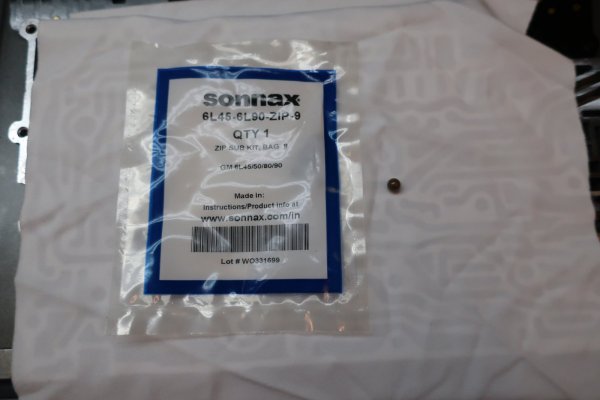
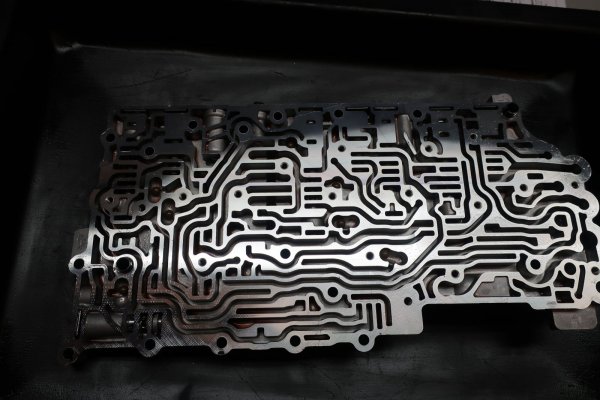
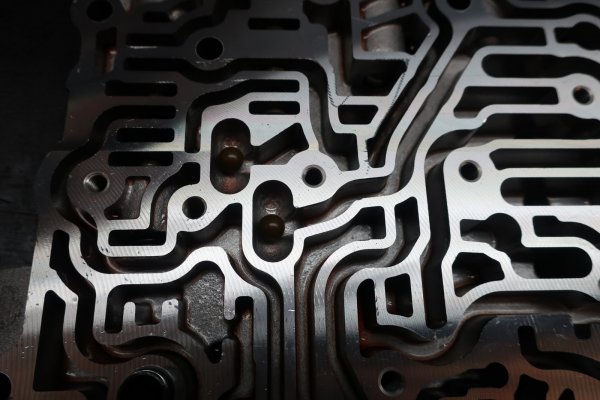
Next step was to install the Sonnax Checkballs. From what I understand, the OE plastic checkballs can deform and get hung up on the separator plate. Sonnax checkballs are 'imidized' plastic. They are supposed to wear better and resist deformation. I threw away the 7 OE checkballs from the valve body, and installed the Sonnax checkballs in their place. Note: pay attention to how many check balls go into your valve body. Most will take 7, however, there are some applications that will take the 8th one.


Sonnax checkballs.PNG
Screenshot of ZIP kit instructions showing locations of 7 checkballs.


2021-10-24 082.JPG
Sonnax 'imidized' plastic checkball.


2021-10-24 084.JPG
Sonnax checkballs in upper valve body half.


2021-10-24 083.JPG
Close up of checkballs.
 
OP
OP
skpyle

skpyle

Full Access Member
Joined
May 15, 2021
Posts
395
Reaction score
1,025
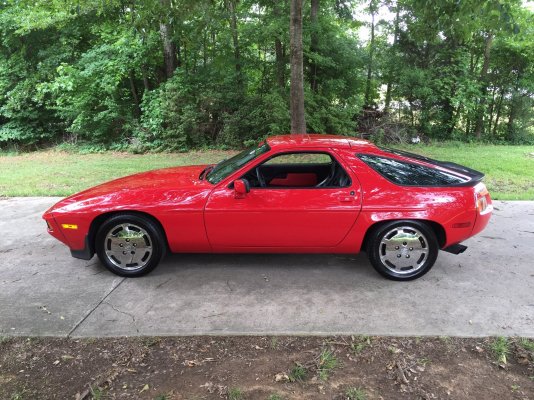
34C46980-AD06-4D04-AC9C-8AD3ABF2A3C4.jpeg
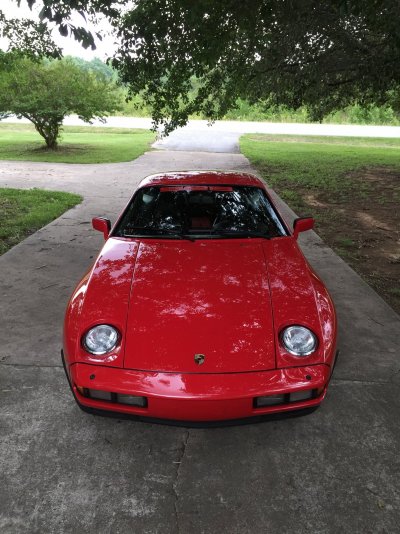
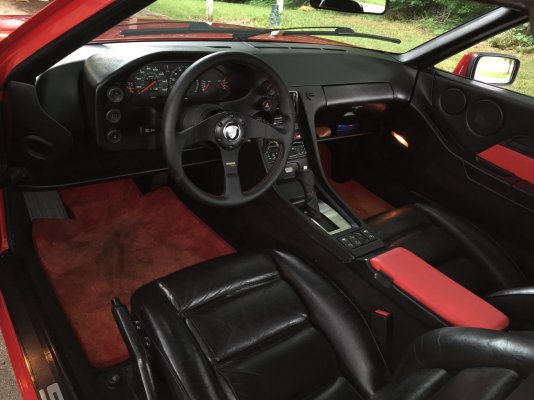
1986.5 Porsche 928S
My Red Witch


32E90C3B-71DF-4D7A-94FB-AF58EEDE1DBE.jpeg


01974EBF-89F9-438C-A7DB-56B912D9DC02.jpeg


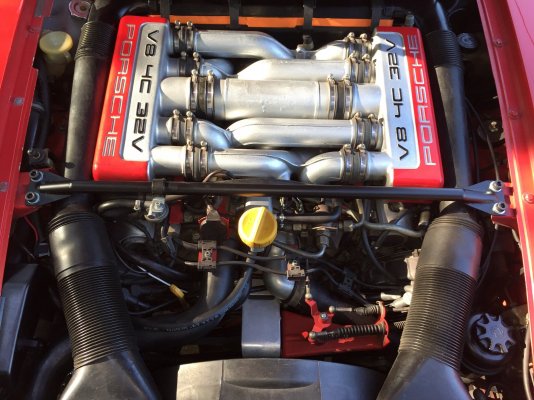
B2EDD6AE-5E4A-45EE-AD07-4B65C5E87BF4.jpeg
5.0L DOHC water cooled V-8


14FA41CD-CC7A-41AF-B177-195E6B5C4938.jpeg
For relevancy to this thread, here is the Porsche A28.07/Mercedes 722.3 4spd automatic transmission with pan removed.


I have several threads going on the Red Witch over on Rennlist.com.
 

Geotrash

Dave
Supporting Member
Joined
Feb 16, 2018
Posts
5,620
Reaction score
13,366
Location
Richmond, VA
877D042A-DAB8-4C18-8158-88777CD465D2.jpegView attachment 353825
1986.5 Porsche 928S
My Red Witch


View attachment 353826


View attachment 353828


View attachment 353830
5.0L DOHC water cooled V-8


View attachment 353831
For relevancy to this thread, here is the Porsche A28.07/Mercedes 722.3 4spd automatic transmission with pan removed.


I have several threads going on the Red Witch over on Rennlist.com.
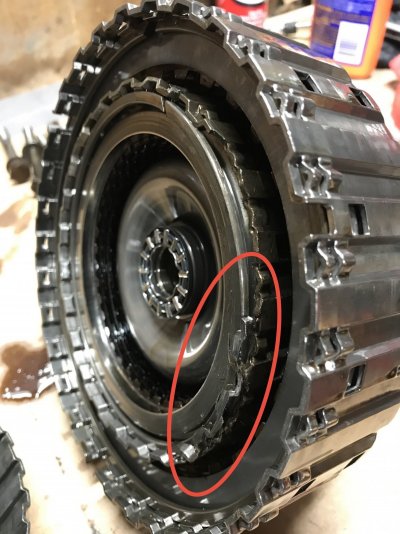
Beautiful. I have a thing for transmissions as well. I present you with the weakest link of the ZF 5HP24. The A-clutch drum failure triggered by a worn pressure regulator in the valve body.
 
OP
OP
skpyle

skpyle

Full Access Member
Joined
May 15, 2021
Posts
395
Reaction score
1,025
With all of the necessary parts installed/replaced in the valve body halves, next step was to reassemble the halves and separator plate. I wiped both valve body halves and the separator down with lint free rags, but I did not try to get them completely dry. I just removed the still liquid ATF from the separator plate faces and the sealing surfaces on the valve body halves, if that makes any sense.

I installed and tightened the bolts to hold the valve body halves together by referencing Step 1-f, and figure 8. As per the instructions, I torqued them to 71 inch/pounds in the described sequence. Me being OCD, I did it in two rounds. 40 inch/pounds first round, 71 inch/pounds second round.


2021-10-24 089.JPG
Torquing bolts to 40 inch/pounds for the first round. Note figure 8 and the torque sequence.


Next step was to install the Sonnax Center Support Seal Kit. This is kind of a misnomer, as it actually isn't a seal kit. It is a series of steel bushings that positively locate and support the OE seal stack from the valve body to the transmission casing.


2021-10-24 090.JPG
Sonnax Center Support Seal kit. Note the bushings are different. Some have grooves, and some don't. As well, some springs are shorter than others. The instructions specify what goes where.

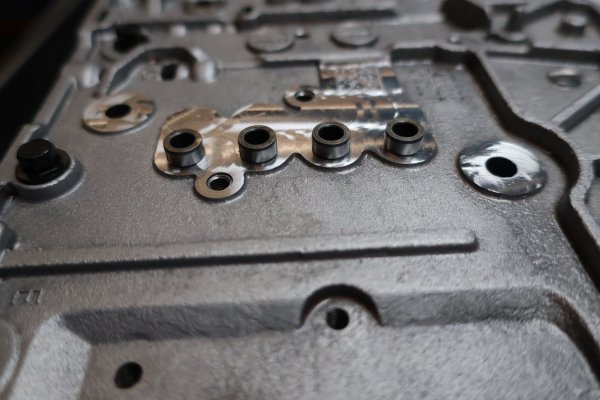
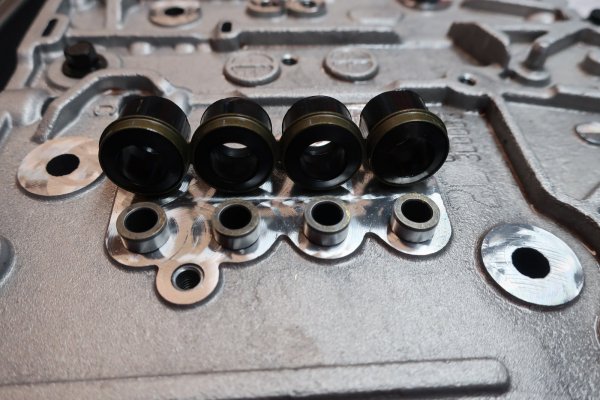
The bushings without the grooves are tapped into the four holes in the top approximate center of the valve body. They took a bit more force to tap in than I expected. I ended up using a brass block on the bushing and hammering on the block. The shoulder on each bushing must be flush against the valve body machined surface. All four went in just fine.


2021-10-24 092.JPG
Bushings installed in the valve body.


2021-10-24 093.JPG
Metal cup end of the OE seal stack goes over these bushings.


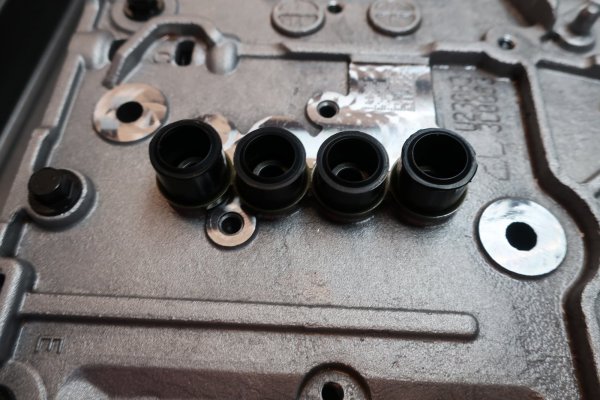
2021-10-24 094.JPG
OE seal stack pushed onto the steel support bushings.


NOTE: this is a new OE seal stack. It came in the GM 24236934 Plate Kit, Control Solenoid Valve Filter. As well, the other valve body to transmission case seal set was included.
 
Last edited:

Forum statistics

Threads
129,239
Posts
1,812,628
Members
92,339
Latest member
Thekenstar
Top