2021 PPV Front Brakes on 2013 Escalade ESV, and rear brake overhaul

Disclaimer: Links on this page pointing to Amazon, eBay and other sites may include affiliate code. If you click them and make a purchase, we may earn a small commission.

skpyle

Full Access Member
Joined
May 15, 2021
Posts
395
Reaction score
1,025
WARNING!!! This is NOT a straight bolt-on upgrade. Hand grinding is required on the spindle mounting ears and wheel spacers with longer lug studs will be REQUIRED! (At least they were for my stock 2013 Escalade ESV.)


Good Evening, Gentlemen!

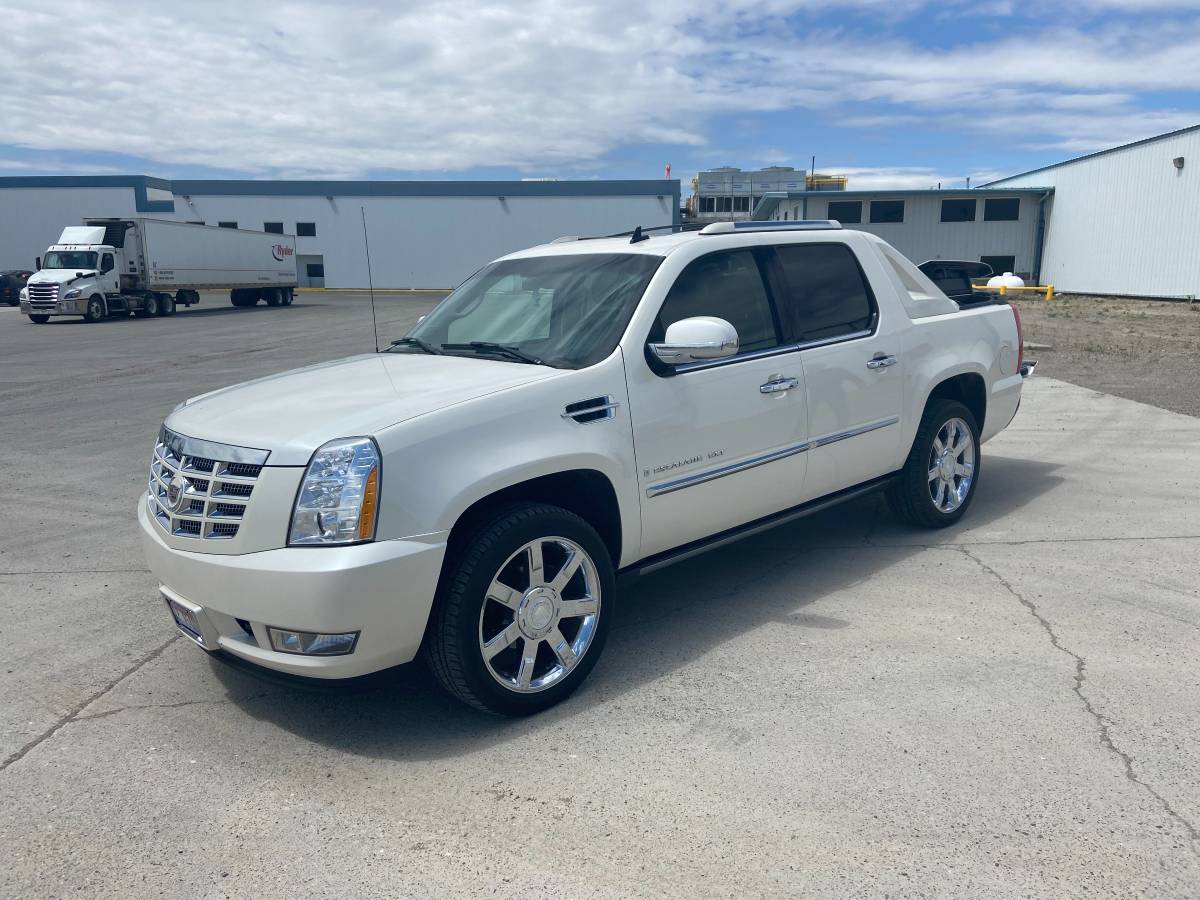
As the title states, I am installing 6-piston GM/Brembo fixed calipers and 16" rotors on the front of my 2013 Escalade ESV with 154,8** miles on it. I am also overhauling the rear brakes to match.

Backstory: November 2021, at 125,0** miles, I went through the brakes on my Escalade. All four rotors turned, calipers sprayed off with brake cleaner, caliper brackets cleaned in parts washer, all new slider pins, bolts, boots, and pad slider plates. I also replaced the bleeder screws and installed pad drag reduction clips. I installed new Powerstop Z23 carbon fiber/ceramic brake pads at both ends.
All went well, and my Escalade had excellent brakes. They never felt lacking.

However...I can never leave well enough alone. I learned about the bolt-on PPV brake upgrade and couldn't get it out of my mind. I am rationalizing/justifying it as such: my Escalade weighs 5800lbs with my dumpster self in it, I like to drive fast on the highway, and I-85 can be a war zone at times.
So...better brakes is a good thing. :gr_grin:


Here is the parts list for the front install:

Left caliper: GM Genuine 84793057
Right caliper: GM Genuine 84793058
Caliper mounting bolt (x4): GM Genuine 11546469 (NOTE: this is the matching part number for a 2021 PPV caliper)
Fender washer as spacer shim for calipers (x4): 3/8" ID, stainless steel, 0.060" and 0.040" thick, drilled out to 9/16"
Caliper banjo bolt (x2): GM Genuine 11569590 (NOTE: this is the same for 2013 stock caliper and 2021 PPV caliper)
Banjo bolt crush washer (10pk): GM Genuine 21012386

Rotor (x2): Power Stop AR82209EVC Evolution fully coated
Rotor retaining screw (x2): GM Genuine 11609271 (NOTE: this is the same for 2013 and 2021 rotor)

Pad set: Power Stop Z232407 Z23 Carbon Fiber-Ceramic

Braided steel brake hose set of 6: Power Stop BH00161


IMG_3682.jpeg
Massive honkin’ rotor!


IMG_3683.jpeg
Jumbo calipers and brake pads!


IMG_3684.jpeg
Braided steel front brake hoses with hardware and new GM banjo bolts.


IMG_3686.jpeg
6 piston goodness.
 
Last edited:
OP
OP
skpyle

skpyle

Full Access Member
Joined
May 15, 2021
Posts
395
Reaction score
1,025
IMG_3680.jpeg
Existing driver’s side front brake assembly.


IMG_3689.jpeg
16” PPV rotor at left, 13” stock rotor at right.


IMG_3690.jpeg


IMG_3691.jpeg
6 piston fixed PPV caliper at left, 2 piston slider stock caliper at right.
 
OP
OP
skpyle

skpyle

Full Access Member
Joined
May 15, 2021
Posts
395
Reaction score
1,025
Forgot to mention, I am not done with this yet. I got rained out today and couldn't finish. Will pick it back up Wednesday evening.

So far, this has mostly been a bolt-on affair. However, I have had to make a few changes.

If I were running the original, or OEM replacement brake hoses, then the new GM banjo bolts would have fit just fine. However, the banjo fittings on the Powerstop braided steel hoses are thinner than the stock line fittings. It felt to me like the GM banjo bolts would bottom out in the calipers. I could not use the banjo bolts included with the Powerstop braided lines. They were the wrong thread pitch. GM banjo bolts were M10x1.0 thread pitch and 27mm long, while the Powerstop banjo bolts were M10x1.5 thread pitch and 20mm long.

I ground approximately 2mm off the ends of the two GM banjo bolts, beveled the newly ground ends, then chased the threads. I will use the GM copper crush washers with these banjo bolts, as they are thicker than the ones included in the Powerstop kit.


2024-02-11 037.JPG
Top row, two GM banjo bolts shortened to 25mm, next to a stock 27mm length GM banjo bolt. Middle is a Powerstop banjo bolt and matching copper crush washers. Bottom are the GM copper crush washers.


From other threads and youtube videos on this upgrade, I had been warned that there would be interference between the wheel speed sensor cable brackets at the tops of the spindles and the 6 piston calipers. I elected to cut off the unused excess part. Quick and dirty cut with a hacksaw, then a quick spray of paint.


2024-02-11 031.1.JPG

2024-02-11 025.1.JPG
Unused tabs on wheel speed sensor cable brackets will be in the way.


2024-02-11 040.JPG
Wheel speed sensor cable brackets have been shortened. I also cleaned the the mounting hardware for the brackets and the brake hose to upper control arm brackets. As well as the wheel speed sensor cable clips, ride height sensor arm lower ball mounts, and the original caliper bracket mounting bolts.


On that note, I cleaned all the old thread locker from the original caliper bracket mounting bolts so I could use them to easily mock up the new calipers to the spindle. The new caliper mounting bolts have thread locker on them. More or less a one shot deal.

Also, I mistakenly ordered a set of 4 of the original caliper mounting bracket bolts, GM Genuine 11612265. These are M14x2.0 thread pitch and 45mm long. The 6-piston caliper mounting bolts, GM Genuine 11546469, are M14x2.0 thread pitch and 40mm long. Others have used the 11546469 bolts on the 6-piston calipers with no issue.


2024-02-11 041.JPG
New 2013 GM caliper bracket bolt at left, used OEM 2013 caliper bracket bolt in middle, new 2021 GM caliper bolt at right.
 
OP
OP
skpyle

skpyle

Full Access Member
Joined
May 15, 2021
Posts
395
Reaction score
1,025
The front suspension ride height sensor arm lower mounts are ball studs that thread into the brake hose retaining bracket on the upper control arm. I easily removed the ball stud from the bracket with a little impact driver. I had more trouble removing the arm from the ball. :rolleyes: Looking at the threads of the ball stud, they were the 'trilobe' self locking style. However, they were NOT thread cutting. This matters because the mounting holes are not threaded in the brackets on the Powerstop braided steel brake lines. I could see me screwing both up by just trying to ram them home with the little impact driver. So, in true OCD fashion, I tapped the holes M6x1.0 thread pitch, and installed the ball studs with a little purple Loctite.


2024-02-11 026.1.JPG
Ride height sensor arm lower mount ball stud threaded into brake hose bracket on the upper control arm.


2024-02-11 042.JPG
Powerstop braided front brake hoses.


2024-02-11 043.JPG
Non-threaded hole in new bracket, and cleaned up ball stud.


2024-02-11 045.JPG
Ball stud installed in new bracket, as well as cable clip.


Yes, I know, I spent an entire post and 4 photos explaining how to install a ball stud in a new bracket. That is just how I think sometimes. It will be OK, get over it...:cool:
 
OP
OP
skpyle

skpyle

Full Access Member
Joined
May 15, 2021
Posts
395
Reaction score
1,025
OK, here is where it got 'interesting'. And no longer straight bolt-on.

On a youtube video of a guy installing these 6 piston calipers on a 2007 Escalade, he mentioned having to grind a little on the spindles for the caliper mounting ears to sit flat. Not much.
Hmmm...

On my 2013 Escalade ESV AWD, it was a little more than 'not much.' Luckily, since I am an incompetent machinist, it was a long and painful process. And I only did the passenger's side.

I initially started by placing the stainless steel fender washers on the outer sides of the spindle mounting tabs then running the bolts in from the back side. The lower washer sat flush with no issue. For the upper one, I traced around the washer on the protruding part of the casting with a sharpie.
And then got to work grinding.
I was using a small drill with a round nose and flat faced rotary metal rasp. I had used them eons ago to clean casting flash from a cast iron engine block, so I figured they would do OK on a cast iron spindle. They worked, though it took quite a long time.
I ended up grinding a flat on the top stainless steel washer to clear the casting.

When I mocked up the caliper, I realized I had made a mistake. Or at least missed something. The caliper mounting ears had their own interference points. Since I used my little battery powered ratchet to snug up the mounting bolts, the caliper ears got nicked. :mad: Dumba$$.

More marking, more grinding, more mocking. I finally got the passenger's side caliper to mount flush. Granted, this is with the 0.060" thick washers. When I go to install the rotor and check how the caliper is centered, my luck says I will need the 0.040" thick washers. ;)


2024-02-11 058.JPG
Upper mounting pad on spindle, with ground spacer washer and ugly hand machining.


2024-02-11 059.JPG
Lower mounting pad on spindle, with full spacer washer and slightly less ugly hand machining. Sorry for the lousy focus.


2024-02-11 056.JPG

2024-02-11 057.JPG
Nicks on passenger's side caliper mounting ears.


Since it is going to be a few days until I get back to this little project, I have ordered a set of carbide burrs. I think I will be able to clean up the ugly hand machining on the passenger's side spindle. And do better on the driver's side. I will probably open it up a little so I don't need the ground off washer. It is a pain to get the flat side lined up with the ground away part of the spindle. And that is with no rotor and no pads.


Until then...
 

Davidj281

TYF Newbie
Joined
Dec 31, 2020
Posts
9
Reaction score
16
You sir should be in technical writing! I have the same vehicle and i'll do this upgrade when i need front brakes after my EBS orange wear out. Awesome writeup! thanks!!
 
OP
OP
skpyle

skpyle

Full Access Member
Joined
May 15, 2021
Posts
395
Reaction score
1,025
You sir should be in technical writing! I have the same vehicle and i'll do this upgrade when i need front brakes after my EBS orange wear out. Awesome writeup! thanks!!
Thank you!
I try to make my posts informative and useful to the forum.
 
OP
OP
skpyle

skpyle

Full Access Member
Joined
May 15, 2021
Posts
395
Reaction score
1,025
Driving home from work this morning was all the justification that I need for this upgrade.

I-85N was an unholy cross between Mad Max and Mario Kart.
:banghead:
 
OP
OP
skpyle

skpyle

Full Access Member
Joined
May 15, 2021
Posts
395
Reaction score
1,025
Well...this has gone wrong.

My stock 2013 Escalade RPO Q7L 22" aluminum rims do NOT clear the 6 piston fixed Brembo calipers. :banghead:

The lower outer edge of the caliper rubs the inside of the rim spokes.


2021-10-24 144.JPG
2013 Escalade RPO Q7L painted 22" rim.


2024-02-15 079.JPG
Rub ring at the base of the spokes on the inside of the rim.


2024-02-15 075.JPG
Rub marks on the caliper.


Now, this is only on the driver's side front wheel. I have no reason to believe the passenger's side front wheel is any different.

As a test, I stacked two washers, totalling 6.5mm thick, on each lug stud, and reinstalled the rim. The spokes still hit the caliper. Meaning the rim wasn't even fully seated on the brake rotor.


I am way pissed right now...

As it is, I see two possibilities, neither which are attractive.

1) grind on the calipers until the rim spokes clear. This will be ugly at best. Even if I carefully spray paint that part of the caliper black.
2) get wheel spacers. The thinnest hub centric bolt on wheel spacers I have found on a quick search are 25mm. I am not sure how that will fit. And I probably should put the same spacers at the rear to match.

Either way, its a Hobson's Choice.


Regardless, I will figure something out. I am this far in, and am NOT going back.
 
Last edited:

j91z28d1

Full Access Member
Joined
Feb 28, 2022
Posts
1,977
Reaction score
2,285
thin wheel spacers will be fine.. especially with 6 logs. I know import guys that run all kinds of different spacers to make wheels clear stuff, they run track days and drift days with tons of side loading on little studs, not even close to hub Centric and never have a issue.


just tq them after a good heat cycle and if you can keep some hub centric going on, your more than solid.
 

Forum statistics

Threads
129,238
Posts
1,812,622
Members
92,339
Latest member
Thekenstar
Top