My Bermuda Blue Hoe

Disclaimer: Links on this page pointing to Amazon, eBay and other sites may include affiliate code. If you click them and make a purchase, we may earn a small commission.

OP
OP
Jlaughtr

Jlaughtr

Full Access Member
Joined
Oct 9, 2012
Posts
255
Reaction score
326
Location
Deming, NM
So it has been awhile since I've posted. I have been moving and getting settled in my new place in New Mexico.

Updates on the Hoe right now....

She is currently at the body shop getting everything on here fixed from the wreck. I decided to just get it all fixed or replaced to what it was pre-wreck instead of doing an aftermarket front bumper at the moment. The body shop I am using is a friend of mine's family so they are going the extra mile. Instead of spot painting the corner of the hood that got chipped they are going ahead and repainting the whole hood to make it look probably better than it was. Also they were able to hook me up with a programmer guy that is going to come do a basic program on her while she is at the body shop.

So all in all I'll be happy to have her back and not driving a rental Toyota Corolla anymore!!
 
OP
OP
Jlaughtr

Jlaughtr

Full Access Member
Joined
Oct 9, 2012
Posts
255
Reaction score
326
Location
Deming, NM
Next on my list is maintenance related. I'll be changing the front and rear diff fluids and transfer case fluid.

A few questions....

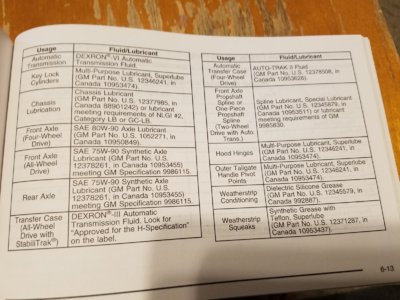
When I go to AMSOIL to look up what fluids to use, there are multiple options as far as what type of front and rear diff I could have.

Rear:
Differential, Rear 9.5 RG......SL136
Differential, Rear 9.75 RG......SL136
Differential, Rear 8.6 RG......SL136
Differential, Rear 11.5 RG......SL136
Differential, Rear 10.5 RG......SL136

I know they all use the same fluid (Severe Gear® 75W-90 (SVGPK), but I am wanting to get a new diff cover. A shop said it was leaking so I plan on changing the gasket and figured I could put a new cover on too

Transfer Case:
Transfer Case,BW 4482......GLS37
Transfer Case,BW 4481......GLS37
Transfer Case,NVG 246......SL033

These have 3 types of fluid I could use:
Signature Series Multi-Vehicle Synthetic Automatic Transmission Fluid (ATF) (ATFQT)
OE Multi-Vehicle Synthetic Automatic Transmission Fluid (OTFQT)
Torque-Drive Synthetic Transmission Fluid (ATD1G)

Front:
Differential, Front 9.25 RG......SL136
Differential, Front F4WD......SL136

These 2 use the same (Severe Gear® 75W-90 (SVGPK). But a 3rd option uses says different fluid options.

Differential, Front S4WD......GL-5

SAE 80W-90 Synthetic Gear Lube (AGLQT)
Severe Gear® 75W-90 (SVGPK)
Severe Gear® 75W-110 (SVTQT)

Thanks for the info in advance
 
OP
OP
Jlaughtr

Jlaughtr

Full Access Member
Joined
Oct 9, 2012
Posts
255
Reaction score
326
Location
Deming, NM
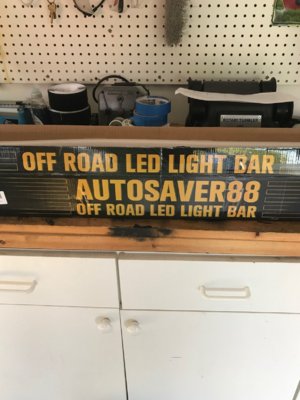
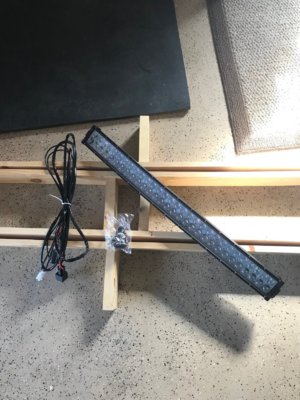
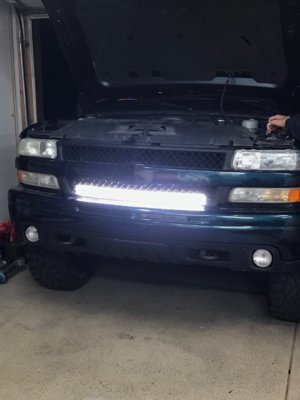
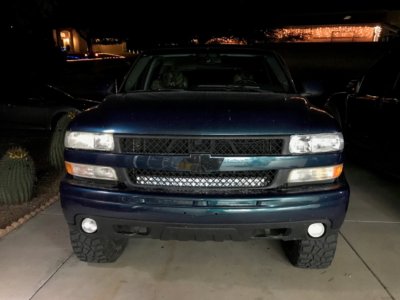
So Saturday was the day to install my new 32" Curved LED Light bar in my grille. I ordered this one off of Amazon. The kit came with the Light bar and all the brackets and screws, a wiring harness with a relay and an inline fuse, and a button switch.

*Note: I decided to use aftermarket switches and the relay it came with did not secure the wires very well and you couldn't re-attach then. I would take a pic of the bottom of the relay to know which wires go where if they fall out and you aren't an electrically savy person.

Lightbar 2.jpg Lightbar.jpg
 
OP
OP
Jlaughtr

Jlaughtr

Full Access Member
Joined
Oct 9, 2012
Posts
255
Reaction score
326
Location
Deming, NM
So I'll dive into the install.

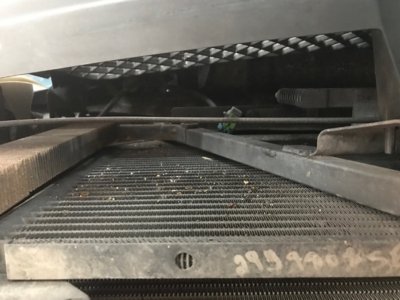
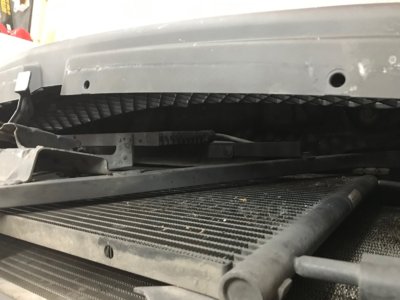
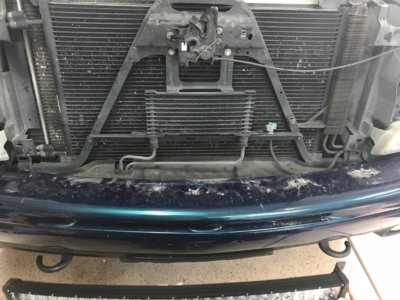
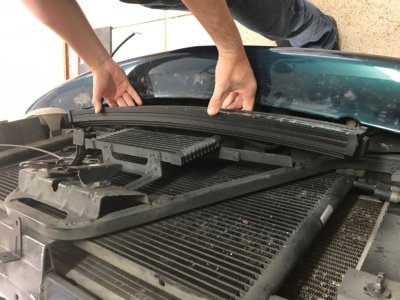
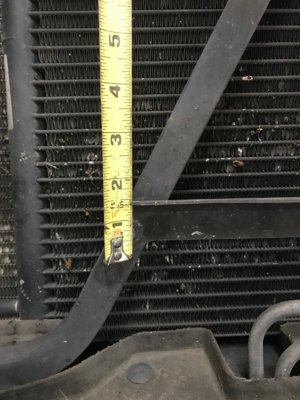
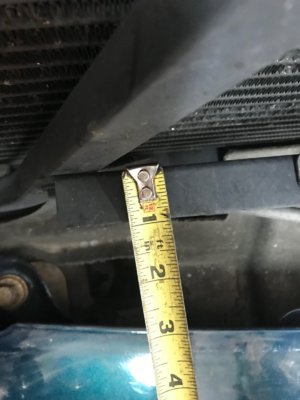
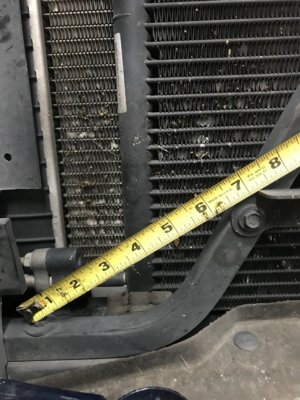
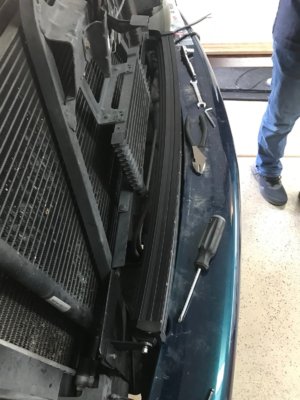
First was looking at the spot where I was going to install the Light Bar. I picked the lower part of the grille. It measured about 33" so I felt good with selecting the 32". I went with the curved because of the tight area inside the grille and I thought it would squeeze in better.

Lightbar Area 2.jpg
Lightbar Area.jpg
Lightbar Area 3.jpg
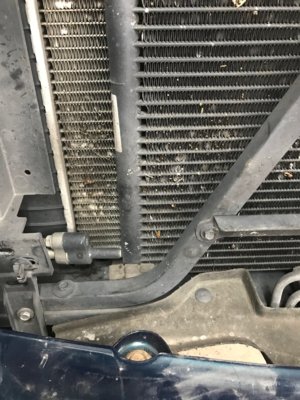
The area is crowded with different coolers
Lightbar Fitment.jpg
The curved bar is able to slide in front of the coolers
 
Last edited:
OP
OP
Jlaughtr

Jlaughtr

Full Access Member
Joined
Oct 9, 2012
Posts
255
Reaction score
326
Location
Deming, NM
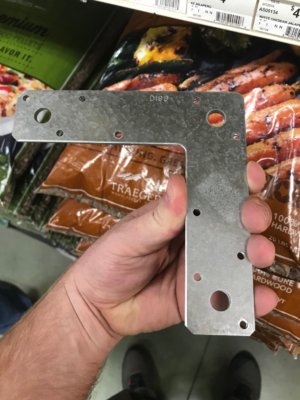
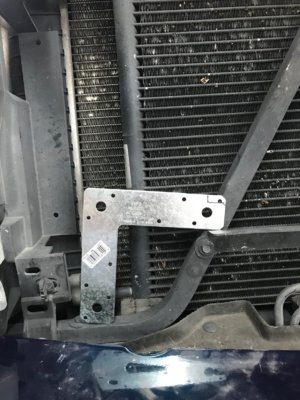
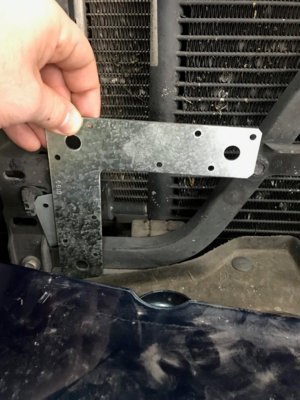
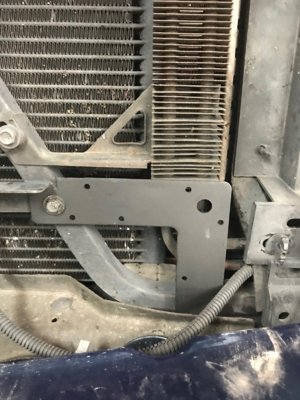
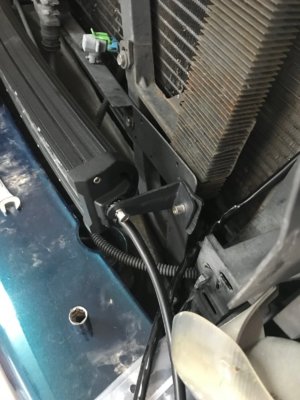
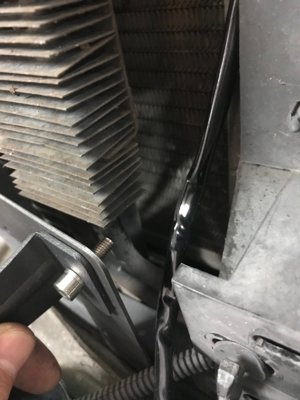
Once I got the grille off, I could not find a decent place to post the brackets for the Light Bar. I began to look around to find a way to mount the light bar bracket. I found a possible spot to mount the bracket on a support mount. It has screws already in the support to use, but I needed some way to attach it to the spot i selected on the support bracket. So i went to Ace and figured I'd get a piece of angle bar and cut it to the specs I needed. When I went to Ace I just happened to walk through the bracket aisle and stumbled upon a bracket i could use! A flat right angle bracket with pre-cut holes.

I think the measurement to get from upper bolt to lower bolt on a right angle is around 5.5" center hole to center hole.

Eventually I will get my buddy in Memphis to Fab me a bracket. Or you could do a few tac welds on the bottom to support the light from slipping down.

Lightbar Mount Area.jpg Lightbar Mount Area 2.jpg Lightbar Mount Area 3.jpg Lightbar Mount Area 4.jpg Lightbar Brackets 9.jpg
 
Last edited:
OP
OP
Jlaughtr

Jlaughtr

Full Access Member
Joined
Oct 9, 2012
Posts
255
Reaction score
326
Location
Deming, NM
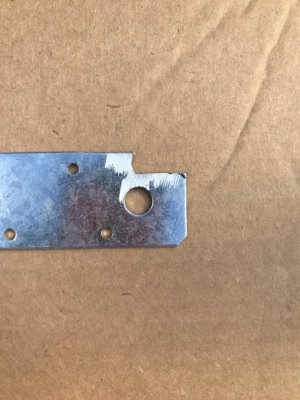
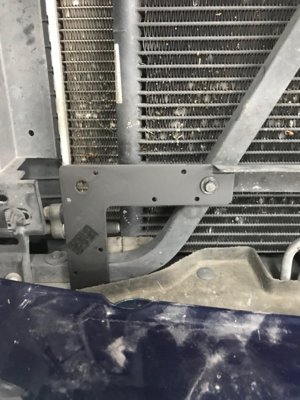
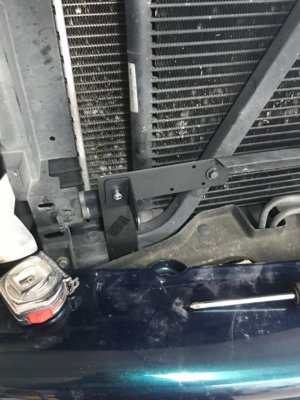
So once I got back to the house, I was able to compare the Ace bracket to the spot on the support bracket. It wasn't a perfect fit that i wanted in order to support it from the upper bolt and lower bolt on the support bracket. So in order to mount it to the upper bolt, I had to grind off a little of the angle bracket to fit. Once I trimmed, painted them black and mounted them up. I was able to slide the lower part in front of the support bracket to make it level.

Lightbar Brackets 10.jpg Lightbar Brackets 11.jpg Lightbar Brackets 6.jpg Lightbar Brackets 7.jpg Lightbar Brackets 8.jpg
 
OP
OP
Jlaughtr

Jlaughtr

Full Access Member
Joined
Oct 9, 2012
Posts
255
Reaction score
326
Location
Deming, NM
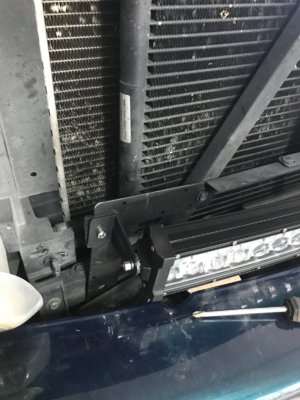
After mounting the custom brackets, I was able to mount the brackets that came with the light bar kit to mount the light bar.

Lightbar Brackets.jpg
Lightbar Brackets 2.jpg
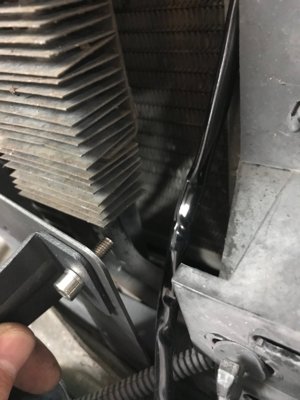
The long bolt that came with the light kit hits the tubing from one of the coolers on the driver's side. You have to maneuver it to fit
Lightbar Brackets 3.jpg
Lightbar Brackets 4.jpg
Lightbar mounted 3.jpg
 
OP
OP
Jlaughtr

Jlaughtr

Full Access Member
Joined
Oct 9, 2012
Posts
255
Reaction score
326
Location
Deming, NM
The other issue that i ran into was when I put the grille back on. The light bar didn't give enough space to put it back on. So I had to lower the brackets I made to below horizontal level. That way I could bend it back towards the motor. The driver's side is more tricky because you have to lower it below the fins of the cooler and bend it back to the cooling tubes. This clears room for the grille to be reattached.

Lightbar mounted on.jpg Lightbar mounted.jpg Lightbar Brackets 2.jpg
 
OP
OP
Jlaughtr

Jlaughtr

Full Access Member
Joined
Oct 9, 2012
Posts
255
Reaction score
326
Location
Deming, NM
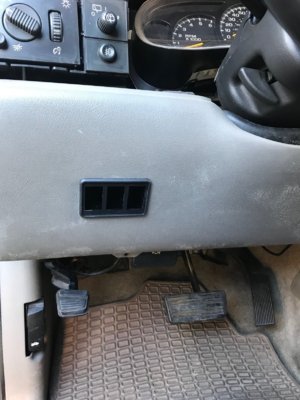
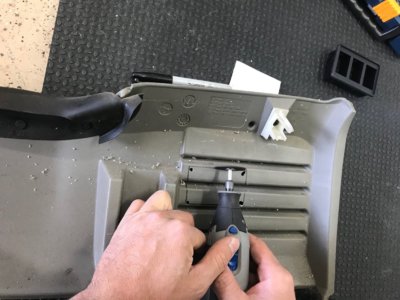
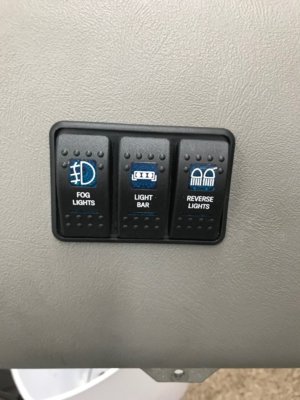
I also mounted the aftermarket switches inside on the dash below the steering wheel. The switch holder I used gave the mounting measurements. I measured slightly smaller to have room for error. Drilled the 4 corners and used a dremel to cut out. I mounted 3 switches for future use. I'm going to move the fog lights from the button on the dash down to the switch. And the aux reverse lights when I finally install them.

Switch Panel 2.jpg Switch Panel.jpg Switches.jpg
 
OP
OP
Jlaughtr

Jlaughtr

Full Access Member
Joined
Oct 9, 2012
Posts
255
Reaction score
326
Location
Deming, NM
So to wrap up my activities. I was able to mount the LED light bar. But i was not able to run the electricity and wiring. The relay that came with the kit had the wires fall out and you cannot reattach them. I had an extra relay for the aux reverse lights so I tried to use that one. It was a bad relay. I was able to test the light by holding the wires on the battery. So although everything looked simple. It took my buddy and I 7 hours and multiple trips to Oreillys and Ace to get everything done. Stay tuned for the wiring. Its very confusing but I will get some help to finish it off.
 

Forum statistics

Threads
129,271
Posts
1,813,088
Members
92,379
Latest member
Pepper1700

Latest posts

Top