You are using an out of date browser. It may not display this or other websites correctly.
You should upgrade or use an alternative browser.
You should upgrade or use an alternative browser.
My Bermuda Blue Hoe
- Thread starter Jlaughtr
- Start date
Disclaimer: Links on this page pointing to Amazon, eBay and other sites may include affiliate code. If you click them and make a purchase, we may earn a small commission.
Jlaughtr
Full Access Member
This weekend was productive for do small stuff to the 'Hoe! I fixed the switch panel issue and I also wanted to Feb up some new brackets for the light bar. My buddy in Memphis who can fab anything I need out of aluminum said I need to fab up mock brackets with something. So I mocked up brackets in cardboard with a glue gun. Very crafty I know 
So this is my first attempt, and I'm sure we will have to make some adjustments from the first brackets he sends me but thats ok. So the Passenger Side is a lot easier because of the openess of the area for the bracket. The drivers side is a lot tighter with a cooler and cooler lines to build around.
If you remember in my original bracketology I had to bend the brackets back toward the engine to make room for the grille. With these I fab'd them up to have the light set back further away from the grille. I may have gone a little deep so that is one thing we will have to see on the first brackets he sends me.
But Im super pumped that they turned out decent and can be interpreted as brackets.
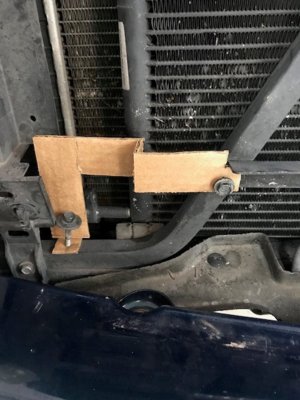 Passenger Side
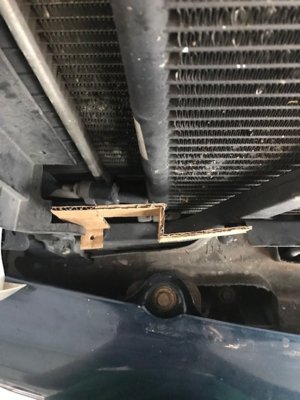 Passenger Side
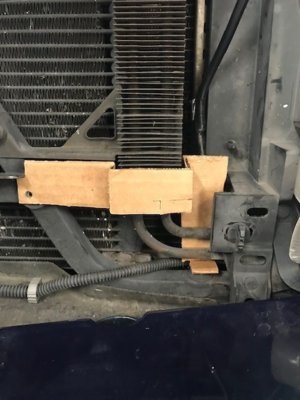 Driver's Side
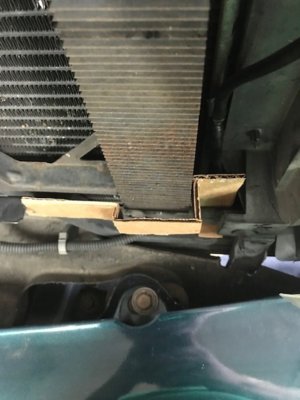 Driver's Side

So this is my first attempt, and I'm sure we will have to make some adjustments from the first brackets he sends me but thats ok. So the Passenger Side is a lot easier because of the openess of the area for the bracket. The drivers side is a lot tighter with a cooler and cooler lines to build around.
If you remember in my original bracketology I had to bend the brackets back toward the engine to make room for the grille. With these I fab'd them up to have the light set back further away from the grille. I may have gone a little deep so that is one thing we will have to see on the first brackets he sends me.
But Im super pumped that they turned out decent and can be interpreted as brackets.
 Passenger Side
 Passenger Side
 Driver's Side
 Driver's Side
Jlaughtr
Full Access Member
Also this weekend I was able to hang the Aux Reverse Lights! Been wanting to do this for awhile but last time the grille light bar took allllllll day.
So for these I mounted them to the bottom of the bumper. Just removed the plastic piece under the license plate and low and behold there were holes to see the bottom of the bumper for easy mounting. A quick drill through and mount!! Easiest light mounting I ever have done so far. I feel pretty good that they are close on the angles. They are mounted symmetrically on the bumper but the trailer hookup makes it look off......oh well
All the wiring is not done for either light set up. Hoping to get all the wiring done with a guy after New Years. He said he will teach me and help me so it will be free. So I'm pretty stoked about finding someone to help me through the electrical abyss and I'll bring plenty of beer!
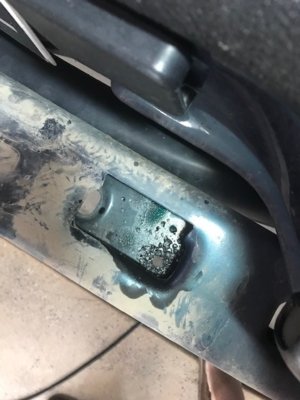
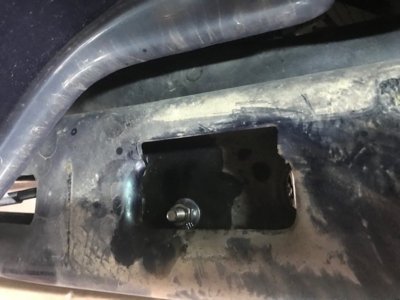
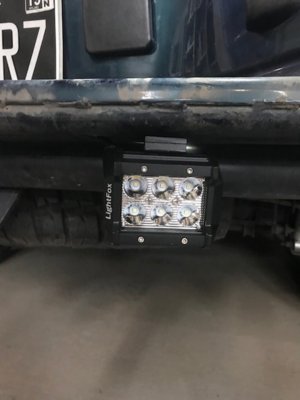
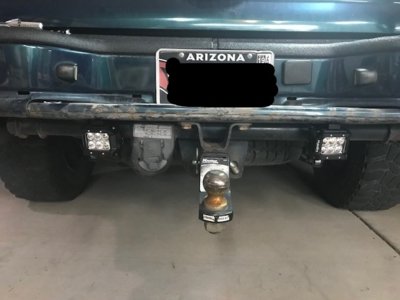
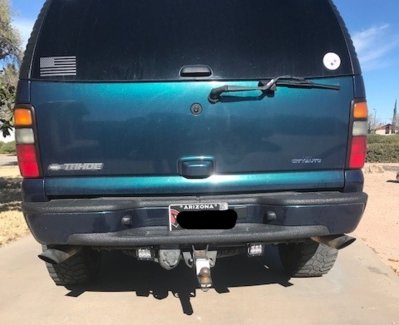
So for these I mounted them to the bottom of the bumper. Just removed the plastic piece under the license plate and low and behold there were holes to see the bottom of the bumper for easy mounting. A quick drill through and mount!! Easiest light mounting I ever have done so far. I feel pretty good that they are close on the angles. They are mounted symmetrically on the bumper but the trailer hookup makes it look off......oh well

All the wiring is not done for either light set up. Hoping to get all the wiring done with a guy after New Years. He said he will teach me and help me so it will be free. So I'm pretty stoked about finding someone to help me through the electrical abyss and I'll bring plenty of beer!


Jlaughtr
Full Access Member
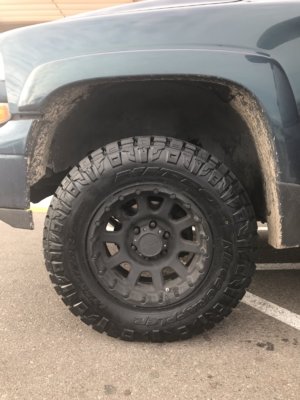
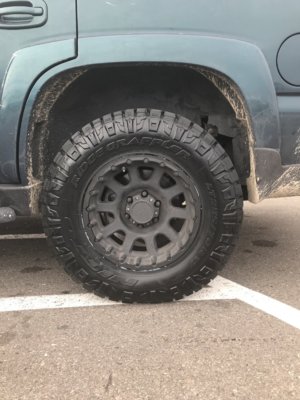
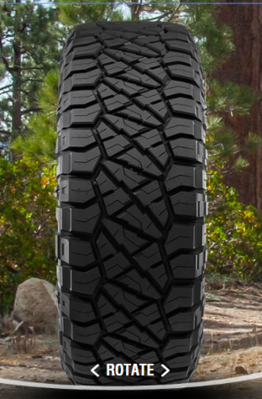
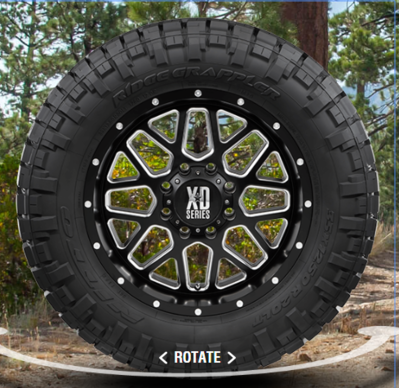
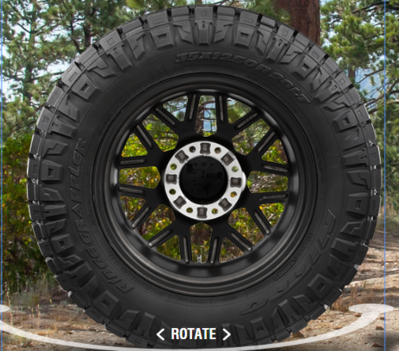
New Shoes coming this Saturday! I love my Cooper STT Pros, but with all the driving I've been doing I need to switch to a less aggressive tire. I've settled on the Nitto Ridge Grapplers. Its a hybrid between MT and AT. The tire actually has 2 sidewalls to choose from based on how you mount the tire. I think I'm going to go with the block sidewall or I could do 1 of each on each side?? They are a little pricey due to the Nitto name but oh well. I'm getting the 285/70R17 116Q C1 BSW.


Jlaughtr
Full Access Member
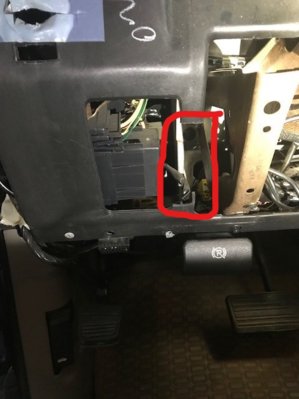
Also the electrical guru has me set up. He wired up all the relays and wrote all the wiring directions down for me. All I have to do is finish the wiring for all my lights. Haven't had too much time or money to buy the wires and such but now that the government shutdown is over I plan on getting it done over the next few weeks.
ArcticYukon
The White Yuke has been superseded by a Red Hoe
Nah, I wouldn't mix and match sidewalls, man. Keep 'em all the same. I'm partial to the "curvy" sidewall myself, but you definitely gotta go with what YOU like.
Jlaughtr
Full Access Member
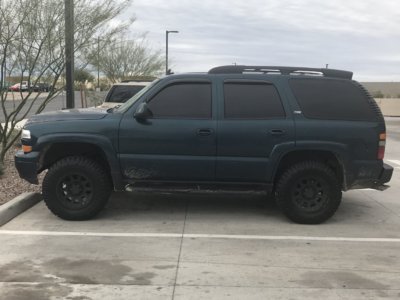
After 2 years and 57,000 miles the old shoes are being retired. Keeping 2 of them because they had a ton of life left. New shoes being installed now!
Jlaughtr
Full Access Member
ArcticYukon
The White Yuke has been superseded by a Red Hoe
Hell yeah, give us a full side shot, man!
Jlaughtr
Full Access Member
Similar threads
- Replies
- 17
- Views
- 3K
- Replies
- 224
- Views
- 68K
- Replies
- 50
- Views
- 14K

