
You are using an out of date browser. It may not display this or other websites correctly.
You should upgrade or use an alternative browser.
You should upgrade or use an alternative browser.
Rocket Man's 2008 Bagged CC Silverado Build AKA "THE MACHINE"
- Thread starter Rocket Man
- Start date
Disclaimer: Links on this page pointing to Amazon, eBay and other sites may include affiliate code. If you click them and make a purchase, we may earn a small commission.

OP
OP


I know I have posted this before in other threads and I am not trying to clutter your thread or start an argument but...
I have a 70% ceramic film over my entire windshield with a 8" 5% strip at the top.
70% is, essentially, a clear film which does very little for looks but the ceramic film blocks 99% of uvA and uvB rays which fade your interior and cause that brand new expensive dash to get brittle. It also blocks more than 50% of the heat.
And at 70% doesn't really interfere with night time driveabilty.
If you want to look at actual numbers then it goes like this...
Your stock windshield, if you checked it with a "tint meter" would register at around 70% VLT (visible light transmission).
You take the 70% windshield and add a 70% film and you are now at around 49% VLT.
If you use a 50% film on the same 70% windshield you are now at around 35% VLT. Which is what the legal limit is in most states for your front side windows.
If you don't drive much at night then it's really no big deal but if you do then it could potentially be an issue for you.
I just wanted to give you some real world data and numbers to chew on before you make your decision.
Here is a pic of mine... front windshield 70% film plus 5% strip and 18% on the front side windows to match the factory rear tint.
View attachment 206341
View attachment 206342
The Hüper Optik film is the ceramic film I went with. It is a German made film and is excellent.
https://huperoptikusa.com/automotive/
Hope this helps.
I do understand how the total light transmittance calculates out and that my factory tint is about 70% vlt. So .70 x .50 x 100 is indeed 35%. Keep in mind this is my toy not my dd. Also I have Morimoto HID retrofits so my lighting at night is excellent. So with all that in mind as well as what Ive seen online, my decision is a 50% tint over the 70% factory shield for a total vlt of 35%.
35% on my sides and shield, probably the 10th vehicle I have had it on, will do it again on the next.
That’s what my total will be including the factory tint factored in.

Well la-di-da......35% on my sides and shield, probably the 10th vehicle I have had it on, will do it again on the next.

OP
OP
Getting the bumper pieces today; so far one of three boxes has come in. I am going to put it together hopefully if I can find hardware. So in the meantime I washed it and waxed with the Liquid Wax I got from Tri-Nova. The paint sure looks great after the wet sanding/buffing/waxing.
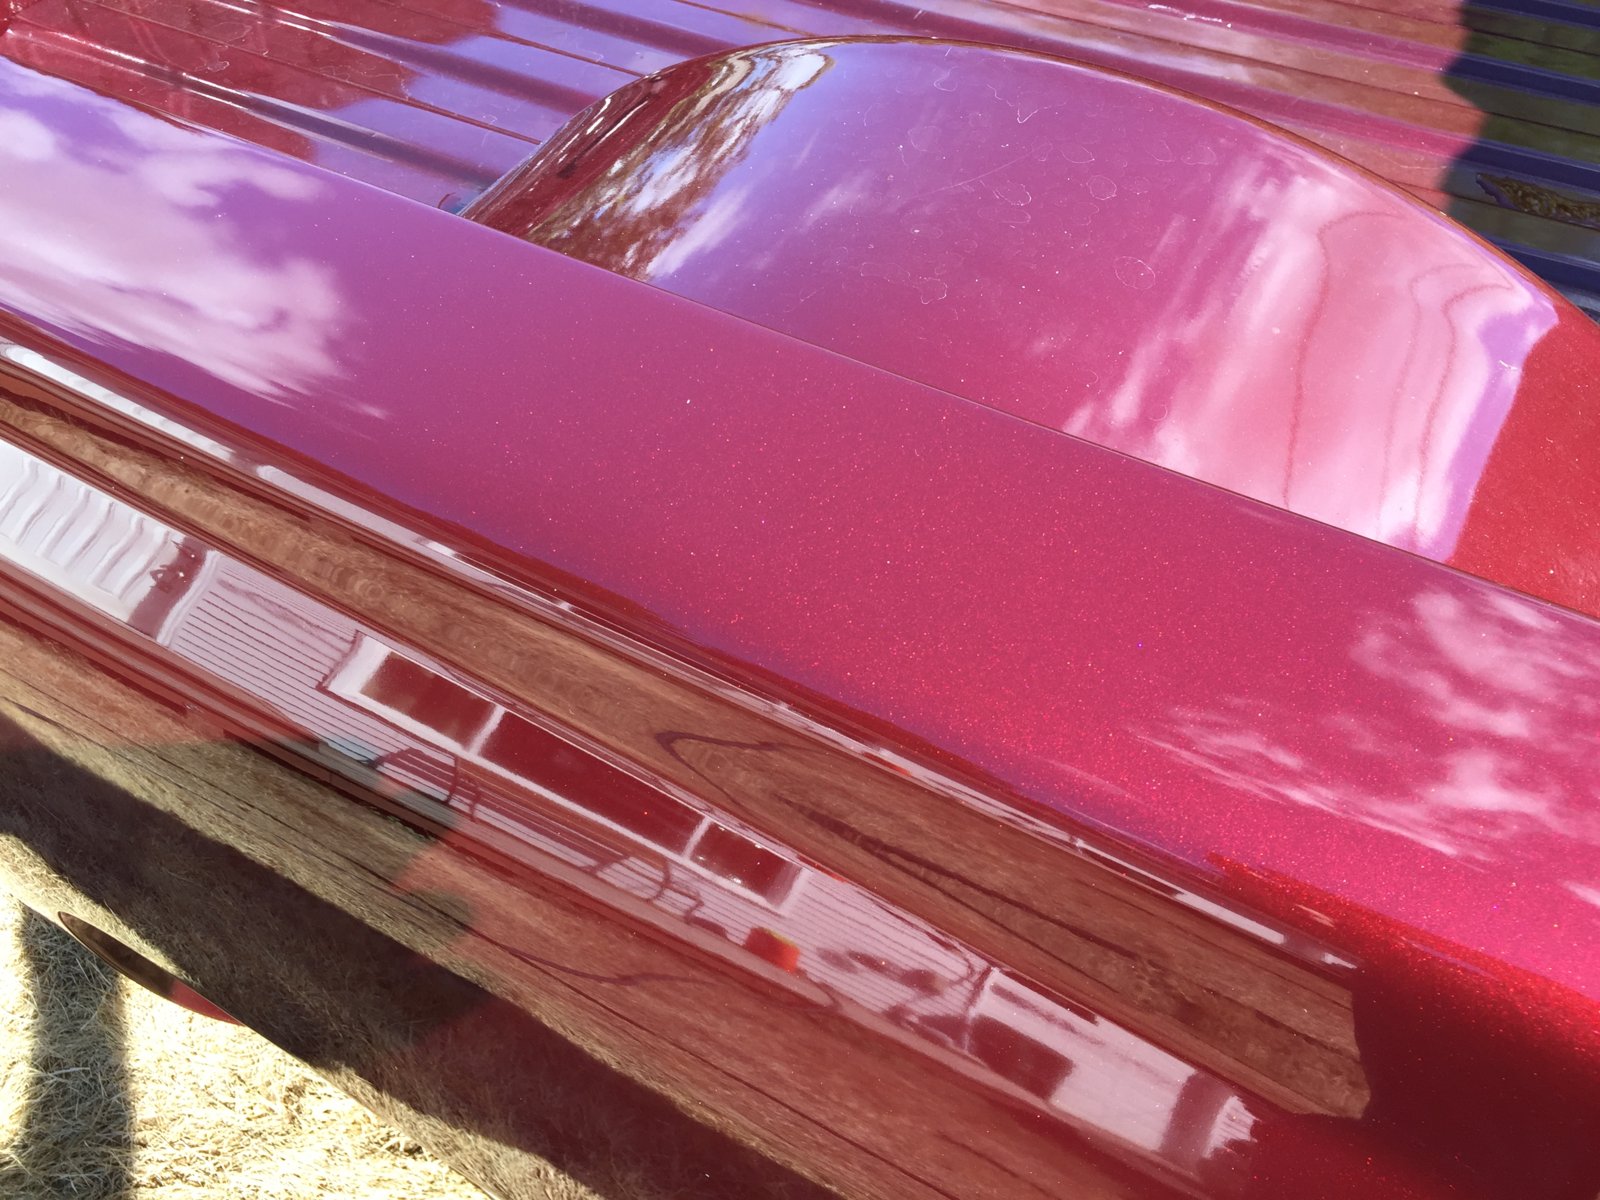
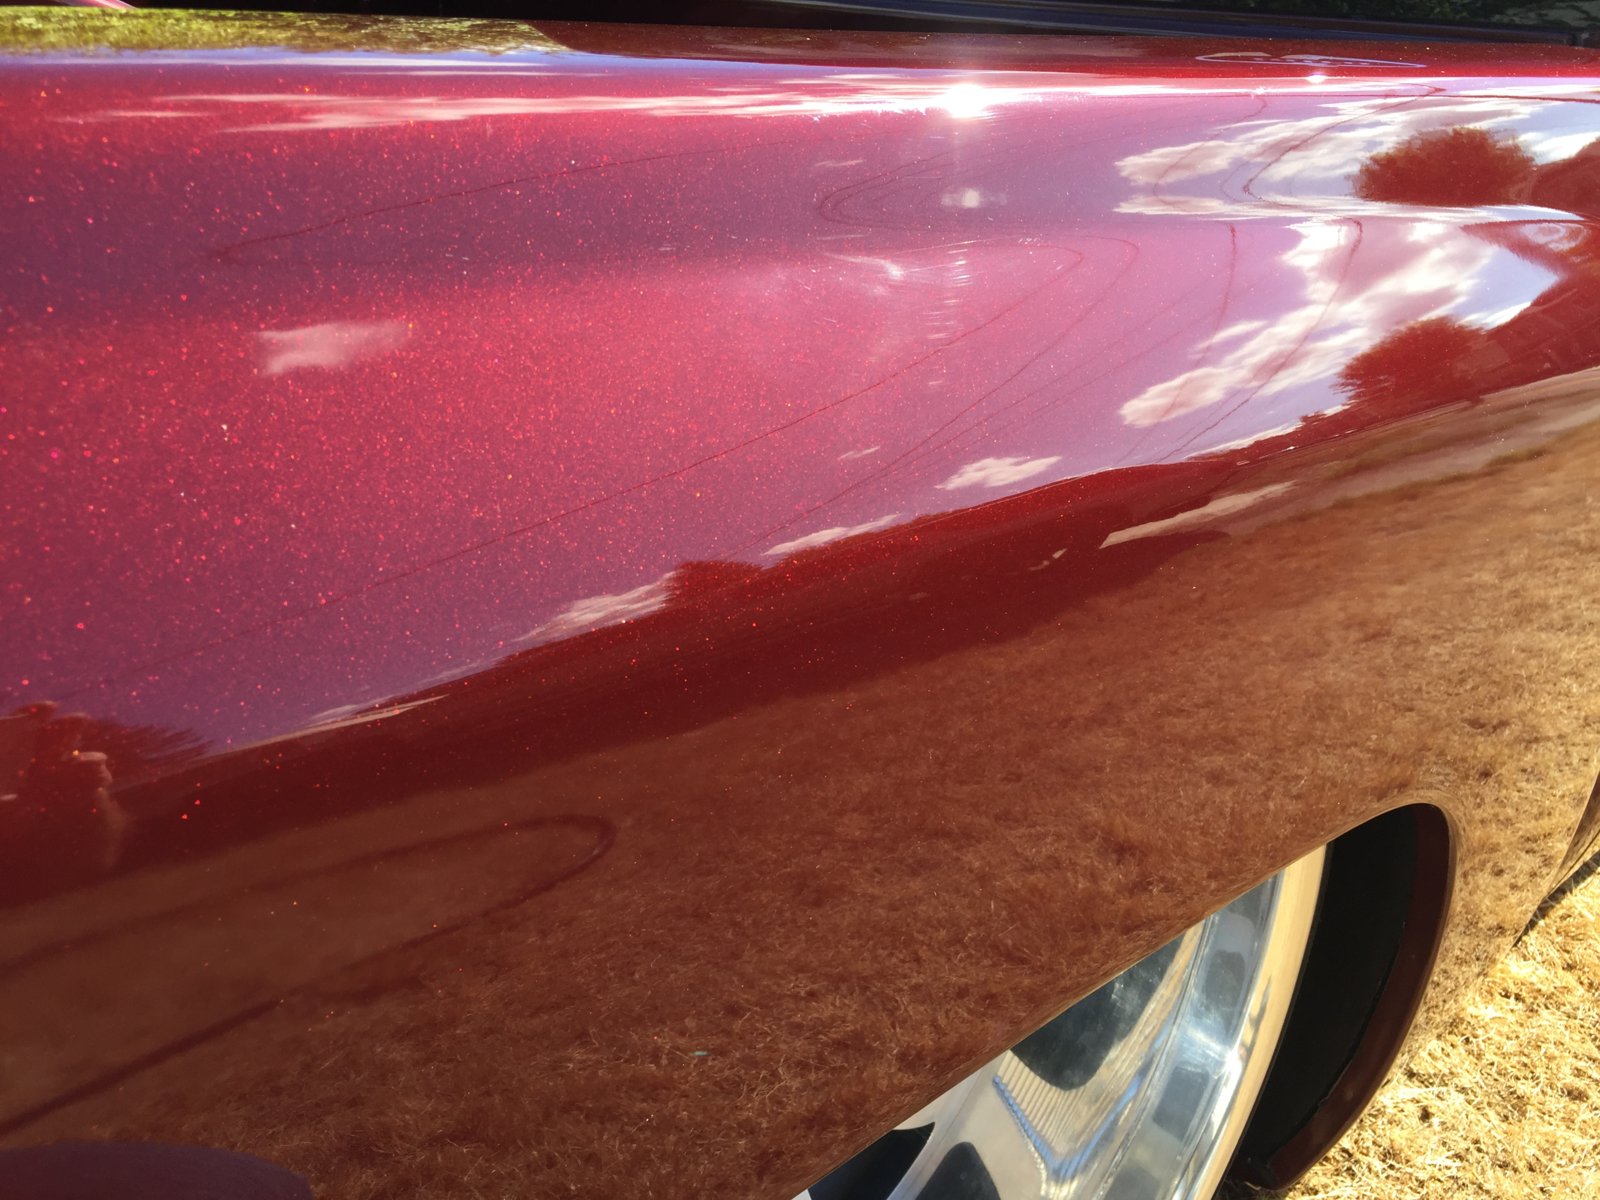
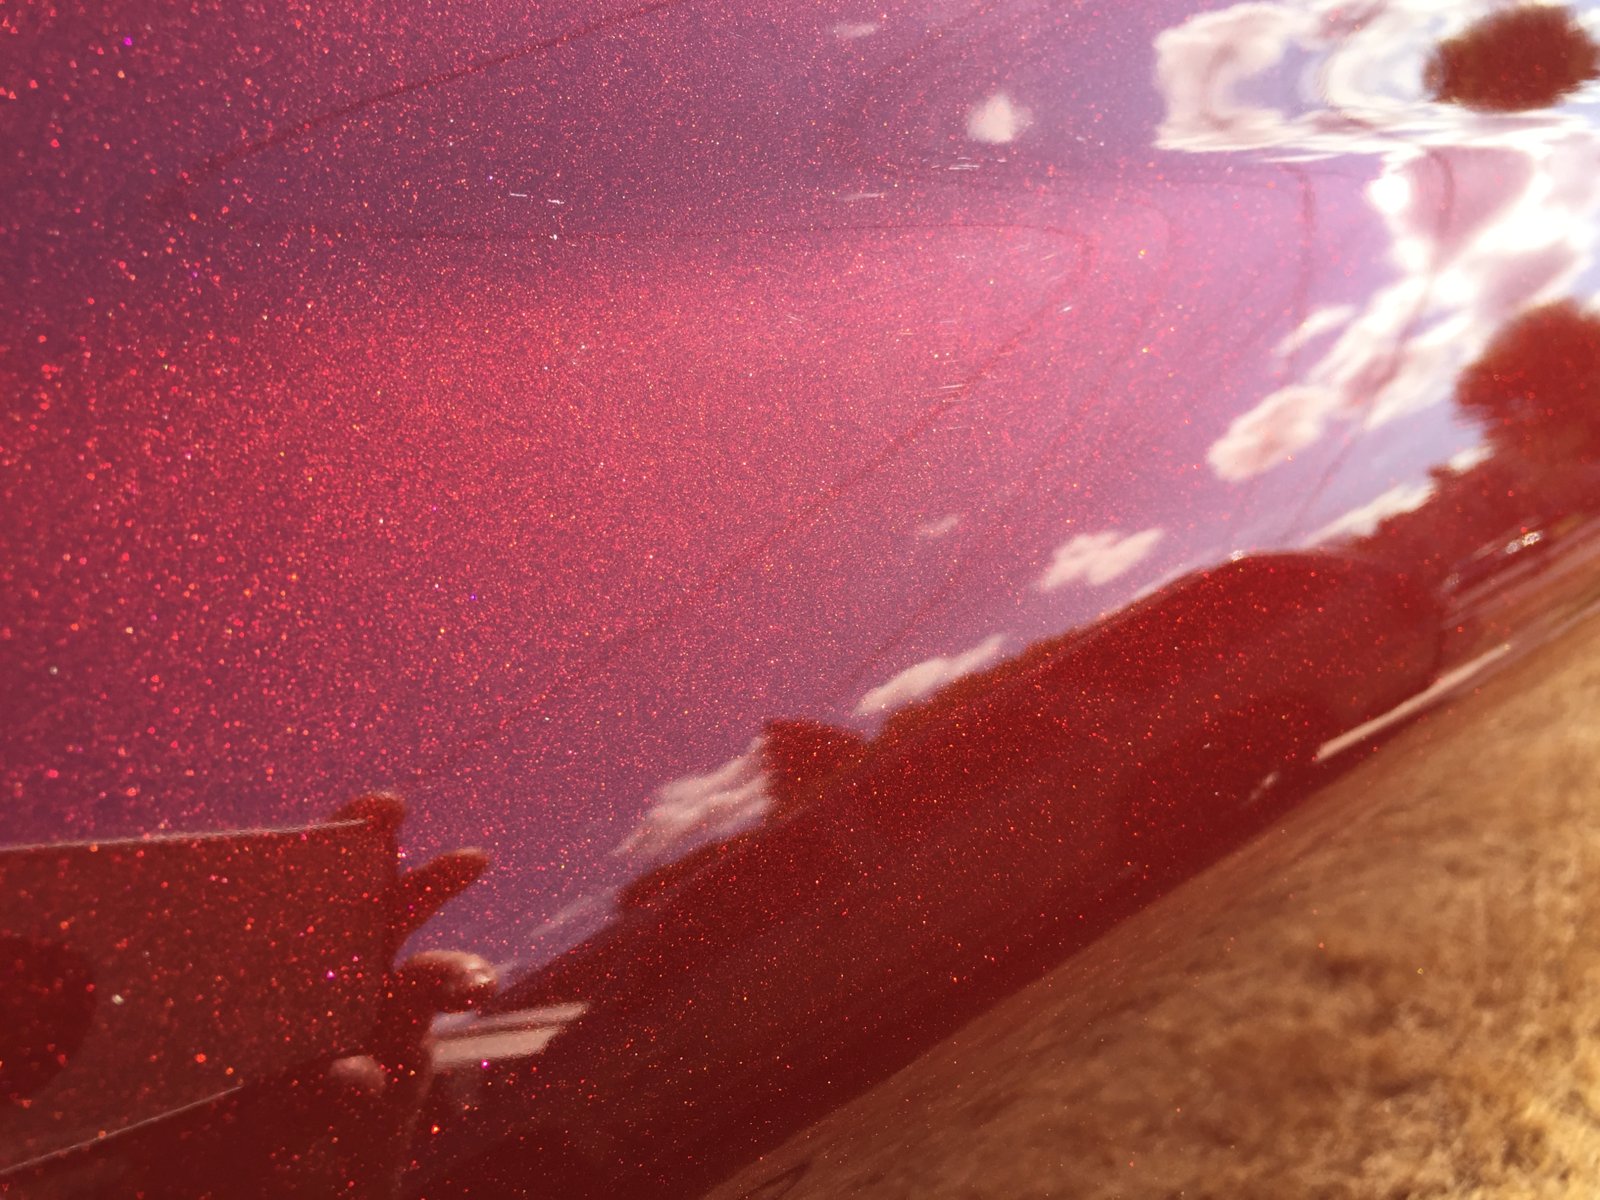
OP
OP
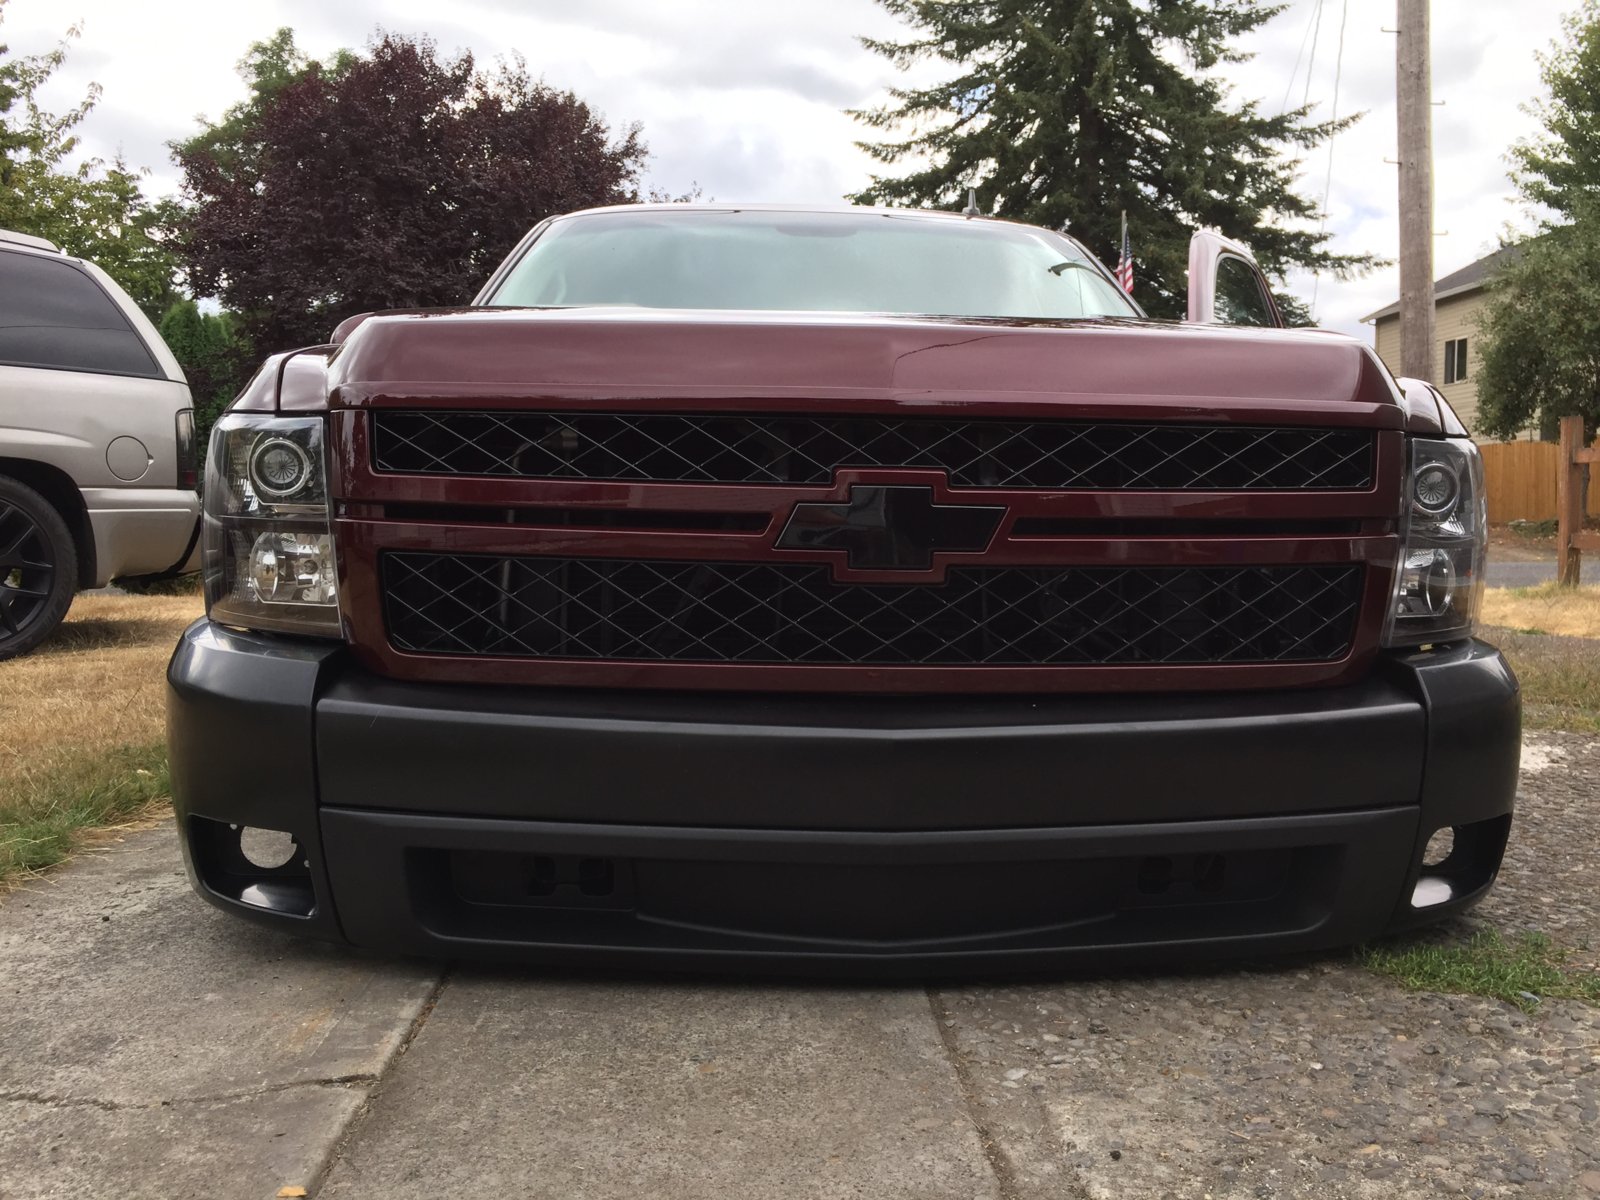
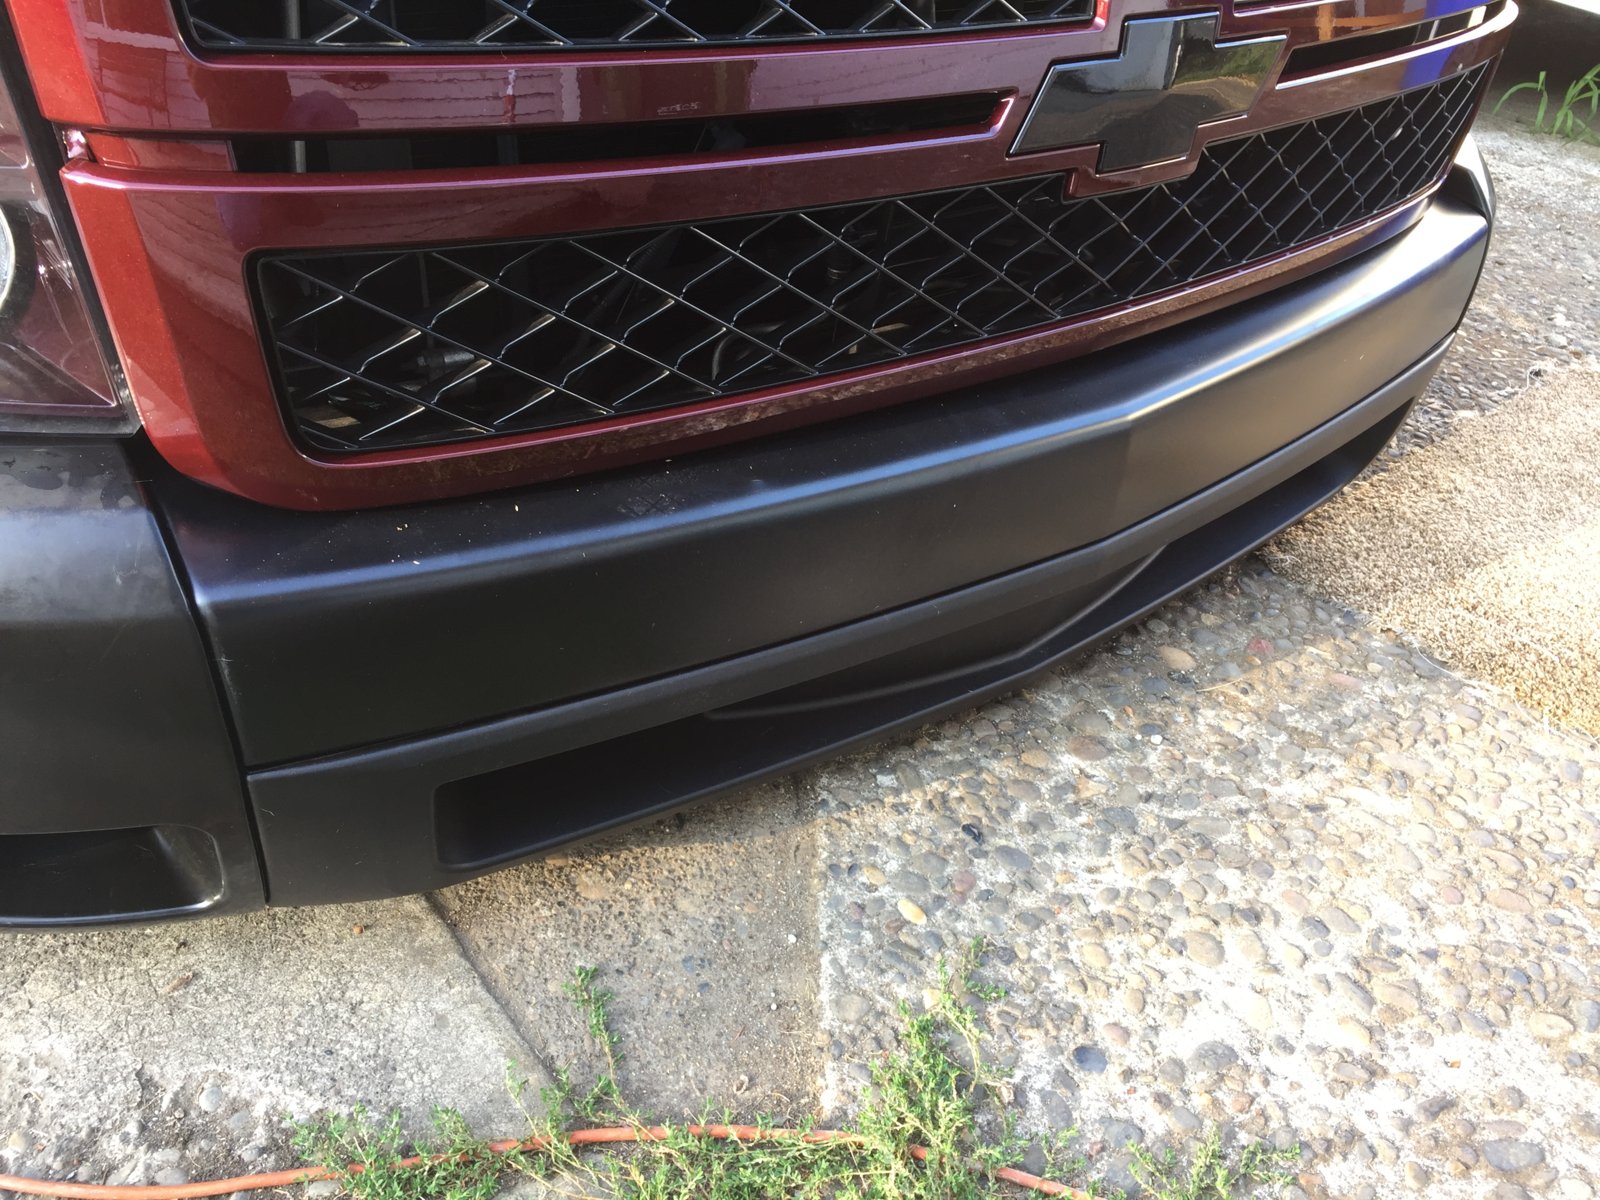
After a lot of adjusting of every part of the front end, I was finally able to get the bumper on and the headlights and grill lined up. There's a bit bigger of a gap between the bottom of the headlights and the bumper than before but I think it's probably a normal Chevy bumper gap now.

HiHoeSilver
Away!
After a lot of adjusting of every part of the front end, I was finally able to get the bumper on and the headlights and grill lined up. There's a bit bigger of a gap between the bottom of the headlights and the bumper than before but I think it's probably a normal Chevy bumper gap now. View attachment 206420
Where are all the lights gonna go?
OP
OP
There is one slight problem (besides the fact I need to disassemble the whole thing to paint it and these bumpers are a PIA to get the individual pieces to line up) and that's the fact that instead of 3 boxes, some brilliant packer decided to consolidate the final 2 boxes into one by sticking all the steel bumper brackets which weigh a ton inside the bumper bar and then stuff 2 boxes inside each other. The brackets must have bounced around violently because there's a dent pushing outward on the bumper bar itself and that steel is thick so it must have been a big hit. I am no body man but I think I need to just replace that instead of having it fixed. The seller is working on a solution. Hopefully he'll just send another one.
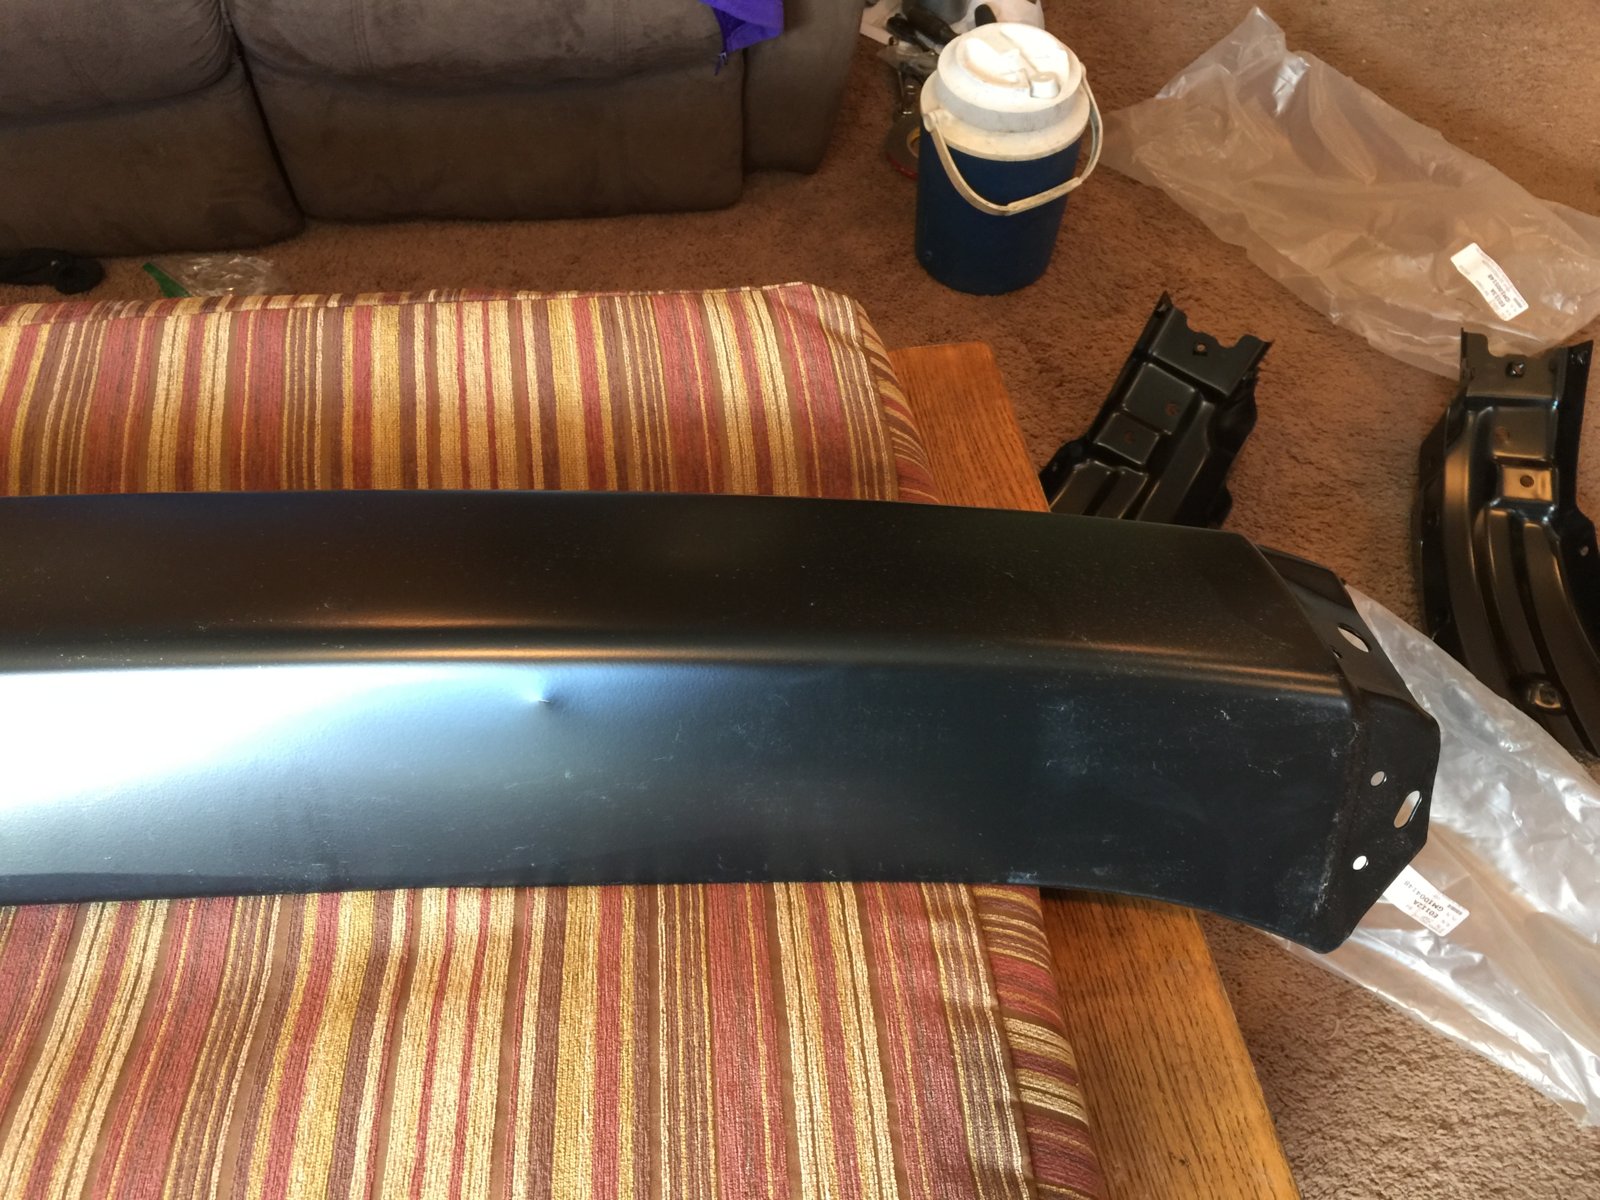
OP
OP
In Nathan's bumper.Where are all the lights gonna go?
OP
OP
Had to order tow hooks since now I have tow hook holes. pfffft
OP
OP
I took it back apart and added the brackets for the braces that mount further back on the frame, the fog light brackets and the fog lights, and mounted it up so I could finalize all the adjustments and tighten down the brackets and braces so now it mounts up to the truck easily and when I do, it’s all lined up. Now for paint and to see if that dent can be fixed or if I need a new bumper bar.
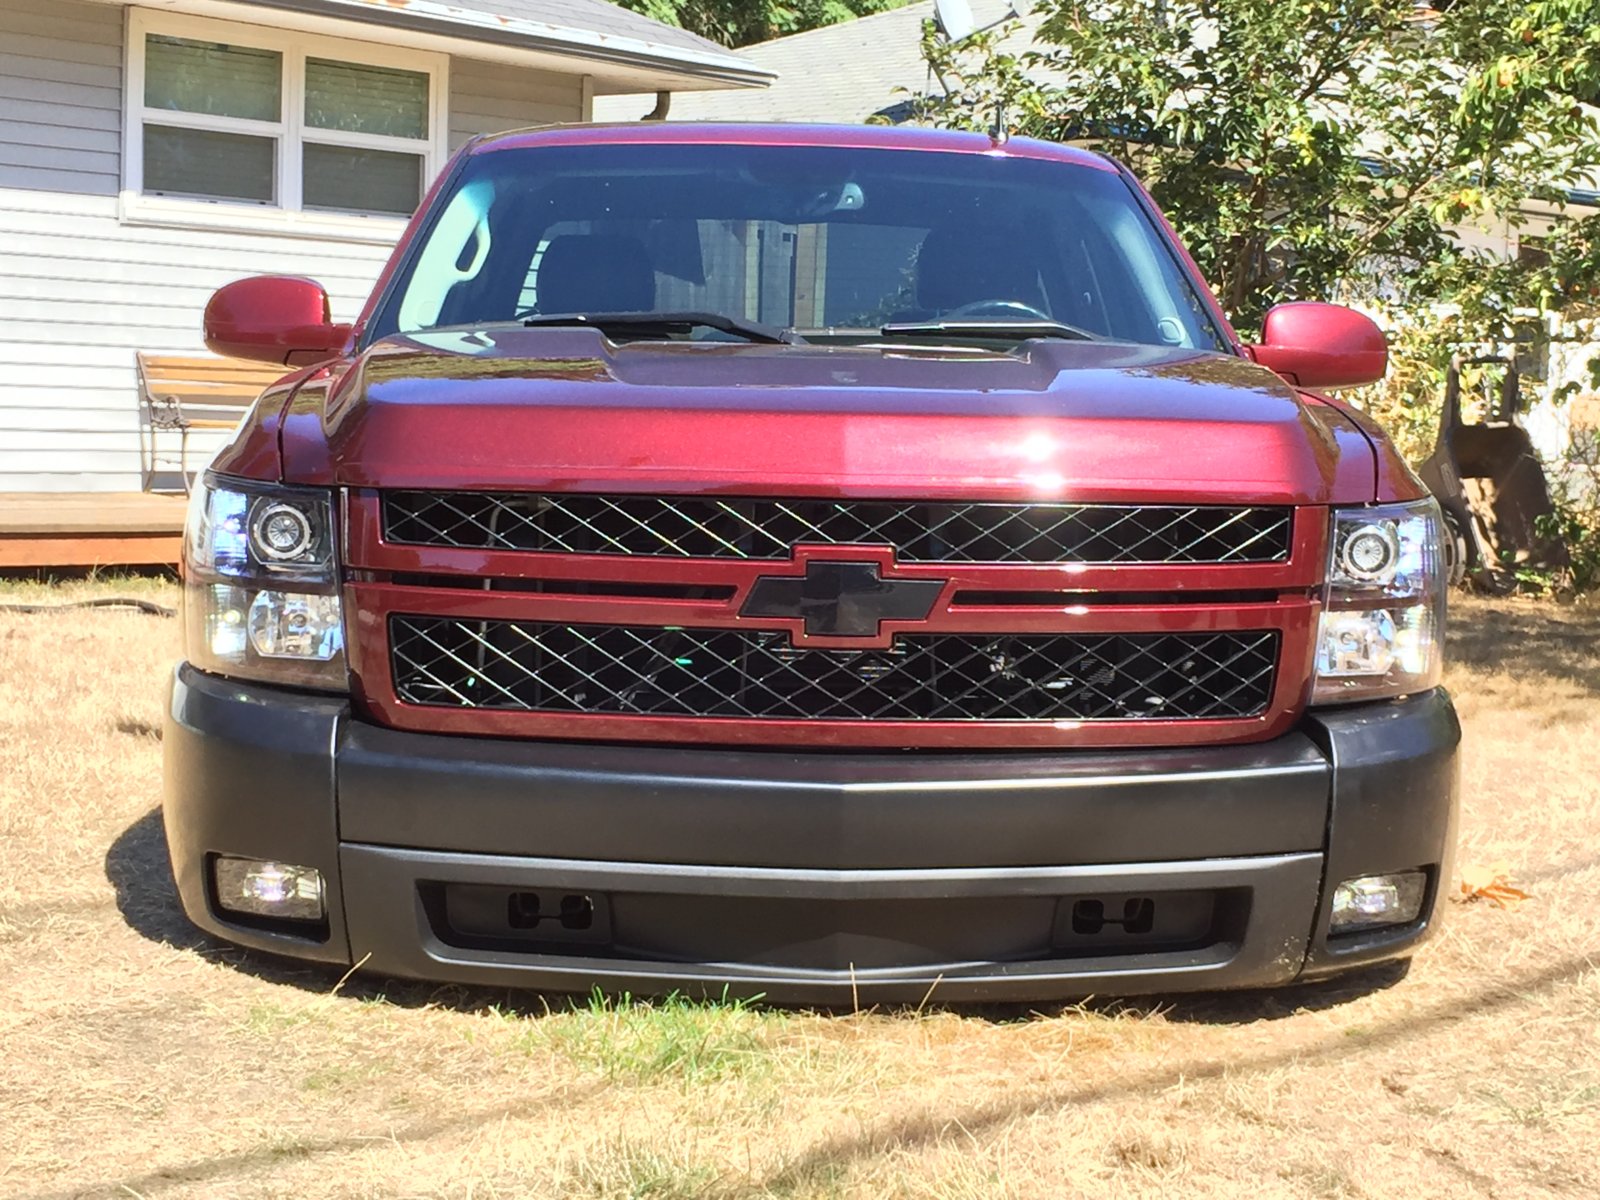
OP
OP
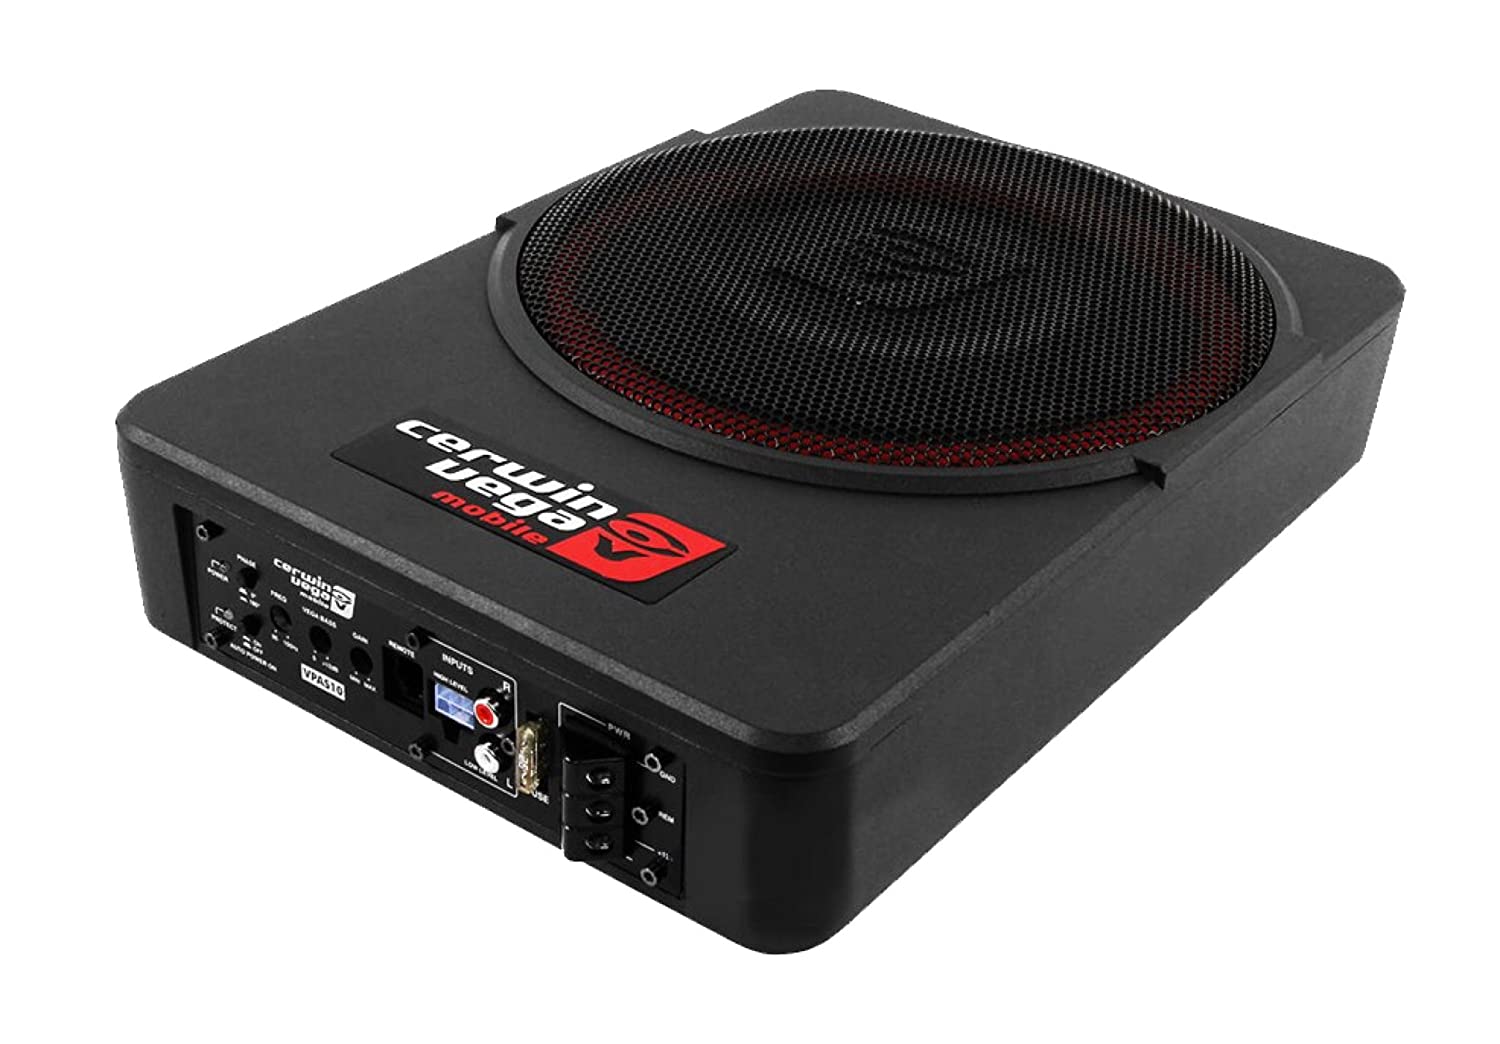
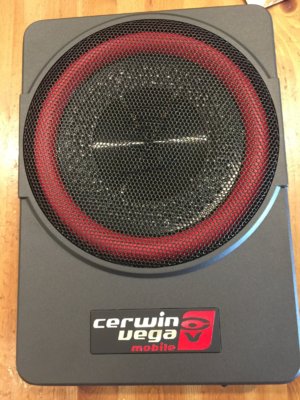
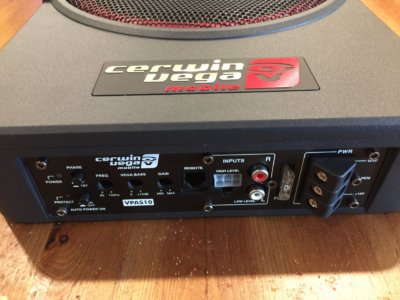
I decided to quit messing around and ordered a Cerwin-Vega powered sub for under the driver seat. I don't want to spend $600 for the JL Stealthbox and then more for an amp and end up with a carpeted center seat that my dog would have messed up in no time, or mess with building something. I don't need super bass in this truck, just something better than what it has. The CV has the best reviews on Amazon for a powered sub that fits under my seat. For less than $200 I figure it's worth a shot. It is a 10" with 200 watts RMS and freq response of 30-150 hz which is better than most of them and it has an aluminum chassis and remote level control.
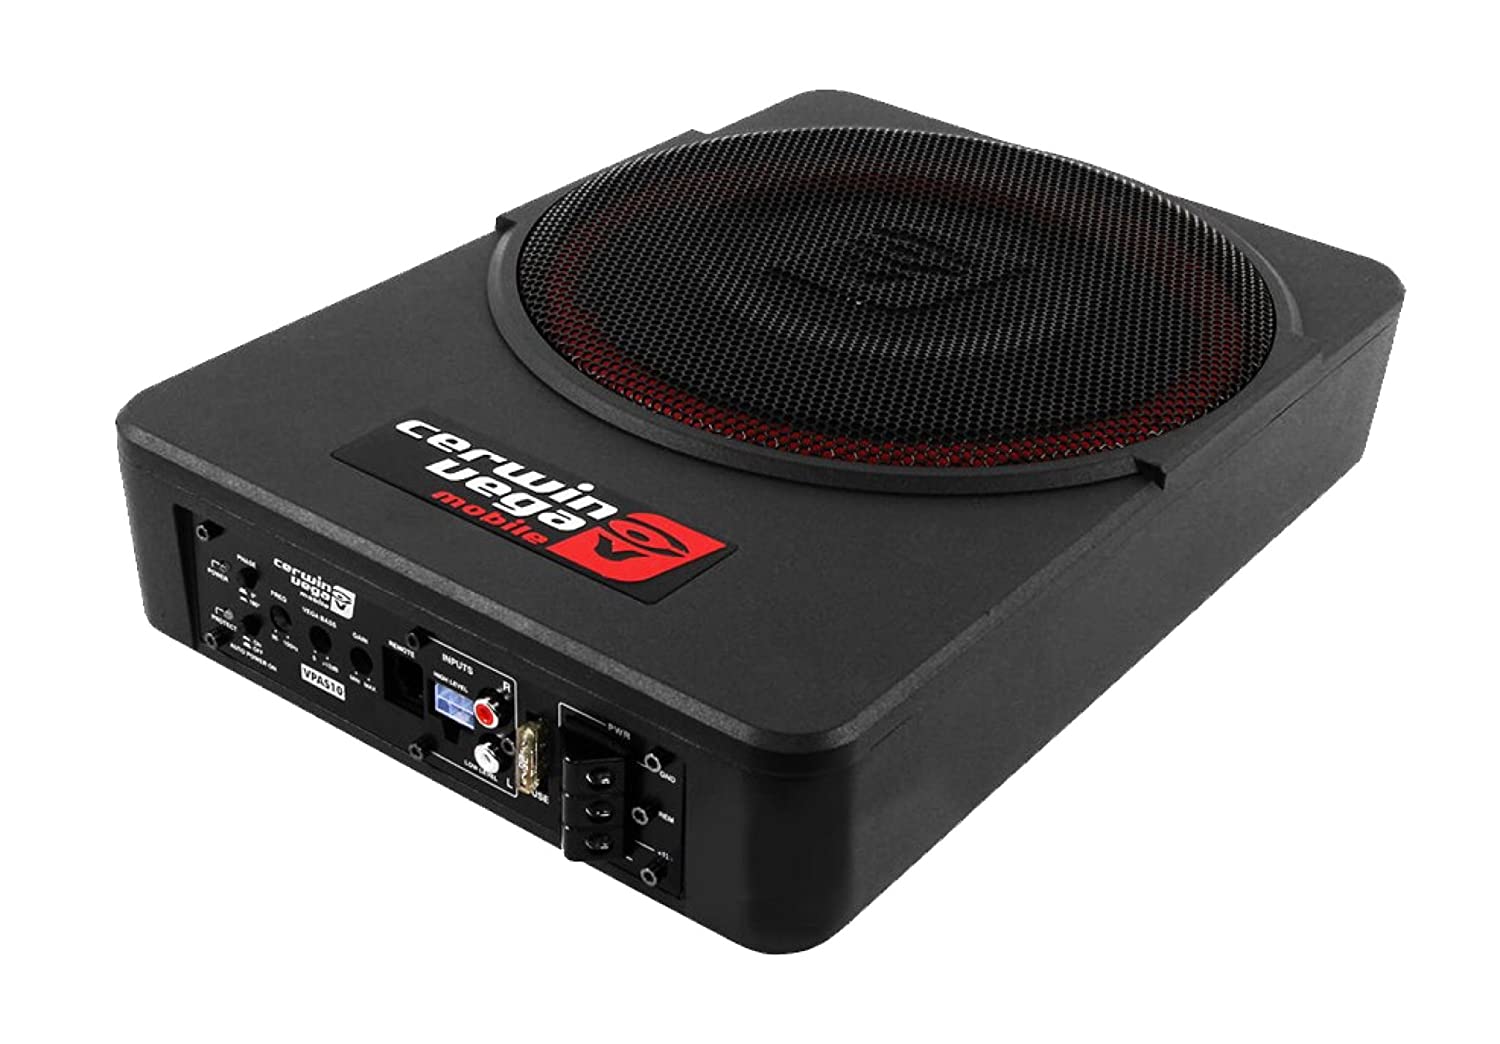

iamdub
Full Access Member
Gaps in the front look great! Aligning panels and trim gets to be tedious and makes you wanna leave it "good enough", but then it'll always bother you. Props for toughing it out.
95escahoe
Full Access Member
- Joined
- Aug 2, 2010
- Posts
- 5,162
- Reaction score
- 4,466
I took it back apart and added the brackets for the braces that mount further back on the frame, the fog light brackets and the fog lights, and mounted it up so I could finalize all the adjustments and tighten down the brackets and braces so now it mounts up to the truck easily and when I do, it’s all lined up. Now for paint and to see if that dent can be fixed or if I need a new bumper bar.View attachment 206495
That new bumper looks killer
Sent from my iPhone using Tapatalk
What if you use a curved light bar, not hidden obviously, and use the holes for tow hooks and make brackets. Im not sure you even want it? will it stick out too far? Is it curved enough? Do you care? Am i here?are we all here? And, who are these people??????? Lol kidding... just ideas Red....
OP
OP
I’m done with that big ass light bar lol. I was just trying to fill a hole my man...and yes you’re free to comment on that line!
OP
OP
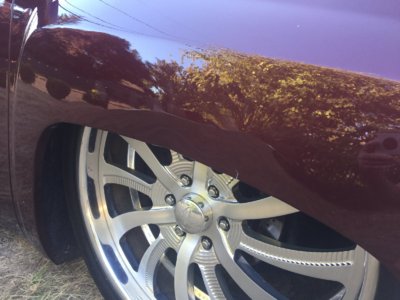
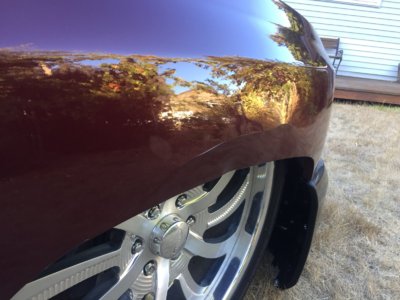
Well I was going to need to replace my front fenders sooner or later because the PO had bent the lips back and forth enough times that when I turned the tires too far after I bought it and bent the passenger side one more time, it broke at the bend. I had tried to epoxy the lip back to the inside of the fender but that had failed a few weeks ago and the fender was real weak. Tonight when I went out to dinner, in a parking lot I felt the tire grab it. It folded like a bad poker hand. It's probably for the best that it happened now since the front bumper needs paint anyway and he'll have an easier time matching everything I hope. I still need to figure out how to roll the fender so it has more clearance.



I decided to quit messing around and ordered a Cerwin-Vega powered sub for under the driver seat. I don't want to spend $600 for the JL Stealthbox and then more for an amp and end up with a carpeted center seat that my dog would have messed up in no time, or mess with building something. I don't need super bass in this truck, just something better than what it has. The CV has the best reviews on Amazon for a powered sub that fits under my seat. For less than $200 I figure it's worth a shot. It is a 10" with 200 watts RMS and freq response of 30-150 hz which is better than most of them and it has an aluminum chassis and remote level control.
Had it in my Acura, for about a week... None of those give decent low bass, only mid bass
OP
OP
That’s fine. I figured as much since there’s no interior volume.Had it in my Acura, for about a week... None of those give decent low bass, only mid bass
OP
OP
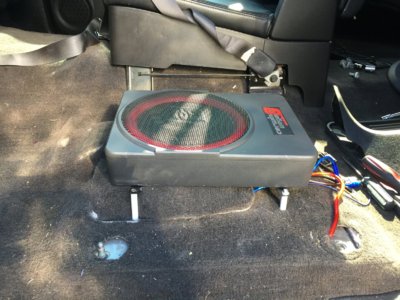
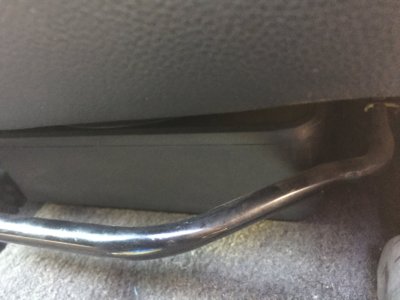
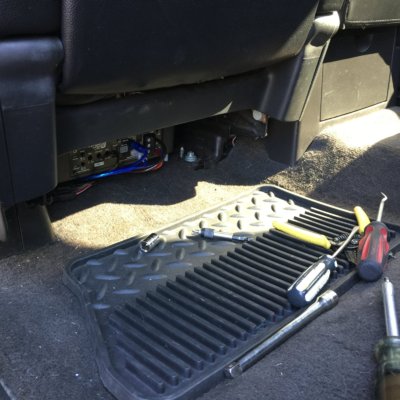
I got the sub installed today. It's not bad for how compact it is; I think it's good enough. It's not like I can be blasting all the time in this truck: I need to hear what's going on a lot of the time. I had to cut some custom-length spacers in order to mount it over the top of the HVAC vent and it had to go in just the right spot to clear the bars under the seat but it fits and has about an inch of clearance over the top.
[
[
OP
OP
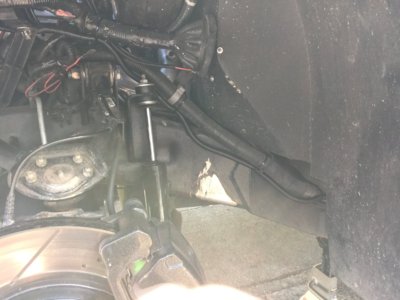
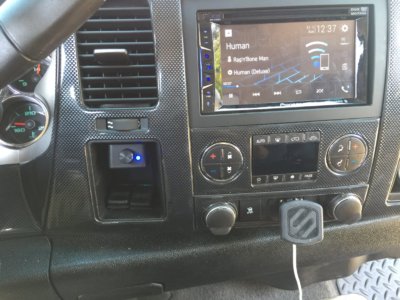
I can get to the adjustments on the amp pretty easy. Main power was run through the floorboard in an existing grommet and along the frame inside of split loom so it looks factory. Sub level control is mounted in the cubby with my air switches. I still haven't dialed it in yet because my fenders came in today, which happens to be my birthday. So I spent time working on those today too.
Similar threads

- Replies
- 35
- Views
- 912


