Rocket Man's 2008 Bagged CC Silverado Build AKA "THE MACHINE"

Disclaimer: Links on this page pointing to Amazon, eBay and other sites may include affiliate code. If you click them and make a purchase, we may earn a small commission.

OP
OP
Rocket Man

Rocket Man

Mark
Supporting Member
Joined
Dec 25, 2014
Posts
26,679
Reaction score
52,954
Location
Oregon
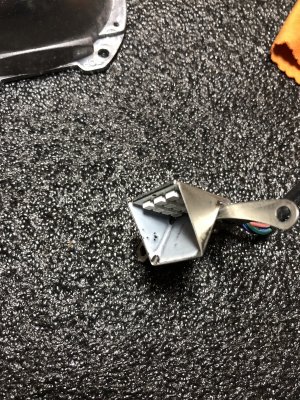
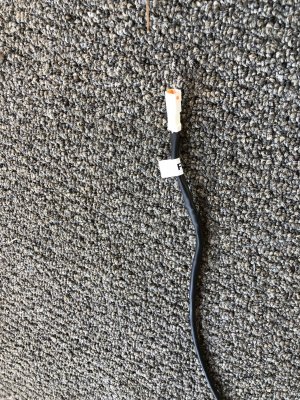
One of these little demon eyes failing caused me to totally rebuild my headlights.
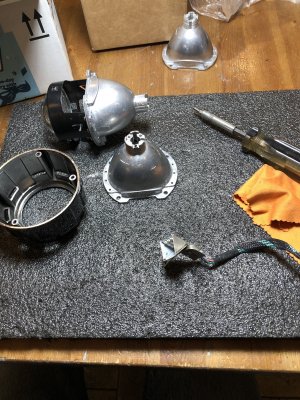
image.jpg image.jpg
 
OP
OP
Rocket Man

Rocket Man

Mark
Supporting Member
Joined
Dec 25, 2014
Posts
26,679
Reaction score
52,954
Location
Oregon
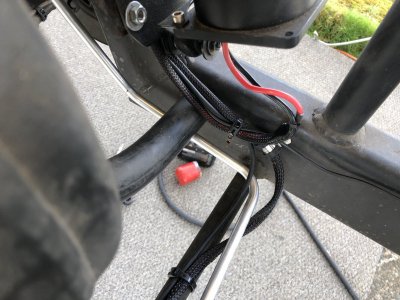
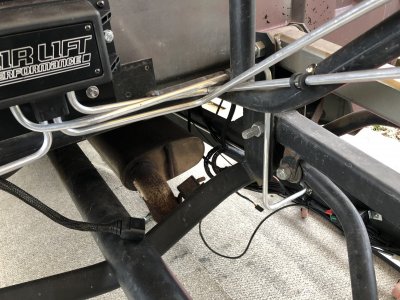
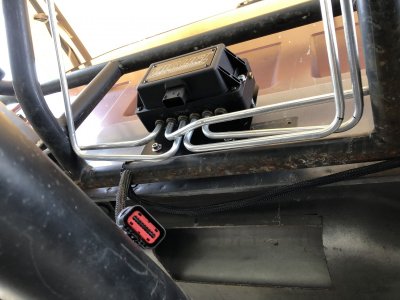
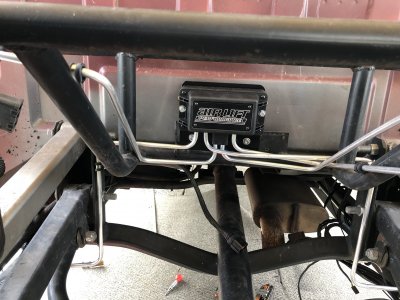
Trying to keep everything as clean as possible. There’s a lot of stuff between wiring, relays, air lines, filter, etc. I am shortening or lengthening the harnesses as needed using soldering and heat shrink so there isn’t a bunch of extra wire anywhere.

C070A4E7-79C3-4424-B6BA-573E9CBFBEC9.jpeg B6F136F0-3085-4D29-9625-B459FFCC421A.jpeg 512BA1EC-BAD9-4273-B371-67BA8F77A8C9.jpeg
 
OP
OP
Rocket Man

Rocket Man

Mark
Supporting Member
Joined
Dec 25, 2014
Posts
26,679
Reaction score
52,954
Location
Oregon
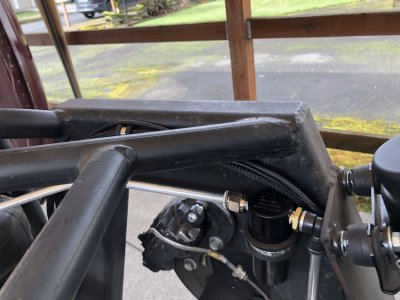
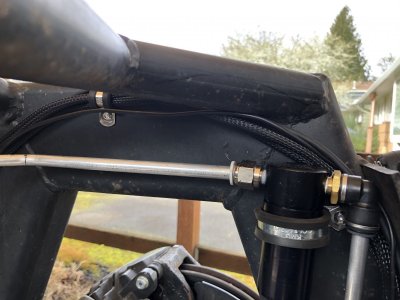
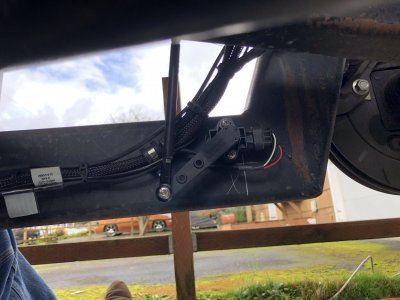
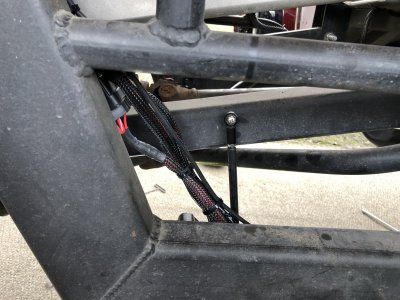
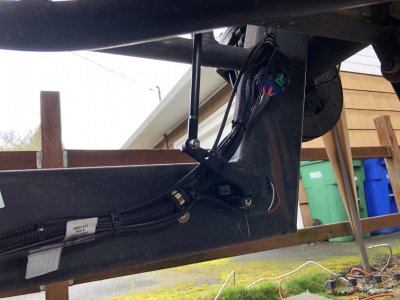
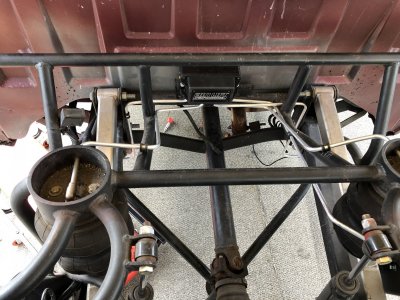
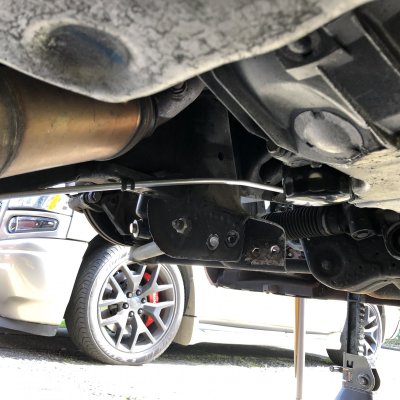
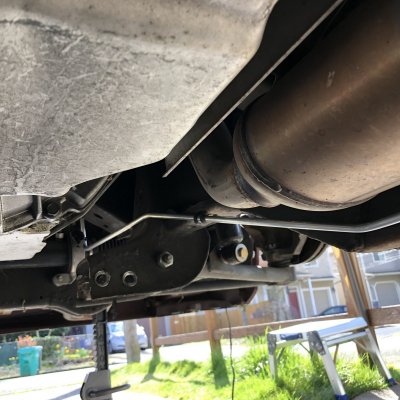
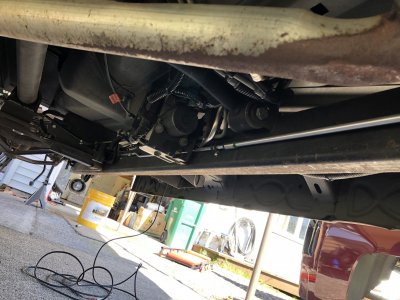
The rear is complete- hard lines, sensors, harnesses, compressors, filter, etc. Here’s the rear height sensors with the suspension fully aired out and fully aired up. The arms look close to the bottom of the frame in the one pic but that’s when it’s aired all the way up ( which I only do when jacking it up) so the frame is way off the ground at that point, and when it’s laid out and the frame is on the ground, the arms are at the upper position.

6BF665E7-84AE-4DB0-B986-3710F19F19AA.jpeg ADCE7771-A70D-4EC7-A0A7-21D7E21A0542.jpeg 0DCC8D94-37FA-4CA6-940C-71A77AE32D56.jpeg
 
OP
OP
Rocket Man

Rocket Man

Mark
Supporting Member
Joined
Dec 25, 2014
Posts
26,679
Reaction score
52,954
Location
Oregon
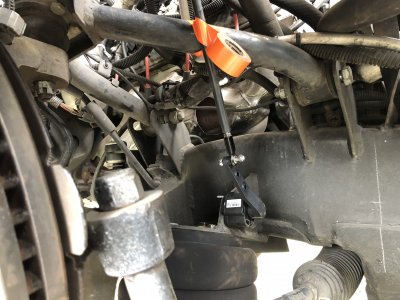
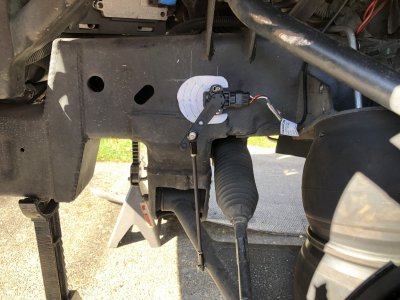
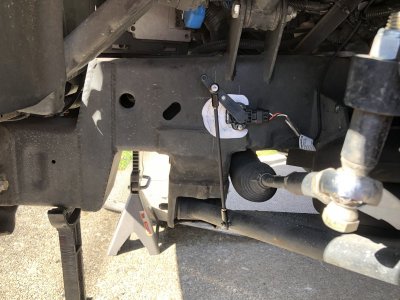
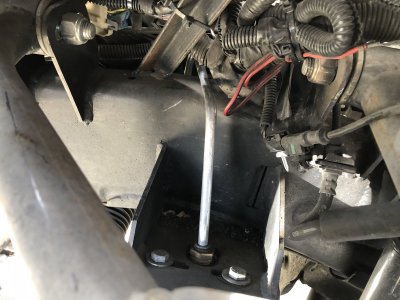
Front sensor mockup. I worked quite awhile before I came up with a location that didn’t interfere with the steering or bags and was outboard far enough that there was enough travel to be accurate. This is the spot. I ordered some clamps that will go around the control arms that I can mount the rod to, Amazon will deliver them tomorrow. I’m gonna sleep on it tonight just in case I’m forgetting something before final mounting and adjusting tomorrow.

515C12D7-E7FC-4602-A269-227E94523B9F.jpeg
 
OP
OP
Rocket Man

Rocket Man

Mark
Supporting Member
Joined
Dec 25, 2014
Posts
26,679
Reaction score
52,954
Location
Oregon
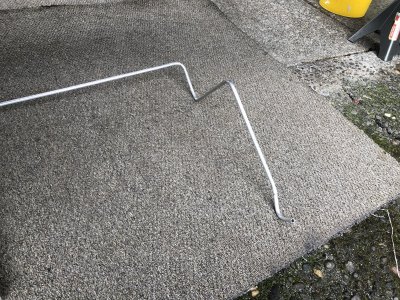
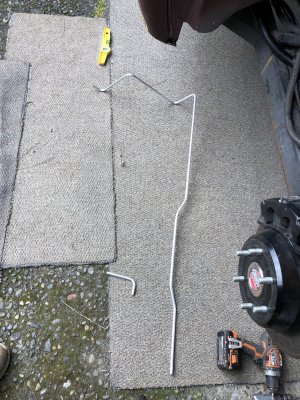
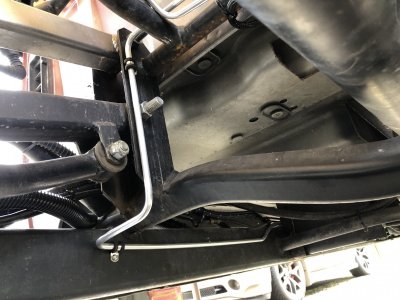
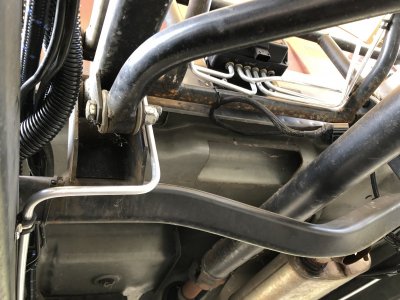
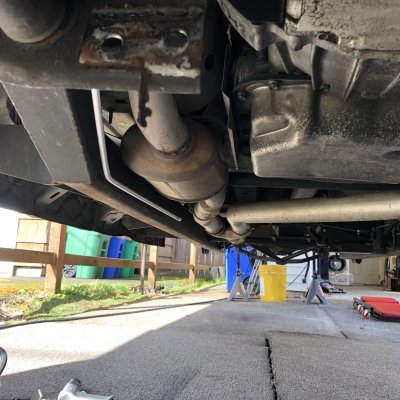
The one on the driver side was definitely the hardest yet. It had to go around the charcoal canister but the worst part was just getting it into place after I got it bent into shape.

4BFBE3F2-E0C8-49B7-9533-DCB014DF7A83.jpeg 4644DFA2-C4F3-479B-B4FC-068B3CB644B1.jpeg C036B215-6BA1-4E02-A634-7D26AA14F56B.jpeg EA841687-F11C-4C6F-BC3C-20B5B236BFB2.jpeg FEDCBA6E-DE3D-4B21-A402-0CDF35770428.jpeg
 

wjburken

Elite Member
Supporting Member
Joined
Dec 26, 2017
Posts
10,315
Reaction score
29,545
Location
Eastern Iowa
The one on the driver side was definitely the hardest yet. It had to go around the charcoal canister but the worst part was just getting it into place after I got it bent into shape.

View attachment 241999 View attachment 242000 View attachment 242001 View attachment 242002 View attachment 242003
Looking good!

Reminds me of the time I had to replace the brake line that ran to the rear on my 1976 Impala in the parking lot at college. Bought a number of lengths of pre-flared brake line and a cheap tune bender.
 
OP
OP
Rocket Man

Rocket Man

Mark
Supporting Member
Joined
Dec 25, 2014
Posts
26,679
Reaction score
52,954
Location
Oregon
Thanks guys. I won’t lie- the front sections were a challenge too. The way they had to wrap up over the frame and then follow the angles underneath made it difficult to route and bend, and then getting them in place was almost impossible. And now all I have is the middle sections which I found out I needed since (2) 6’ pieces on each side wasn’t quite enough. Those are simple pieces which I can’t do today because I ran out of tube. If I hadn’t made a couple mistakes I would have had enough. I already have it set for will call tomorrow morning. I will still have less connections than originally.

F4F3E02A-FF1B-4241-9D81-00B458A06872.jpeg 38F1B517-0288-40C1-A3C7-F8B30E4C675A.jpeg 71A88CB0-6358-4594-8D6B-D1BA8BBB2534.jpeg F1C9A3A7-982D-4185-A780-1F9749D2637E.jpeg
 
OP
OP
Rocket Man

Rocket Man

Mark
Supporting Member
Joined
Dec 25, 2014
Posts
26,679
Reaction score
52,954
Location
Oregon
I finished the front hard lines today and mounted the height sensors. Then I finalized the install of the front right or so I thought. I decided to hook the system up and check for leaks and things got complicated and went a bit sideways. First, the system wouldn’t fire up. I thought my add-a-circuit in the fuse box was defective because I had it connected to the fuel pump fuse and I knew that fuse worked because I pulled it to work on the fuel line and it shut off the pump. But I checked for power on the lead going to the manifold and nothing. So I cut that thing off and used the copper thing that wraps around a leg of the fuse and tried again- nothing. Then I checked for power at the fuel pump fuse and....no power. WTF? I’m thinking it fuses the ground circuit? Anyway I hooked to the ECU switched fuse and bam. Then I started calibration of the system and the LR bag wouldn’t hold air. I swapped out the line for a plastic one and started calibration. Twice the compressors quit working, error message said they “froze” wtf. Anyway I downloaded a firmware update and re calibrated and while it was looking for leaks on the front I checked the bags for clearance to the sensors while they had 160 lbs in them and that’s when I noticed the control arms had moved waaaaay farther than I had anticipated and the sensor was so far out of range I’m surprised it wasn’t broken. Seems the diff makes the rear hand at the limit of travel but the fronts had nothing hanging from them and even though I had pulled down on them it wasn’t enough to simulate full travel. Hopefully I can find some allthread in the right thread pitch ( probably metric) and also didn’t mess up the sensor. I will redo those. I reinstalled the LR hard line, it needed a slight bend where it entered the bag in order to slide in right. I did get the system calibrated without height sensors so that’s a plus and the compressors seem to be working right so some good some not so good.

26FE4E33-9386-4994-A8A6-023E5367A8DC.jpeg C7278458-DA3D-4027-8FF0-9778FC952A12.jpeg 0CC36BC4-0CF2-40DC-BAC5-F1AF022D55FC.jpeg D938A13B-4412-471C-B8C1-EBA832273E25.jpeg
 

HiHoeSilver

Away!
Joined
Feb 28, 2017
Posts
10,918
Reaction score
14,578
Location
Chicago
OP
OP
Rocket Man

Rocket Man

Mark
Supporting Member
Joined
Dec 25, 2014
Posts
26,679
Reaction score
52,954
Location
Oregon
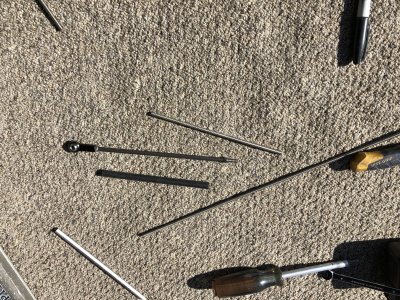
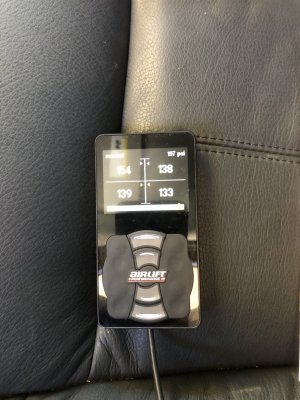
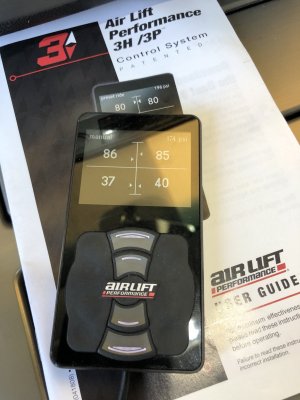
Well well. Today I got everything finalized for the most part. I reinstalled the front sensors where I was pretty sure they would work now that I could inflate the bags and fully cycle the suspension. Then I put the wheels on, dropped it on the ground, and discovered the LR line was leaking bad at the manifold instead of the bag this time. I was hell bent on checking the height sensors so I just let it leak while the system performed checks which took forever since it kept waiting for the pressure to build in the tank. I had to cut some of the linkages and lengthen others by adjusting the all thread in the end pieces. ( I did find stainless all thread this morning) I did finally get them all within range at full up and laid out. I used a piece of plastic tubing after that instead of the hard line and it looks like I need to re bend a line. Then I spent a couple hours messing with setting the system up. Here’s a video of the first attempt at setting a ride height preset. I’m using the height sensors to do this right now. The thing seems possessed but it does settle into my preset after a minute. I will have to adjust the front up another inch but it was cool getting this far. This is using my phone for a controller. After it settles I am messing with front up/ down and rear up/down. I like having control of all 4 corners and seeing the tank pressure.
 
OP
OP
Rocket Man

Rocket Man

Mark
Supporting Member
Joined
Dec 25, 2014
Posts
26,679
Reaction score
52,954
Location
Oregon
I ordered new bags for the rear last night. I figured that since the bed has to come off to replace them and the fact Amazon had them for $120 Prime 2 day, it was a good idea to go ahead. It turns out they’re Airlift Dominator 2500’s. I don’t want to pull this bed again for a long time. I looked into a bigger fuel cell too but I need one 28w, 18d and 10h in order to step up from 15 to 20 gallons. All the 20’s are a different size unless I have one built. Maybe later, it can be done with the bed on anyway. The other thing I was thinking of was to repaint the frame rails at least in the areas that can be seen through the wheel wells. I would like to repaint the whole thing back there but that’s a lot of work. Who knows, maybe. Polish the fuel cell? Hmmm.
 

Bear77

Full Access Member
Joined
Aug 9, 2017
Posts
557
Reaction score
756
Location
South FL
I The other thing I was thinking of was to repaint the frame rails at least in the areas that can be seen through the wheel wells. I would like to repaint the whole thing back there but that’s a lot of work.

Might as well go ahead and paint it while you have the bed off. Besides, you’ve got a couple days while you wait for the rear bags to come in! ;)


Sent from my iPhone using Tapatalk
 

Forum statistics

Threads
138,095
Posts
1,998,842
Members
103,017
Latest member
enigmaspeed27
Back
Top