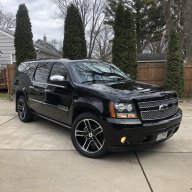
Rocket Man's 2008 Bagged CC Silverado Build AKA "THE MACHINE"

Disclaimer: Links on this page pointing to Amazon, eBay and other sites may include affiliate code. If you click them and make a purchase, we may earn a small commission.

Sam Harris

Elite Member
Supporting Member
Joined
Sep 26, 2018
Posts
7,445
Reaction score
14,977
Location
Texas
I’m absolutely amazed that with the craftsmanship that went into the frame, such lazy, careless, and idiotic measures were taken on seemingly every other aspect of the build! [emoji35]

 
OP
OP
Rocket Man

Rocket Man

Mark
Supporting Member
Joined
Dec 25, 2014
Posts
26,679
Reaction score
52,954
Location
Oregon
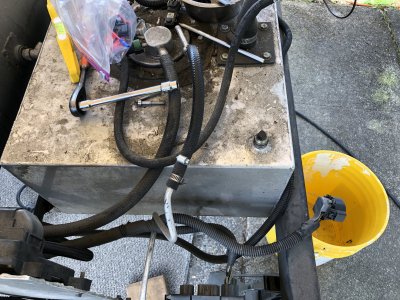
I got some stuff done today. I mean, I worked on it all day, just seems not much got done. A lot of it was planning and more tearing stuff apart. I had to move the manifold a bit because I realized when the rear suspension was fully tucked it was hitting the harness. I also decided the aluminum fuel line had to go. It was ugly and visible in the wheel well and went from hard line to rubber hose using some of my least favorite clamps. I ordered 6AN black braided line with quick connects.

914BF715-E922-4425-AF24-0C9AB39FCABD.jpeg F724B736-6B94-4AAE-80F1-2181D82E718A.jpeg
 
OP
OP
Rocket Man

Rocket Man

Mark
Supporting Member
Joined
Dec 25, 2014
Posts
26,679
Reaction score
52,954
Location
Oregon
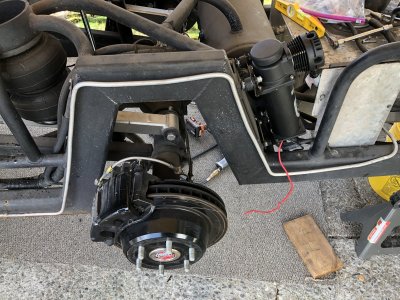
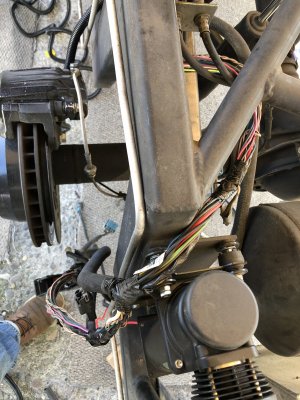
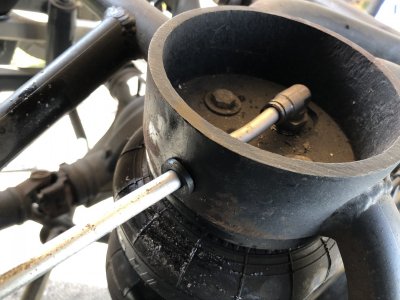
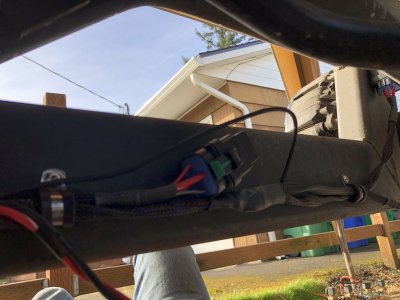
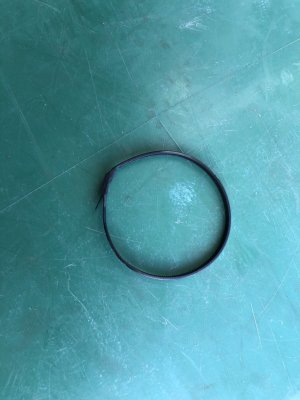
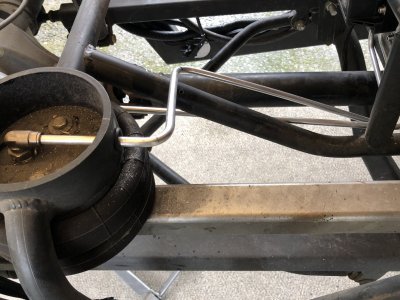
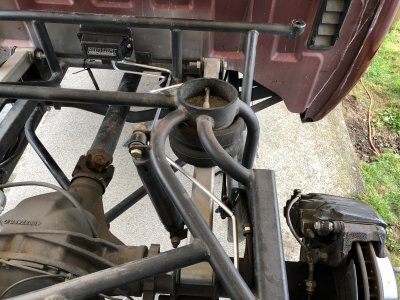
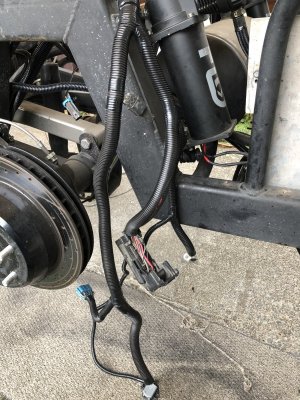
I ran the wiring harness to the front along the frame and connected power and ground. Amazon showed up and delivered about 10 items, mostly install stuff and the extra compressor harness so that got installed and ran to the front along with the other harness. I got some cool types of zip ties that I discovered when doing my Harley wiring. I’m using 10-24 stainless button head screws and rubber coated clamps to attach everything to the frame so it does take more time to drill and tap. I tore all the split loom off the stock wiring harnesses in the rear because they were all messed up and started re-looming them but decided I needed some 1” and the kit I ordered had 3 sizes but no 1”. I also figured out the locations where the ride height sensors will work at all 4 corners. I won’t need to make any brackets it looks like. I need to finalize the exact locations but I’m happy there are places to mount them that provide acceptable travel and angle dimensions. I also drilled the rear bag towers and found suitable grommets so the air lines can come through them instead of over them so there’s no pinching or terrible bends in the line. Tomorrow my hard line is due in at Grainger so I’ll pick that up and start on that.

931AD534-0917-459F-8AB9-77E3FD5C6BB2.jpeg F9E564E3-4AA4-4FD7-A88B-BDF61D4C7E56.jpeg EE0C52E3-0392-488C-953B-7CDCF1CAEC72.jpeg 8206454C-B5F4-496B-BEC5-062067E47364.jpeg
 
OP
OP
Rocket Man

Rocket Man

Mark
Supporting Member
Joined
Dec 25, 2014
Posts
26,679
Reaction score
52,954
Location
Oregon
Was wondering why it wasn’t done like this to begin with


Sent from my iPhone using Tapatalk

I’m not sure what happened on the last parts of the build. I do know the truck was at All Star Customs in Houston for nearly a year being built. The PO was probably on their ass towards the end of it so who knows. I mean, the entire truck was dismantled to build a frame and then put back together. Probably just got behind on their projects and then got in a hurry, had to get it out the door.
 

Tonyrodz

Resident Resident
Joined
Feb 16, 2012
Posts
33,337
Reaction score
51,822
Location
Central Jersey
I’m not sure what happened on the last parts of the build. I do know the truck was at All Star Customs in Houston for nearly a year being built. The PO was probably on their ass towards the end of it so who knows. I mean, the entire truck was dismantled to build a frame and then put back together. Probably just got behind on their projects and then got in a hurry, had to get it out the door.
Exact reason why I don't like rushing people to finish something.
 
OP
OP
Rocket Man

Rocket Man

Mark
Supporting Member
Joined
Dec 25, 2014
Posts
26,679
Reaction score
52,954
Location
Oregon
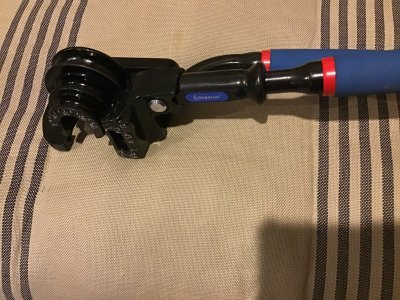
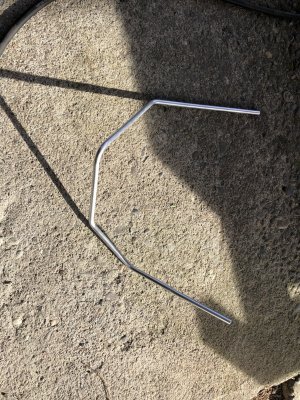
I picked up my $150 worth of 3/8” aluminum tubing and after an hour and half managed to bend one of the easier ones into a shape that closely resembled what I wanted. It’s from the tank to the filter. It took me 2 tries and it’s still not perfect. I’m seriously considering going with the plastic lines, that tubing bender I spent $45 on is confusing the hell out of me and making this not fun. At all.

9D3075DF-174E-467F-A5F7-E04D9FD67532.jpeg F924FB59-0A38-4B6C-AE9B-9C6698C27641.jpeg
 

Tonyrodz

Resident Resident
Joined
Feb 16, 2012
Posts
33,337
Reaction score
51,822
Location
Central Jersey
I picked up my $150 worth of 3/8” aluminum tubing and after an hour and half managed to bend one of the easier ones into a shape that closely resembled what I wanted. It’s from the tank to the filter. It took me 2 tries and it’s still not perfect. I’m seriously considering going with the plastic lines, that tubing bender I spent $45 on is confusing the hell out of me and making this not fun. At all.

View attachment 241801 View attachment 241802
I've heard of guys using coat hangers for the bends, then transferring the bends from the hangers to the metal fuel lines.
 
OP
OP
Rocket Man

Rocket Man

Mark
Supporting Member
Joined
Dec 25, 2014
Posts
26,679
Reaction score
52,954
Location
Oregon
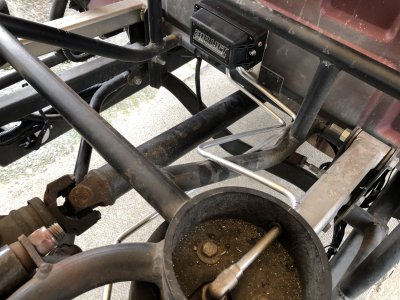
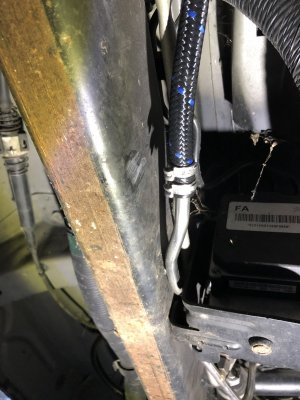
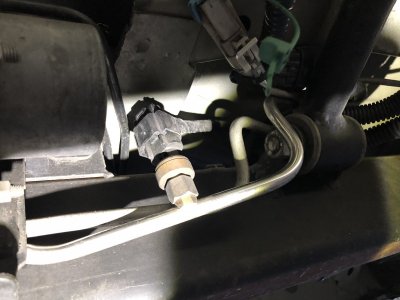
I haven’t given up on the hard lines, that’s a good idea Tony. I think the bender I have is for advanced users lol. I did get one of the rear height sensors installed, I just need to do the final mounting and adjustments. I can just copy it on the other side. And since I didn’t feel like I got enough done today, at 3:00 I decided to make the fuel line and install it. I figured it should take an hour or so. :) So I disconnected it from the fuel rail and it was already cut off at the tank so I started removing it from the rear forward. I got up to around the trans and started to cut it with side cutters but it wasn’t aluminum anymore and I couldn’t snip it, and then right ahead of that found some electrical device attached. Oh shit.. I was planning on just installing AN fittings with quick connects at each end but obviously that wasn’t going to work, but luckily the spot I tried to cut it wasn’t too close to that device that I couldn’t connect to the line there. I remembered that 1/2” PEX clamps are perfect for this hose size. I tested it on a scrap piece of tube and it was unbelievably tight so I used 2 of them just to be sure. I tried to start the truck and nothing, didn’t hear the fuel pump run. Then I remembered the fuel pump module was unplugged. All is good, no leaks.
FF91E008-7945-4E3C-9F9A-118C2D3096FB.jpeg 034CD85B-2597-4058-B3B9-3B18532D2E4A.jpeg
 

Bowzer

Full Access Member
Joined
Nov 8, 2015
Posts
113
Reaction score
173
Location
SoCal
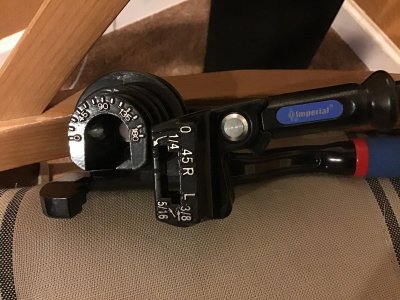
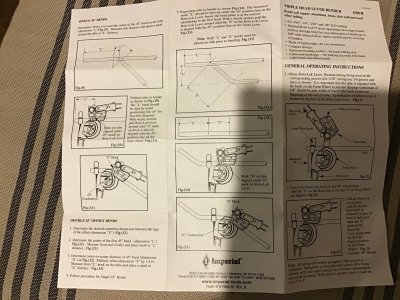
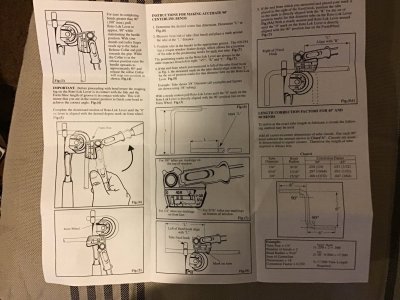
This Imperial one, recommended by guys who do this for a living. The instructions give me a headache lol.

View attachment 241824 View attachment 241825 View attachment 241826 View attachment 241827
Nice bender. Used these extensively for refrigeration and controls tubing. I suggest starting with 1/4” soft copper before moving on to more expensive materials. This is becoming a lost art especially with the obsolescence of pneumatic controls.

Truck is looking good too!
 
OP
OP
Rocket Man

Rocket Man

Mark
Supporting Member
Joined
Dec 25, 2014
Posts
26,679
Reaction score
52,954
Location
Oregon
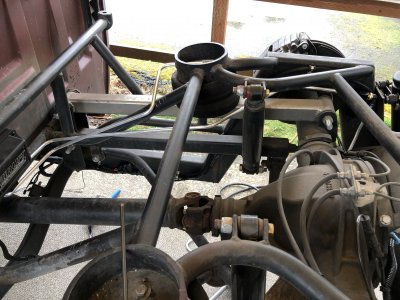
I finished up the tank to manifold line and did the right rear bag line. That one seemed simple but I kept getting the up/down angles backward so it took me 3 tries and 6’ of tube instead of 3’. The fronts are gonna be hard but I will be doing them in 2 pieces each since the 6’ tubes won’t reach anyway. That’s just one union each. I plan on working from each end to the center. I also re-loomed the entire rear stock wiring harness and remounted the manifold higher due to how far up the driveline comes when it’s fully aired out.
Edit: the lines still need clamps where they cross the frame, I’ll do those all at once.

88370D1F-170A-4DF5-9ED6-7C0007A3352A.jpeg 5E8EFDD0-56FB-4E9C-8E71-8B0407B51197.jpeg 33037FD1-DC0E-4B15-A688-5655FA2F9DC9.jpeg 1F91B3E7-D726-4258-BEEA-4D10E33FDD8F.jpeg 7236046D-5882-4A07-BD5B-D74D066666F3.jpeg
 
OP
OP
Rocket Man

Rocket Man

Mark
Supporting Member
Joined
Dec 25, 2014
Posts
26,679
Reaction score
52,954
Location
Oregon
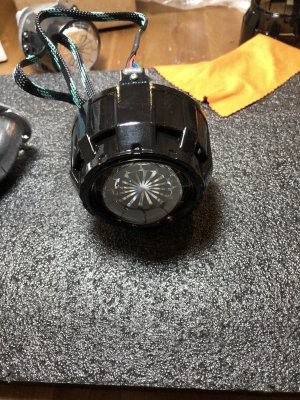
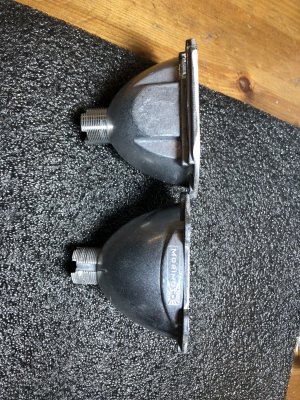
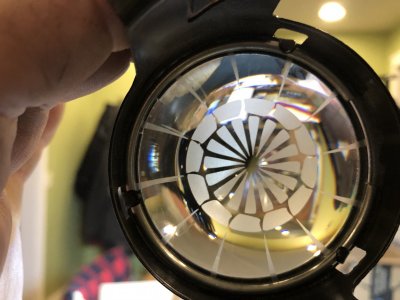
The new mh1 reflect bowls arrived yesterday and even though I asked the rep twice on the phone when I ordered them if they included the big hex nuts to mount them with since he told me I’d need to cut those off with a Dremel, they didn’t come with them. These took 8 days to arrive even with 2 day priority mail so I’m pretty unhappy and luckily they were closed when I tried to call, so I sent them an email. Good thing this isn’t my DD. Anyway I find it strange these don’t say Morimoto like the originals. Maybe they’re knockoffs? They look good though and I’m liking the shrouds in black. And here’s a look through the etched lens from the back side.

56A84392-5618-4509-B11A-C30F0CC29632.jpeg 64740070-FA62-4CBB-98D6-C863AD2522B9.jpeg image.jpg
 

Forum statistics

Threads
138,093
Posts
1,998,782
Members
103,016
Latest member
BadDaddy2003
Back
Top