You are using an out of date browser. It may not display this or other websites correctly.
You should upgrade or use an alternative browser.
You should upgrade or use an alternative browser.
I’m back with an Esky this time
- Thread starter Snowbound
- Start date
Disclaimer: Links on this page pointing to Amazon, eBay and other sites may include affiliate code. If you click them and make a purchase, we may earn a small commission.
Snowbound
Jim
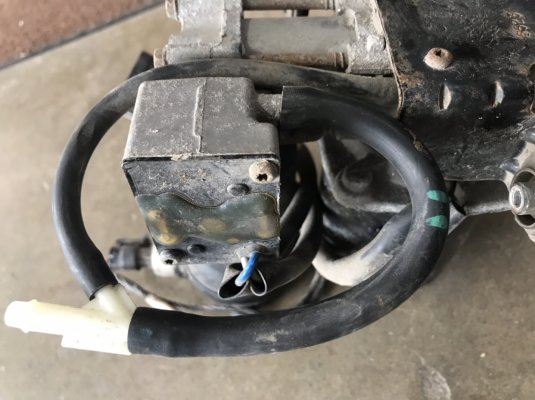
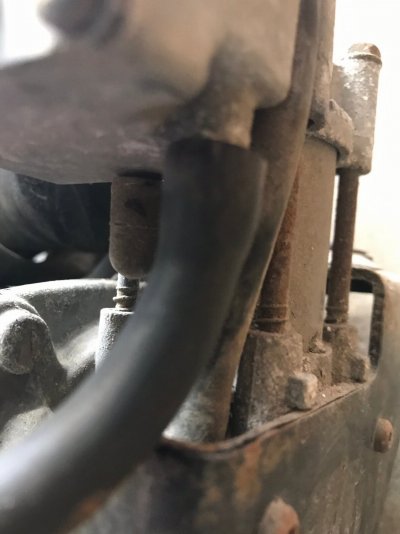
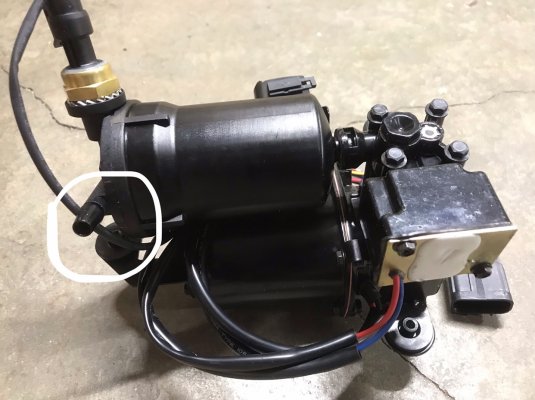
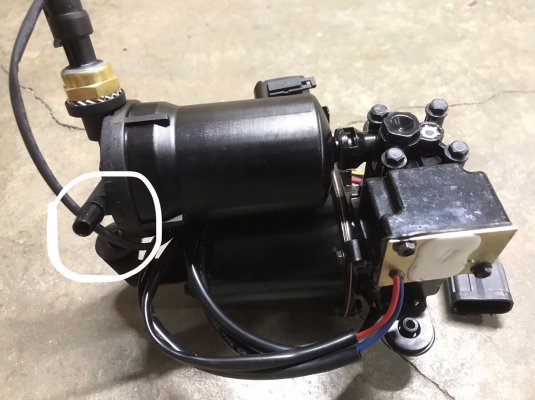
then all you need to do is mount the pump, plug in the harness, then connect the airline hose to that nipple.
when you put the shocks on be sure to not accidentally disconnect the abs harness, the connector site right on top of the frame on each side where the top shock bolts go thru
Snowbound
Jim
then all you need to do is mount the pump, plug in the harness, then connect the airline hose to that nipple.
when you put the shocks on be sure to not accidentally disconnect the abs harness, the connector site right on top of the frame on each side where the top shock bolts go thru
Funny you say that about the wheel speed sensor because I did just that. Forgot to plug it back in and got service stabilitrac, service traction control and an ABS light and then realized what I did.
Stupid secondary lock stuck on the spare tire. I hate them things. Wasn’t as bad as my truck but still had to get up there with some channel locks to manually compress the lock.
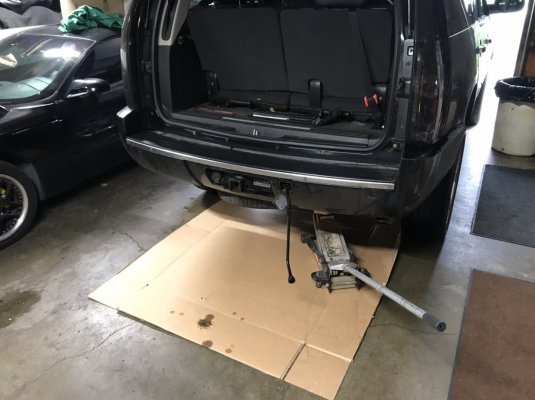
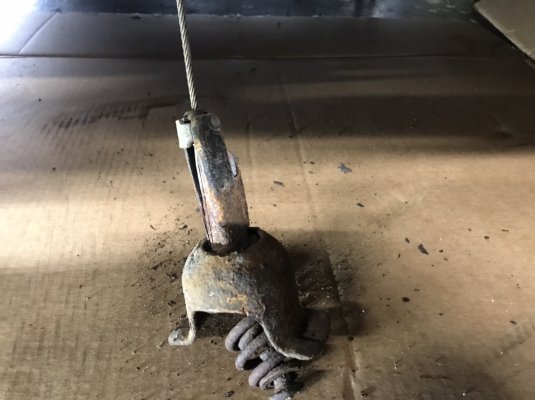
I cleaned it up and got some anti-seize in there before I put it back up.
Rear shocks went on without issue.
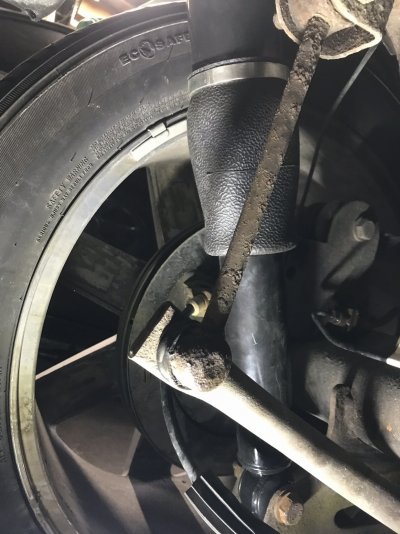
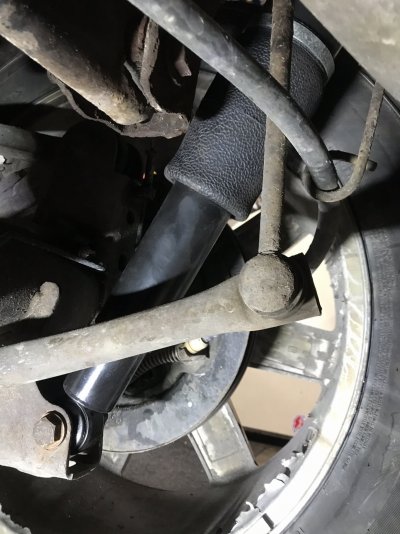
Pump went on and I left the Y off and ran intake hose directly to compressor.

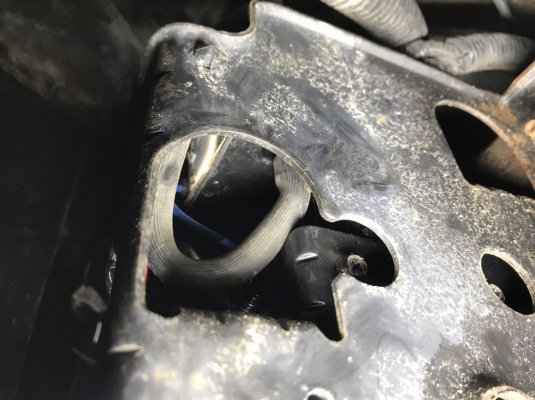
Before I put spare back up I had to address the suspension control module. It came loose from its bracket and was just sitting on top of the crossmember.

The rivets corroded and this bracket looks like complete crap.

I didn’t have time to give it the sandblast and POR treatment so I cleaned it up with a wire wheel, drilled out what was left of the rivets, used a 3M pad on a die grinder and cleaned to shiny metal where the module is riveted to the bracket and reattached with new rivets.

After everything was back together, and after I noticed I had forgotten the wheel speed sensor and reconnected it, no compressor noise! Checked fuses and found a 40 amp J-case fuse was blown. (The square fuses under hood) Stole one from my truck and still nothing. Went to the relay and jumped the power in to the power out and compressor runs. Tested the relay and it clicks and makes contact when energized. So now I’m thinking this suspension control module has to be bad. Still have a few more tests to do and grounds to clean before I condemn the module and buy another. Them things are like $300 and I can’t trust buying a used one unless I get it for next to nothing just to try it. I’ll update when I find out more. I’m gonna be working 12 hrs both days this weekend so I’m not sure when I’ll get to it but it’s gonna happen sooner than later. I can’t stand that the system isn’t working.
Sent from my iPhone using Tapatalk
I have never had to compress the lock for the spare, I have always just lowered the cable enough to turn the bell part sideways and push it through the hole and it's off it only holds the spare on there by a little bit once the cable is loose enough it tilts and you can push it up and out. am I crazy? or will it not come off that way?
HiHoeSilver
Away!
I have never had to compress the lock for the spare, I have always just lowered the cable enough to turn the bell part sideways and push it through the hole and it's off it only holds the spare on there by a little bit once the cable is loose enough it tilts and you can push it up and out. am I crazy? or will it not come off that way?
Can't lower it enough if the secondary latch won't come out of the tube. I had to do exactly what Jim did. Channel locks and a big screwdriver to force it closed so it would drop. Stupid thing. I lubed it up, and got it moving again when I put it back up. If it sticks next time, I'm grinding that tooth off the side without a second thought.
Snowbound
Jim
Can't lower it enough if the secondary latch won't come out of the tube. I had to do exactly what Jim did. Channel locks and a big screwdriver to force it closed so it would drop. Stupid thing. I lubed it up, and got it moving again when I put it back up. If it sticks next time, I'm grinding that tooth off the side without a second thought.
Yep, exactly. The cable should lower the tire to the ground. I’m cutting mine off too if it happens again.
Sent from my iPhone using Tapatalk
Snowbound
Jim
On a side note, I did manage to get the axles mounted on trailer.
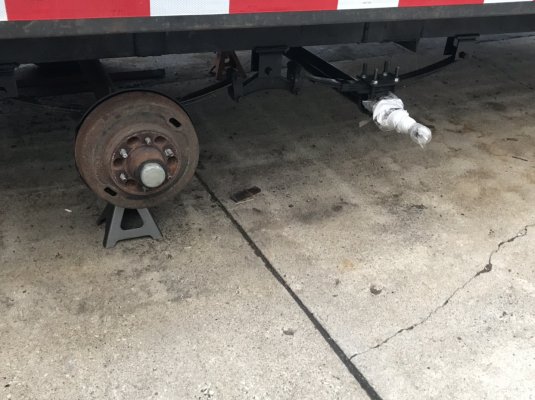
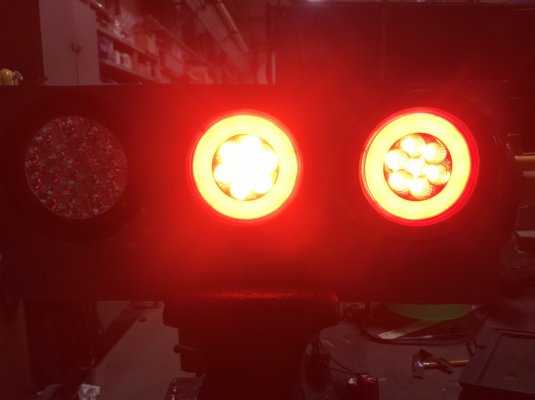
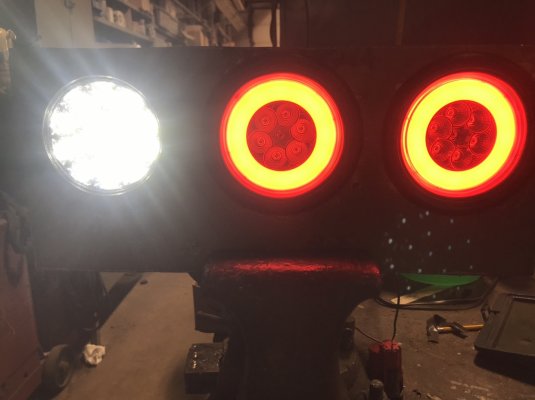
Just need to finish the brakes on front axle, mount new battery, hook up rear lights and build a box for storage and winch. It’s been raining every day for the last week here which makes it hard to get anything done. But I did snap some pics when I tested the lights.
Running lights

Running and stop/turn
Running and reverse
Sent from my iPhone using Tapatalk

Just need to finish the brakes on front axle, mount new battery, hook up rear lights and build a box for storage and winch. It’s been raining every day for the last week here which makes it hard to get anything done. But I did snap some pics when I tested the lights.
Running lights

Running and stop/turn

Running and reverse

Sent from my iPhone using Tapatalk
iamdub
Full Access Member
Snowbound
Jim
Took a minute this morning to get the blood changed in my dirtymax. I usually run about 5k between intervals but I’m at 5200 so I needed to get it done. Every other oil change I send a sample out to Blackstone Laboratories for analyst. I do this on all my vehicles just for early detection of any possible failure or premature wear. This time it’s due again and I’m also gonna cut open the filter and inspect it.
I wanted to share how I service my air filter. I used to pull the K&N and install a temporary filter until the cleaning process was complete. I hate how long it takes to let it dry before applying the oil so I came up with a different method which cut down the recharge process to about 30 minutes.
After pulling the filter I soak it with cleaner. I use my own concoction of simple green, fantastic and baking soda. Don’t ask me why, I used it for cleaning other things and it worked great so that’s my go to spray bottle. Then I brush it with a 2” chip brush to loosen the dirt. Bring it to my slop sink and run hot water from the inside out and continue to brush it while I turn it.
Now it’s soaked and this is where I speed up the process. I attach the filter to a Dayton exhaust fan on the outlet side. Turn on the fan and while it’s blowing the water out and drying the filter I use another chip brush while separating the filter baffles. Anything that otherwise would be embedded and a time consuming process to physically remove like cottonwood, flies right out.
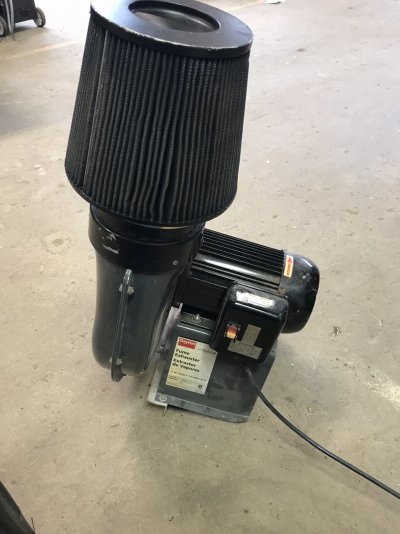
I don’t want any dirt or dust getting blown into the clean side of the filter so I only run on the discharge of fan long enough to get the debris out in between the folds. Once I make it all the way around the filter I install it on the intake side of fan. I’ll let the fan go for about 10 minutes and that’s all it usually takes to get it dry enough. About equal to 3 hrs of sitting in the sun.
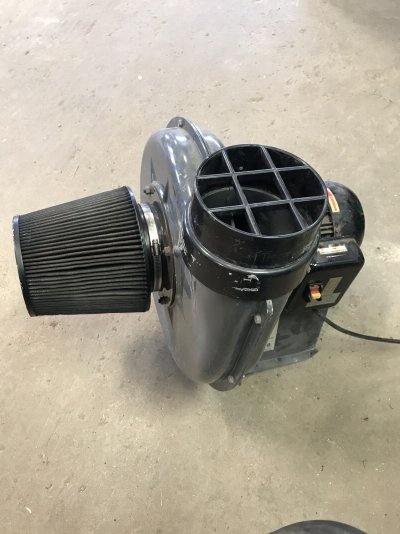
While fan is still running I apply the oil. This pulls the oil into the filter. I let it continue to run for another 5 minutes. If I don’t, I run the risk of oil coming thru intake tube on truck and it coats the MAF sensor and I get low readings which causes under fueling.
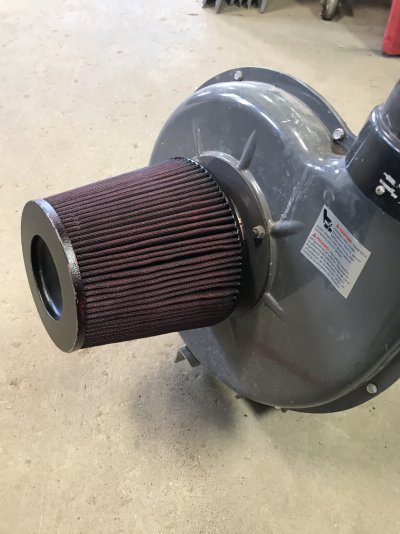
Install filter and don’t need to use my temporary filter for a few days while this one dries and gets oiled. Just thought I’d share some of my hillbilly engineering.
Sent from my iPhone using Tapatalk
I wanted to share how I service my air filter. I used to pull the K&N and install a temporary filter until the cleaning process was complete. I hate how long it takes to let it dry before applying the oil so I came up with a different method which cut down the recharge process to about 30 minutes.
After pulling the filter I soak it with cleaner. I use my own concoction of simple green, fantastic and baking soda. Don’t ask me why, I used it for cleaning other things and it worked great so that’s my go to spray bottle. Then I brush it with a 2” chip brush to loosen the dirt. Bring it to my slop sink and run hot water from the inside out and continue to brush it while I turn it.
Now it’s soaked and this is where I speed up the process. I attach the filter to a Dayton exhaust fan on the outlet side. Turn on the fan and while it’s blowing the water out and drying the filter I use another chip brush while separating the filter baffles. Anything that otherwise would be embedded and a time consuming process to physically remove like cottonwood, flies right out.

I don’t want any dirt or dust getting blown into the clean side of the filter so I only run on the discharge of fan long enough to get the debris out in between the folds. Once I make it all the way around the filter I install it on the intake side of fan. I’ll let the fan go for about 10 minutes and that’s all it usually takes to get it dry enough. About equal to 3 hrs of sitting in the sun.

While fan is still running I apply the oil. This pulls the oil into the filter. I let it continue to run for another 5 minutes. If I don’t, I run the risk of oil coming thru intake tube on truck and it coats the MAF sensor and I get low readings which causes under fueling.

Install filter and don’t need to use my temporary filter for a few days while this one dries and gets oiled. Just thought I’d share some of my hillbilly engineering.
Sent from my iPhone using Tapatalk
Similar threads
- Replies
- 33
- Views
- 4K
- Replies
- 7
- Views
- 491
- Replies
- 19
- Views
- 2K
- Replies
- 9
- Views
- 922

