iamdub
Full Access Member
Yeah, I guess I'll find out soon enough. Still have to modify the top 3 mounting holes up in the spring pocket. Once that's done and it back on the ground we'll see where it's at.
Still not happy with the poor R&D and Quality control. They poor kid at Belltech was clueless when I called earlier in the day. Sounds like he was reading of a script.
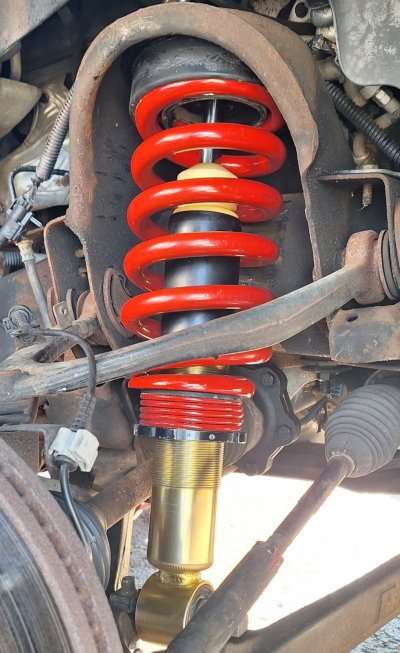
I just looked them up on BT's site- they're adjustable by turning some lock rings/collars, like with spanner wrenches. Just install 'em and if they need adjusting up or down, jack it up to take the weight off the springs and turn those collars about half the distance you wanna change it. Like, if you want it to be an inch lower, you'd lower the collars 1/2". Drive it for a bit to get the springs to settle before you start making adjustments, though.