What did you do to your NNBS GMT900 Tahoe/Yukon Today?

Disclaimer: Links on this page pointing to Amazon, eBay and other sites may include affiliate code. If you click them and make a purchase, we may earn a small commission.

1BADI5

Supporting Member
Joined
Feb 2, 2014
Posts
1,833
Reaction score
2,986
Location
DMV
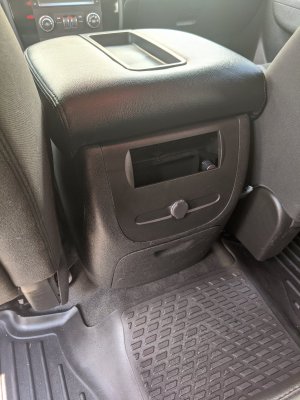
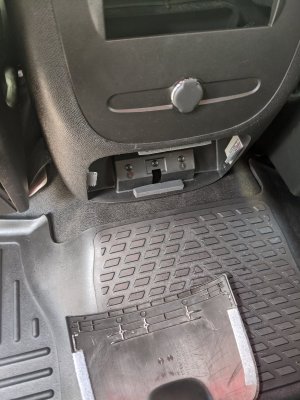
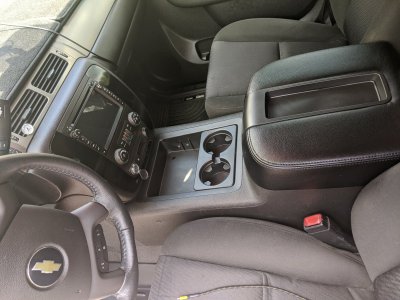
Console in. Only thing left is to cut a piece of lexan for the filler plate on the back of the console. I got the console down to 20lbs even. The old console/jump seat combo was 45 lbs.

I deleted the rear cupholders and hinge, the rear AC controls (PPV has them up front) the Bose amp, the wiring harness and I trimmed some other pieces to keep weight down

IMG_20200809_121323.jpg IMG_20200809_121331.jpg IMG_20200809_121359.jpg
 

08z71bgm

Supporting Member
Joined
Jul 2, 2020
Posts
758
Reaction score
1,108
Location
Long Island, NY
Console in. Only thing left is to cut a piece of lexan for the filler plate on the back of the console. I got the console down to 20lbs even. The old console/jump seat combo was 45 lbs.

I deleted the rear cupholders and hinge, the rear AC controls (PPV has them up front) the Bose amp, the wiring harness and I trimmed some other pieces to keep weight down

View attachment 254437 View attachment 254438 View attachment 254439
Are you planning on putting the leather seats in from the z71?
 

89Suburban

Bull in the china shop
Supporting Member
Joined
Jan 10, 2013
Posts
13,174
Reaction score
36,142
Location
SE PA
Console in. Only thing left is to cut a piece of lexan for the filler plate on the back of the console. I got the console down to 20lbs even. The old console/jump seat combo was 45 lbs.

I deleted the rear cupholders and hinge, the rear AC controls (PPV has them up front) the Bose amp, the wiring harness and I trimmed some other pieces to keep weight down

View attachment 254437 View attachment 254438 View attachment 254439

Do you have pictures of the console apart and what it looks like under there?
 
Joined
Apr 11, 2018
Posts
6,367
Reaction score
12,499
Location
St. Louis
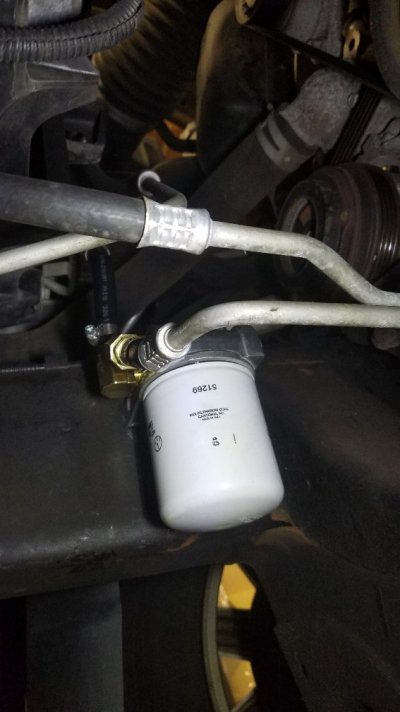
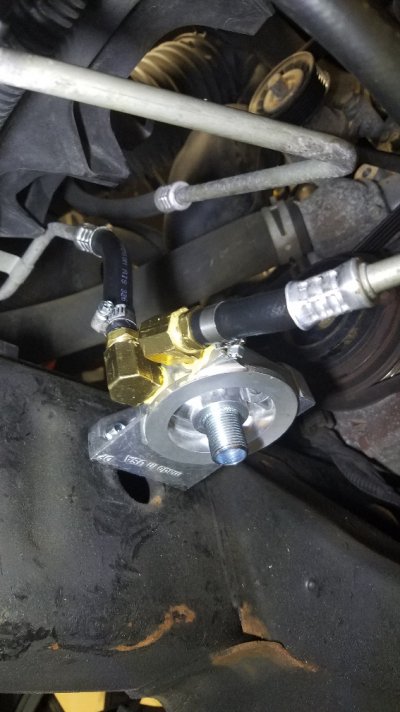
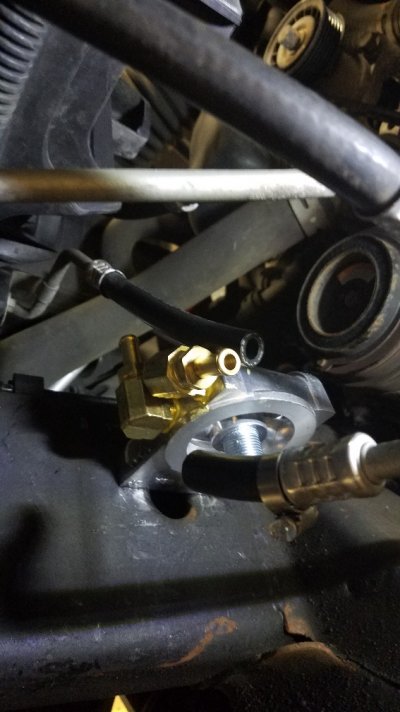
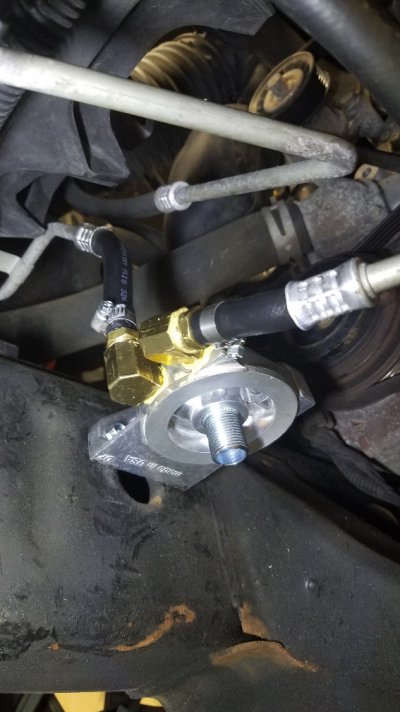
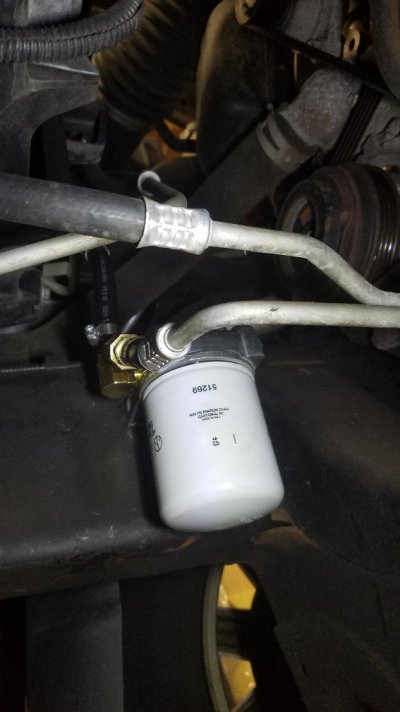
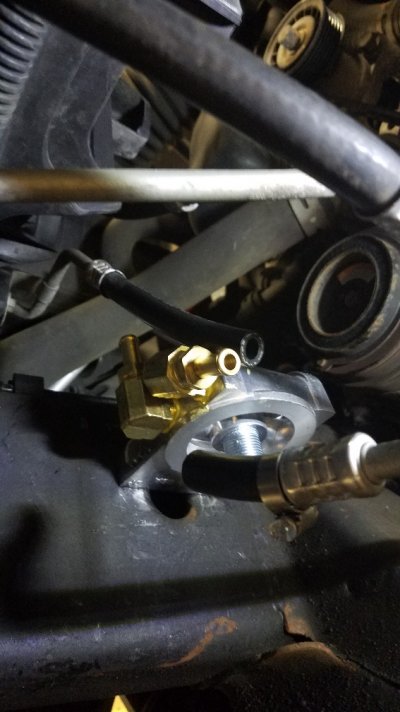
Installed the remote transmission filter. Mounted it to the front passenger frame rail just in front of the AC compressor. There is about a 1" hole punched in the frame in this area and I mounted it over the top half of this hole.

I just cut about 2" out of the rubber line that connects the two hard lines and connected the lines to the filter mount barbs. I was going to use 90* hose barbs, but I wouldn't have been able to screw the second one in because the first would've been in the way, so I just used the straight hose barbs that came with the kit and used 3/8" npt street 90* to get the angles I wanted.

Filter is a WIX 51269 Hydraulic filter, no drain back valve, which is used to keep oil in the passages in the block above the filter when the motor is shut off (hence why there's a big mess when we loosen the oil filters on these motors). The trans doesn't need this and most of the fluid drains back to the trans when shut off. The filter also has a 10 micron filter rating.

I plan on doing the first filter change in a few months when I do an engine oil change, but then after that about once a year, or every other engine oil change.

I filled the filter with fluid before installing, just so I'd have an idea about how much the filter holds. It took about 8oz. The fluid cooler I installed the other day holds about 12oz. When done, I pulled down the driveway and back up into the garage and left it idling to warm up a bit. I checked for leaks and the fluid level was a little low. The trans temp only got to 135* but I added fluid until it reached the bottom of the crosshatch "Full Hot" area. It took 20oz. I'll check it again after the next time I drive it and get it warmer.

EDIT: Fixed pic order

43b00e7e2a7a07b73188762e86acf5ff.jpg


f953849ba222d0aabf1497ac430e0a1f.jpg

fbe85dfb75dd38a4bde8371052b7c914.jpg

3a96194b0867b62ac54f24e74f02c9e6.jpg


23d7528519dee82f8c76cc54a3c8dc76.jpg

6f1411e61b9e0f1f4f3e5817cc74a8b7.jpg


db582e811025fc8f95c3b13fe47a8027.jpg
 
Last edited:

cmatt

Full Access Member
Joined
Apr 29, 2009
Posts
601
Reaction score
646
So you ran it complete top to bottom, removing the stock top piece? Is the 10' length enough to do both sides?

Sent from my SM-G930V using Tapatalk
Yes and yes. Had about 18” left over.

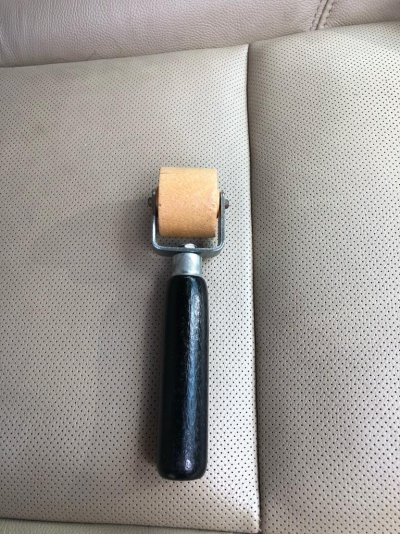
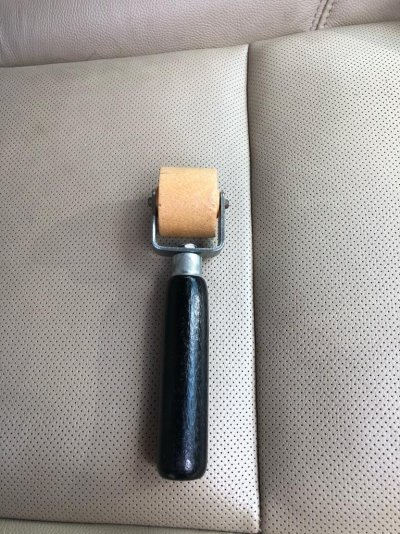
Also, a roller worked great to even out any lumps where it grabs the door edge.

4a8dc6767ac39c2595e2bc2a72005231.jpg


Sent from my iPhone using Tapatalk
 
Last edited:

kbuskill

***CAUTION*** I do my own stunts!
Joined
Mar 11, 2017
Posts
5,229
Reaction score
8,115
Location
NE. FL.
Installed the remote transmission filter. Mounted it to the front passenger frame rail just in front of the AC compressor. There is about a 1" hole punched in the frame in this area and I mounted it over the top half of this hole.

I just cut about 2" out of the rubber line that connects the two hard lines and connected the lines to the filter mount barbs. I was going to use 90* hose barbs, but I wouldn't have been able to screw the second one in because the first would've been in the way, so I just used the straight hose barbs that came with the kit and used 3/8" npt street 90* to get the angles I wanted.

Filter is a WIX 51269 Hydraulic filter, no drain back valve, which is used to keep oil in the passages in the block above the filter when the motor is shut off (hence why there's a big mess when we loosen the oil filters on these motors). The trans doesn't need this and most of the fluid drains back to the trans when shut off. The filter also has a 10 micron filter rating.

I plan on doing the first filter change in a few months when I do an engine oil change, but then after that about once a year, or every other engine oil change.

I filled the filter with fluid before installing, just so I'd have an idea about how much the filter holds. It took about 8oz. The fluid cooler I installed the other day holds about 12oz. When done, I pulled down the driveway and back up into the garage and left it idling to warm up a bit. I checked for leaks and the fluid level was a little low. The trans temp only got to 135* but I added fluid until it reached the bottom of the crosshatch "Full Hot" area. It took 20oz. I'll check it again after the next time I drive it and get it warmer.

PICS UPLOADED FROM MY PHONE DIDN'T UPLOAD IN ORDER
3a96194b0867b62ac54f24e74f02c9e6.jpg
43b00e7e2a7a07b73188762e86acf5ff.jpg
f953849ba222d0aabf1497ac430e0a1f.jpg23d7528519dee82f8c76cc54a3c8dc76.jpg
6f1411e61b9e0f1f4f3e5817cc74a8b7.jpg
db582e811025fc8f95c3b13fe47a8027.jpg
fbe85dfb75dd38a4bde8371052b7c914.jpg

I have thought about doing this as well, I just need to figure out where to mount it since my dual remote mount oil filter housing is mounted where you have yours.
 
Joined
Apr 11, 2018
Posts
6,367
Reaction score
12,499
Location
St. Louis
I have thought about doing this as well, I just need to figure out where to mount it since my dual remote mount oil filter housing is mounted where you have yours.

I thought about running hoses up to the drivers side spare battery tray and mounting it up there next to my catch can. I didn't because I wasn't sure how much of a mess it would make when changing the filter, and that area wouldn't leave much room for a catch pan placed under the filter when changing.

I wouldn't think there would be much fluid draining out when changing filter, only fluid in the filter and maybe a bit in the housing/mount.
 

Forum statistics

Threads
129,271
Posts
1,813,085
Members
92,379
Latest member
Pepper1700
Top