What did you do to your 21+ T1XX today?

Disclaimer: Links on this page pointing to Amazon, eBay and other sites may include affiliate code. If you click them and make a purchase, we may earn a small commission.

Vladimir2306

Full Access Member
Joined
May 18, 2023
Posts
408
Reaction score
393
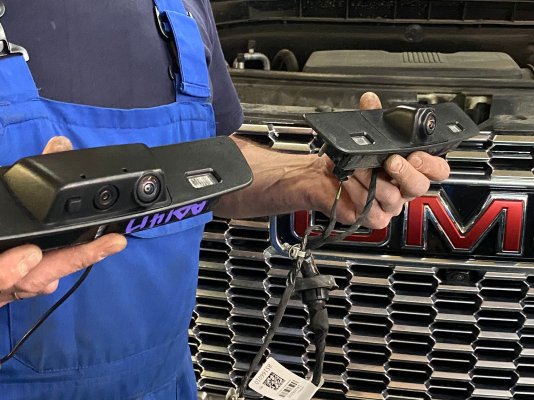
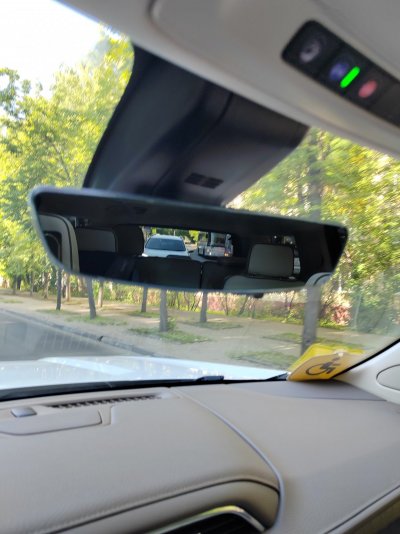
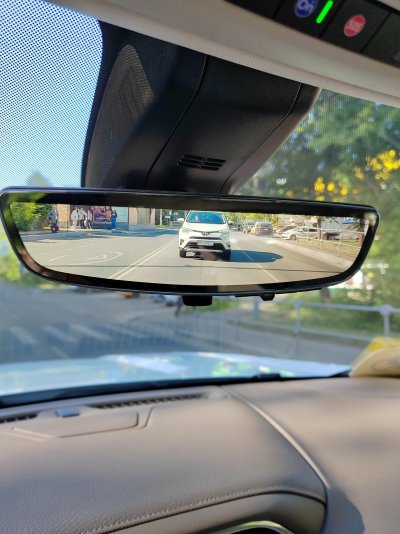
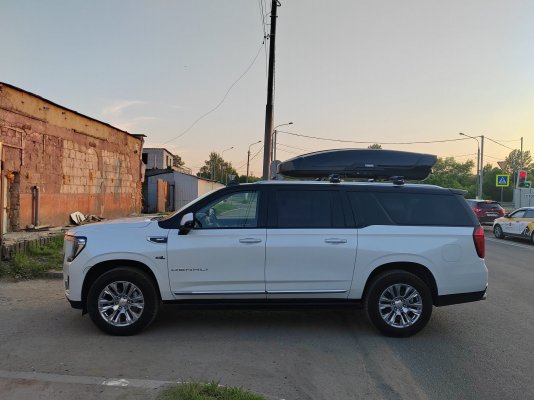
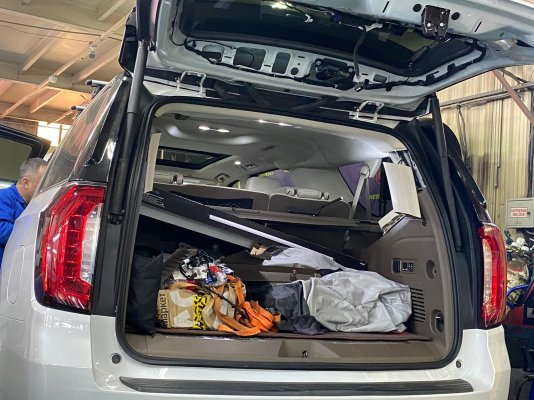
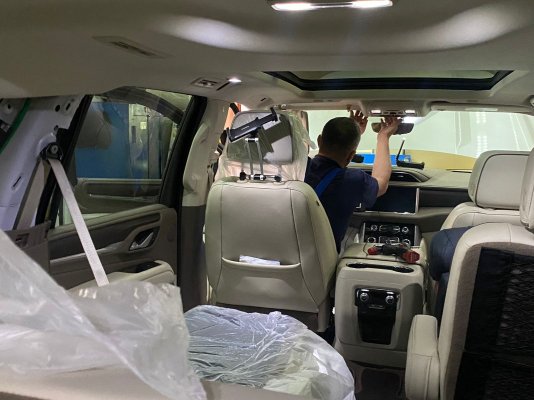
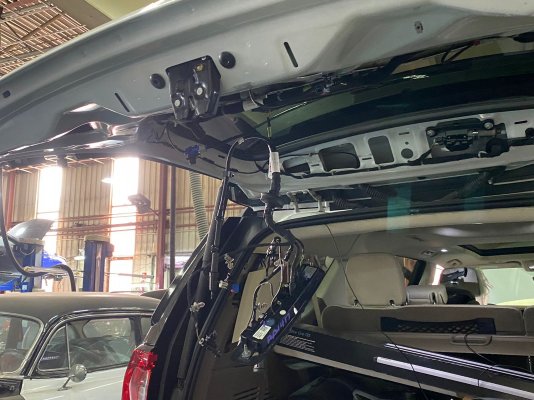
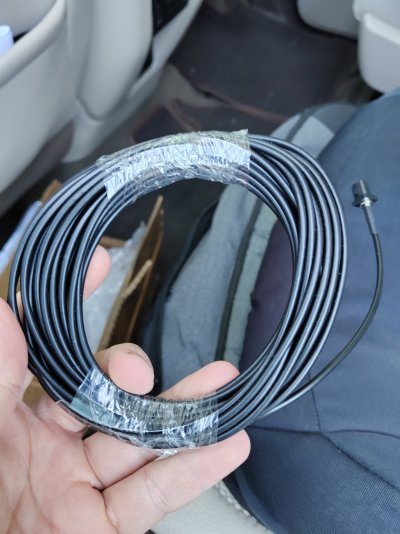
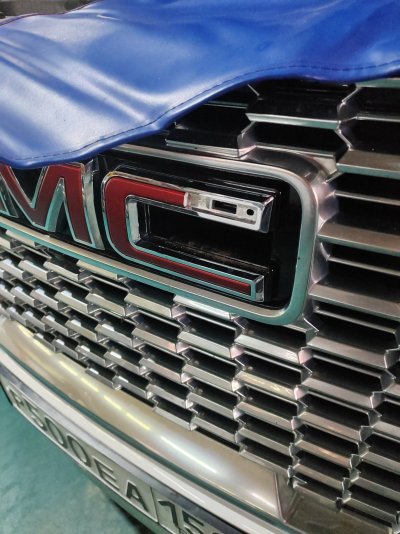
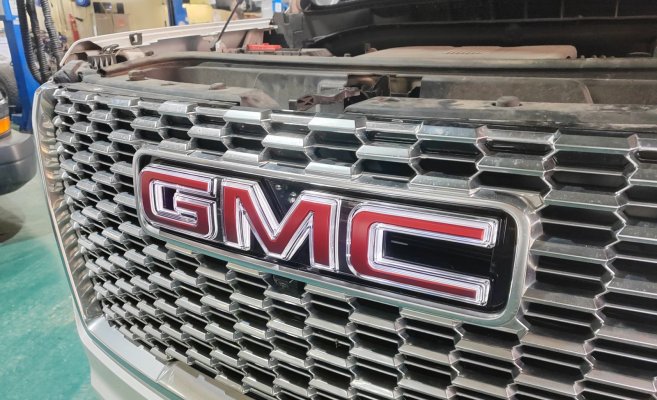
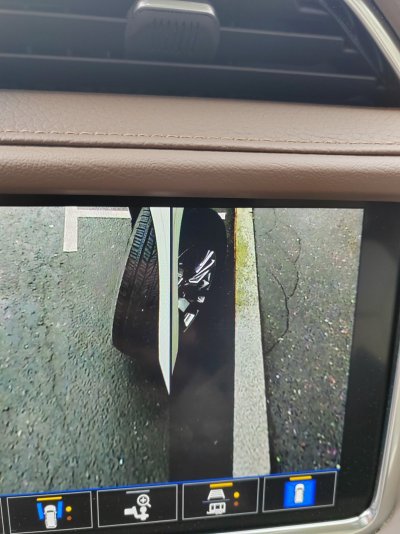
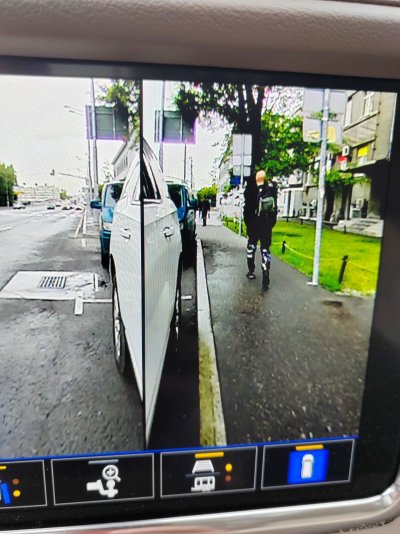
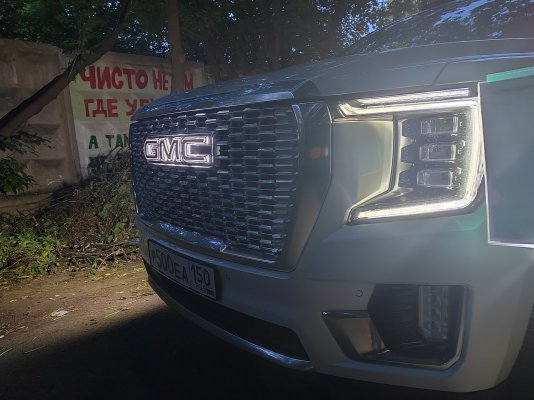
I installed a streaming camera in a mirror. When I bought the Yukon, I thought that such a camera included Denali at all. but Apparently the problem with the chips touched this option as well. I got it with a regular interior rear-view mirror. I ordered a Mirror, a cable and a Block with two cameras and a washer in the USA. Installed, I'm extremely happy. Because the classic salon mirror practically does not show anything. And if passengers are sitting on the third row of seats, then you can forget about it. Now I see everything bypassing the salon, and much wider.
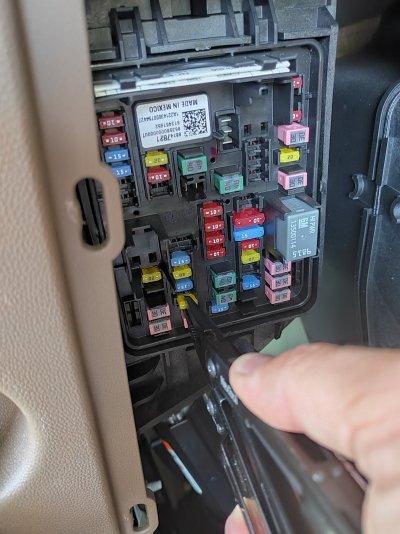
Plus, since there is a camera washer, the rear window brush is not needed. very little water is needed to wash the camera, and the brush begins to clean the dry, dirty glass. This is bad for both the brush and the glass. So I turned off the brush. To do this, simply remove the number 18 fuse in the rear fuse box)))
but now the problem is that I don’t see my children from behind))))) so I’m thinking how to put a children’s panoramic mirror for the salon)))
 

Attachments

  • 2023-06-13 19-48-12.JPG
    2023-06-13 19-48-12.JPG
    297.3 KB · Views: 27
  • 2023-06-11 17-57-38.JPG
    2023-06-11 17-57-38.JPG
    316.5 KB · Views: 22
  • 2023-06-13 07-57-49.JPG
    2023-06-13 07-57-49.JPG
    248.7 KB · Views: 28
  • 2023-06-13 07-58-11.JPG
    2023-06-13 07-58-11.JPG
    308.4 KB · Views: 24

Vladimir2306

Full Access Member
Joined
May 18, 2023
Posts
408
Reaction score
393
It was wearing the largest thule box, 610 liters. On the Yukon XL, it looks small)))
 

Attachments

  • IMG_20230614_204149.jpg
    IMG_20230614_204149.jpg
    269 KB · Views: 30

Vladimir2306

Full Access Member
Joined
May 18, 2023
Posts
408
Reaction score
393
Do you have part numbers? How was the install?
Unfortunately, I don't have part numbers. I was selected by Vin. Essentially there are three parts. A special mirror that replaces the regular salon rear-view mirror, TV cable, and a unit with two cameras and a washer. They put me in the service) But I know how to put. First, they change the interior mirror, everything goes connector to connector.
Next, the TV cable is laid by bending the interior panels to the rear of the car to the tailgate. But the tailgate has to be completely disassembled. In order to remove the unit with one chamber, replace it with a unit with two chambers and a washer. Plus, you need to run a channel with liquid from the rear window washer to the washer.
And then everything is going. What problem did you encounter during installation? The camera that was in the block with two cameras from the all-round view system did not want to work. The reason is not clear, and no one understood, maybe a bug, maybe the camera was broken (this unit was not brought to me new), or maybe the camera is prescribed to the head unit. So my camera was pulled out and installed in a double camera block.
now, in addition to the streaming camera, I also have a regular rear camera washer. In our climate, this is a very good option)))
 

Attachments

  • 2023-06-11 17-57-41.JPG
    2023-06-11 17-57-41.JPG
    328.9 KB · Views: 25
  • 2023-06-11 17-57-40.JPG
    2023-06-11 17-57-40.JPG
    238 KB · Views: 23
  • 2023-06-11 17-57-39.JPG
    2023-06-11 17-57-39.JPG
    285.8 KB · Views: 26
  • 2023-06-11 08-45-17.JPG
    2023-06-11 08-45-17.JPG
    245.1 KB · Views: 23
  • 2023-06-11 08-44-53.JPG
    2023-06-11 08-44-53.JPG
    439.4 KB · Views: 23

Shrubs2K2

Full Access Member
Joined
May 17, 2021
Posts
112
Reaction score
136
Location
oHIo
Traveled the back country gravel and dirt roads in NE Ohio the last few days. We took pictures of covered bridge and paying respects to a few Congressional Medal of Honor recipients buried in E/NE Ohio.

Many of the roads were gravel and very dusty so I had a spa day inside and out.
 

Attachments

  • mini_20230618_105253.jpg
    mini_20230618_105253.jpg
    270.1 KB · Views: 15
  • mini_20230618_121227.jpg
    mini_20230618_121227.jpg
    219.2 KB · Views: 17
  • mini_20230618_141529.jpg
    mini_20230618_141529.jpg
    151.8 KB · Views: 17
  • mini_20230618_141541.jpg
    mini_20230618_141541.jpg
    153.5 KB · Views: 16
  • mini_20230618_141554.jpg
    mini_20230618_141554.jpg
    250 KB · Views: 15

Vladimir2306

Full Access Member
Joined
May 18, 2023
Posts
408
Reaction score
393
Traveled the back country gravel and dirt roads in NE Ohio the last few days. We took pictures of covered bridge and paying respects to a few Congressional Medal of Honor recipients buried in E/NE Ohio.

Many of the roads were gravel and very dusty so I had a spa day inside and out.
Wow, you are allowed to wash your car at your place. Cool))))
 

Vladimir2306

Full Access Member
Joined
May 18, 2023
Posts
408
Reaction score
393
Installed the Led emblem on the Yukon. actually put very easily, even for such a not very technically savvy person like me)
First you need to wire the emblem. I watched a lot of different videos, but few people say that it is very difficult to get to the headlight connector.
Therefore, we unscrew the fender liner and get access to the headlight from the wheel. Moreover, it is the left one, since there is some kind of block in the right headlight, and it is crowded there.
We remove the connector from the headlight, insert the wire from the Emblem into it, and insert the other end into the left headlight
Next, pull the third end of the wire to the Emblem. To do this, remove the plastic protection on top of the radiator. and lead the wire along the blinds. IMPORTANT!!!! wire must not be passed through the blinds. after the wire was brought to the emblem. We begin to dismantle the old emblem. To do this, stick a flat screwdriver between the red letters and chrome. and tear out the red letters. and rectangular holes appear on the chrome elements. insert a flathead screwdriver in there and pry out the chrome.
The most difficult thing is the letter G)))) then we wipe the installation site of the emblem, pull out the connector into the round hole of the letter M, and turn it into the emblem. After that, we check that everything works, and insert the emblem into the mounts, checking that all the latches are in place. And that's all. it took me 30 minutes to do it all, the only tools needed were a flathead screwdriver and a 15 sprocket.
 

Attachments

  • 2023-06-24 13-44-55.JPG
    2023-06-24 13-44-55.JPG
    368.1 KB · Views: 13
  • 2023-06-23 19-39-30.JPG
    2023-06-23 19-39-30.JPG
    209.4 KB · Views: 11
  • 2023-06-23 19-39-22.JPG
    2023-06-23 19-39-22.JPG
    292.7 KB · Views: 11
  • 2023-06-24 13-43-28.JPG
    2023-06-24 13-43-28.JPG
    299.9 KB · Views: 15
  • 2023-06-24 14-07-26_1687625931.JPG
    2023-06-24 14-07-26_1687625931.JPG
    345.9 KB · Views: 15
Last edited:

ProfeZZor X

Full Access Member
Joined
Jan 19, 2022
Posts
458
Reaction score
382
Location
High Country
I installed a streaming camera in a mirror.
I wonder if this can be done with both side mirrors. I've been wanting to do this to my AT4 for over a year now, since I have a wider wheel setup. Ideally, I wanted forward facing cameras in both side mirrors so I can see the curbs as I pull up (to avoid curb rash).
 

Vladimir2306

Full Access Member
Joined
May 18, 2023
Posts
408
Reaction score
393
I wonder if this can be done with both side mirrors. I've been wanting to do this to my AT4 for over a year now, since I have a wider wheel setup. Ideally, I wanted forward facing cameras in both side mirrors so I can see the curbs as I pull up (to avoid curb rash).
So this is also in the all-round view function. Where the camera shows the front and rear wheels
 

Attachments

  • IMG_20230605_091057.jpg
    IMG_20230605_091057.jpg
    253 KB · Views: 18
  • IMG_20230605_091047.jpg
    IMG_20230605_091047.jpg
    313.1 KB · Views: 16

Forum statistics

Threads
129,239
Posts
1,812,630
Members
92,339
Latest member
Thekenstar

Latest posts

Top