05Single
afraid of the dark
- Joined
- Feb 26, 2015
- Posts
- 8,243
- Reaction score
- 11,639
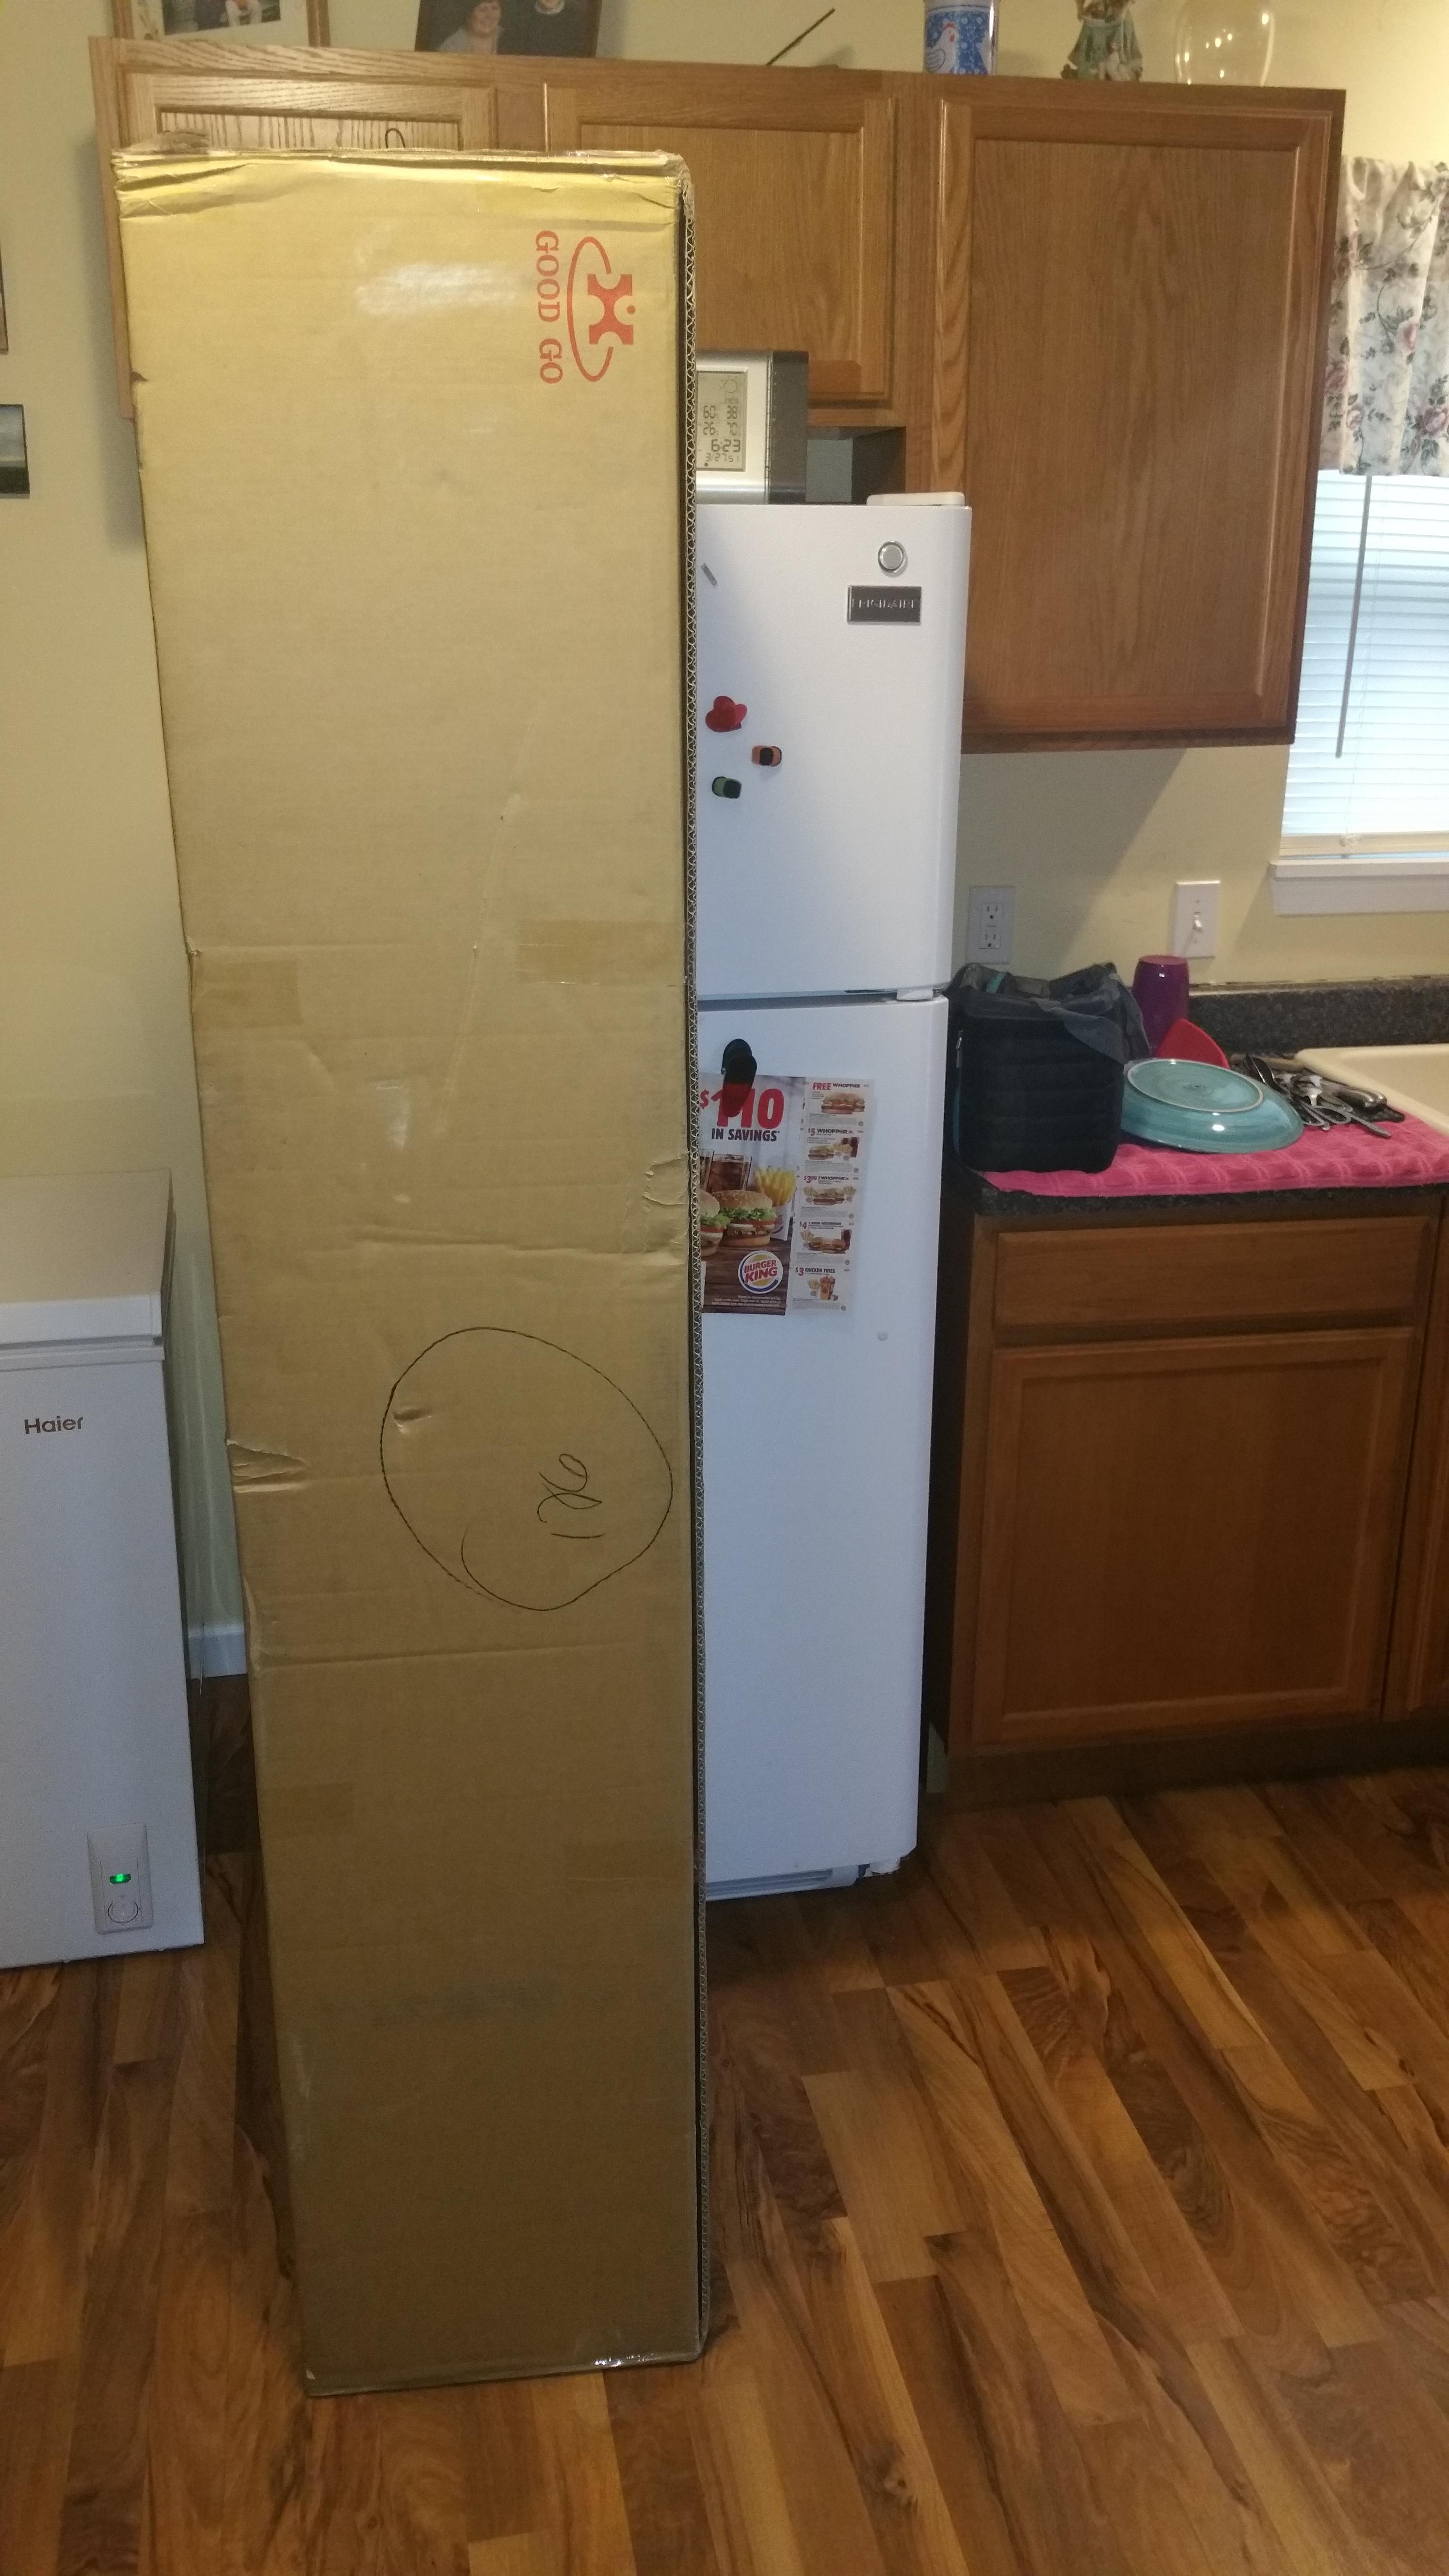
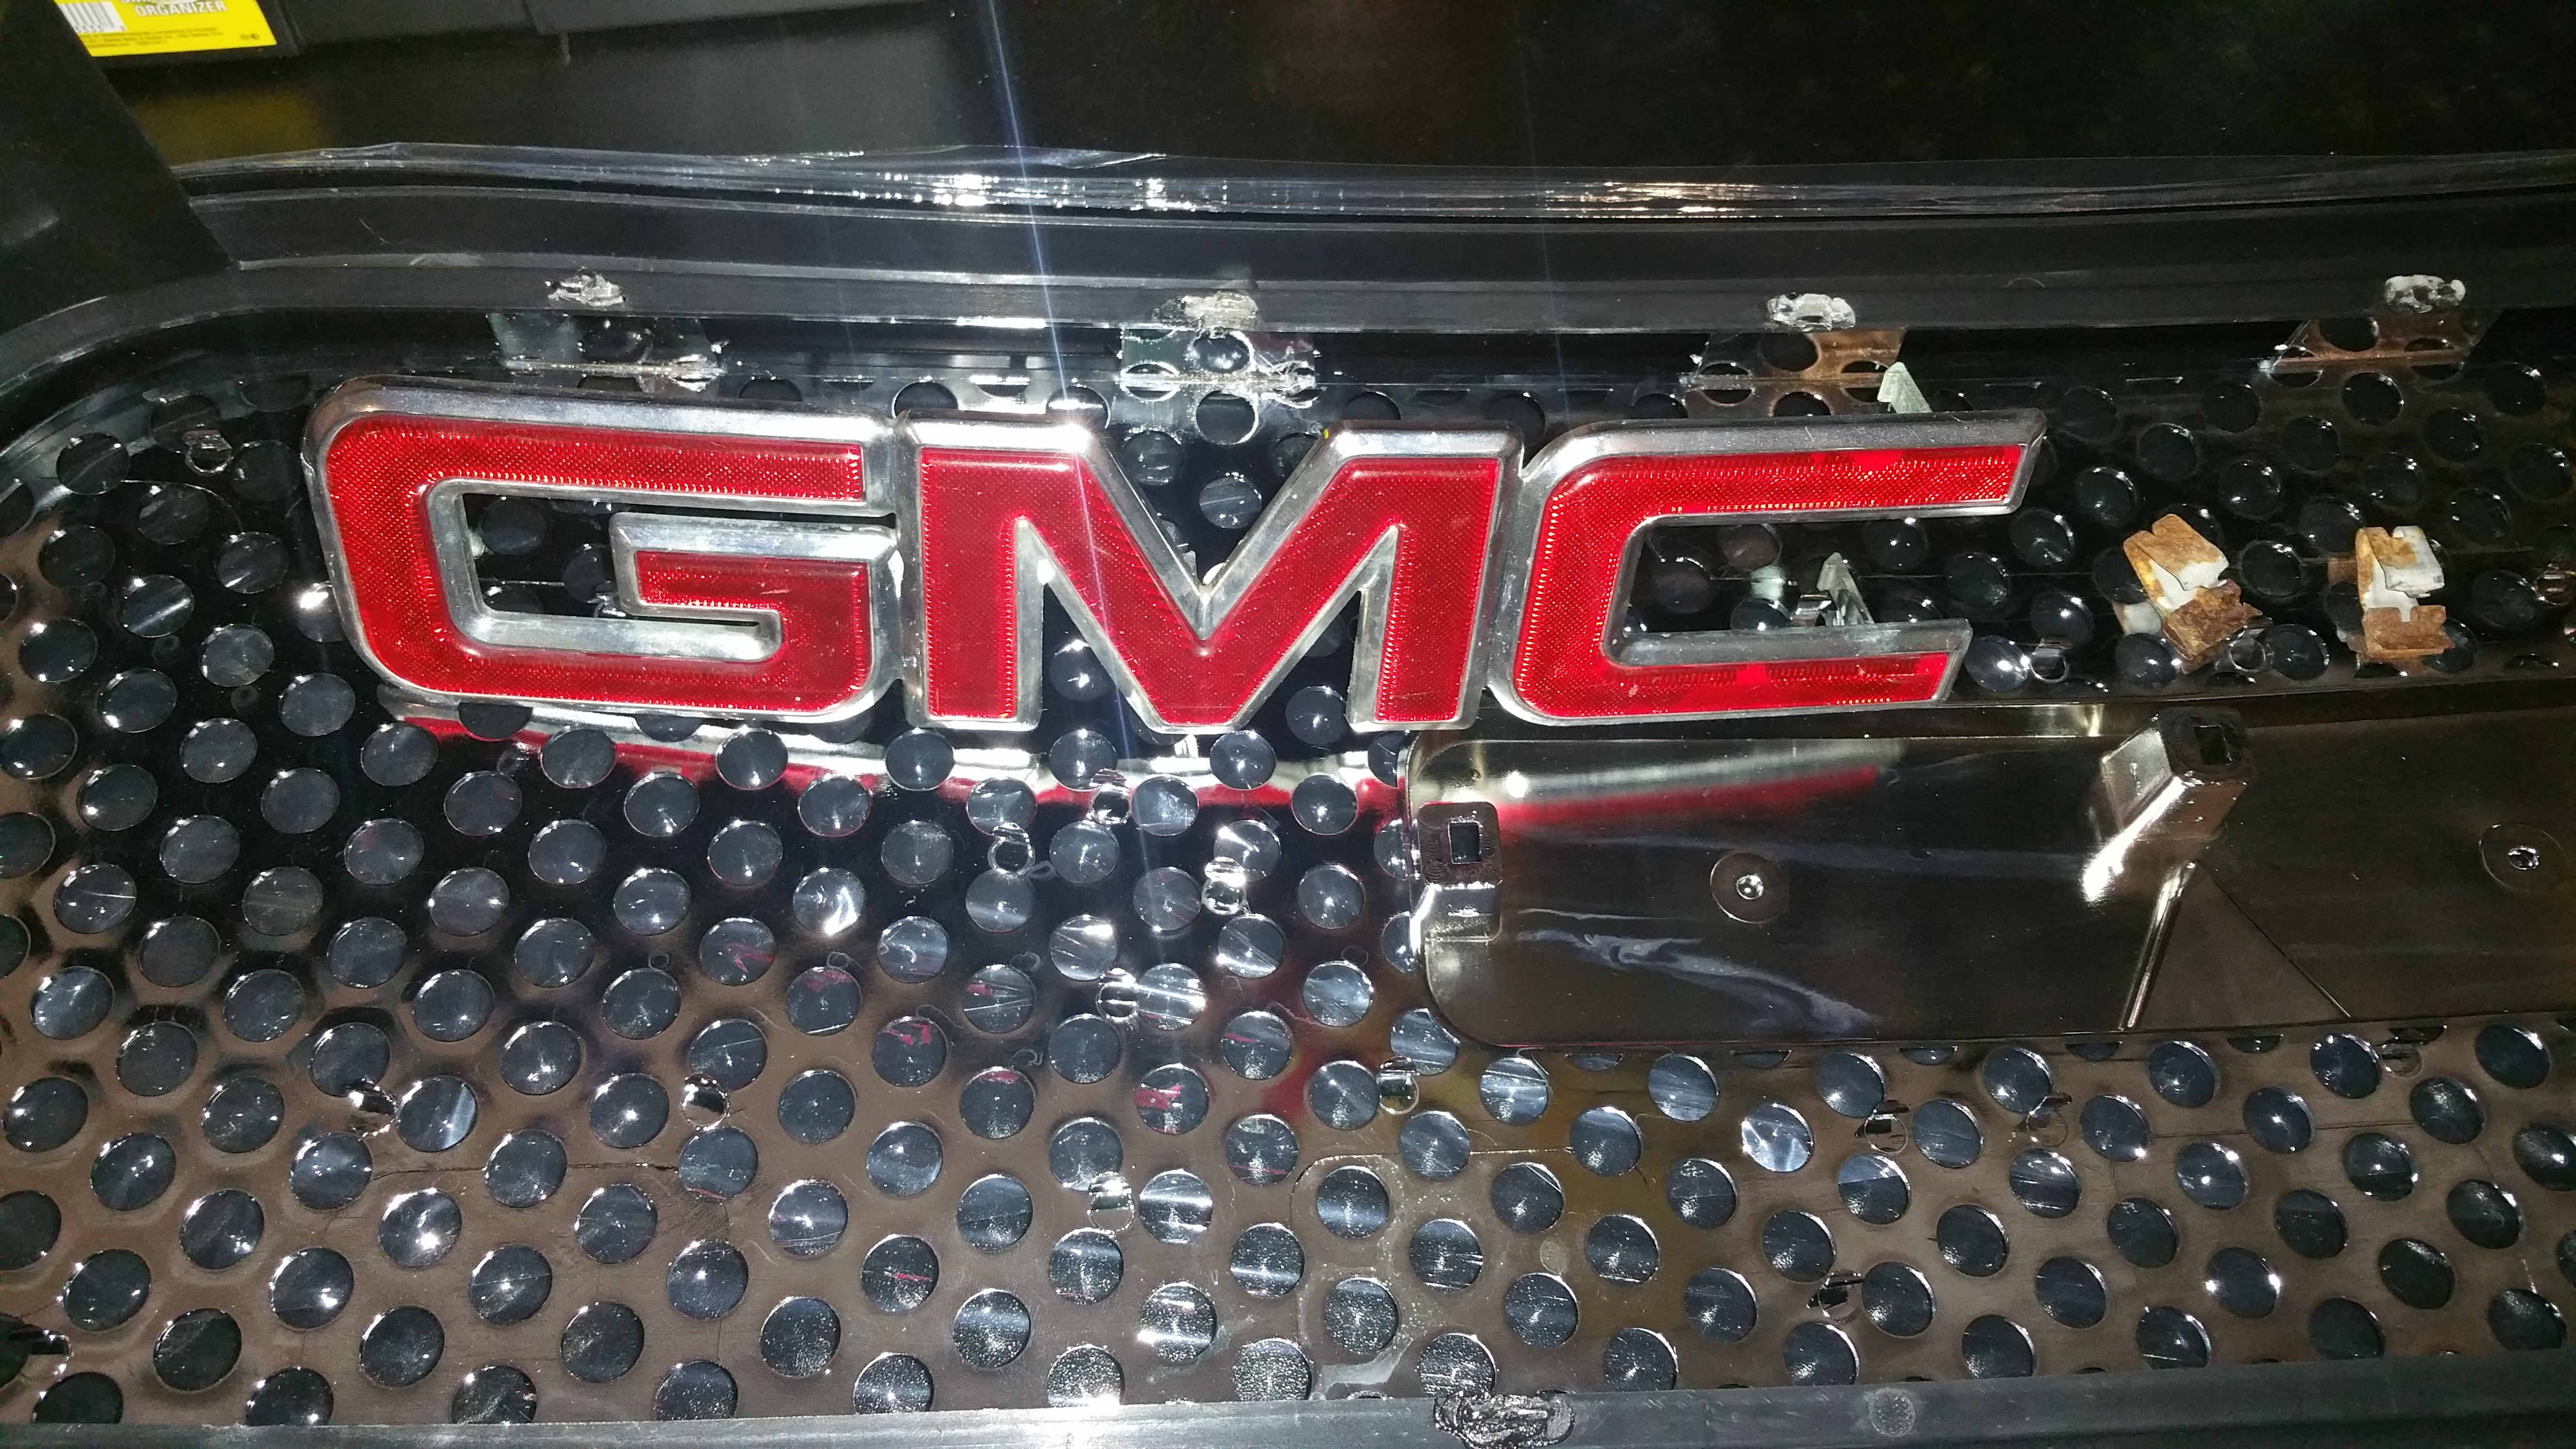
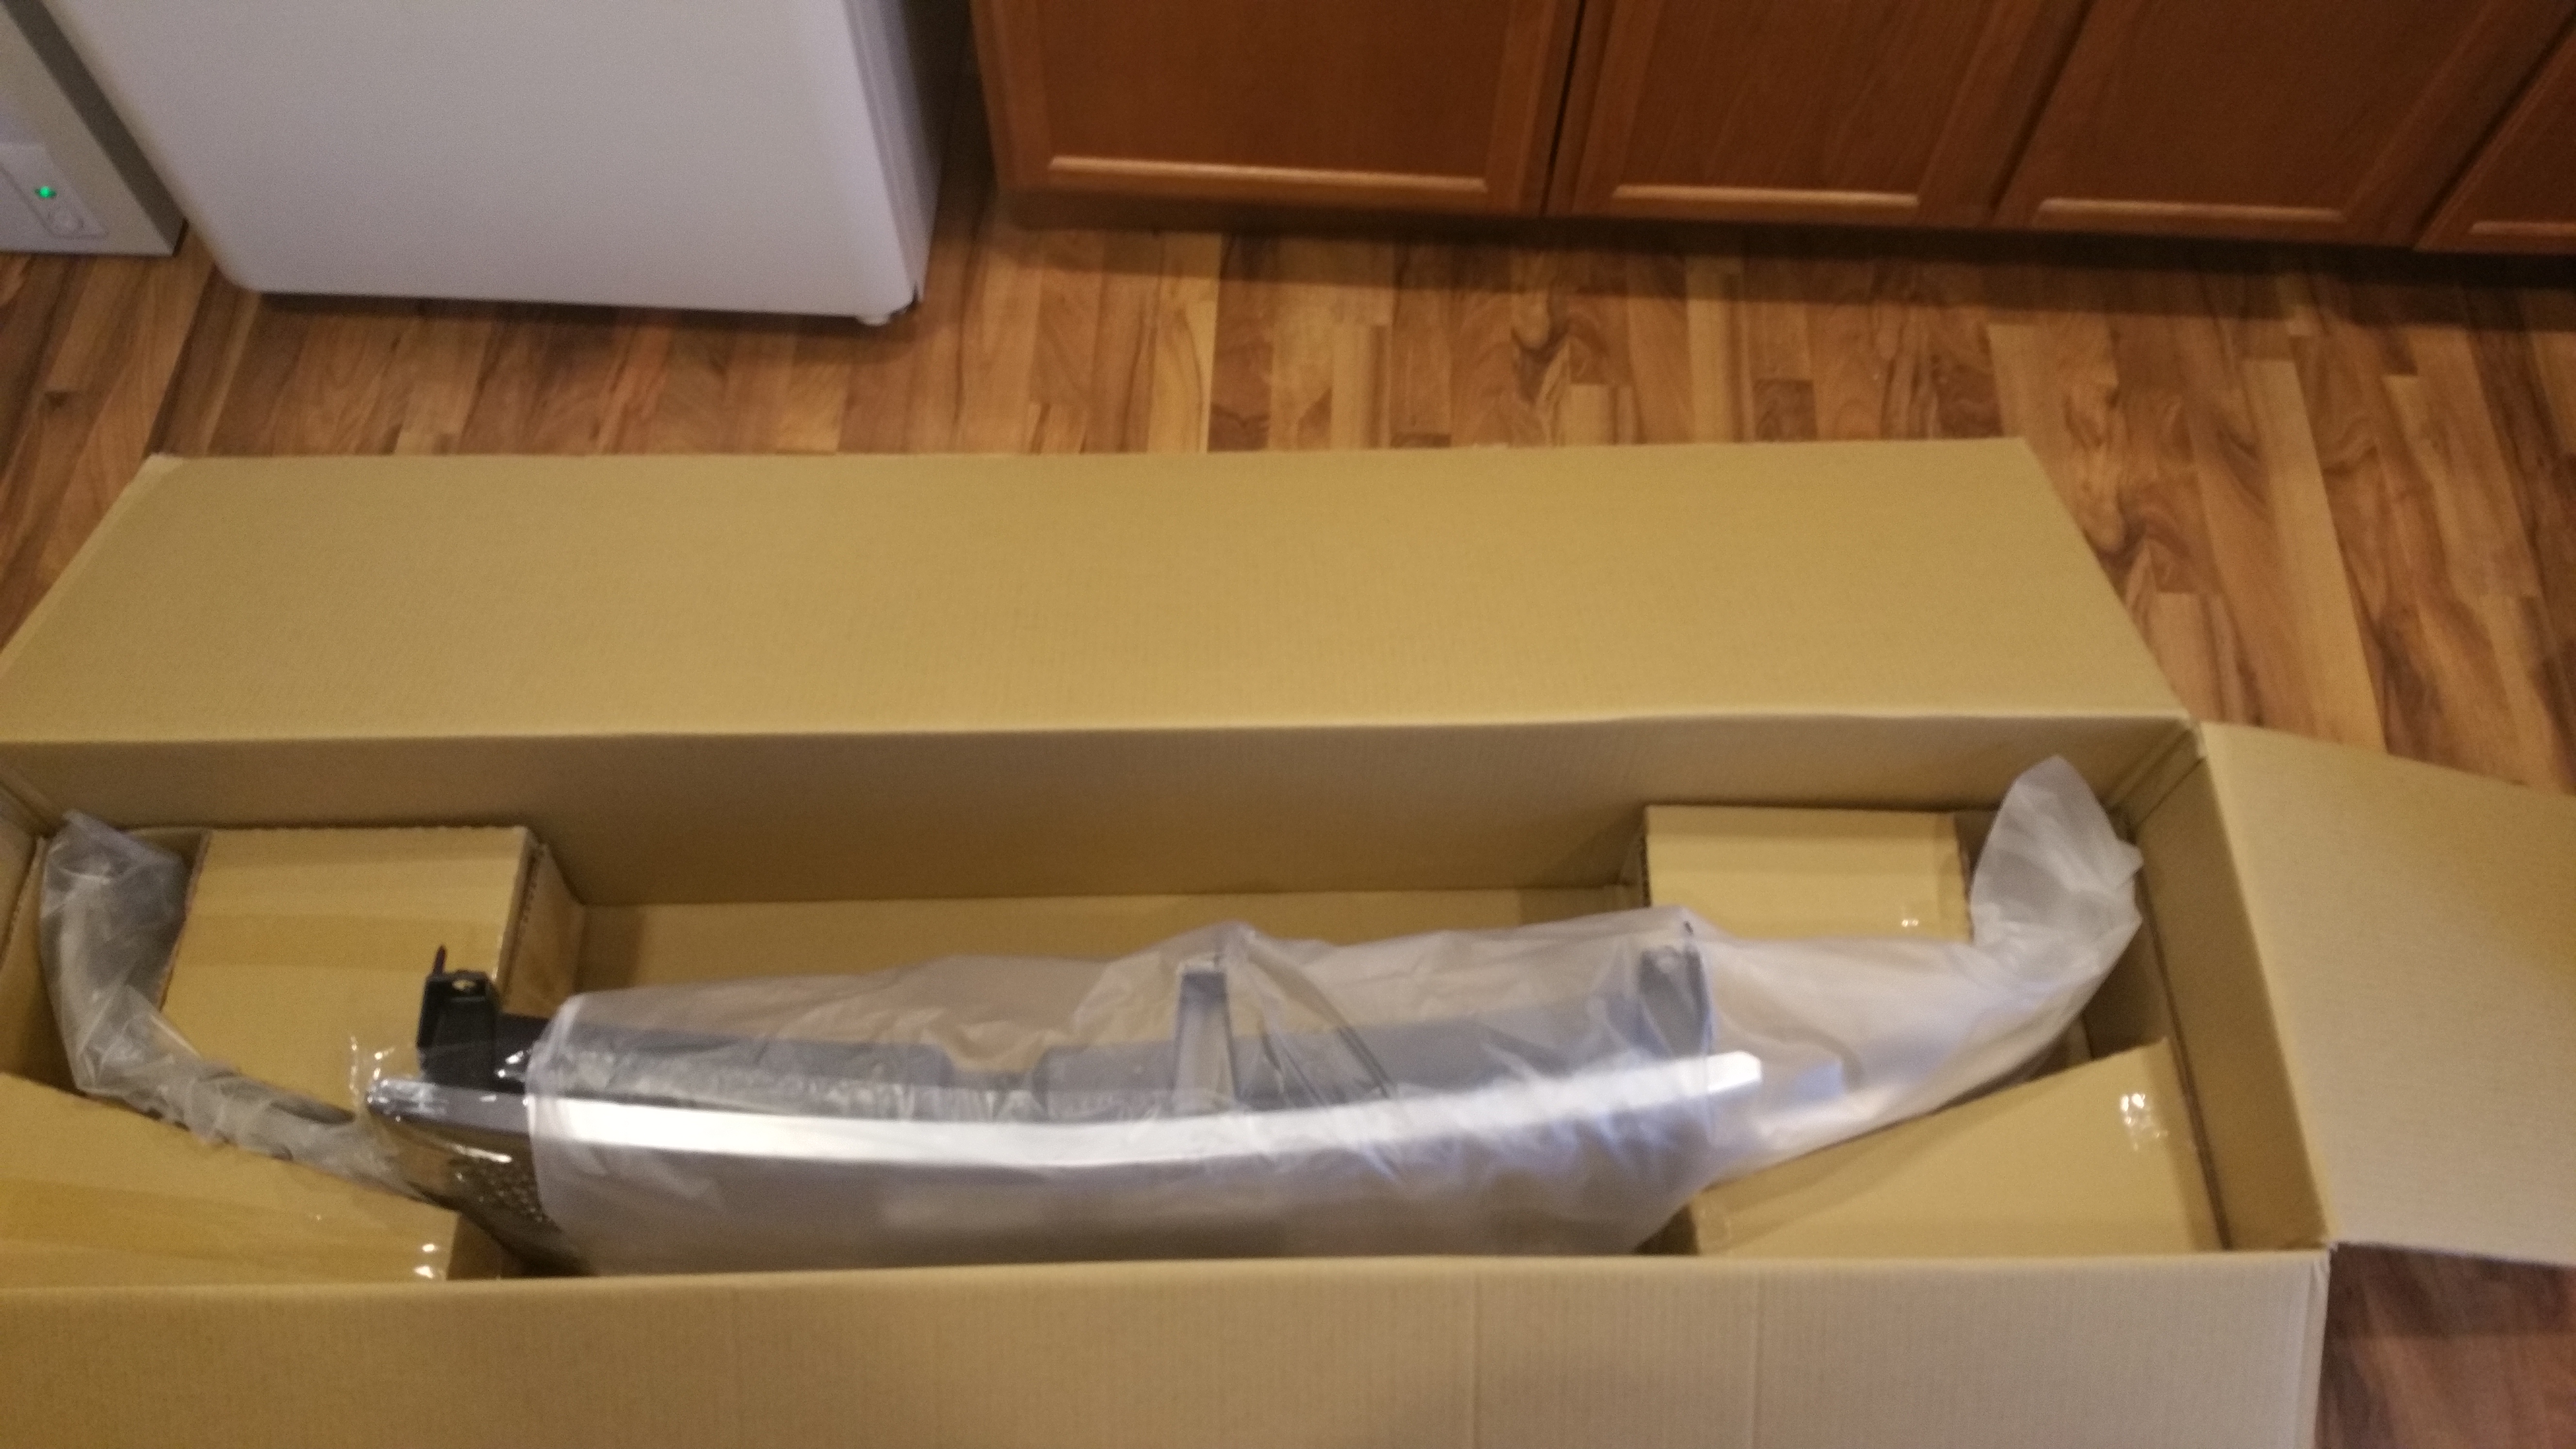
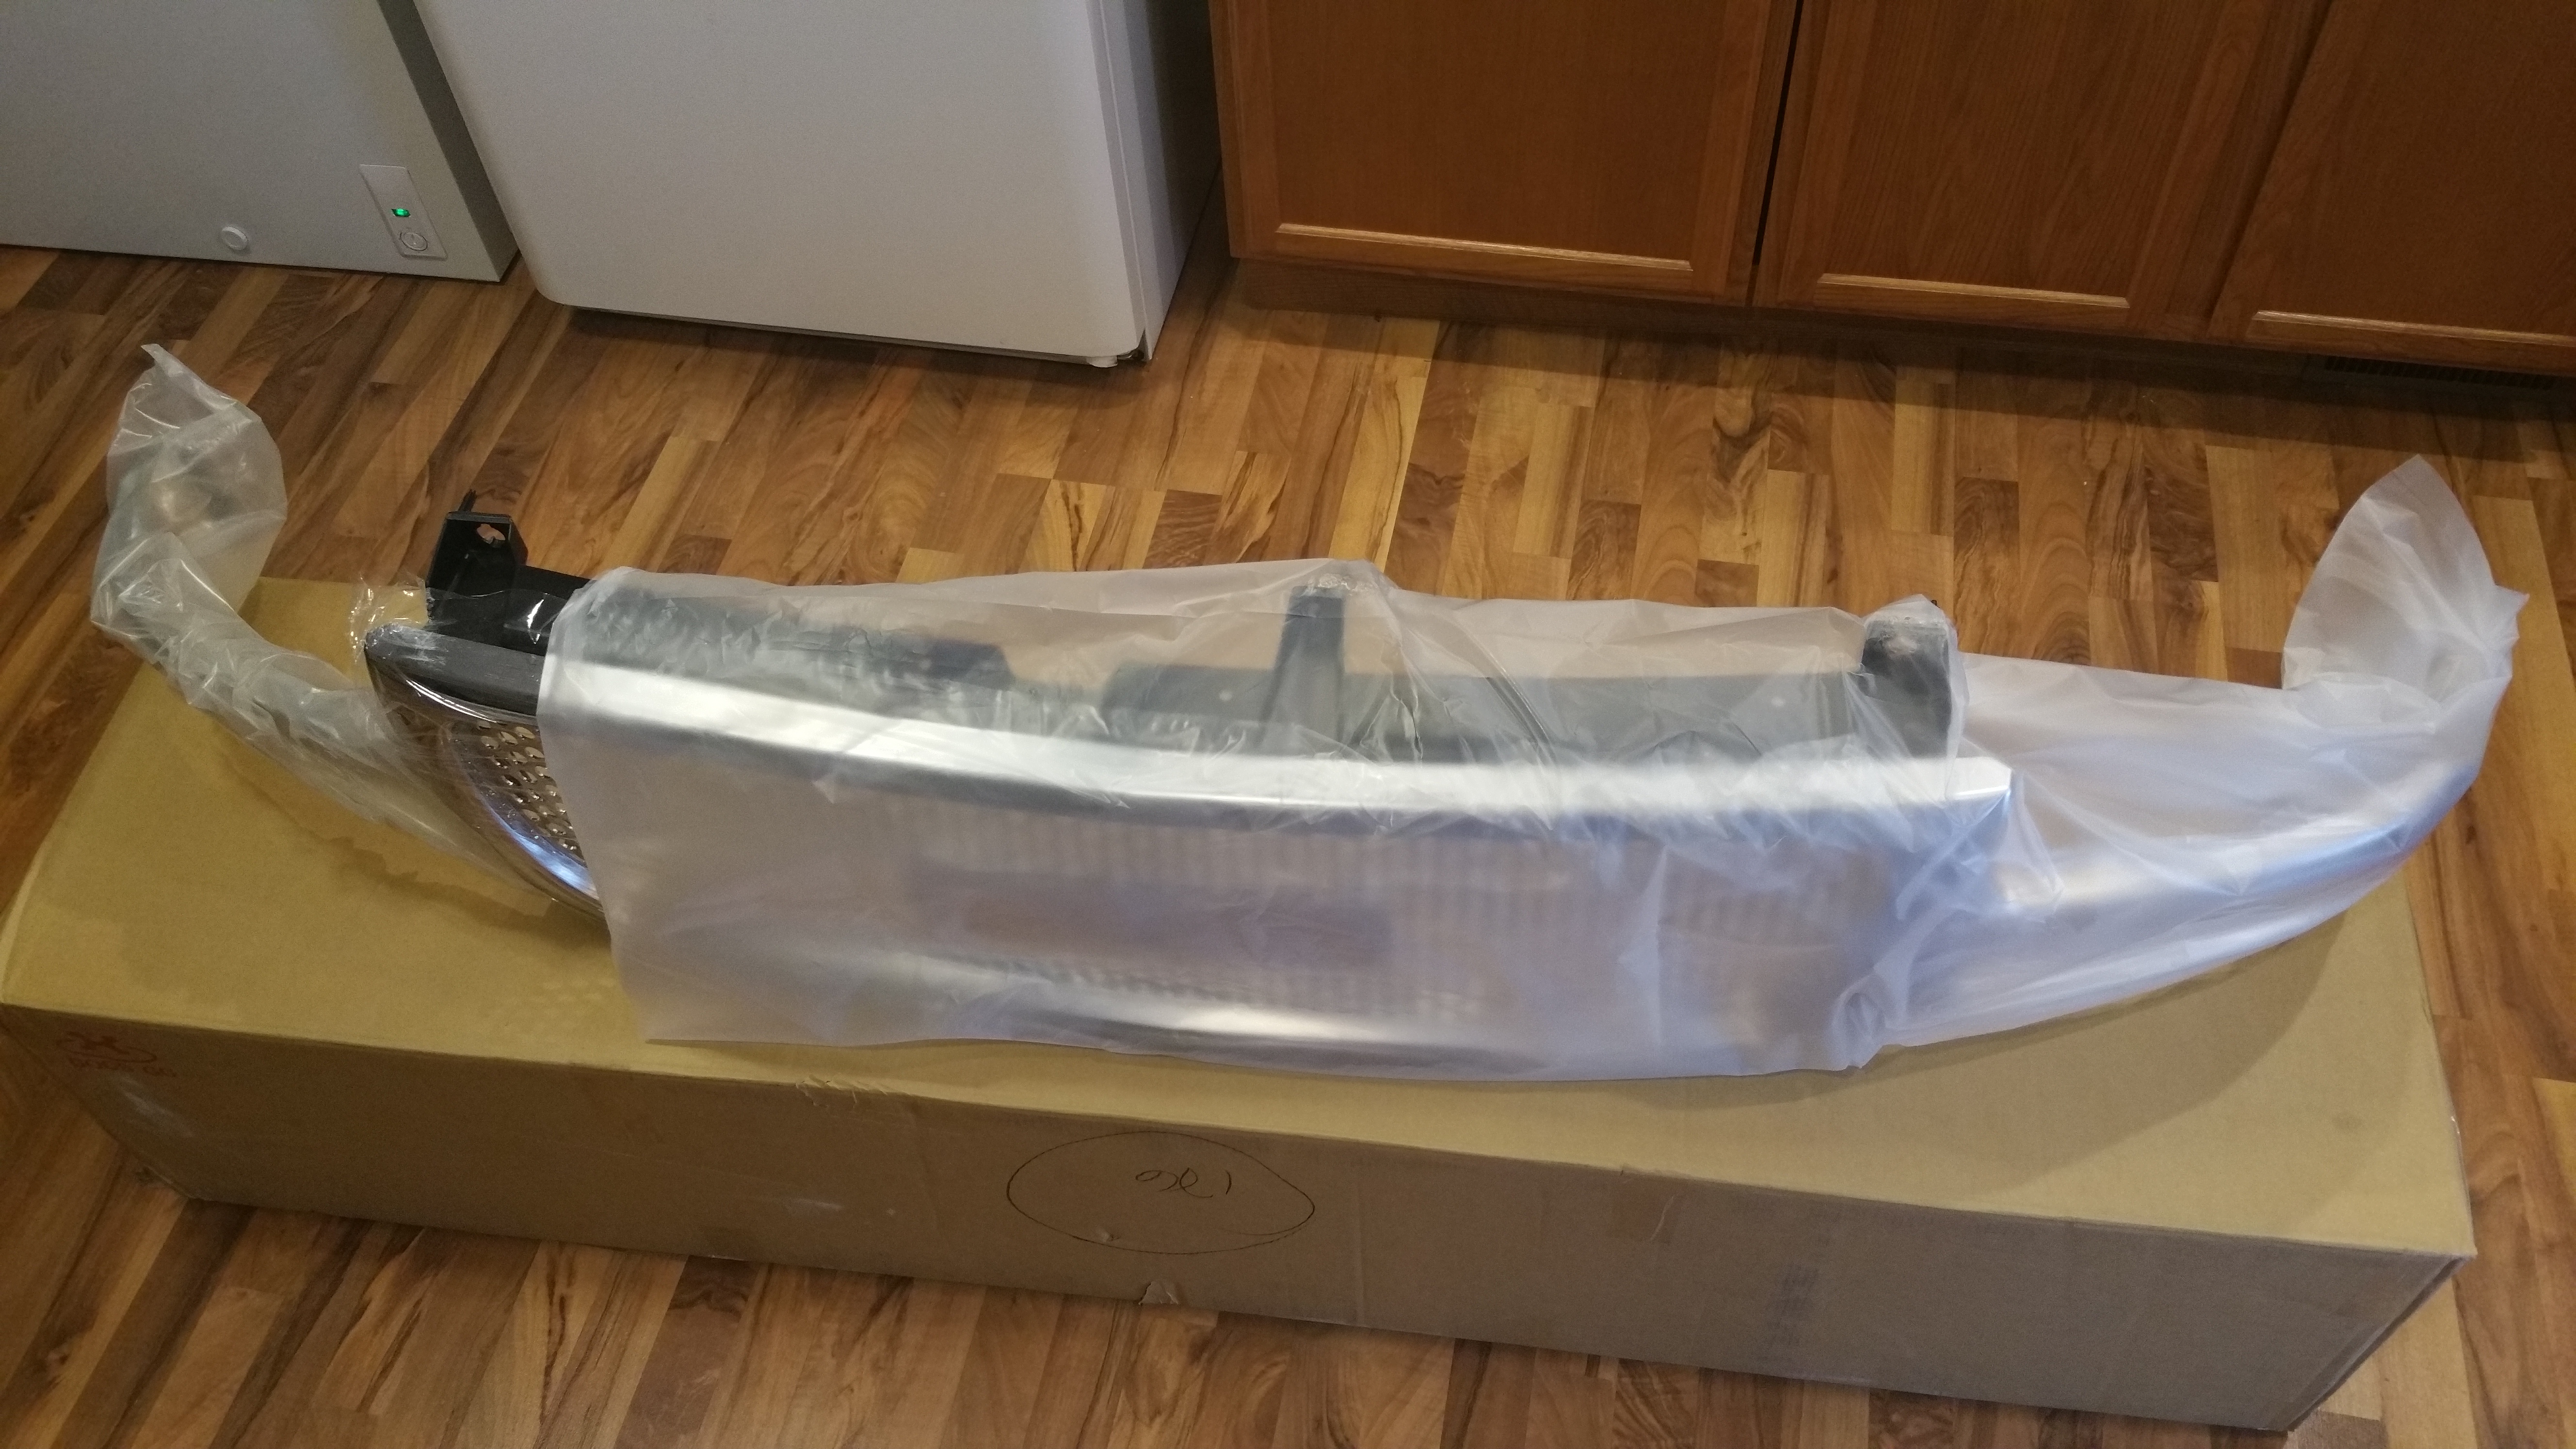
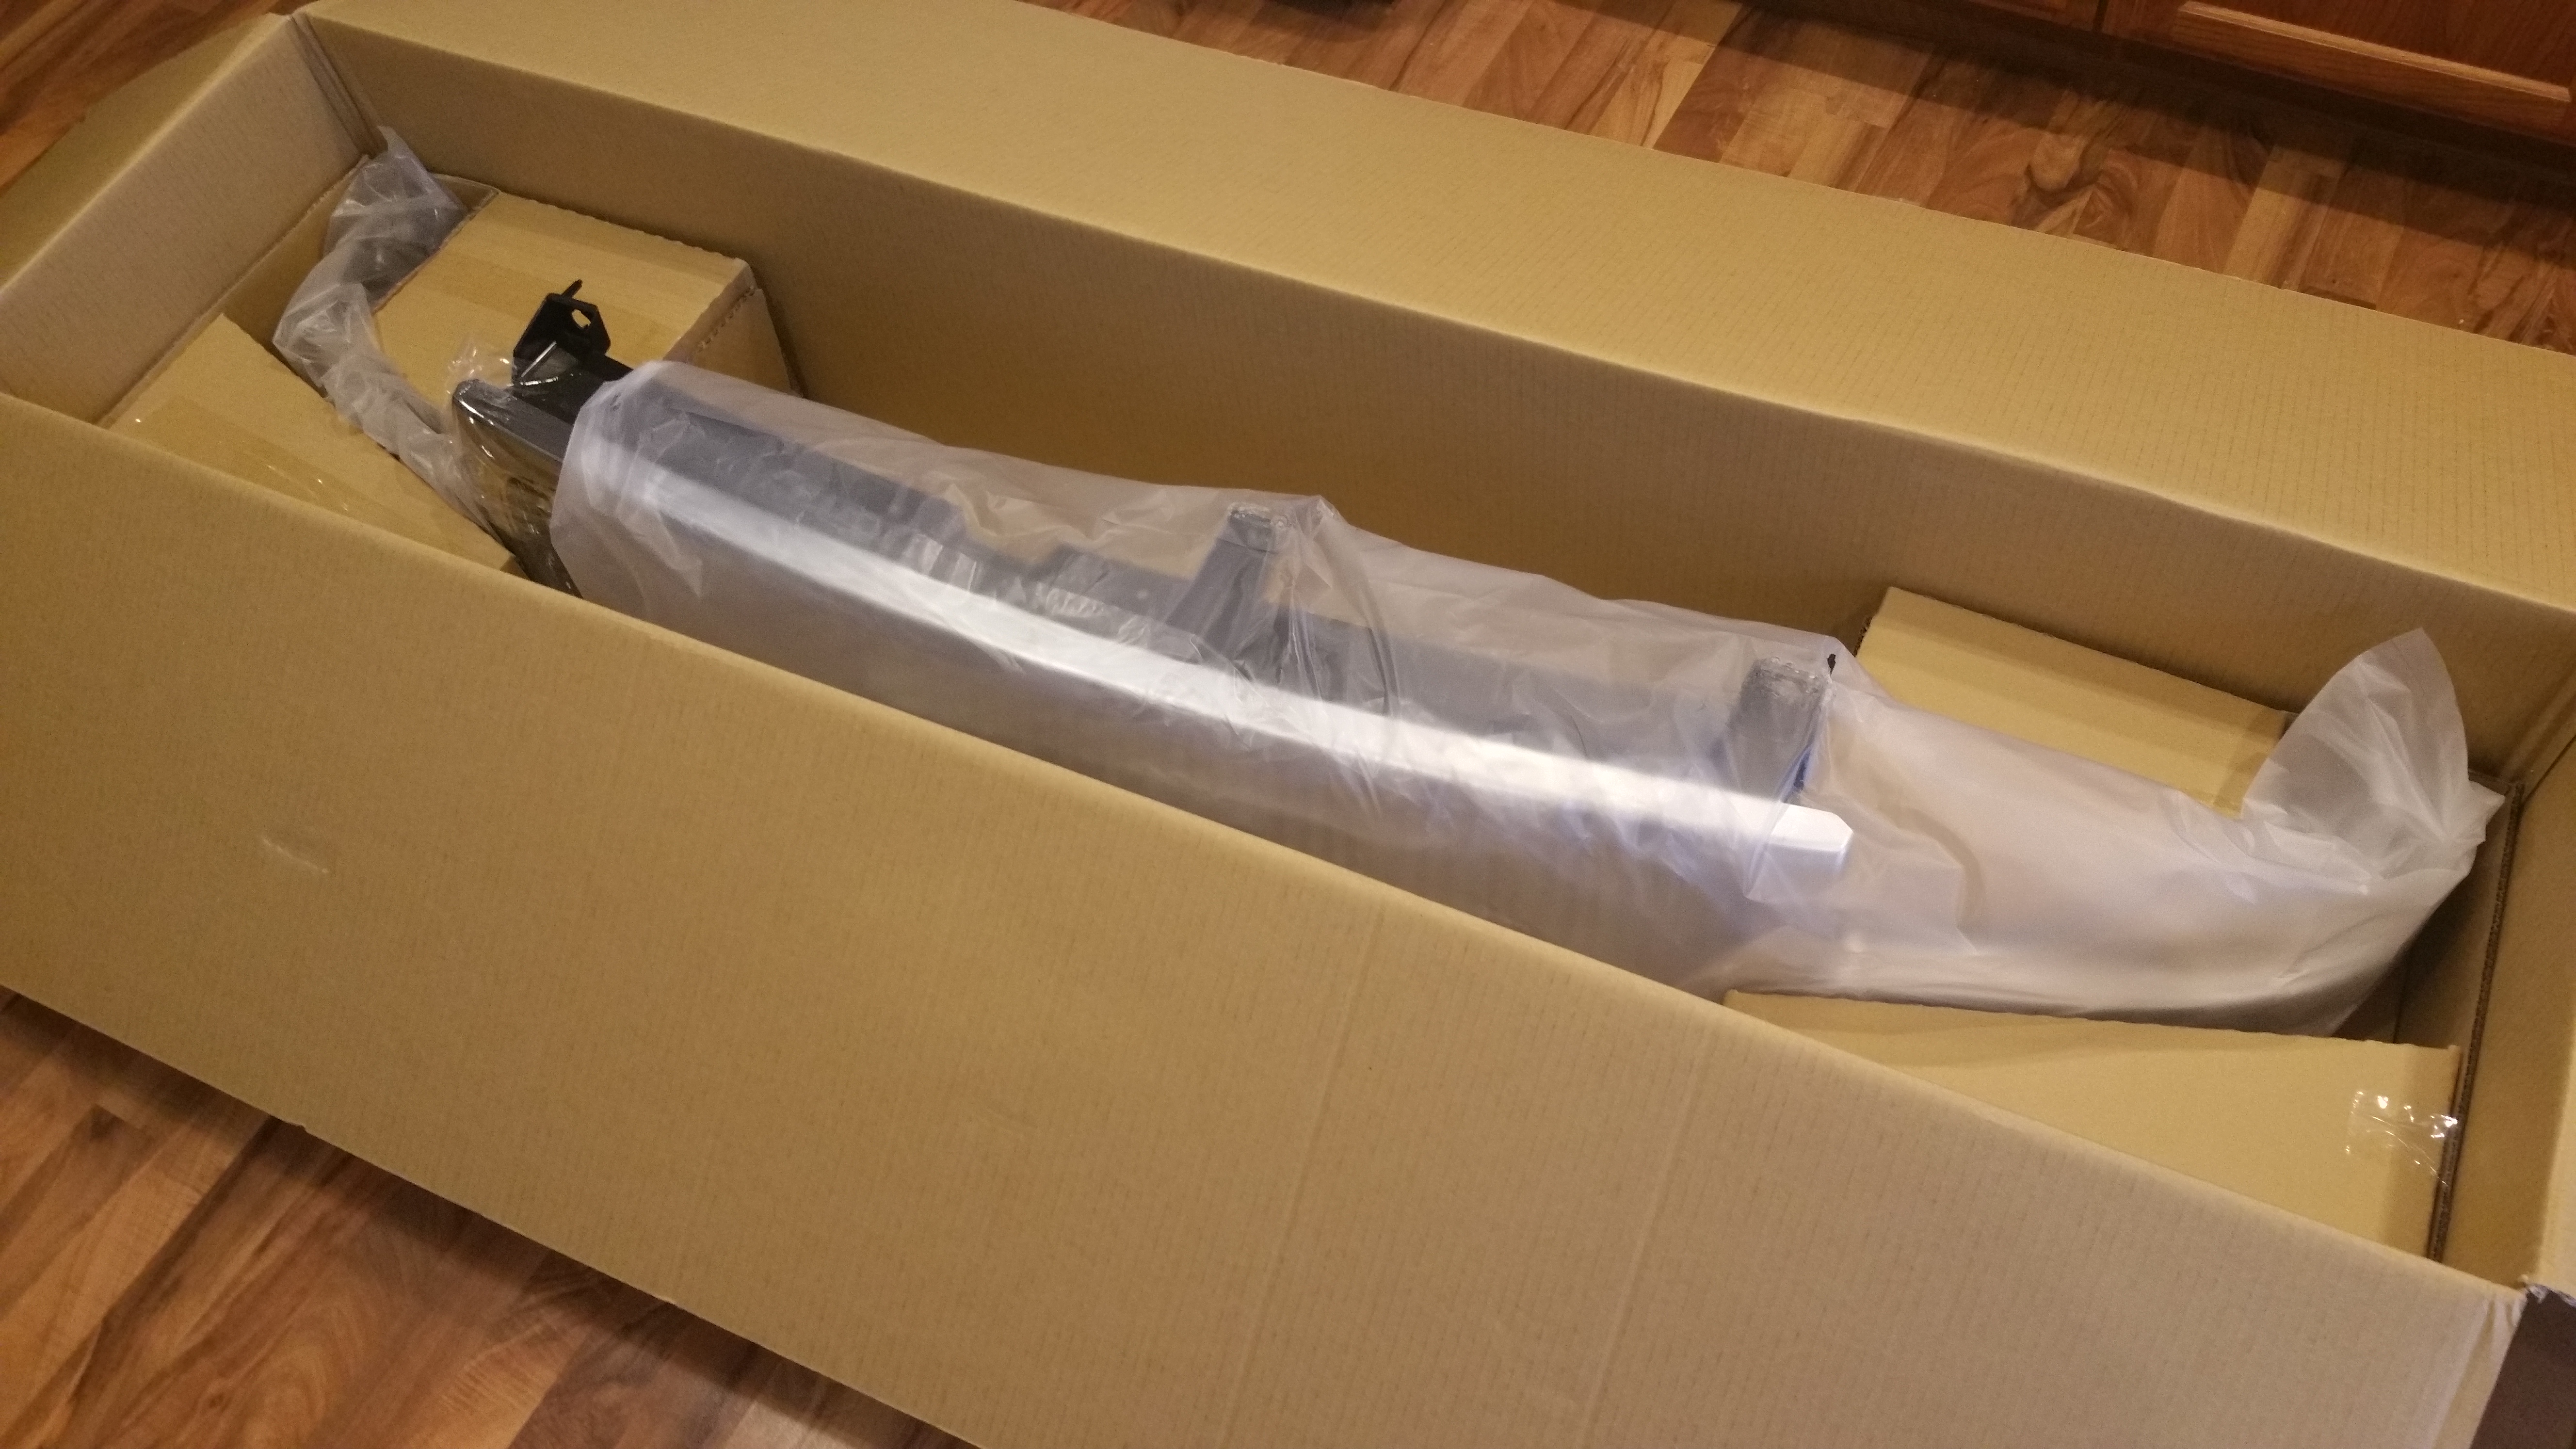
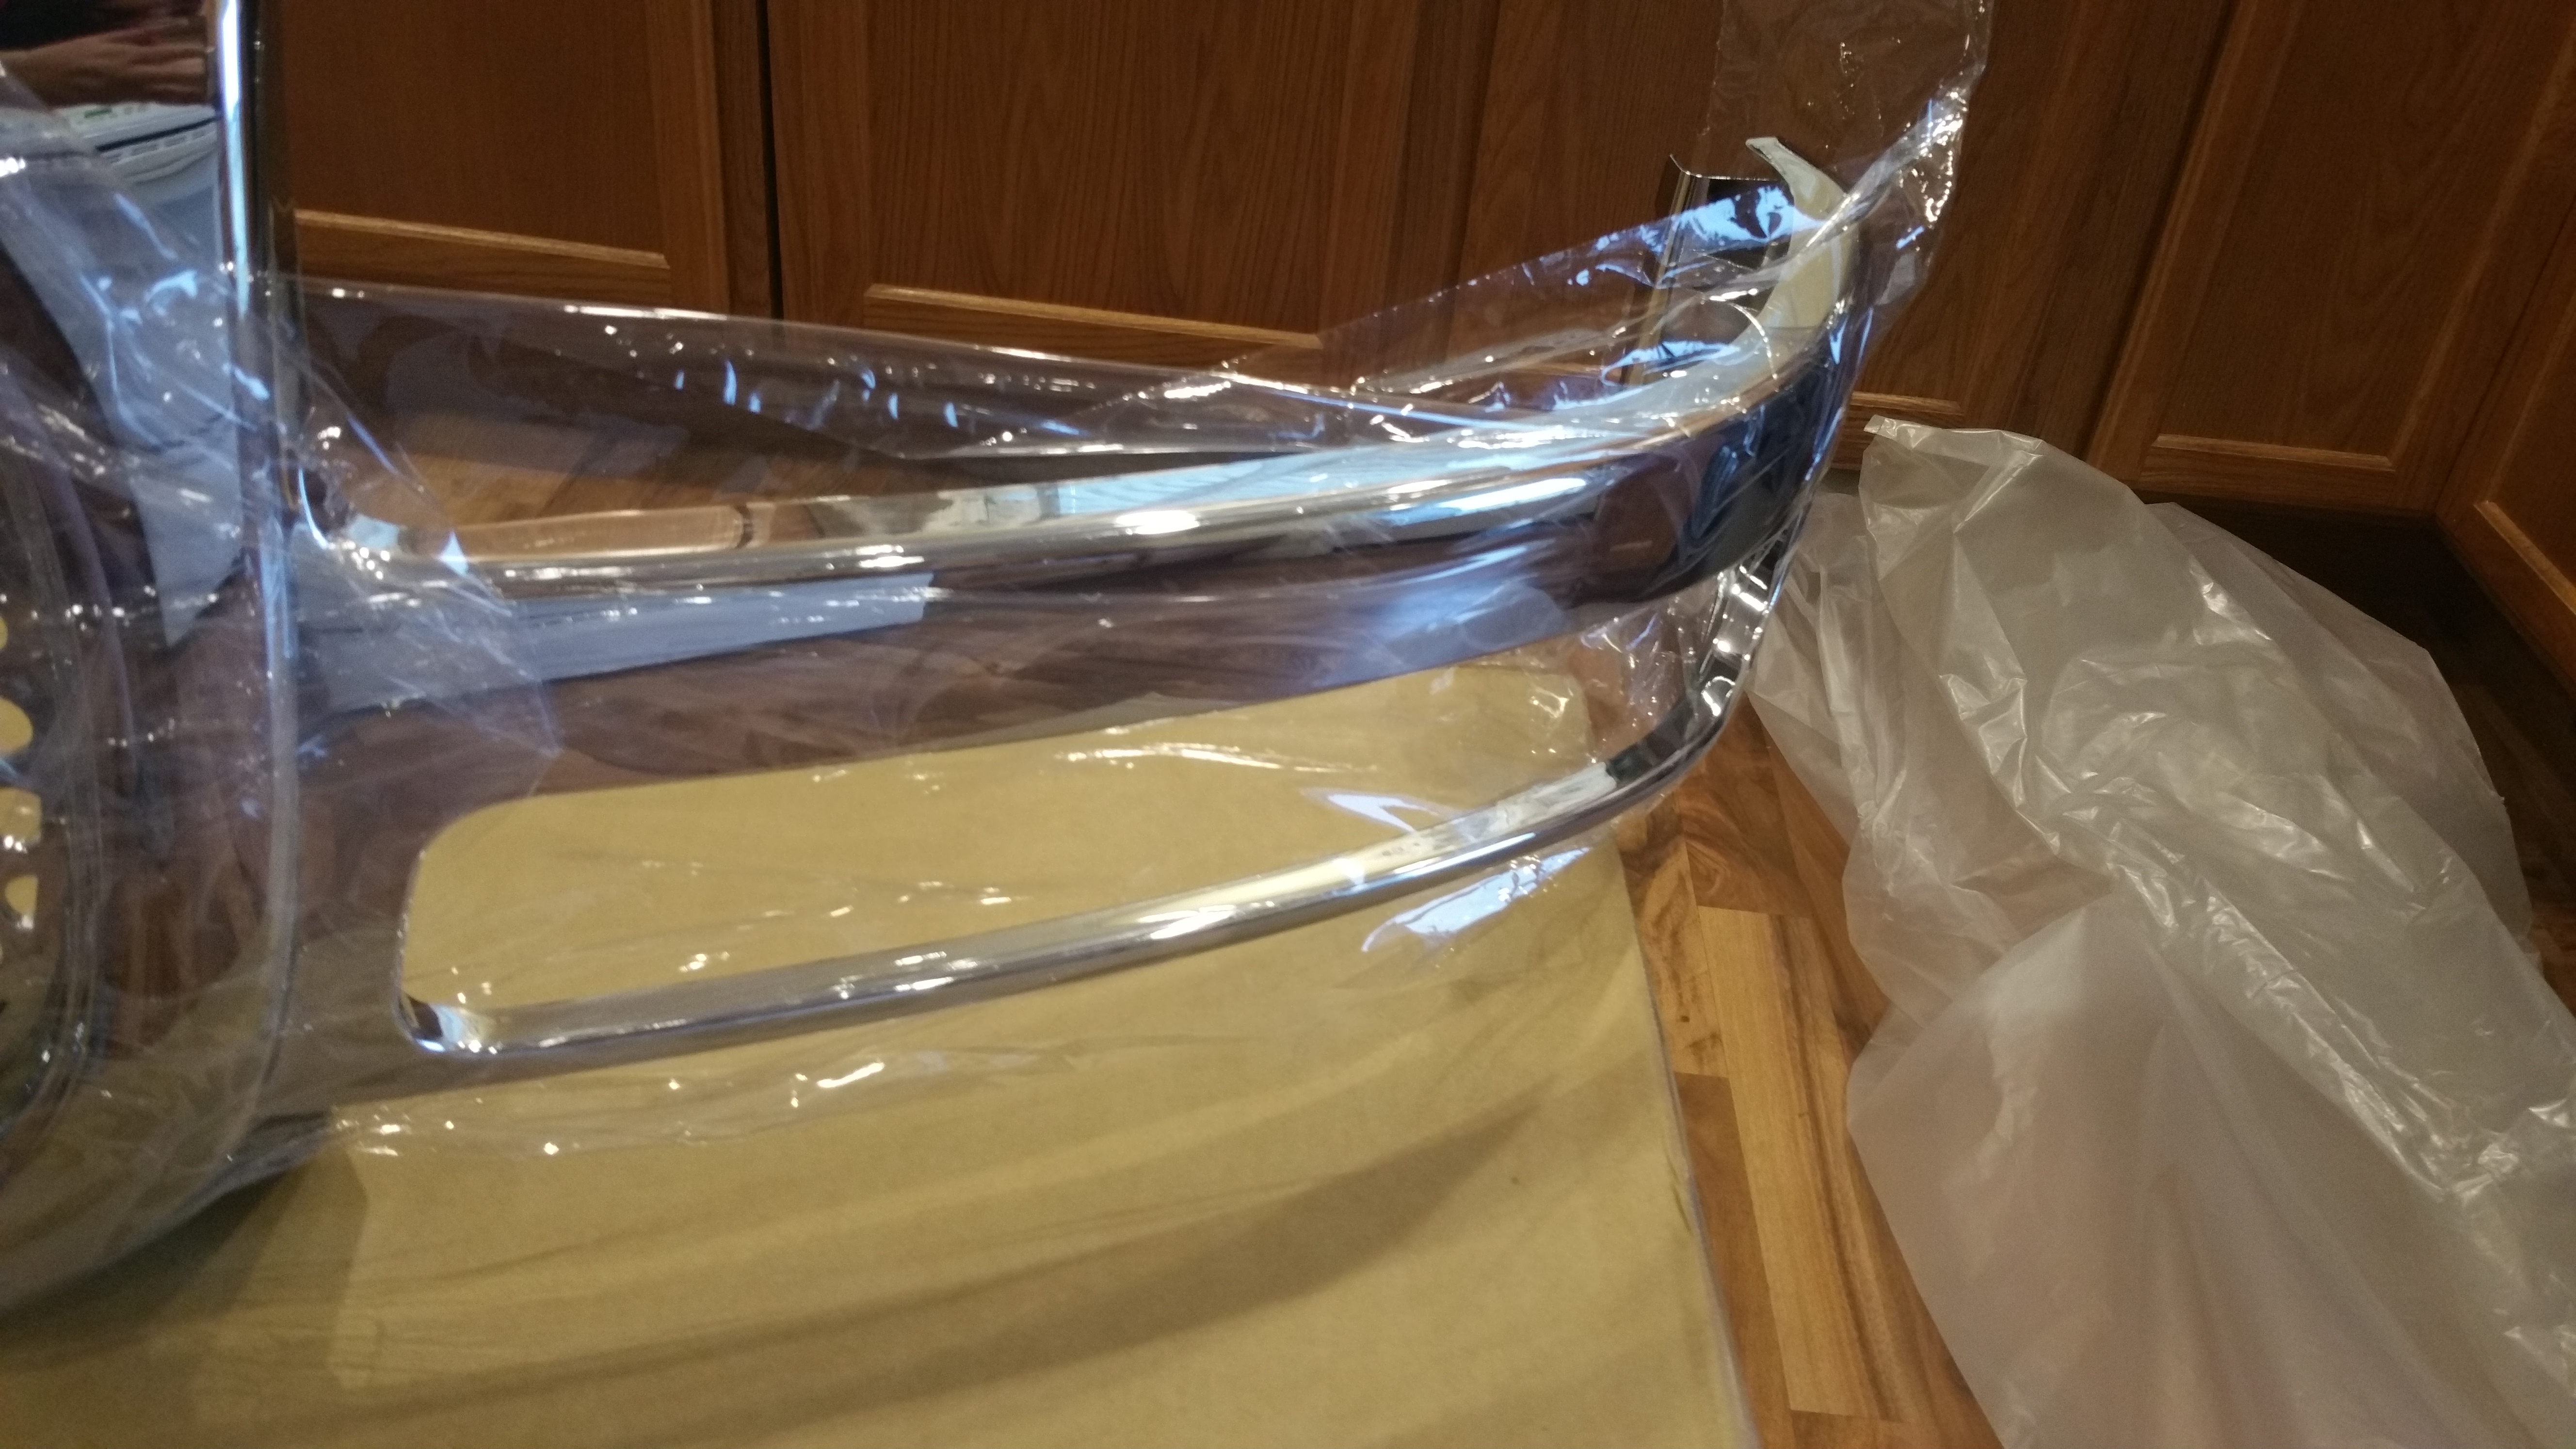
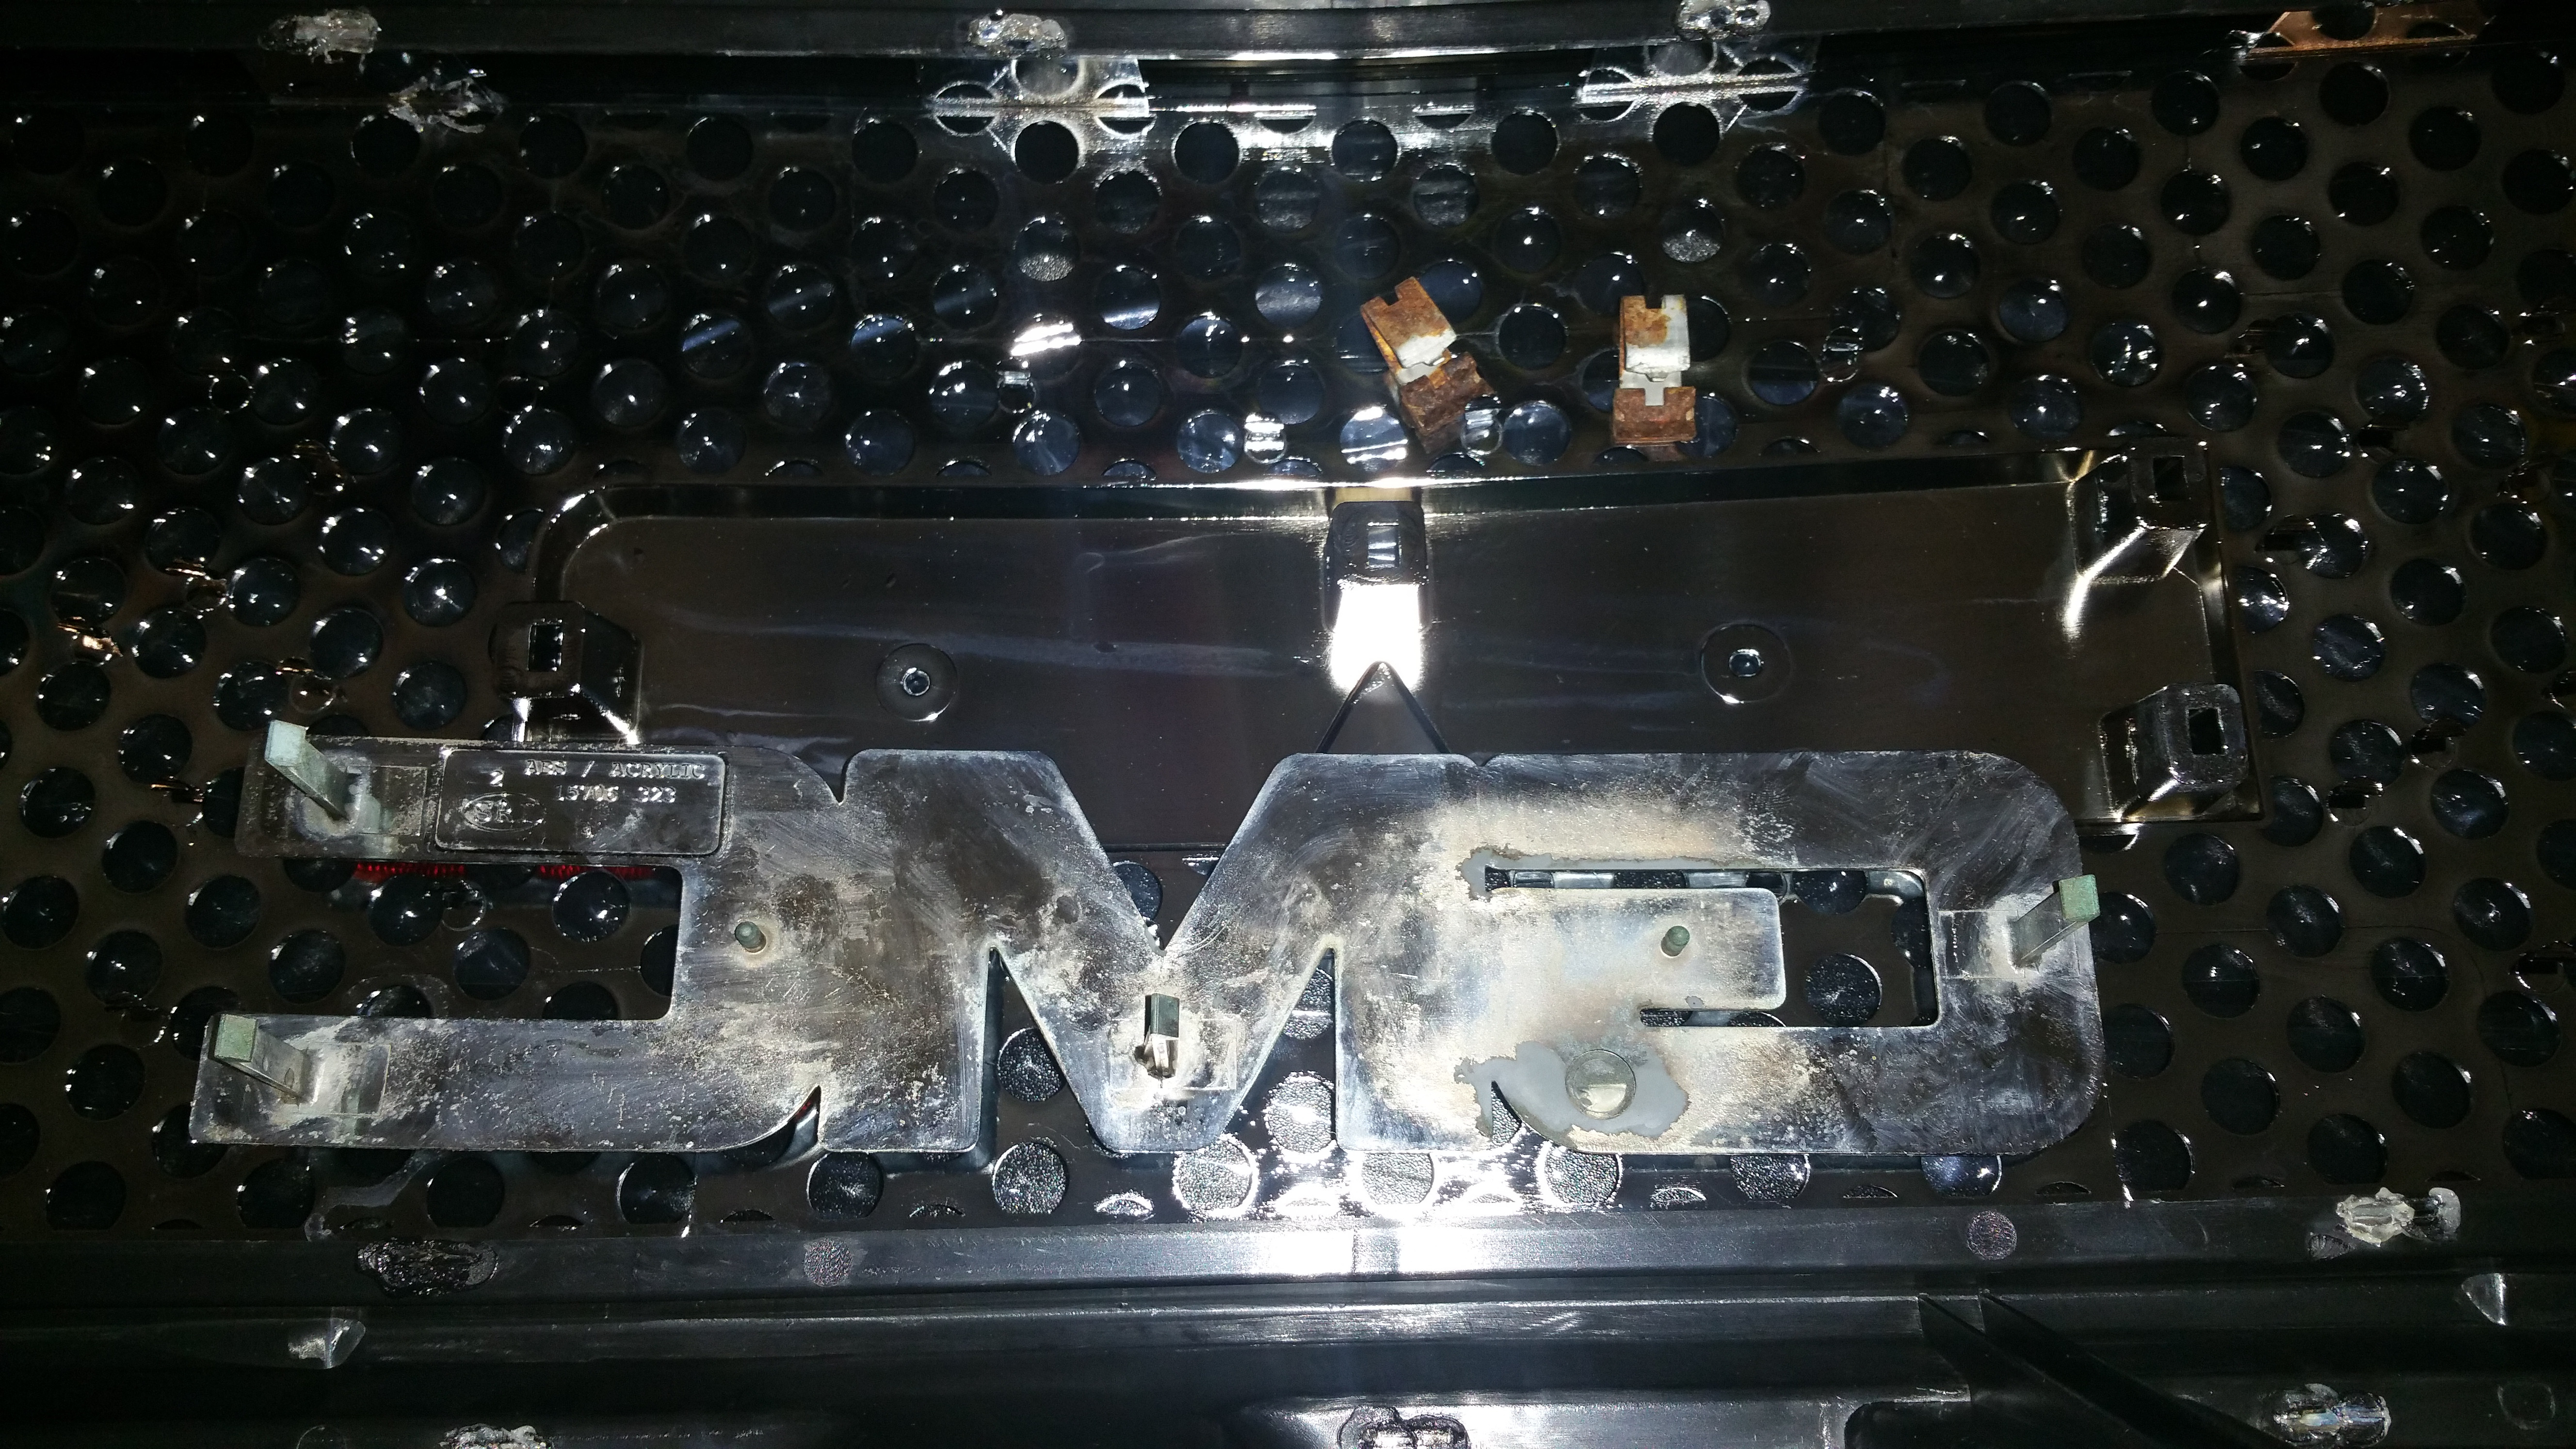
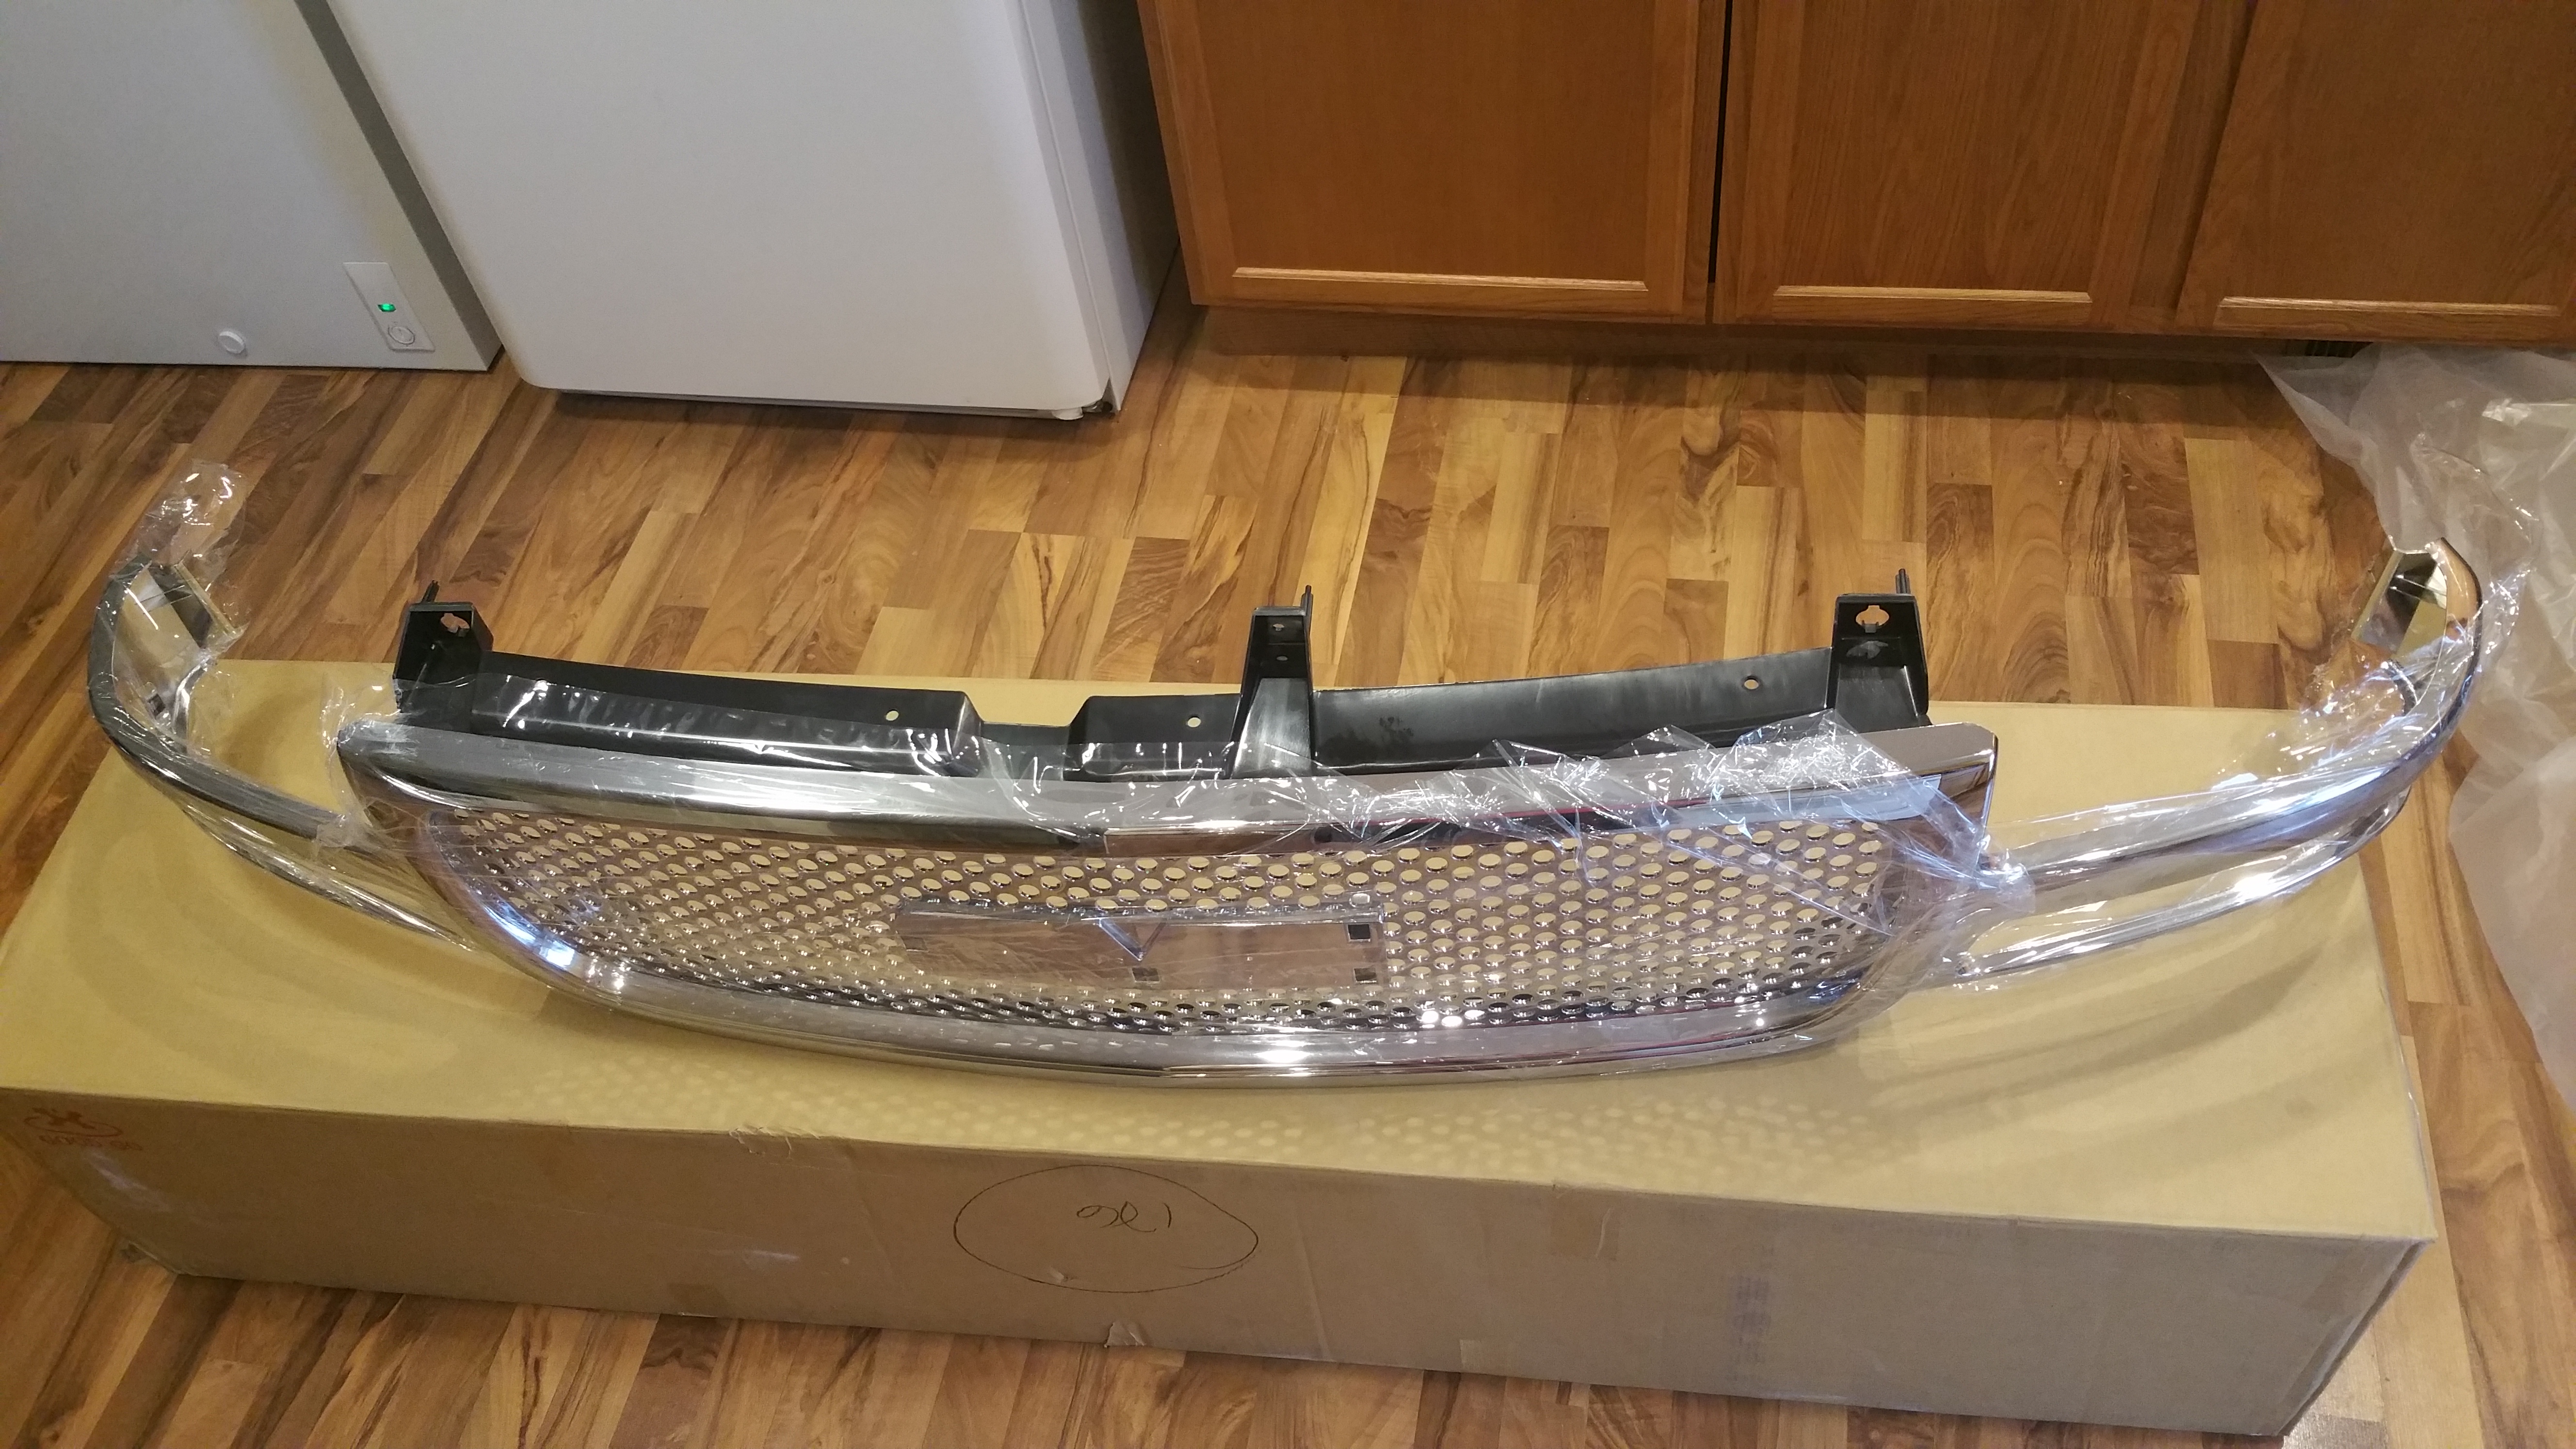
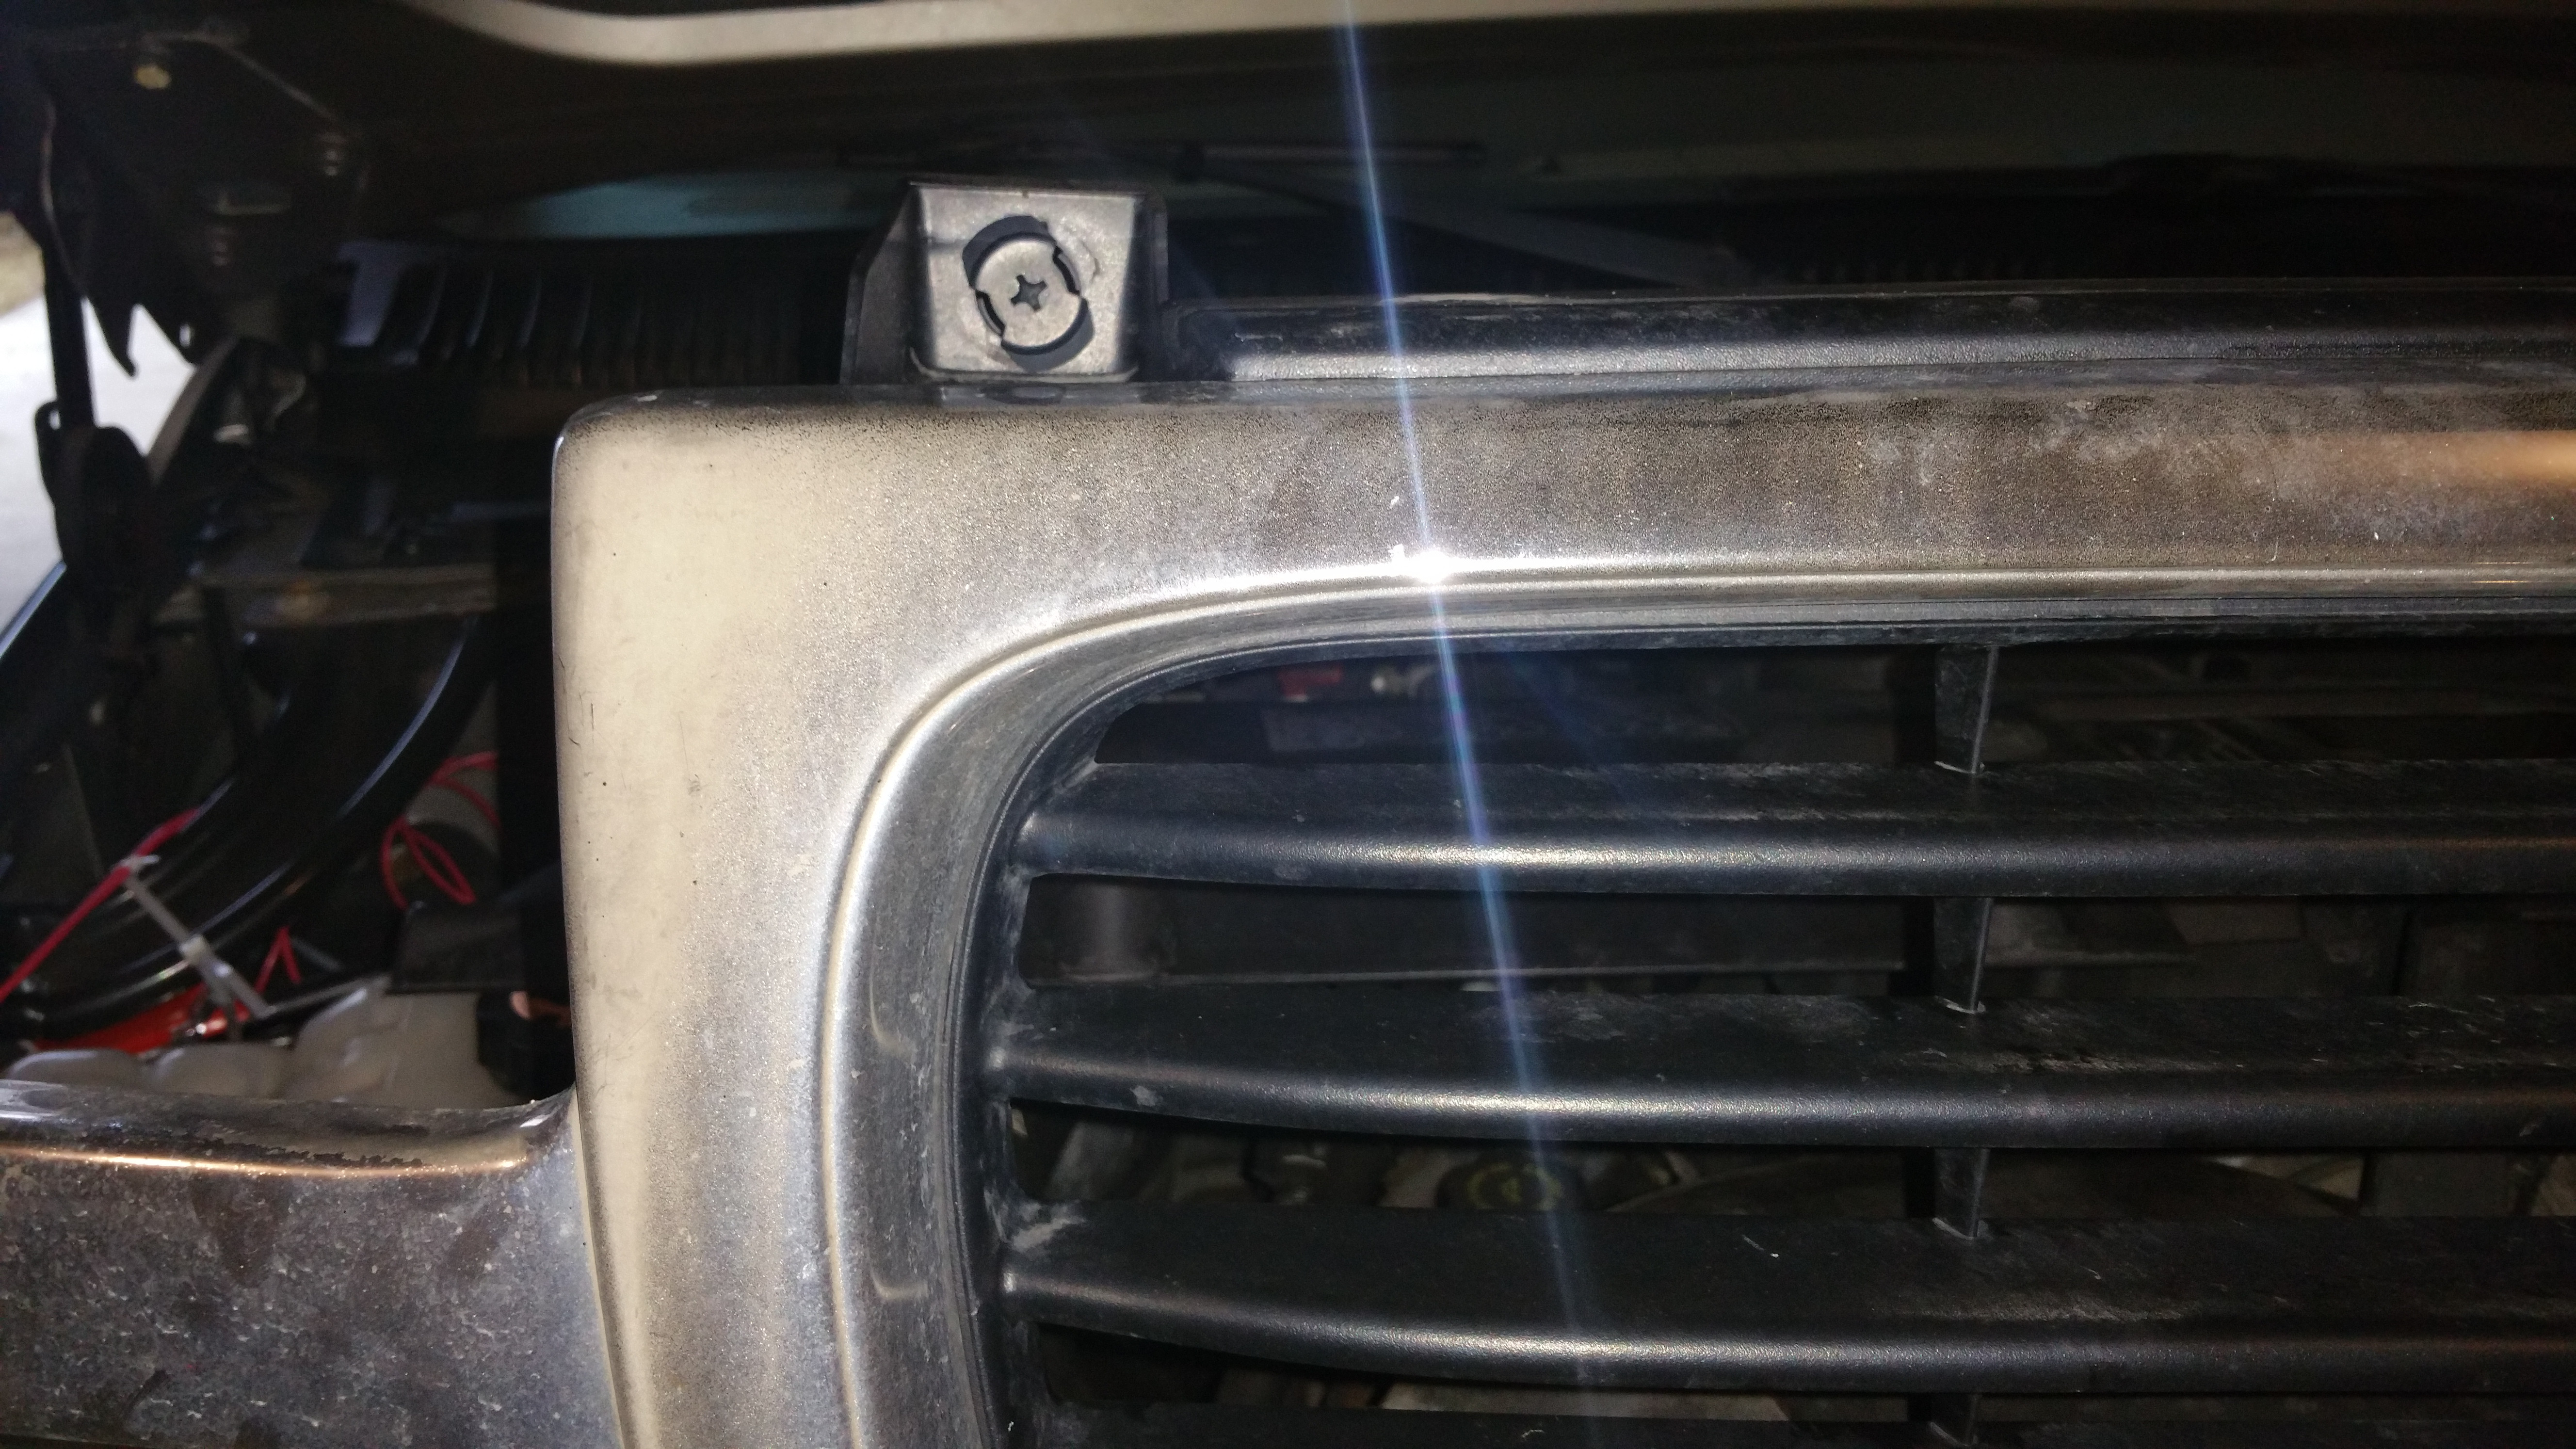
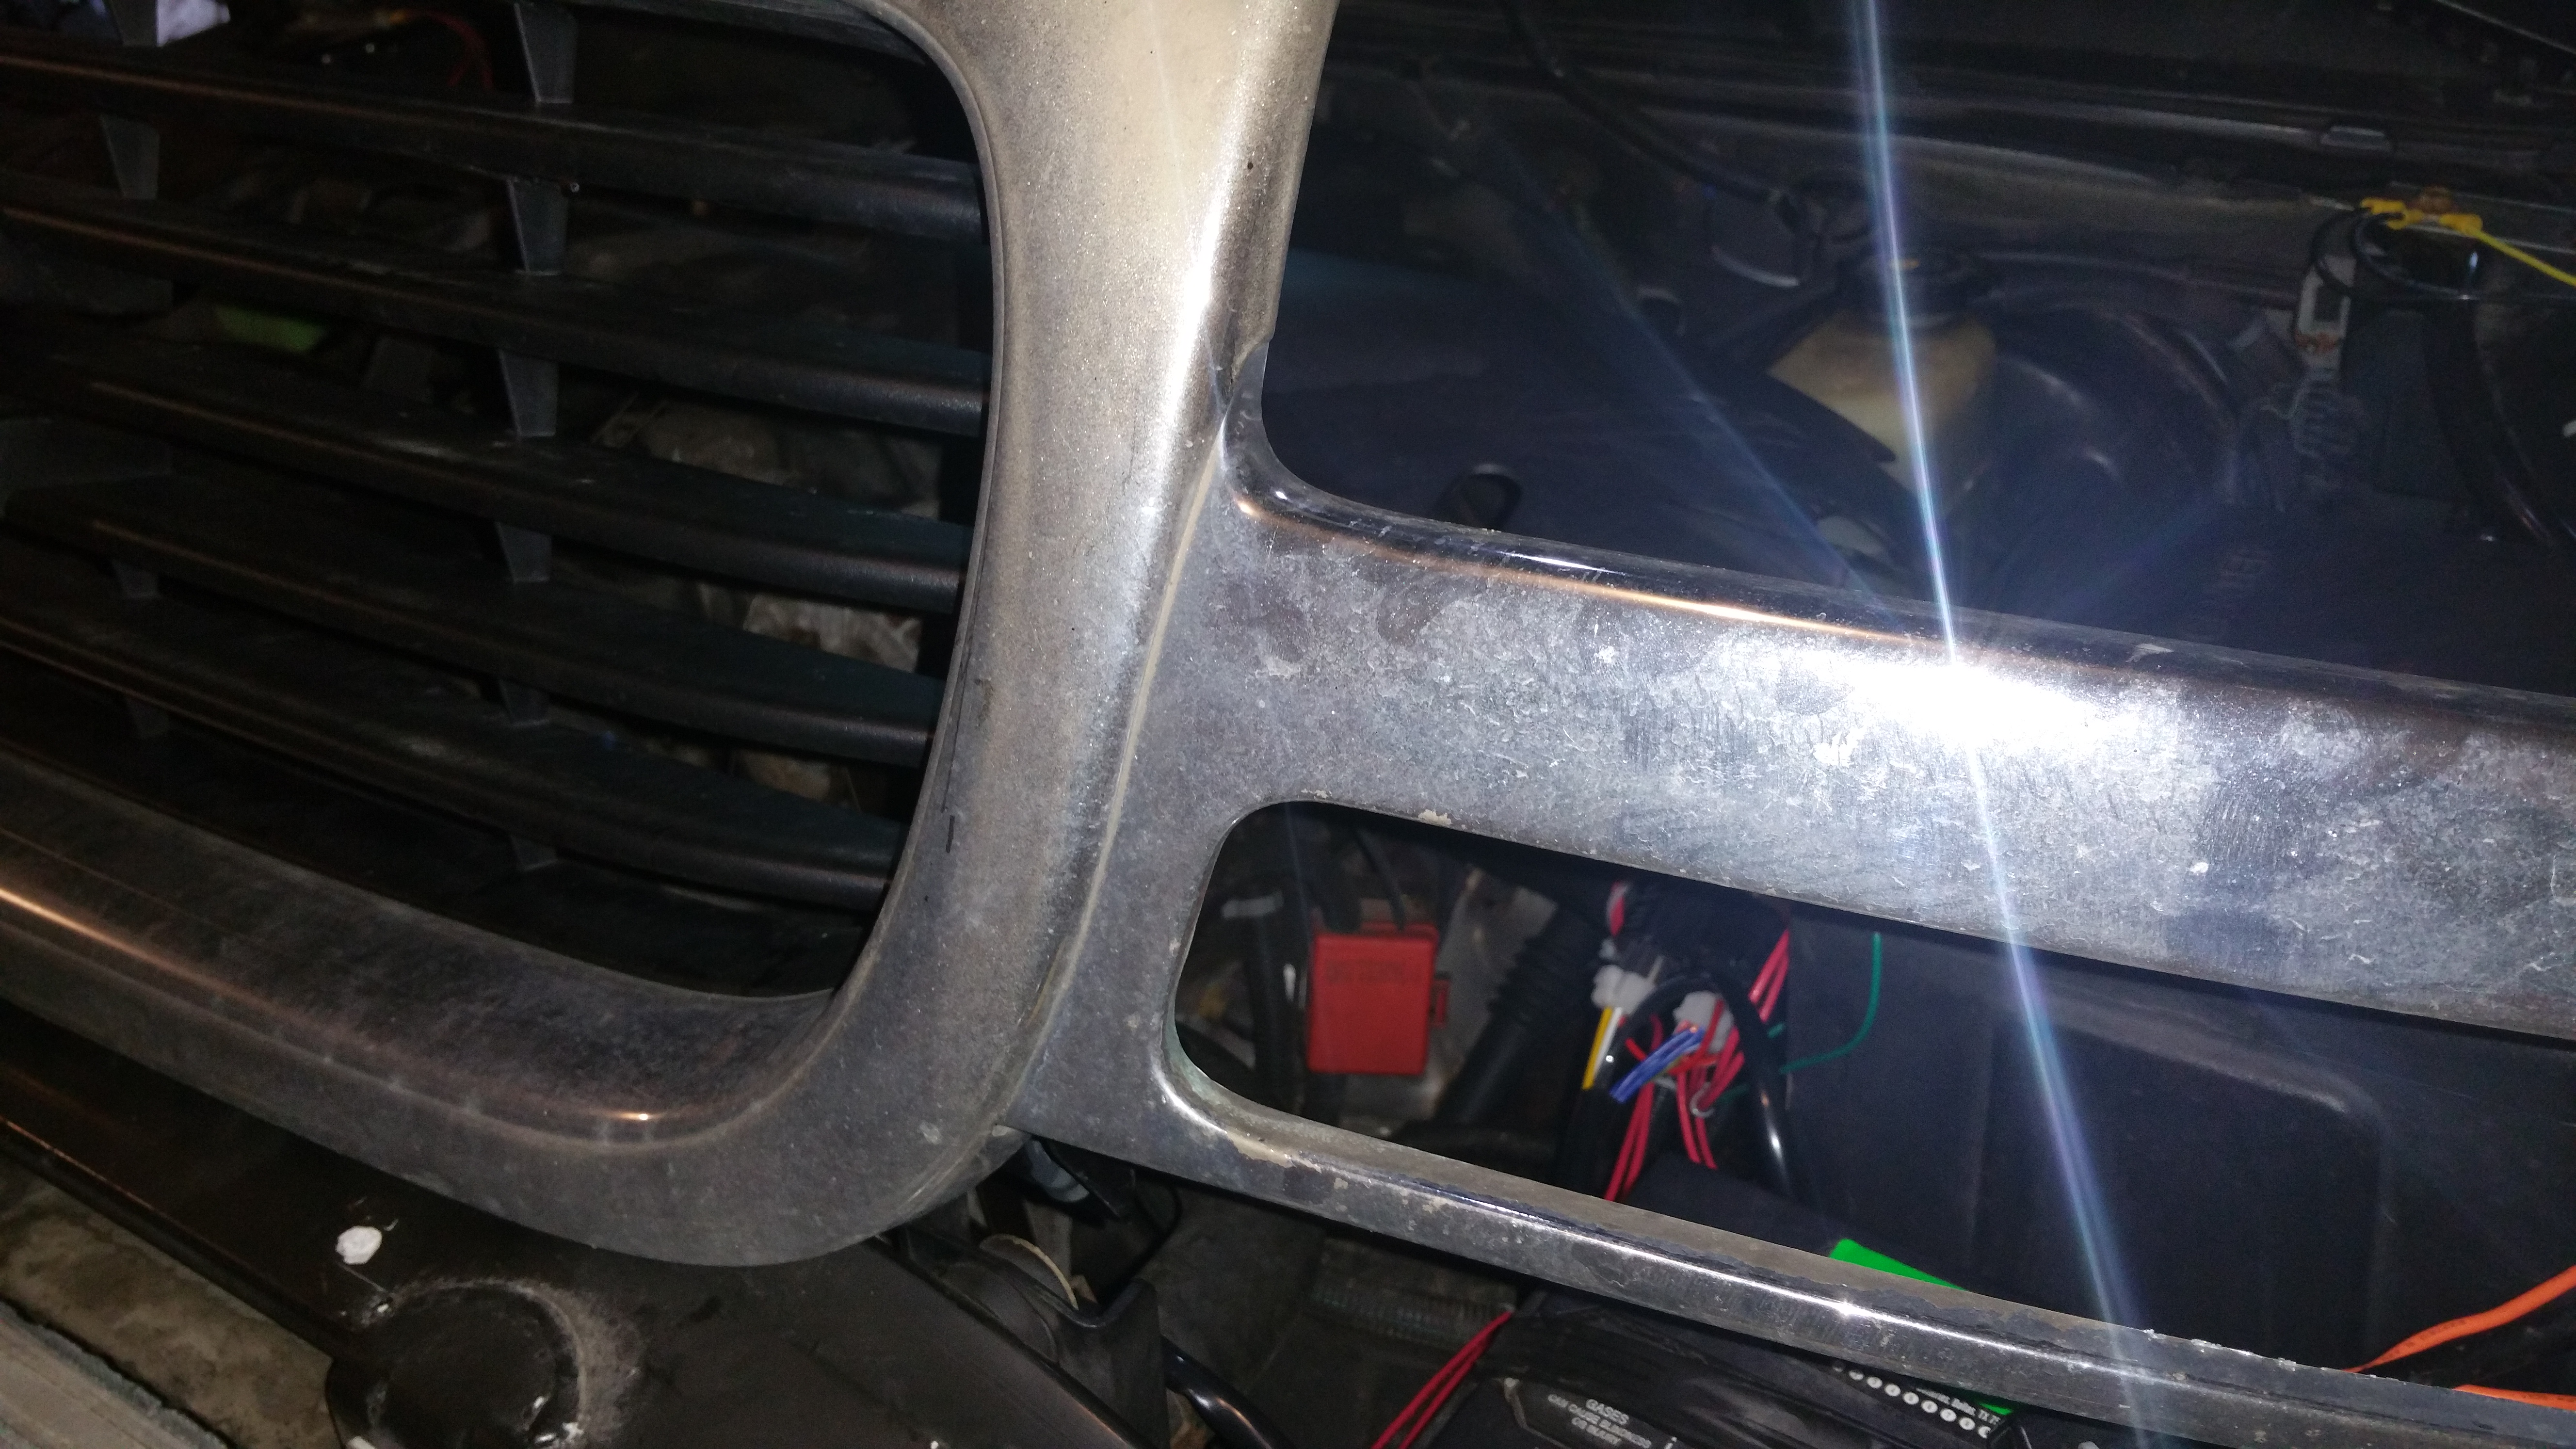
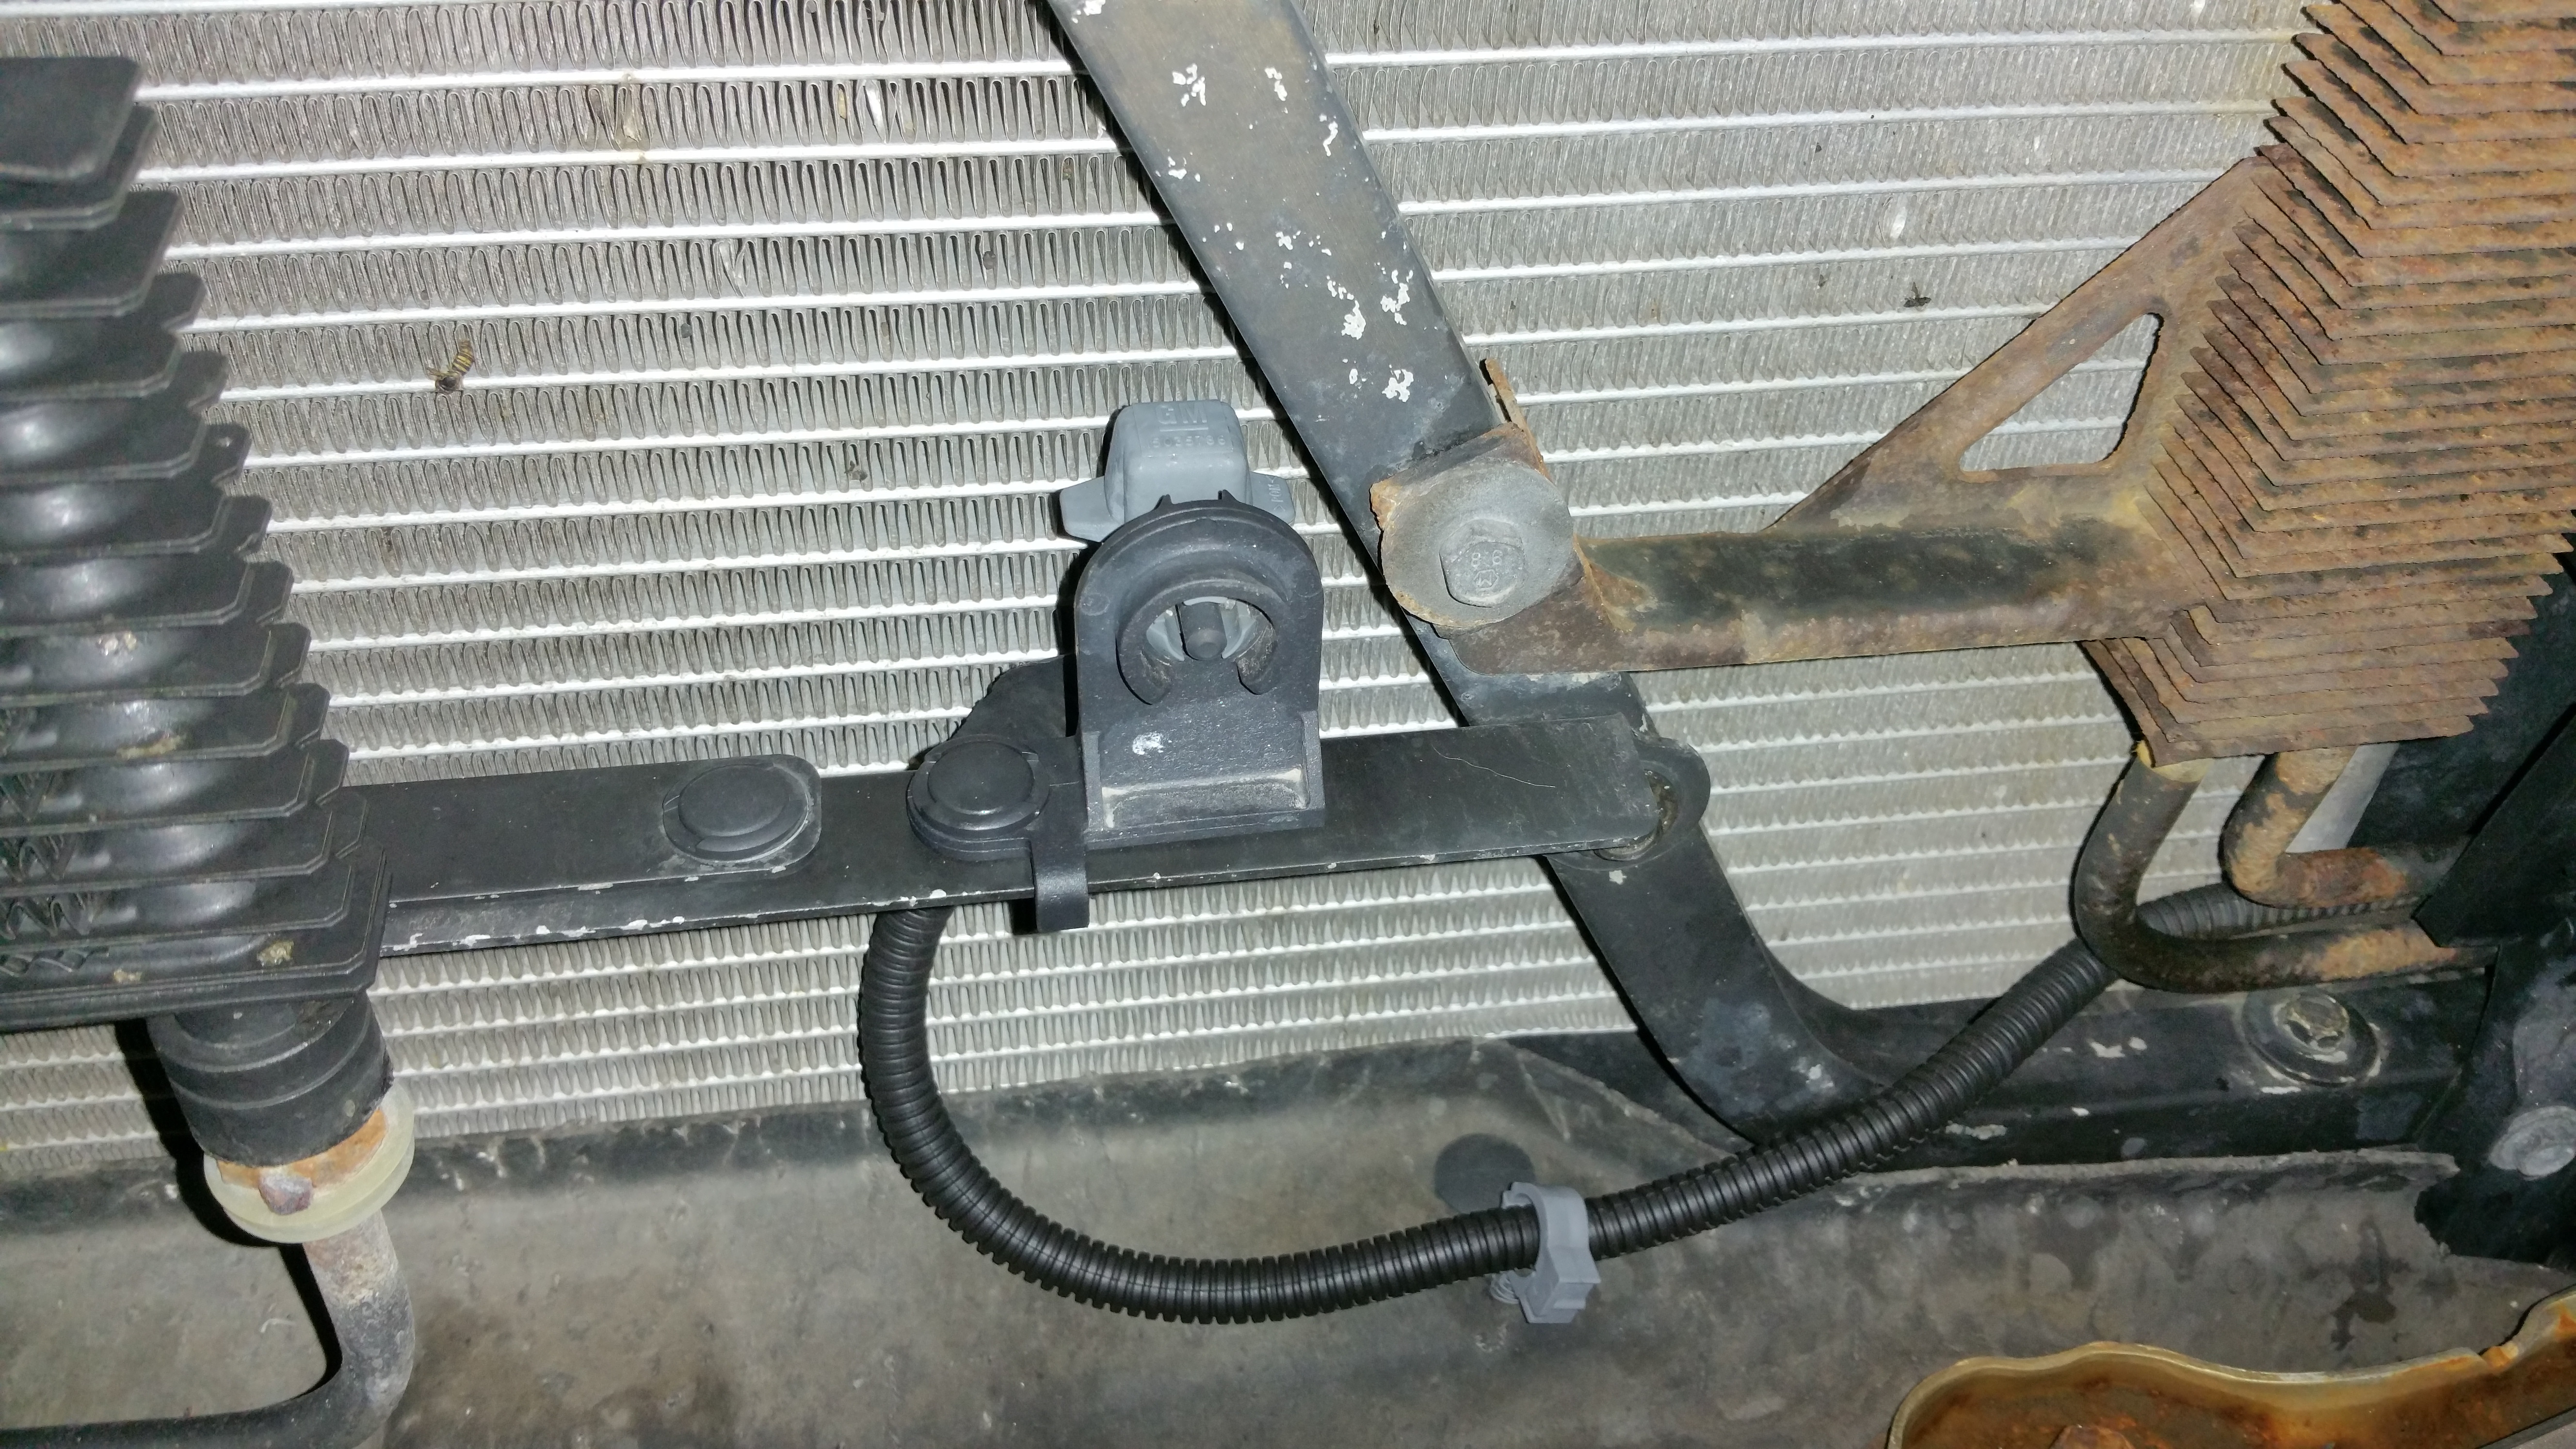
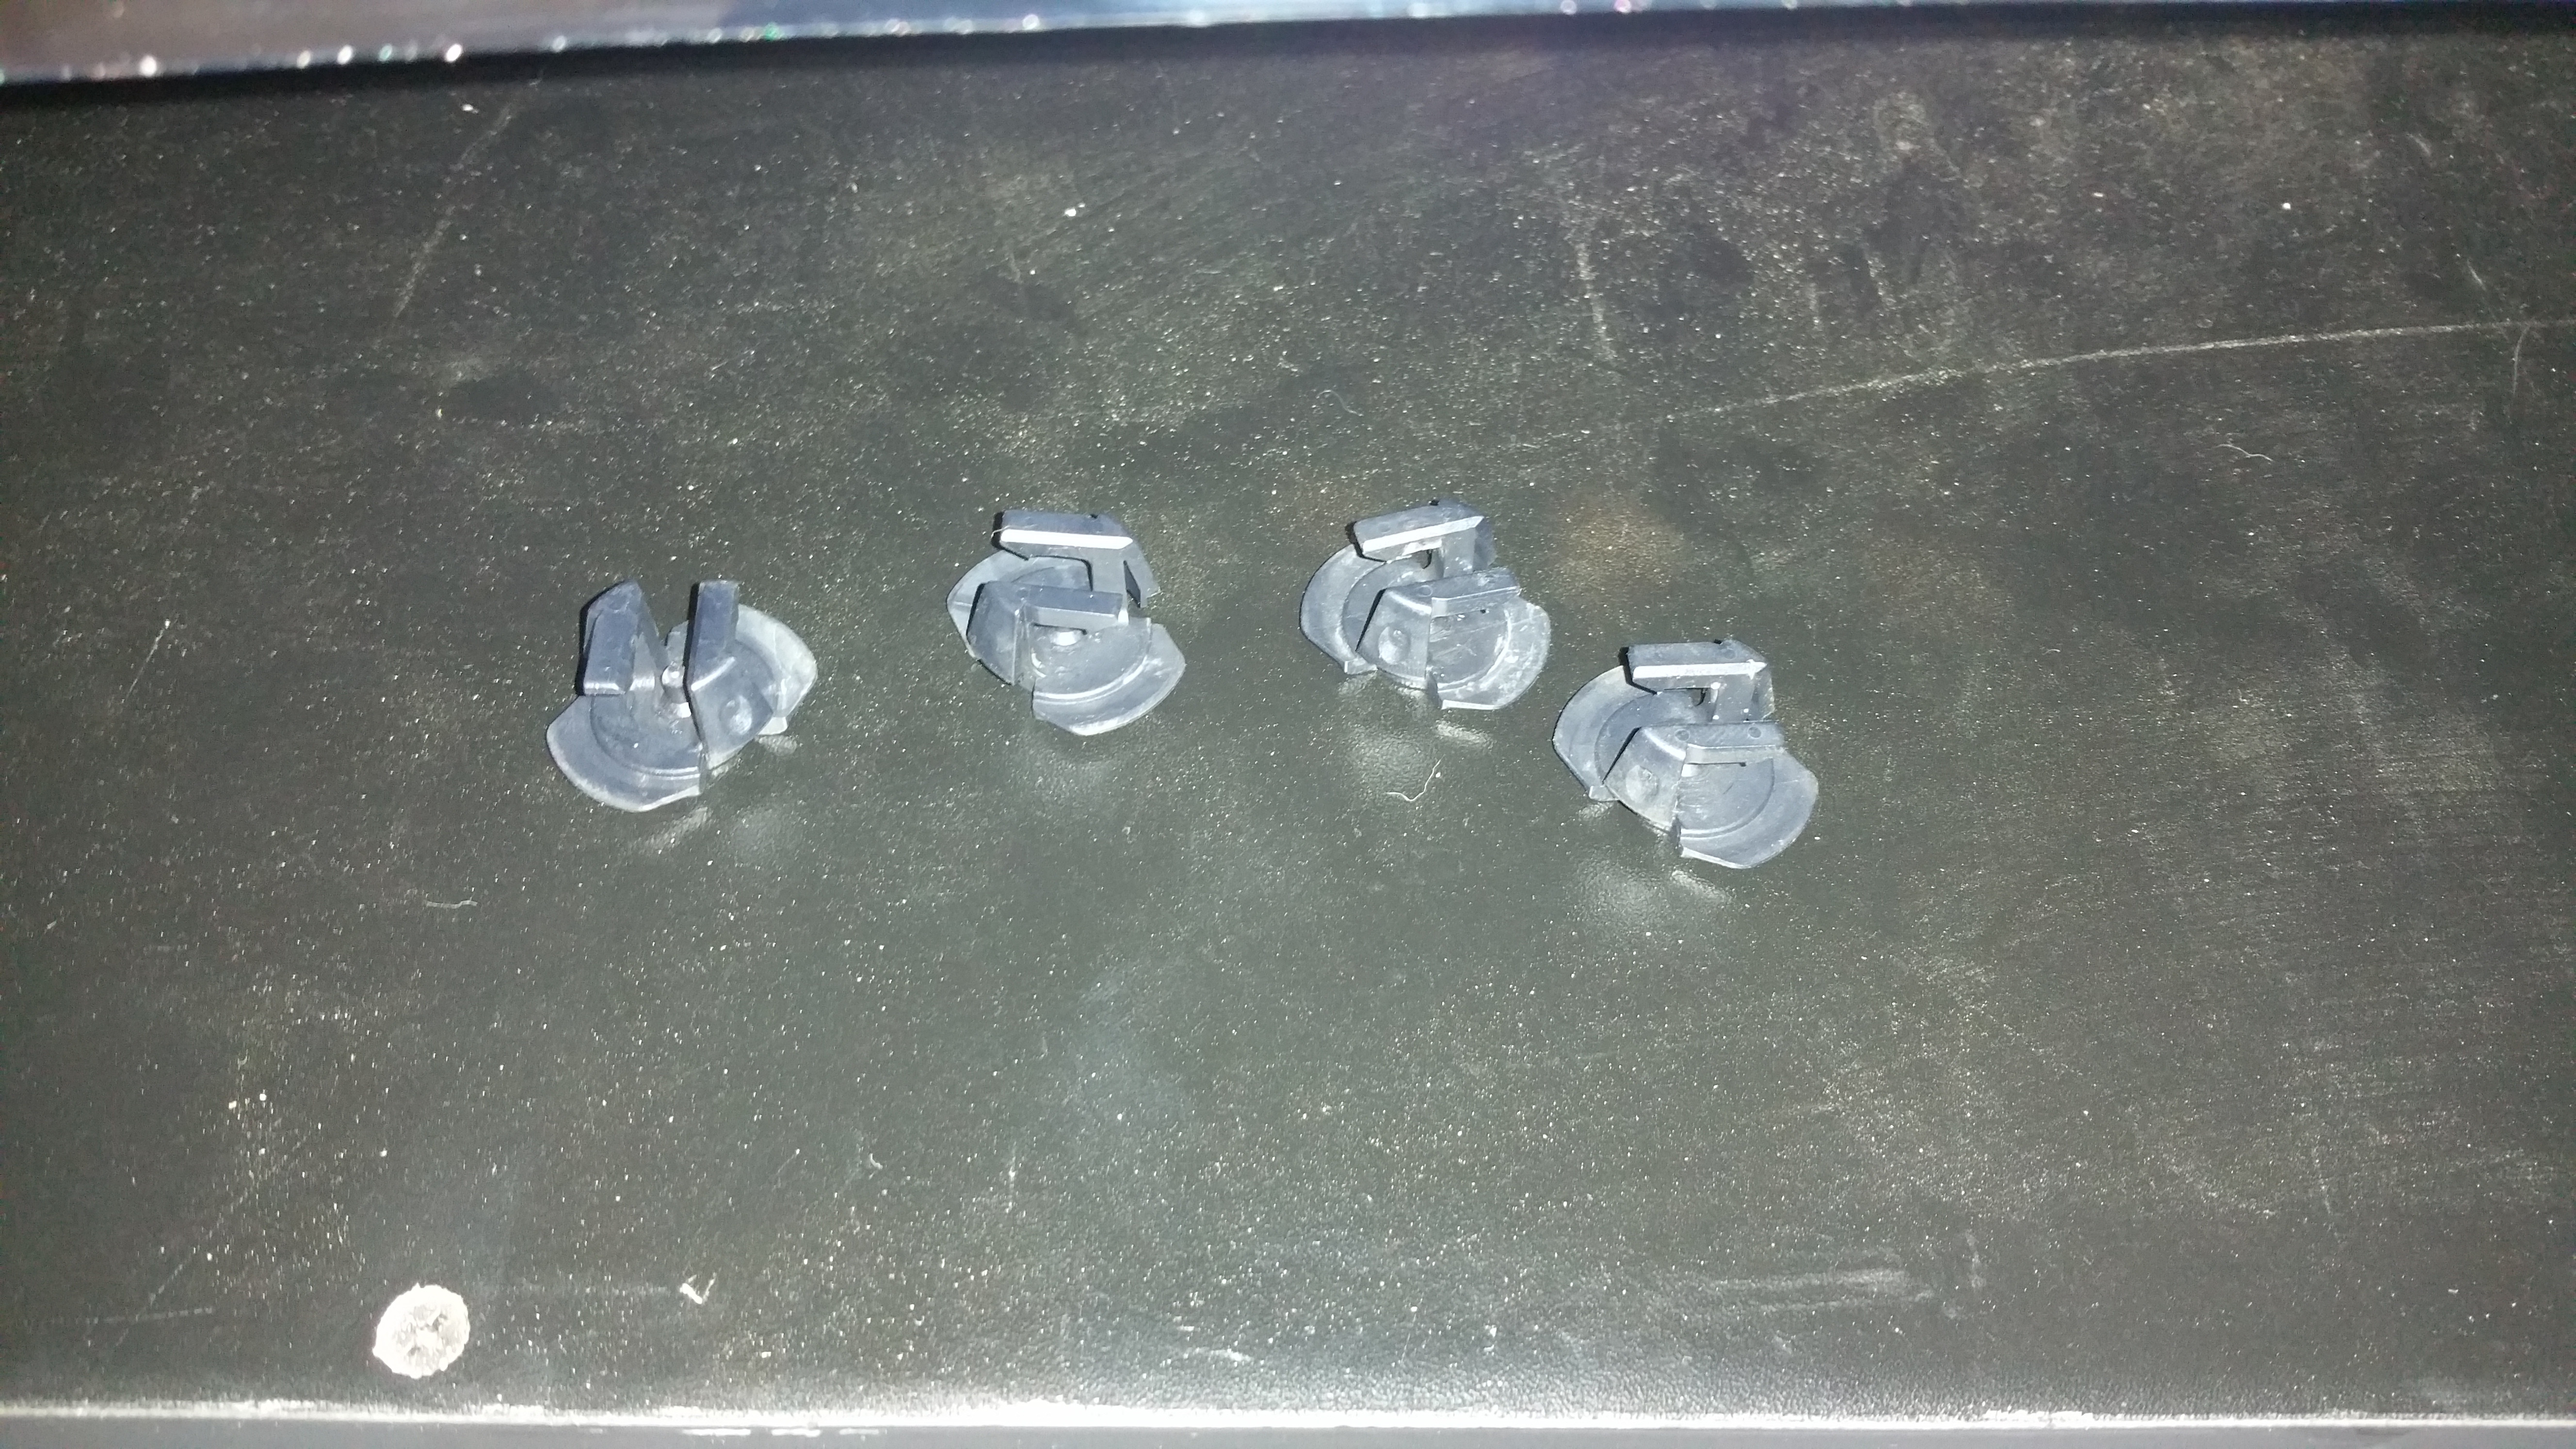
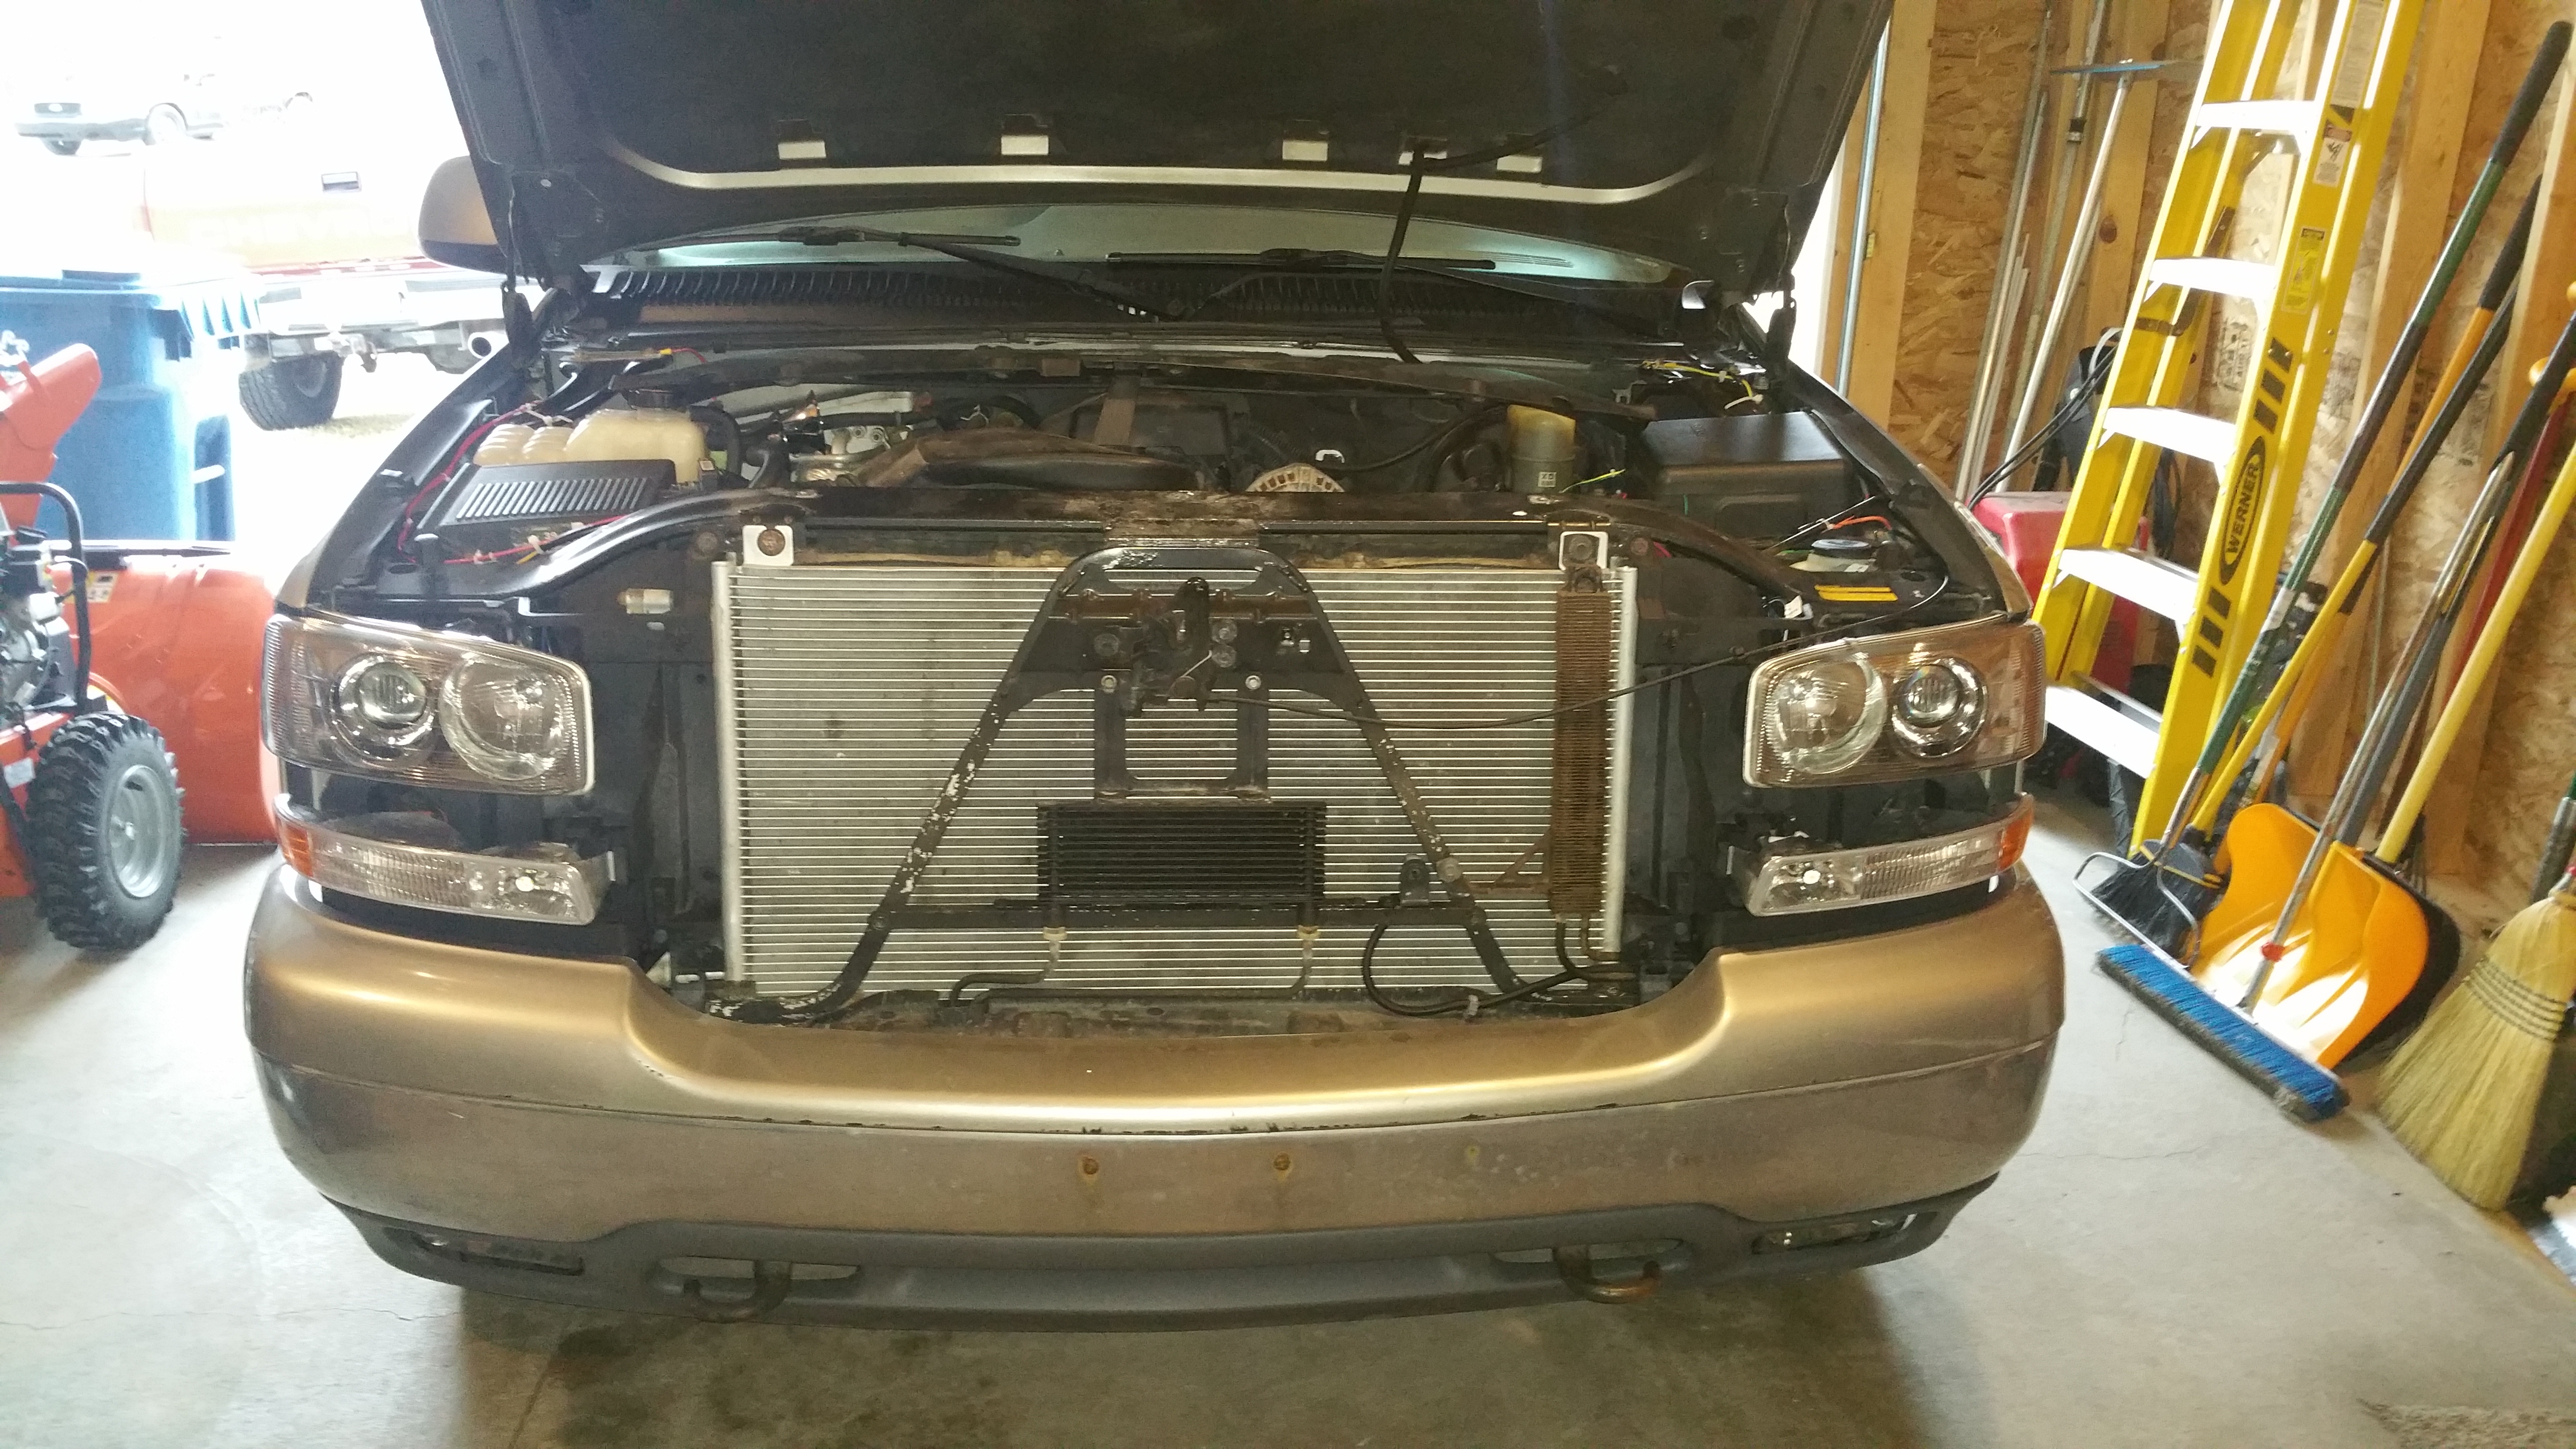
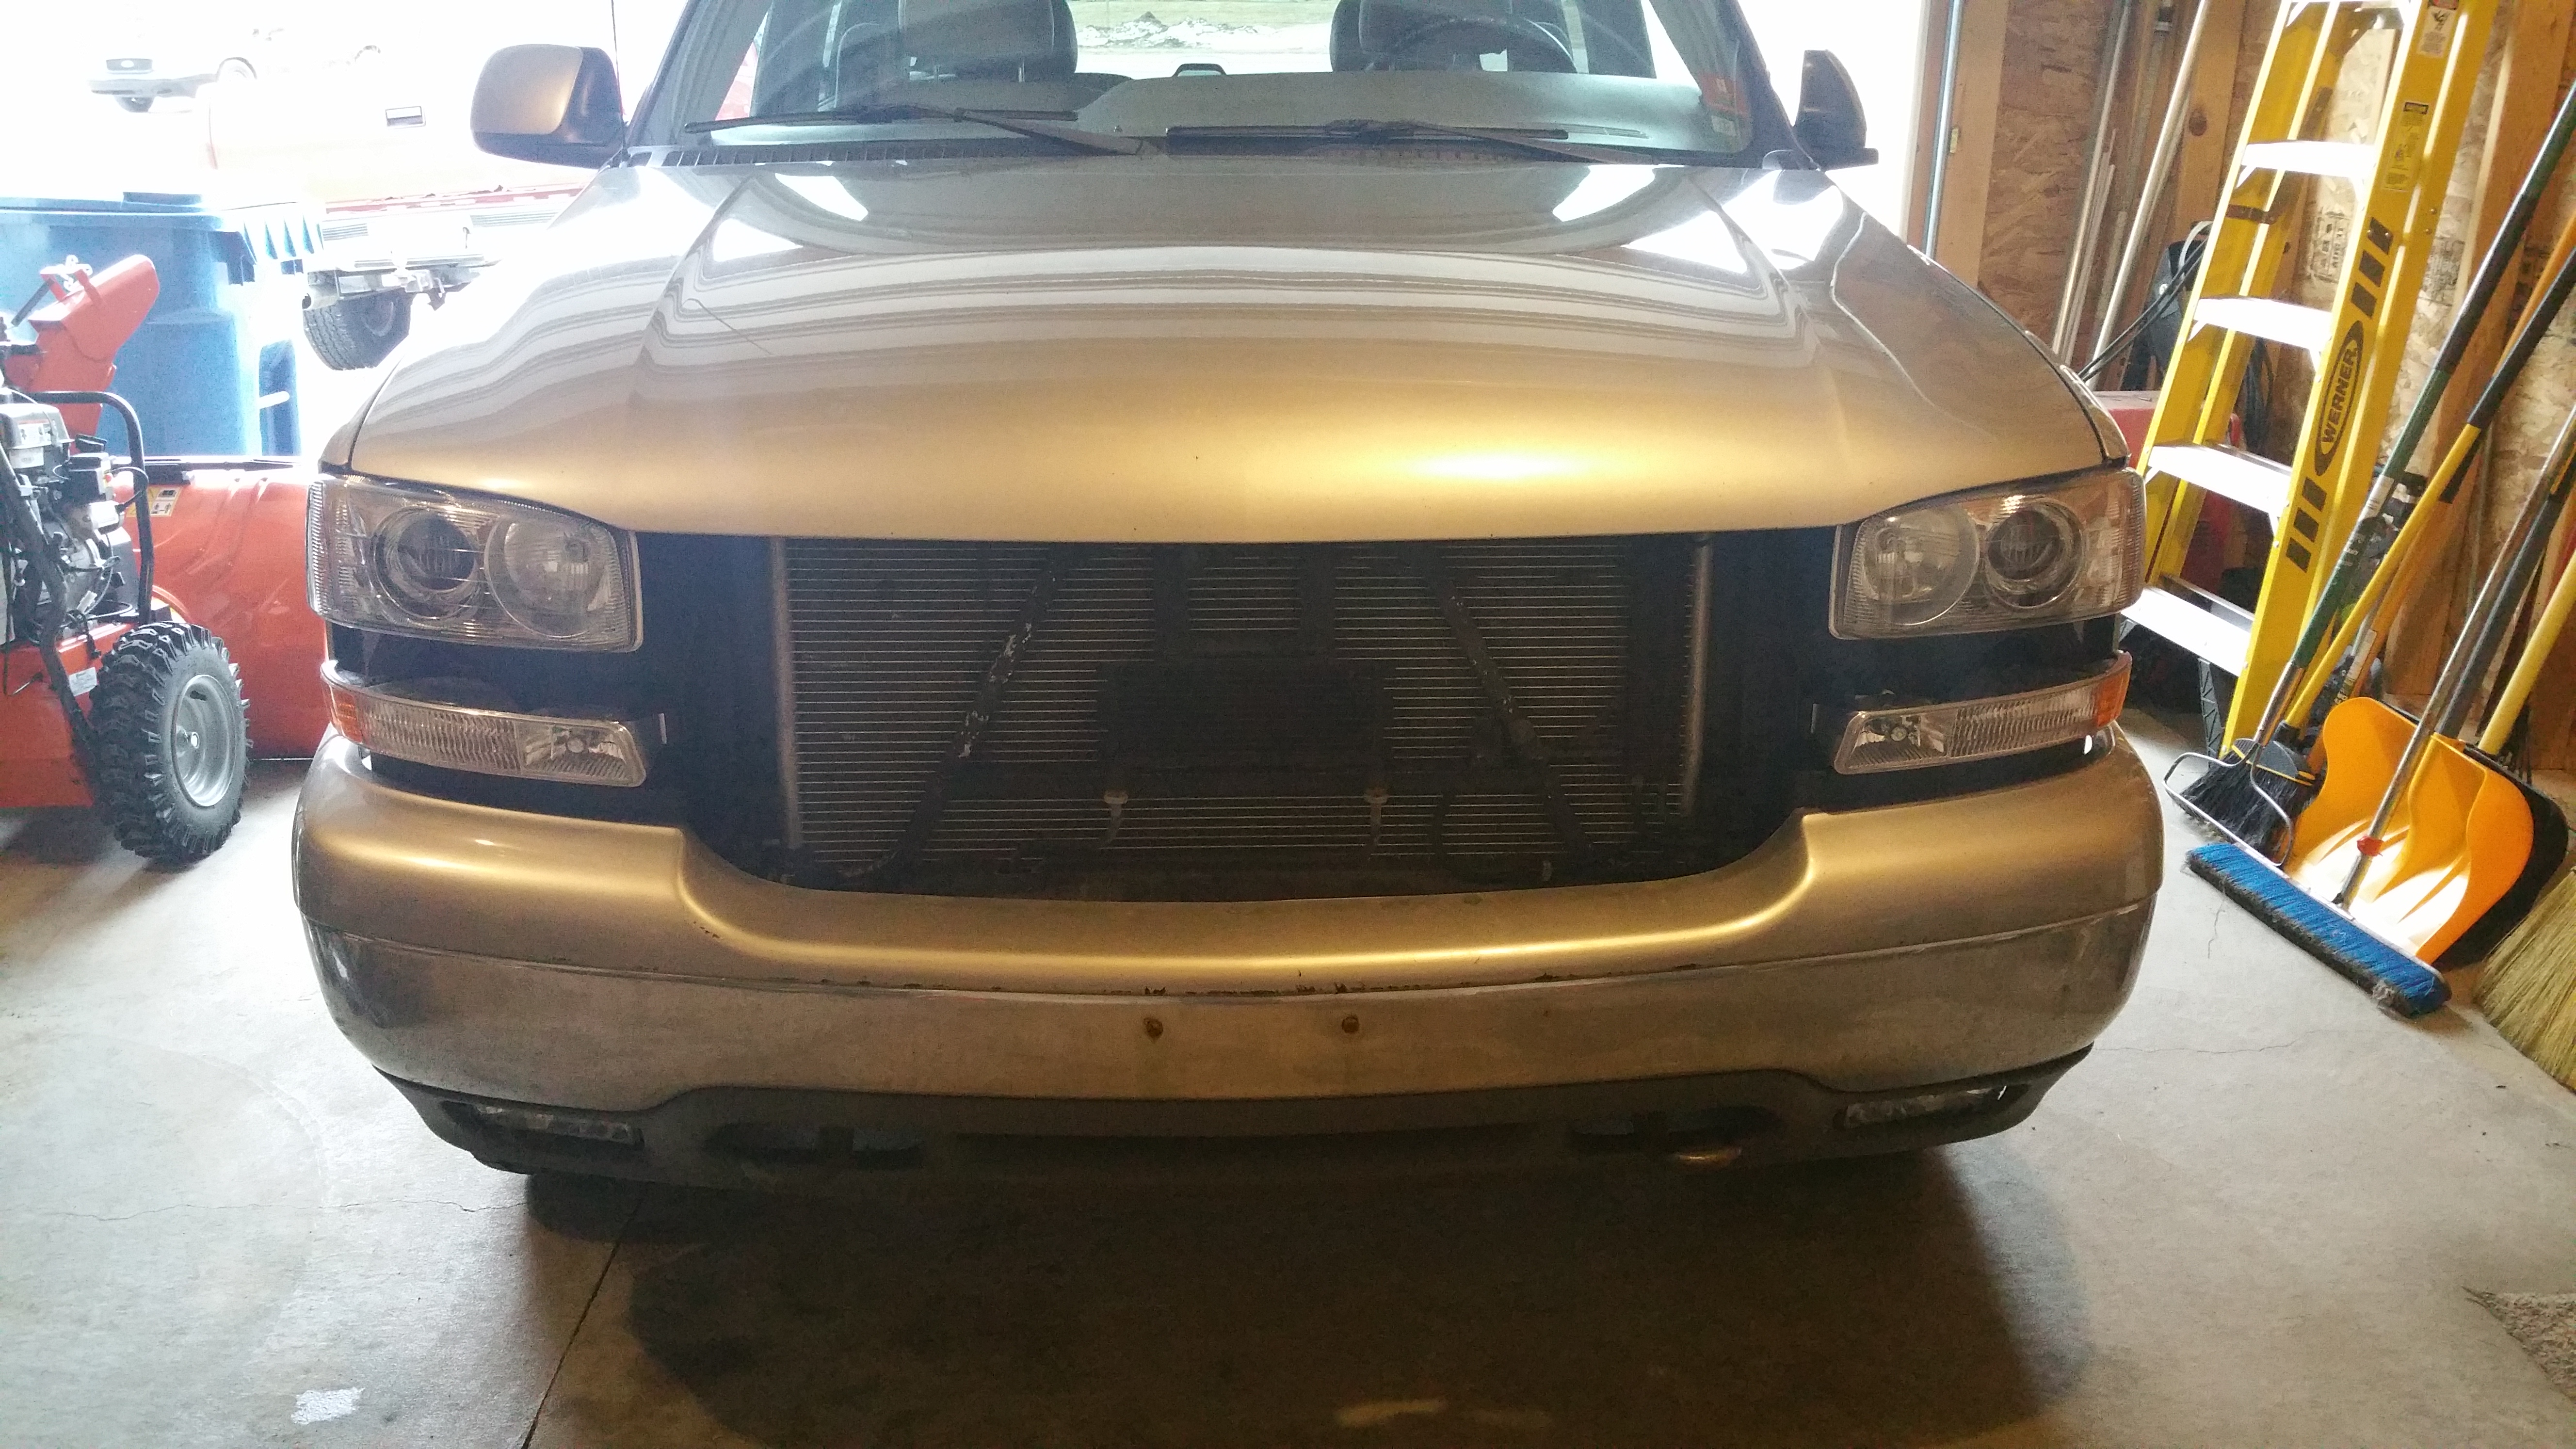
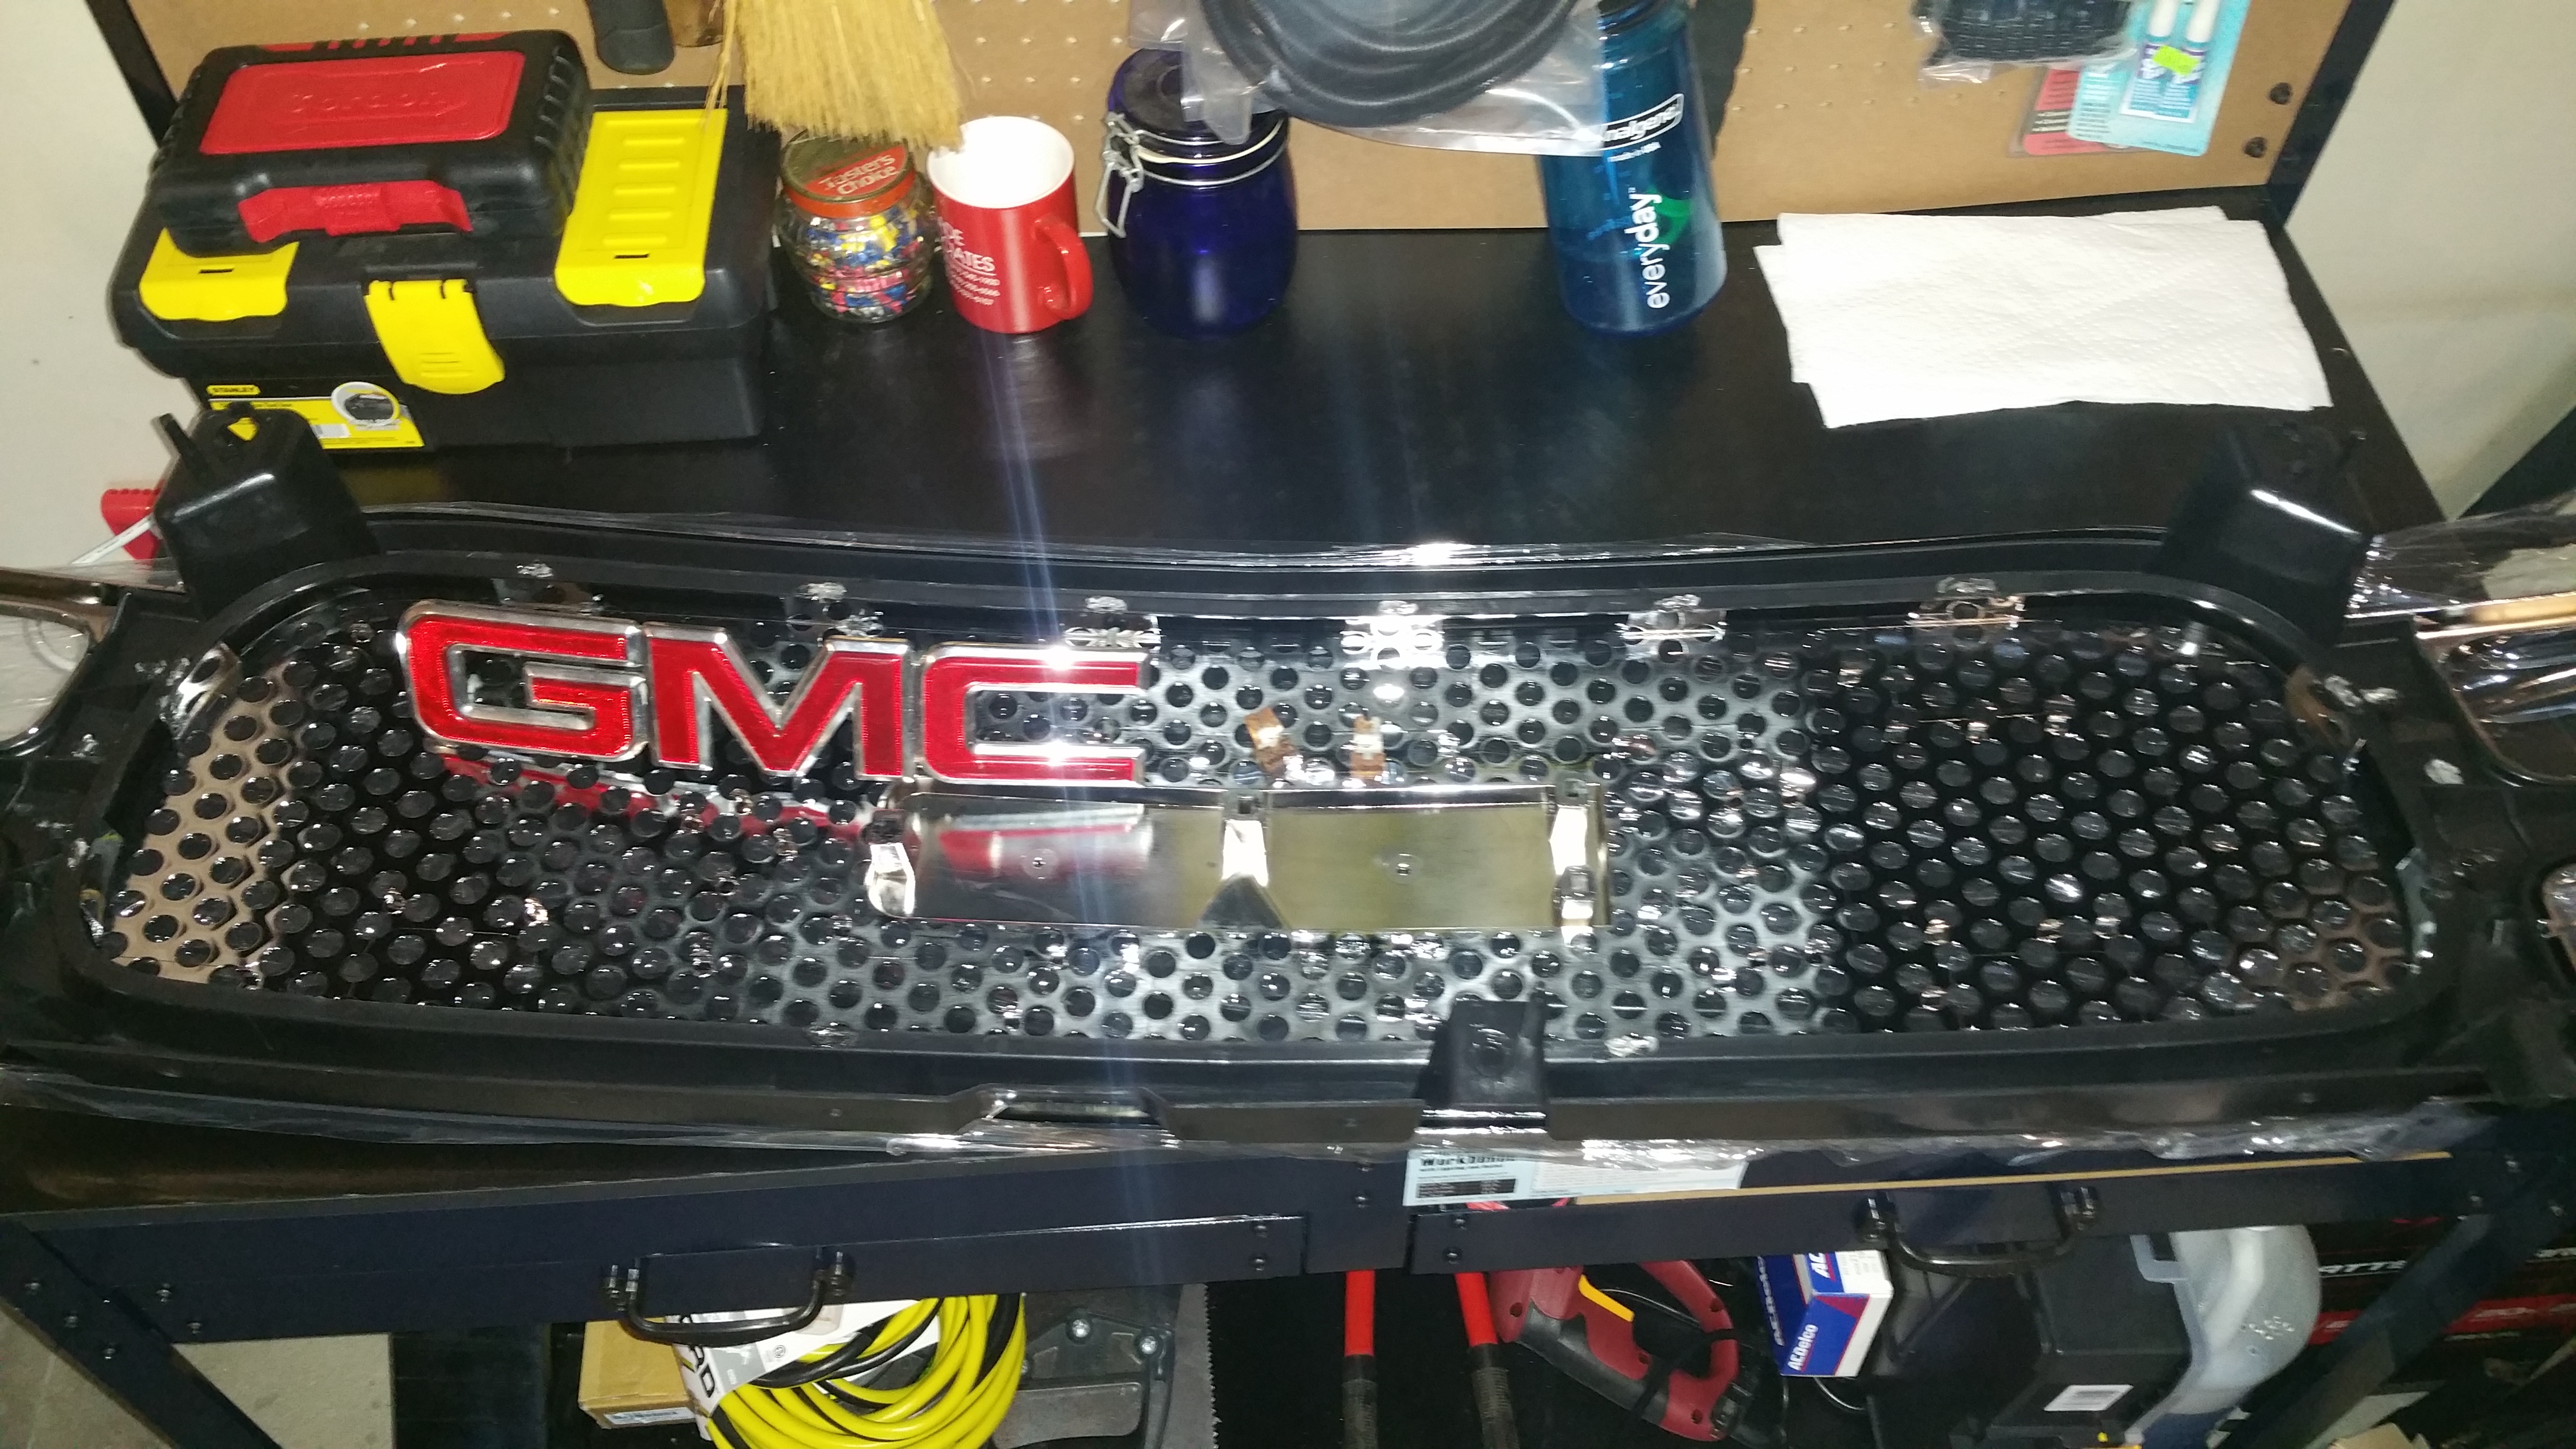
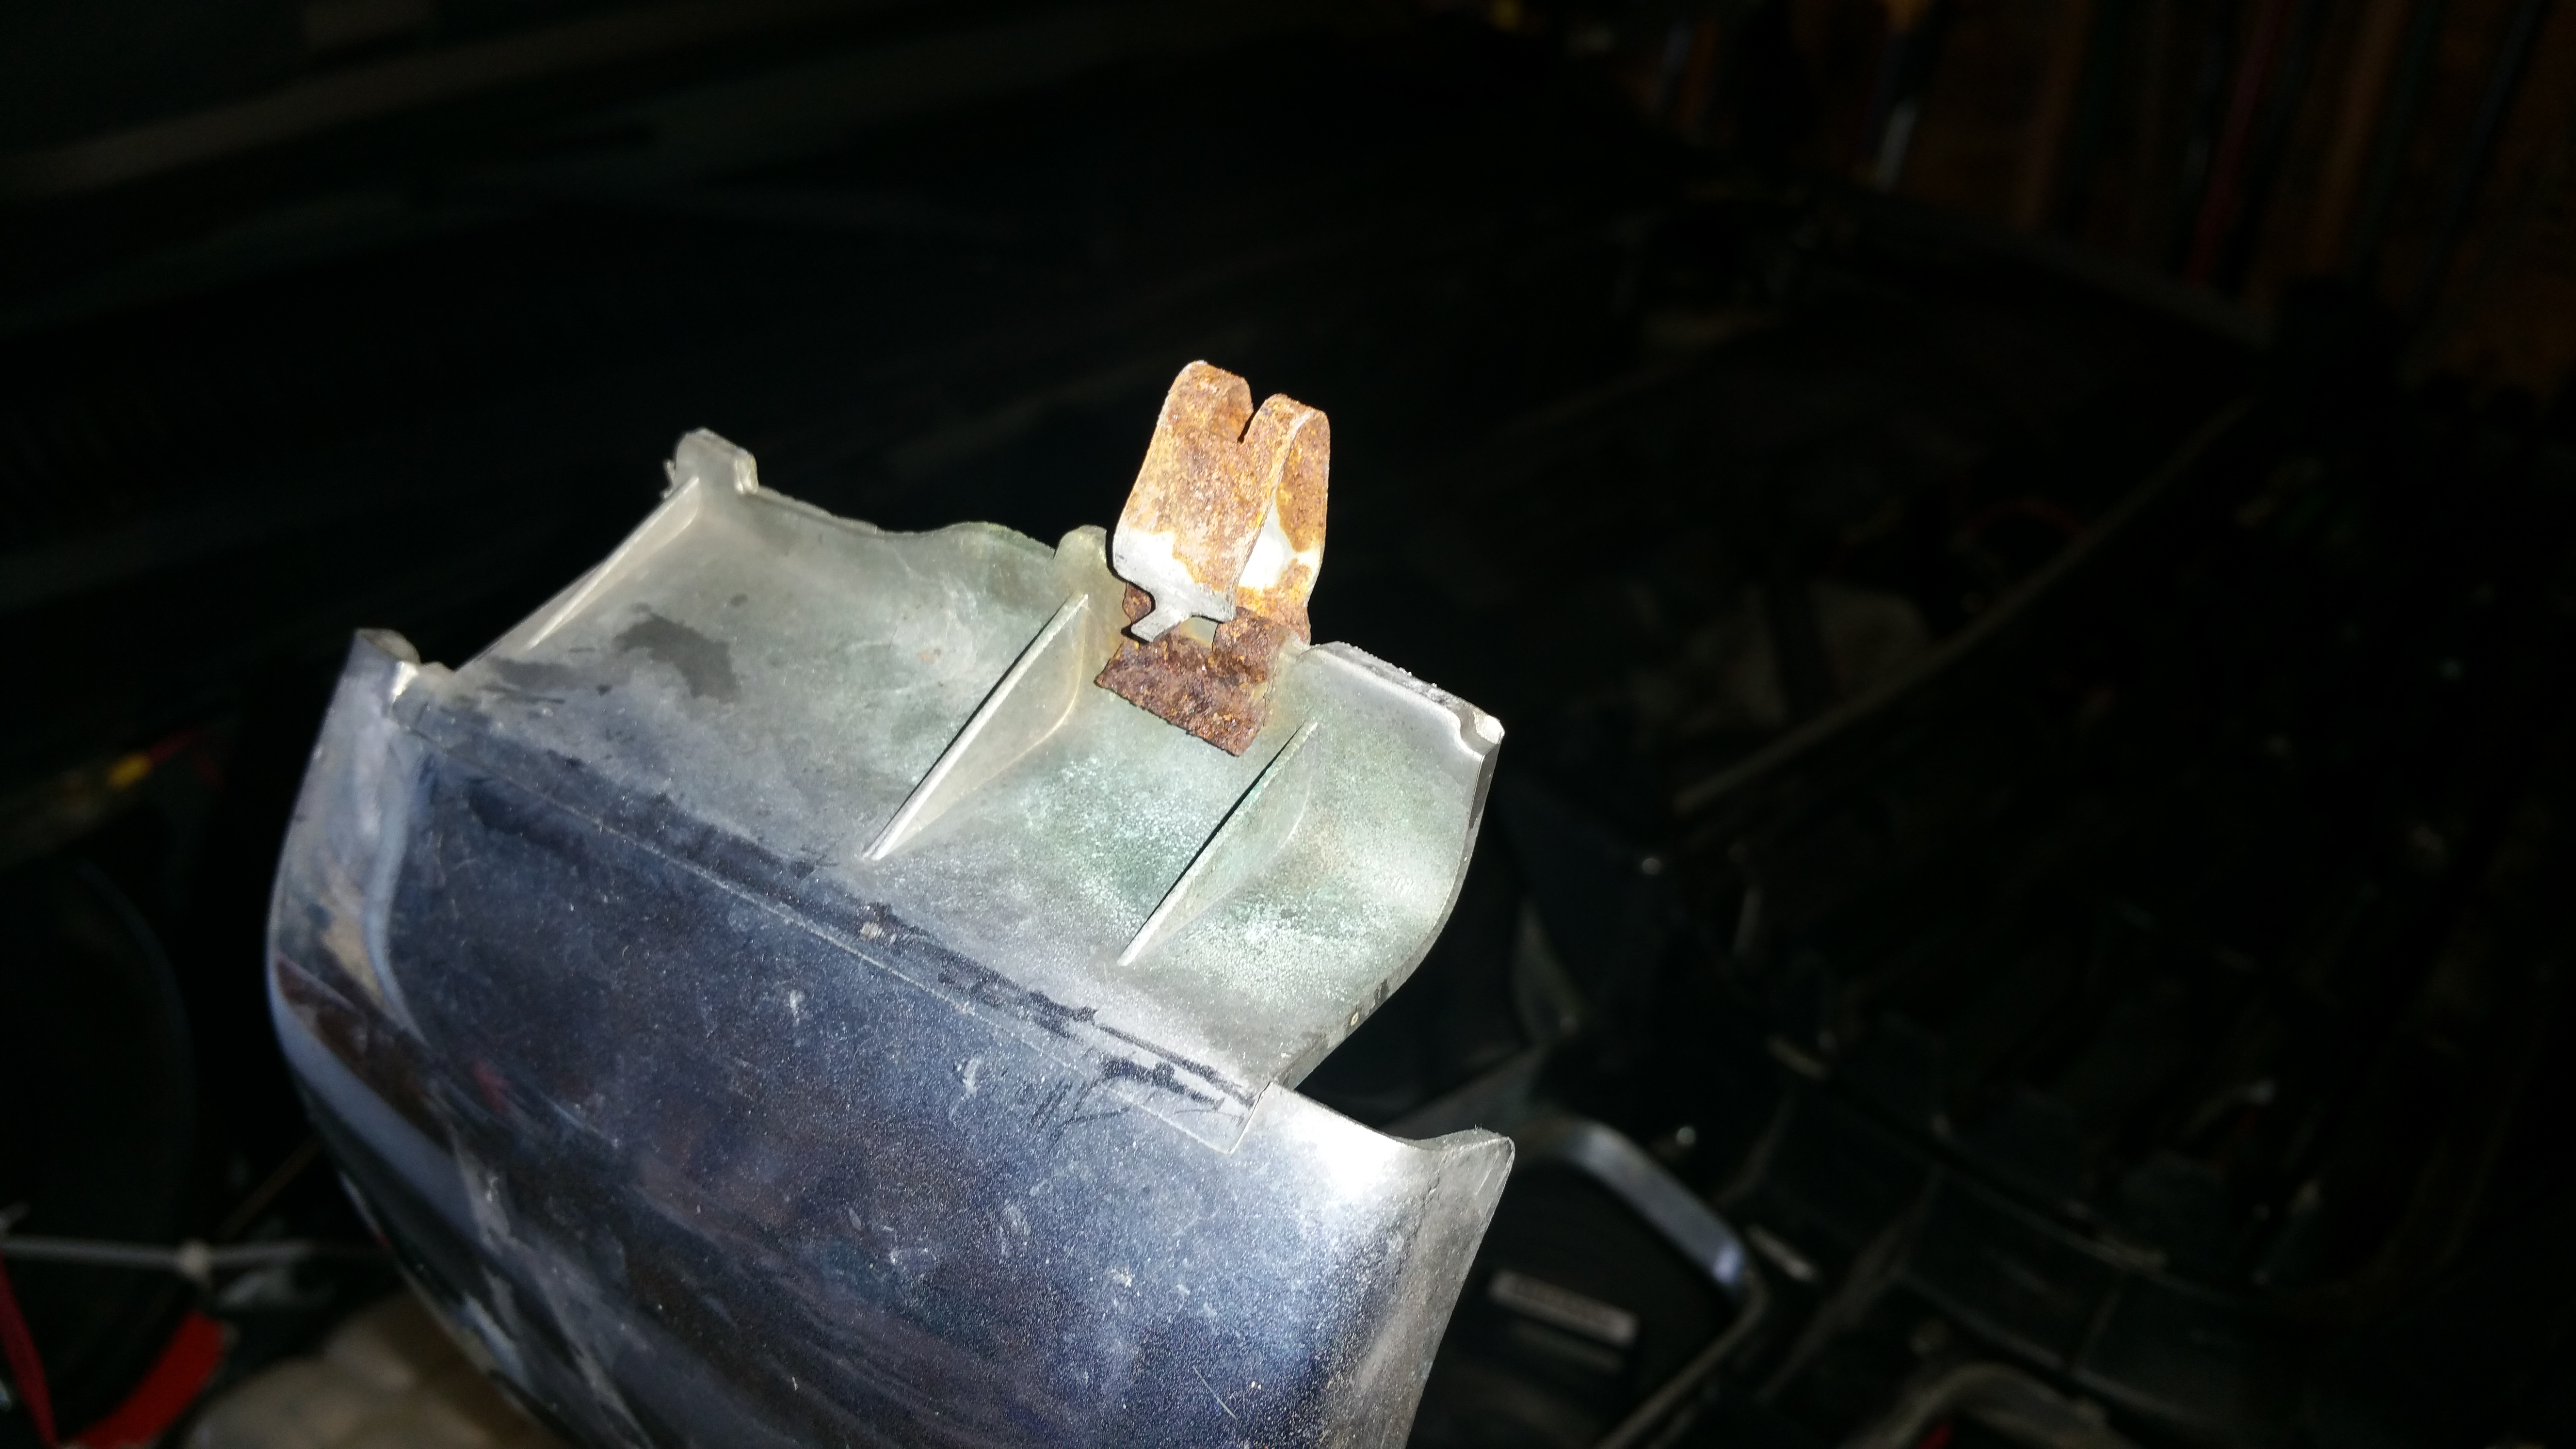
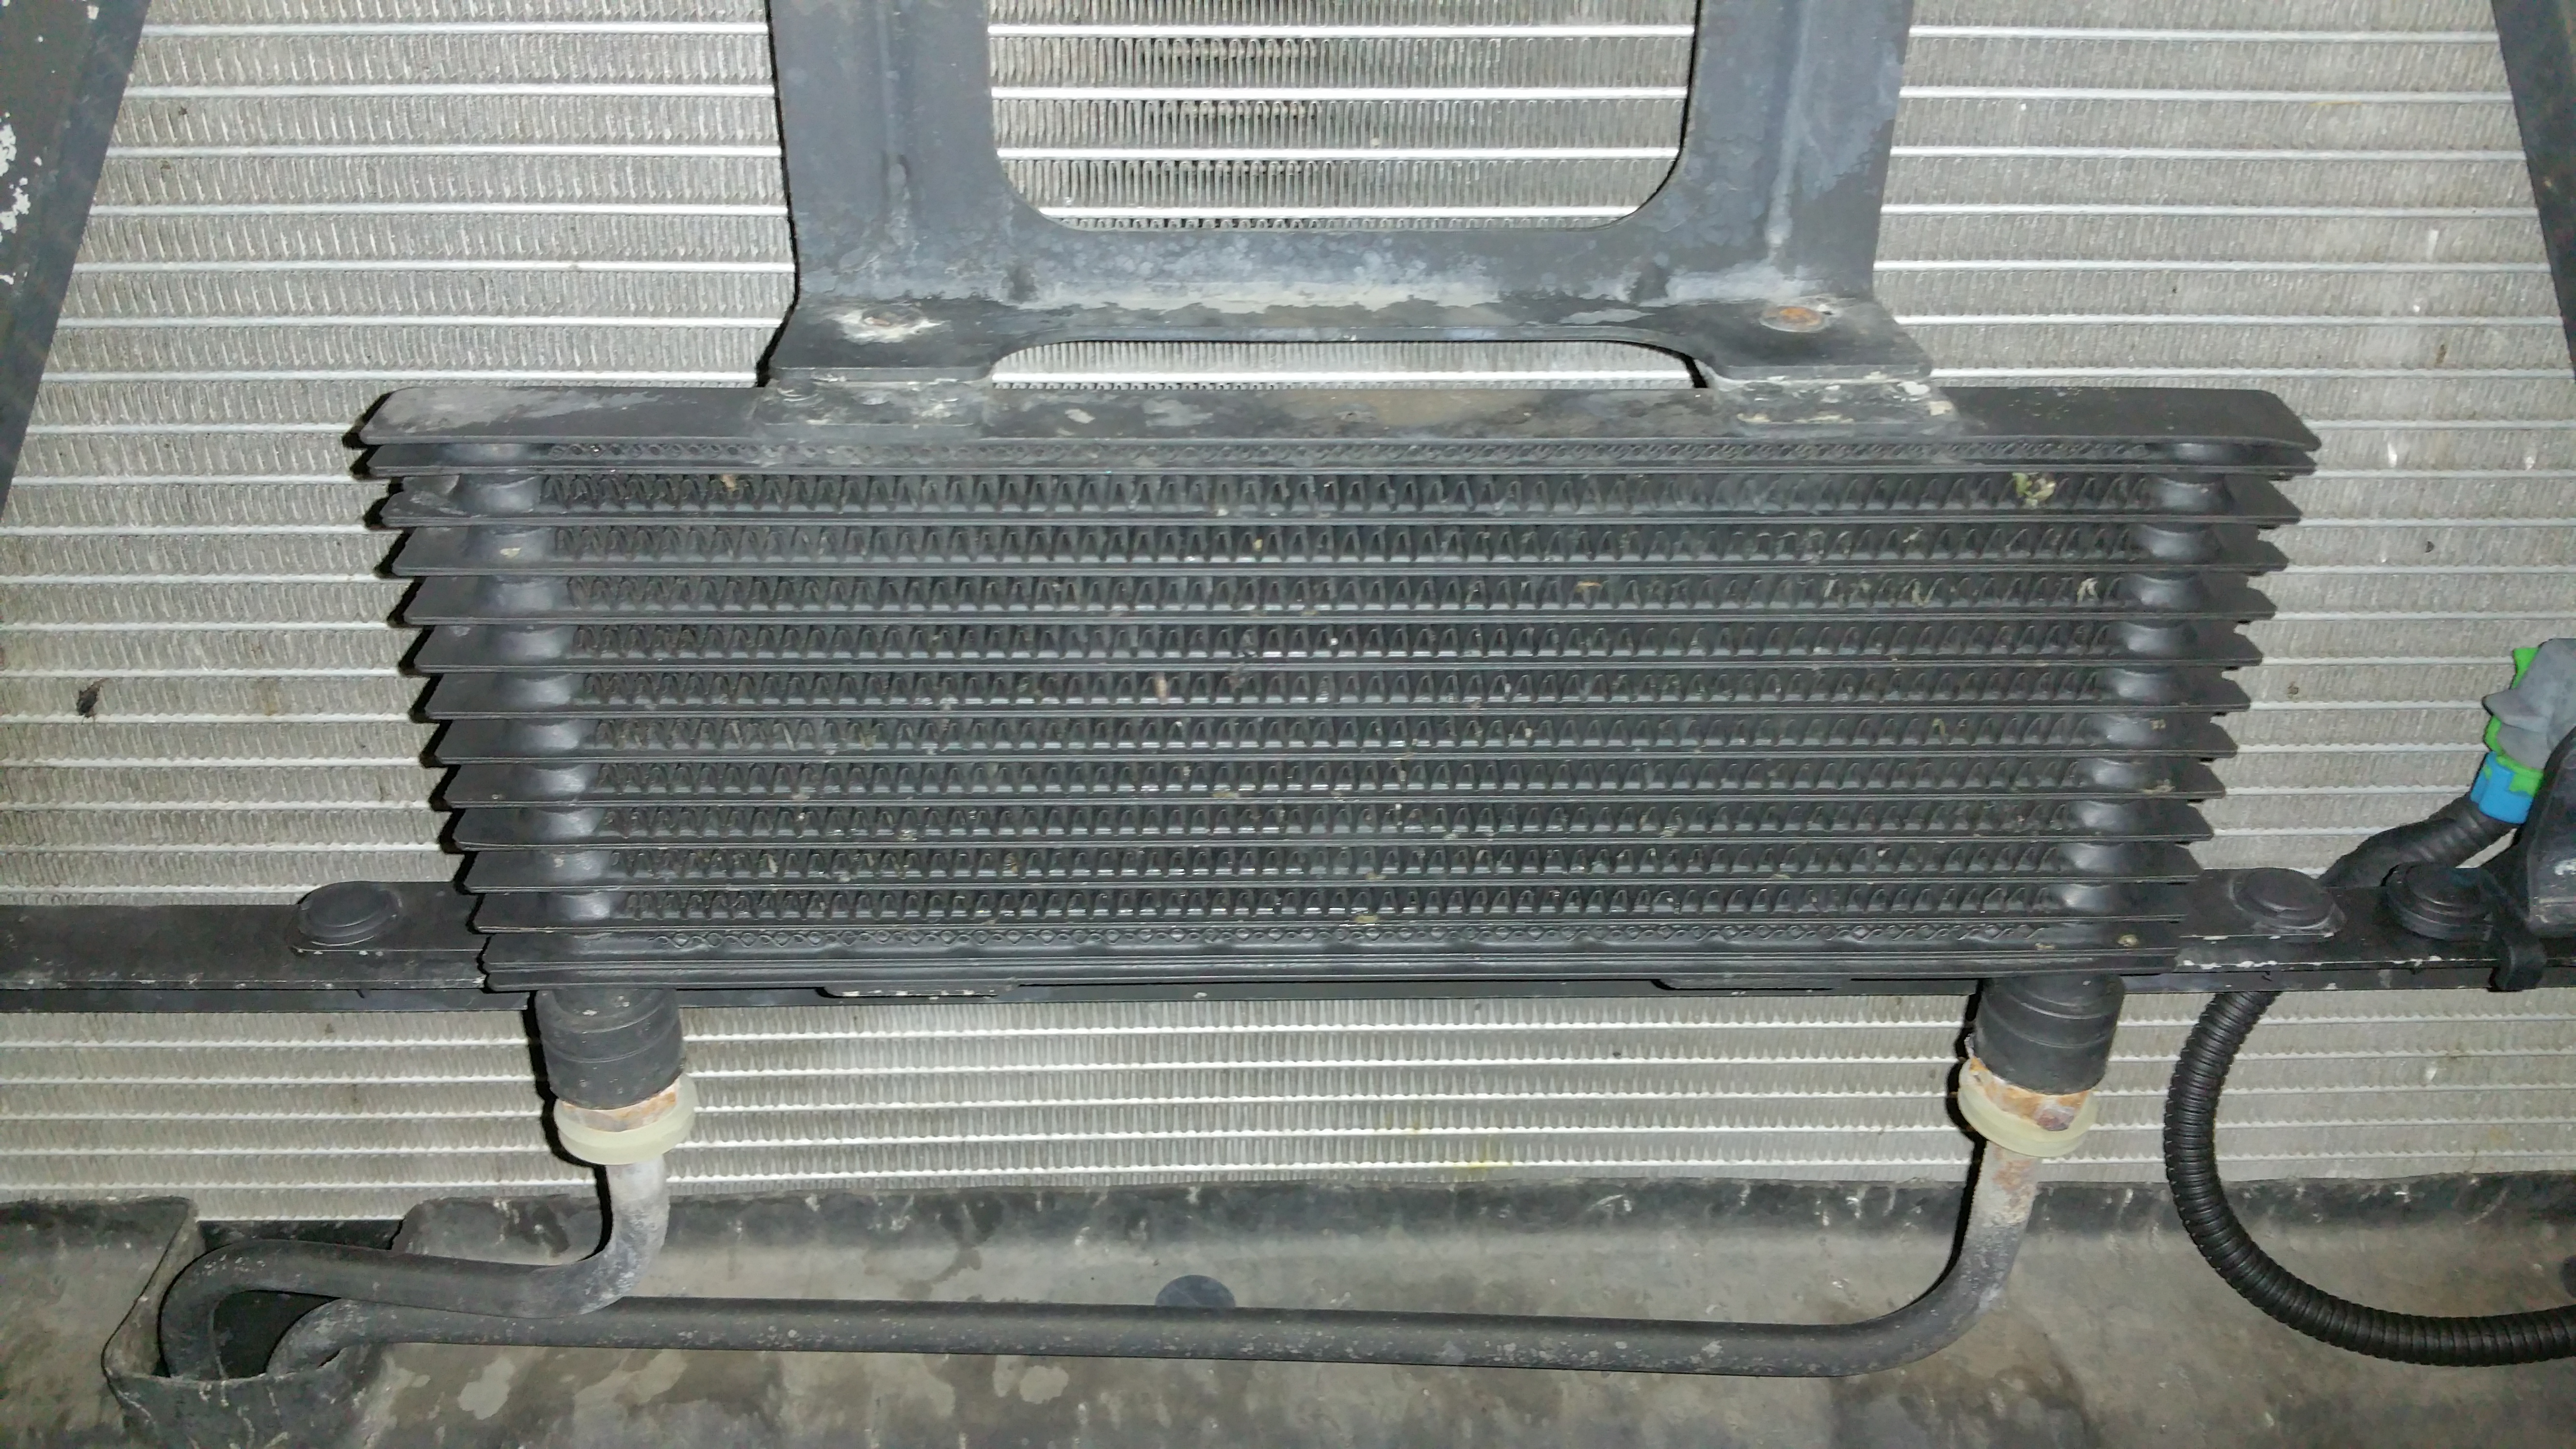
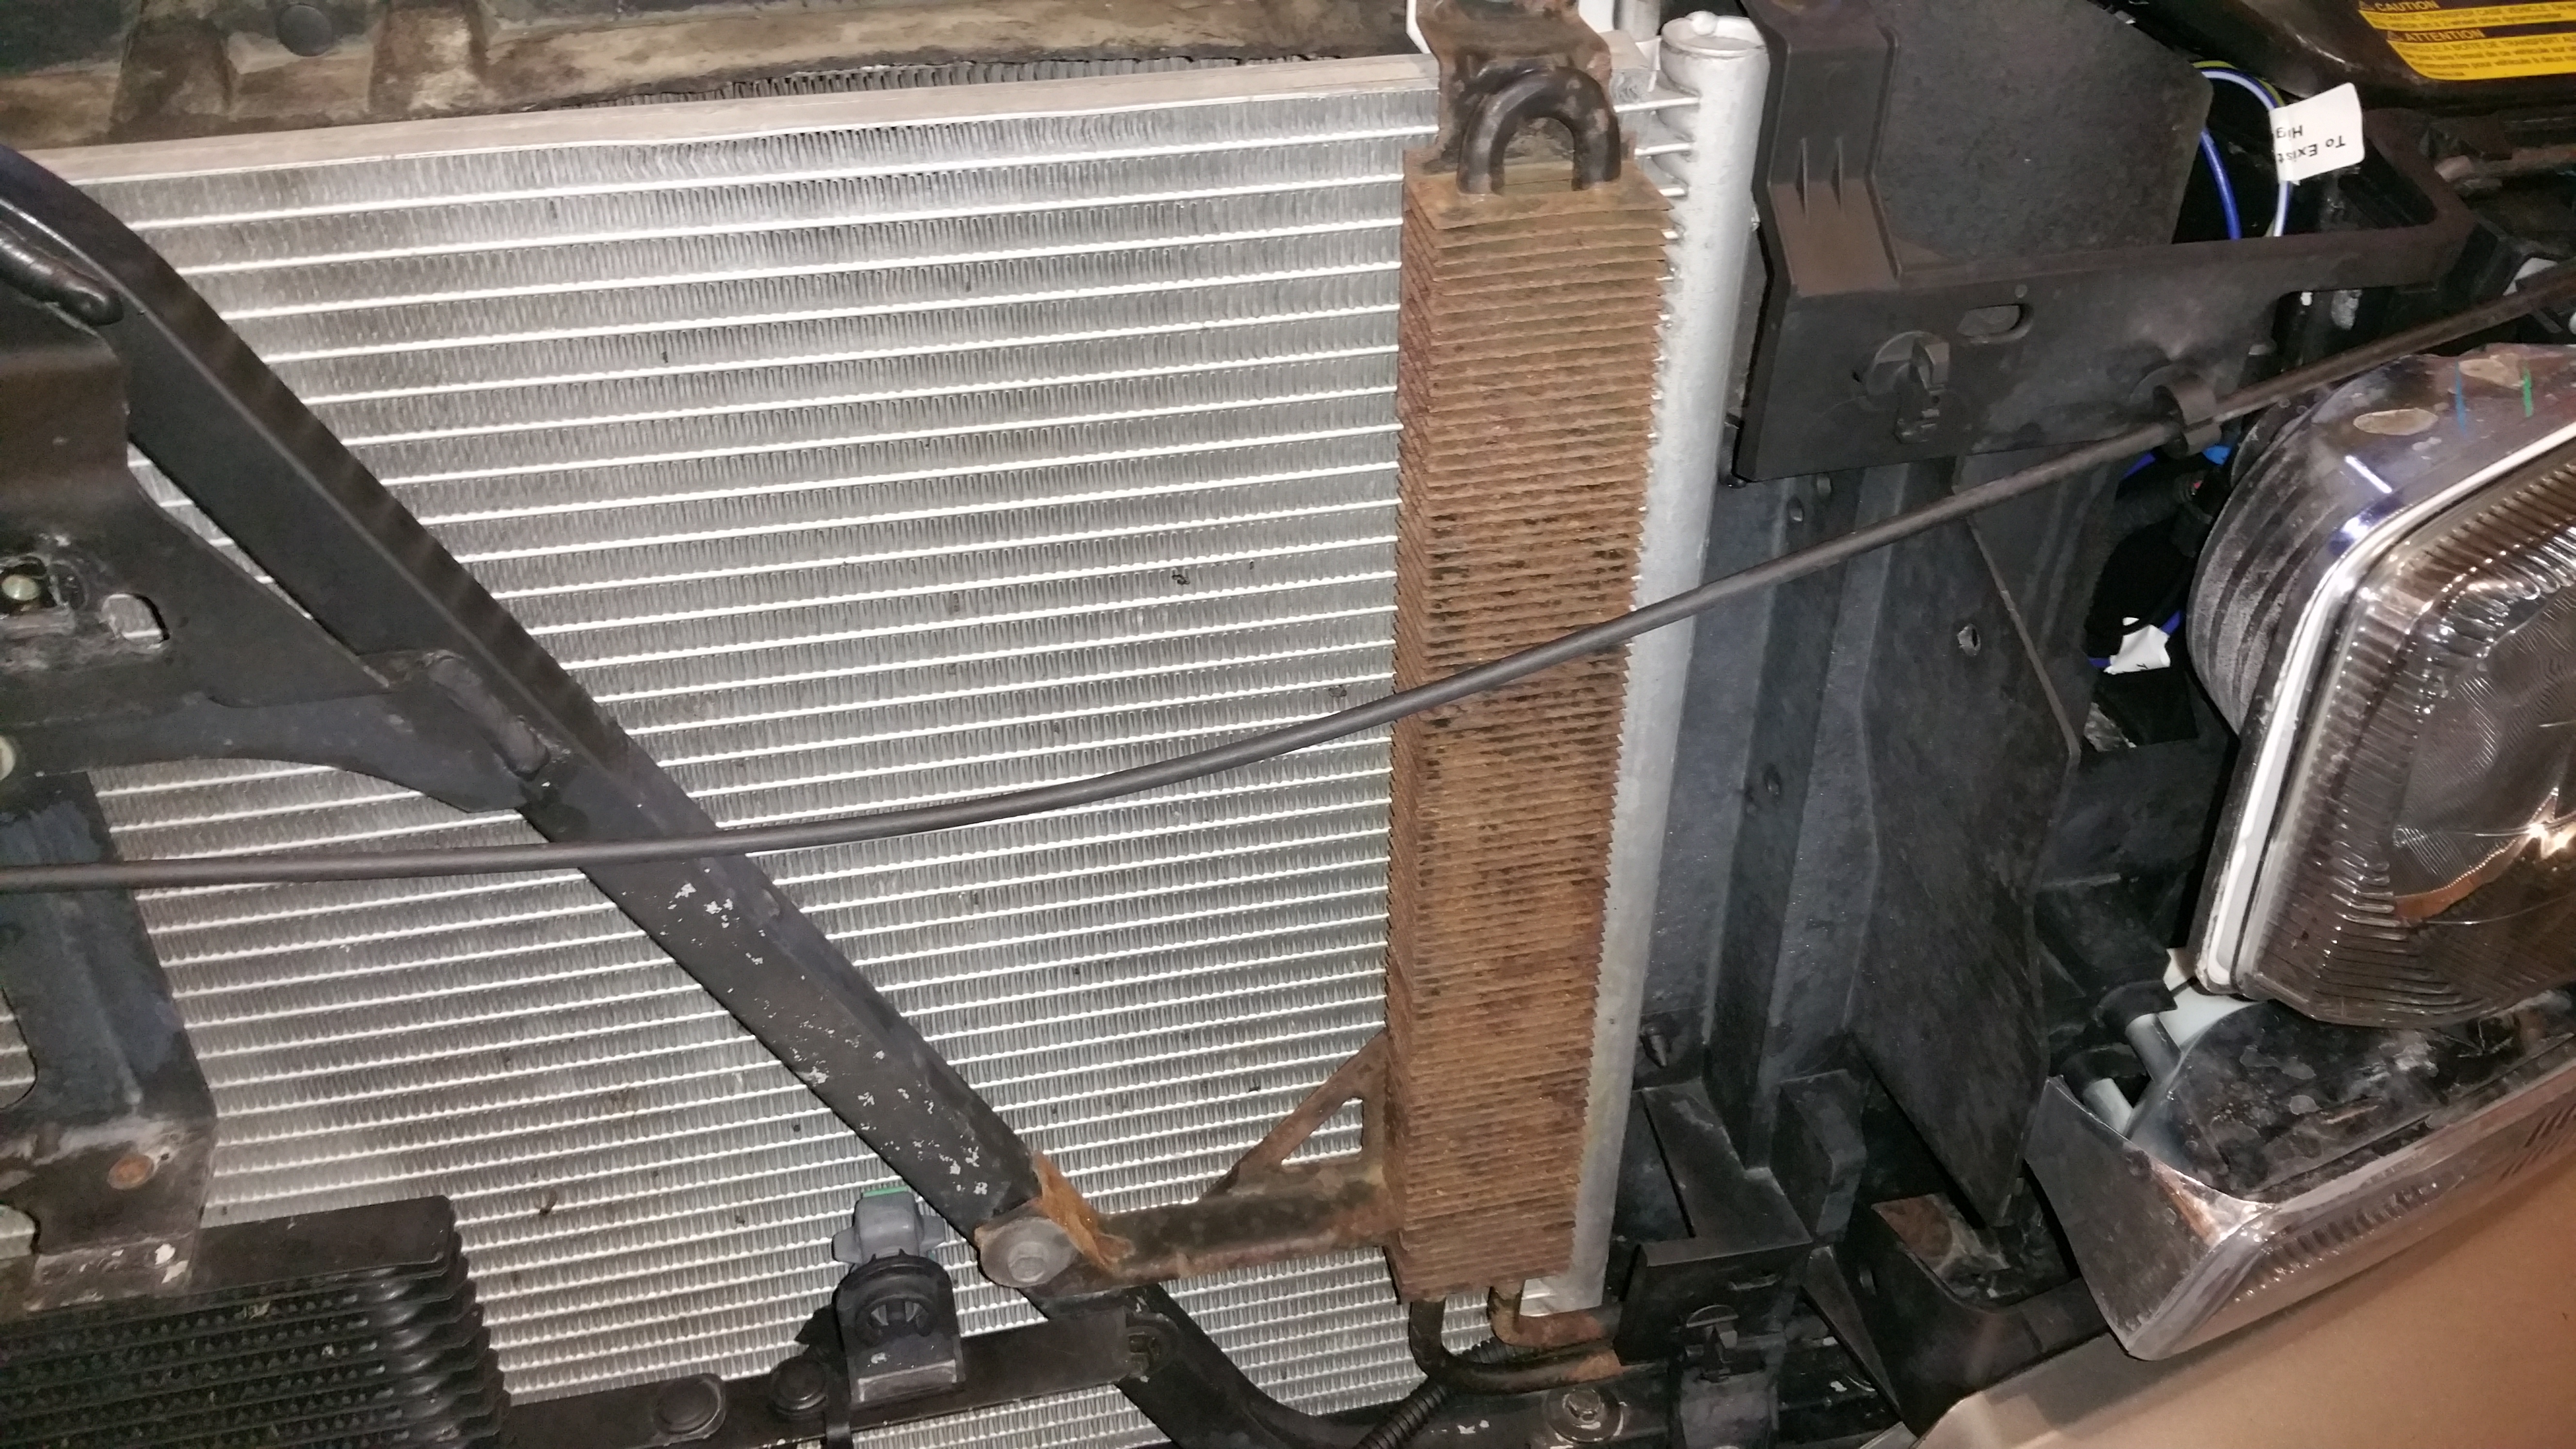
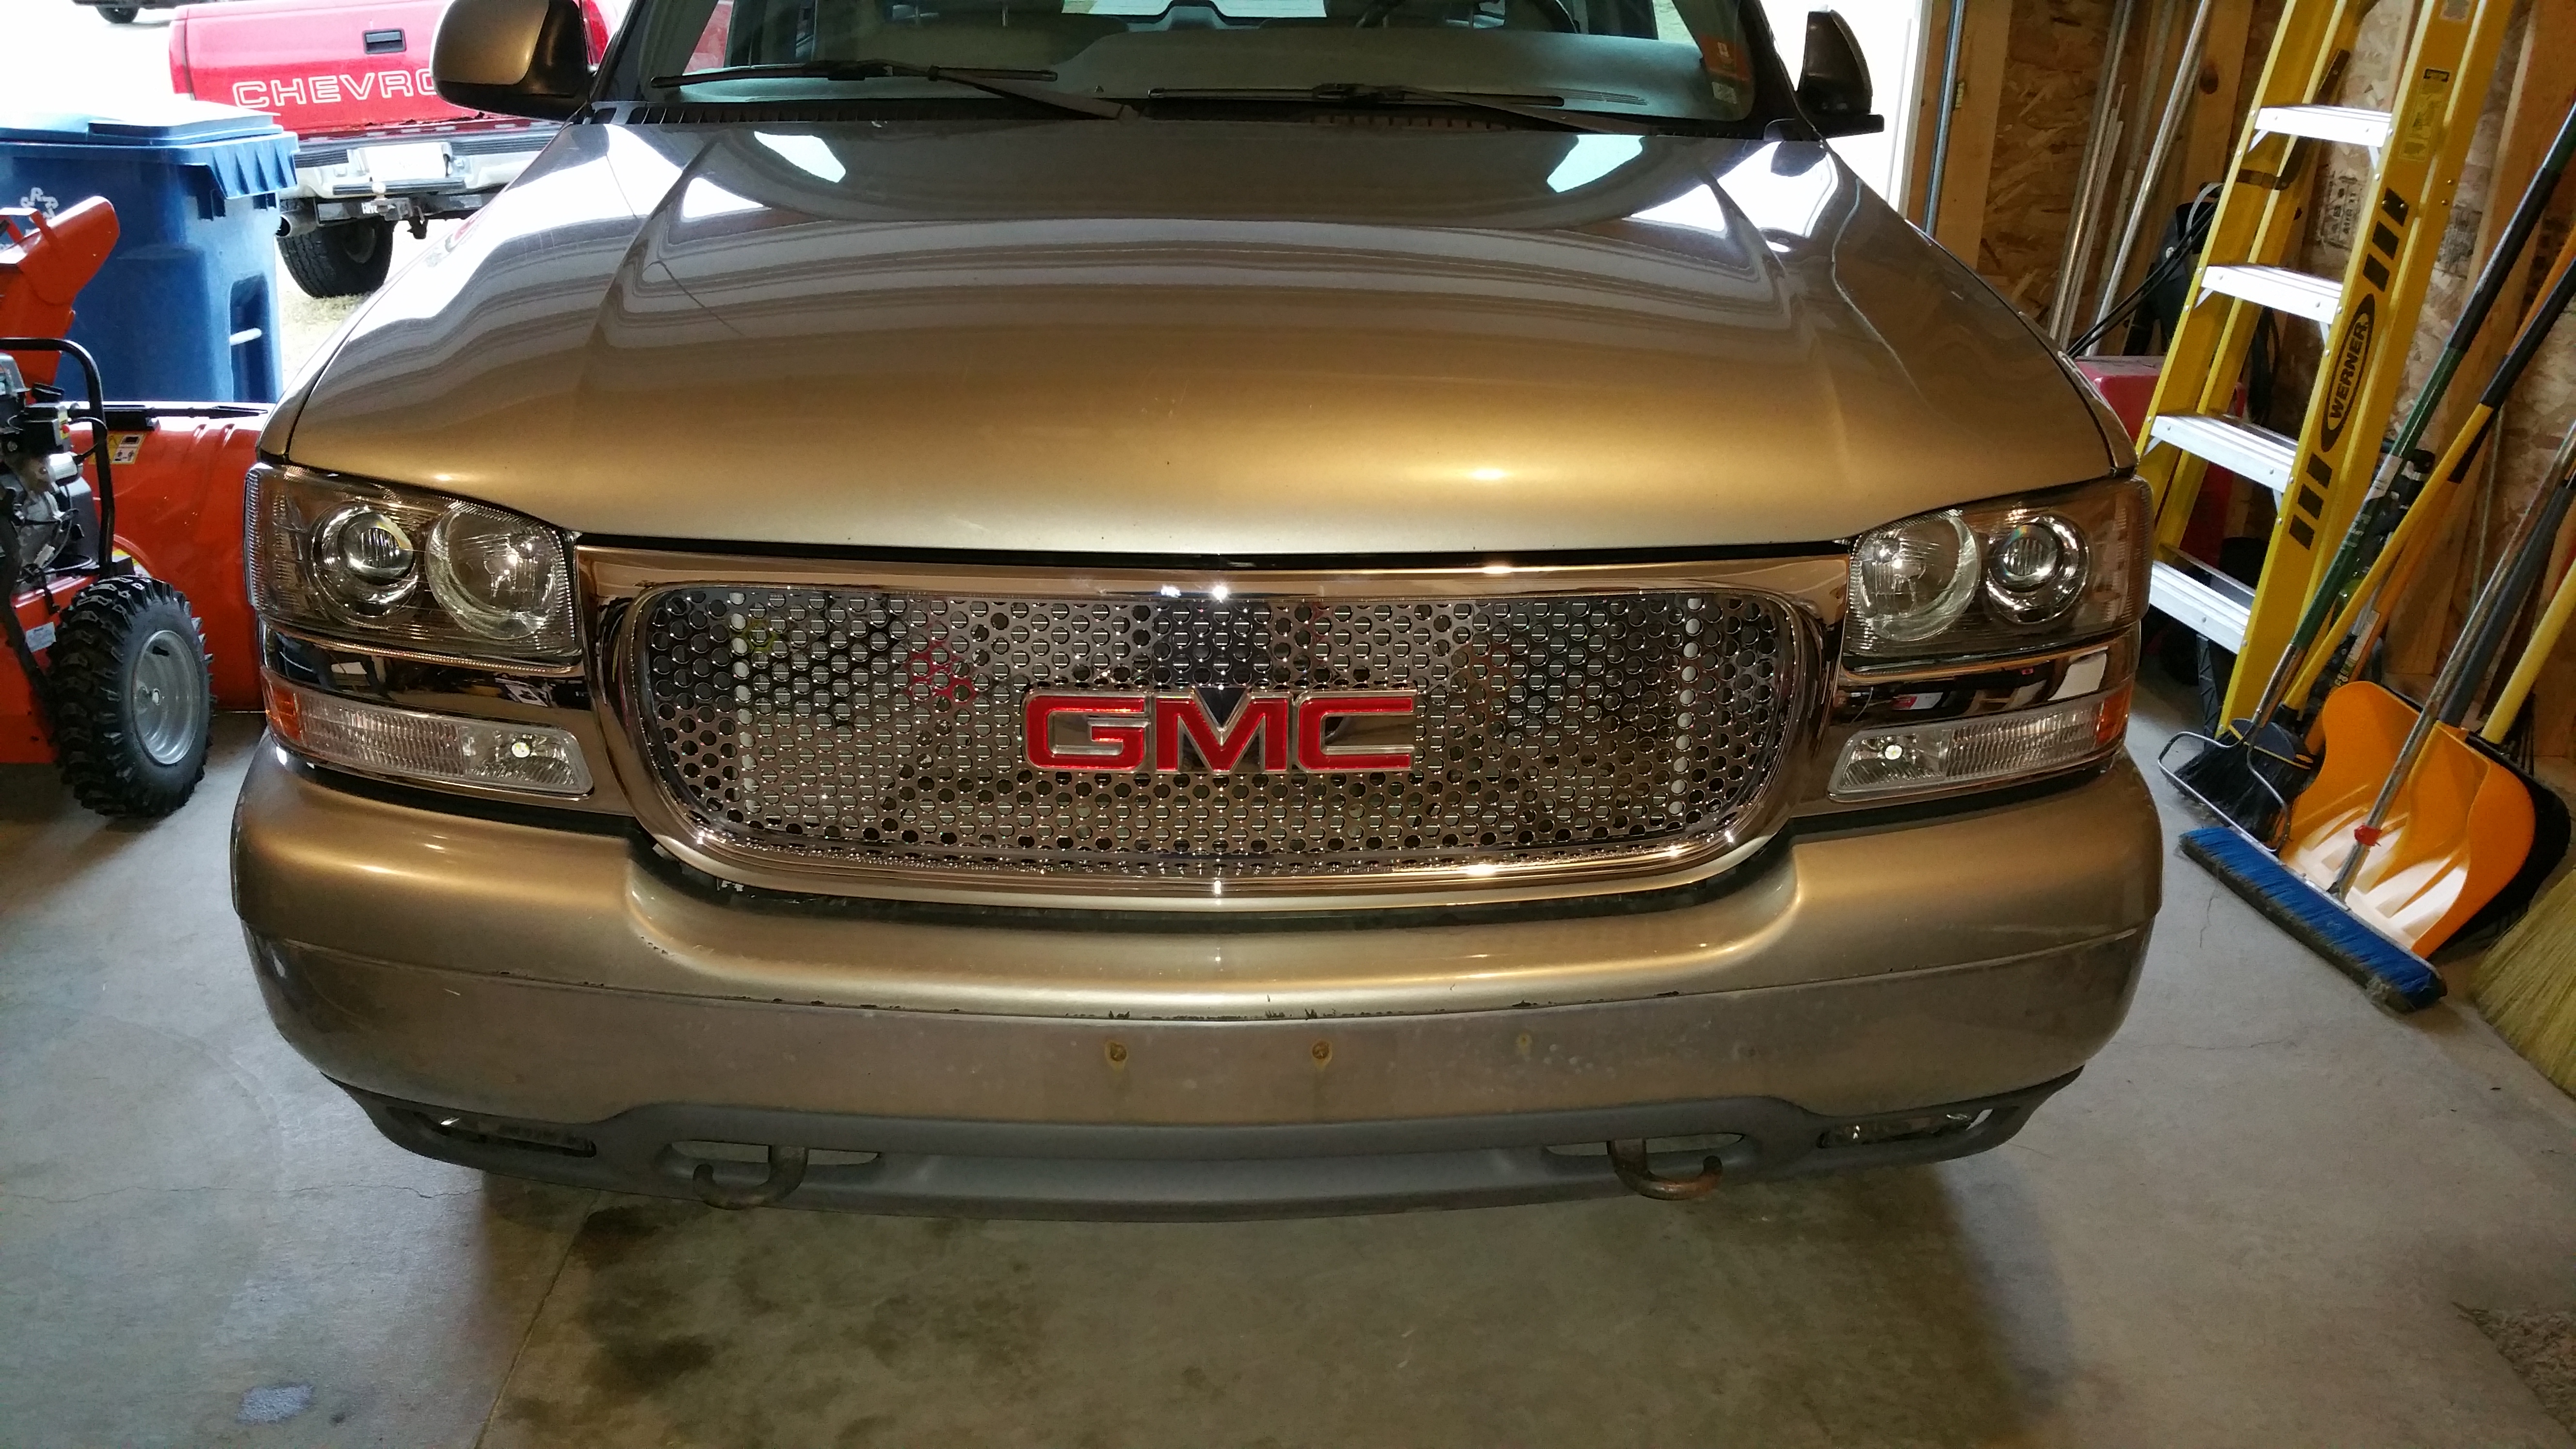
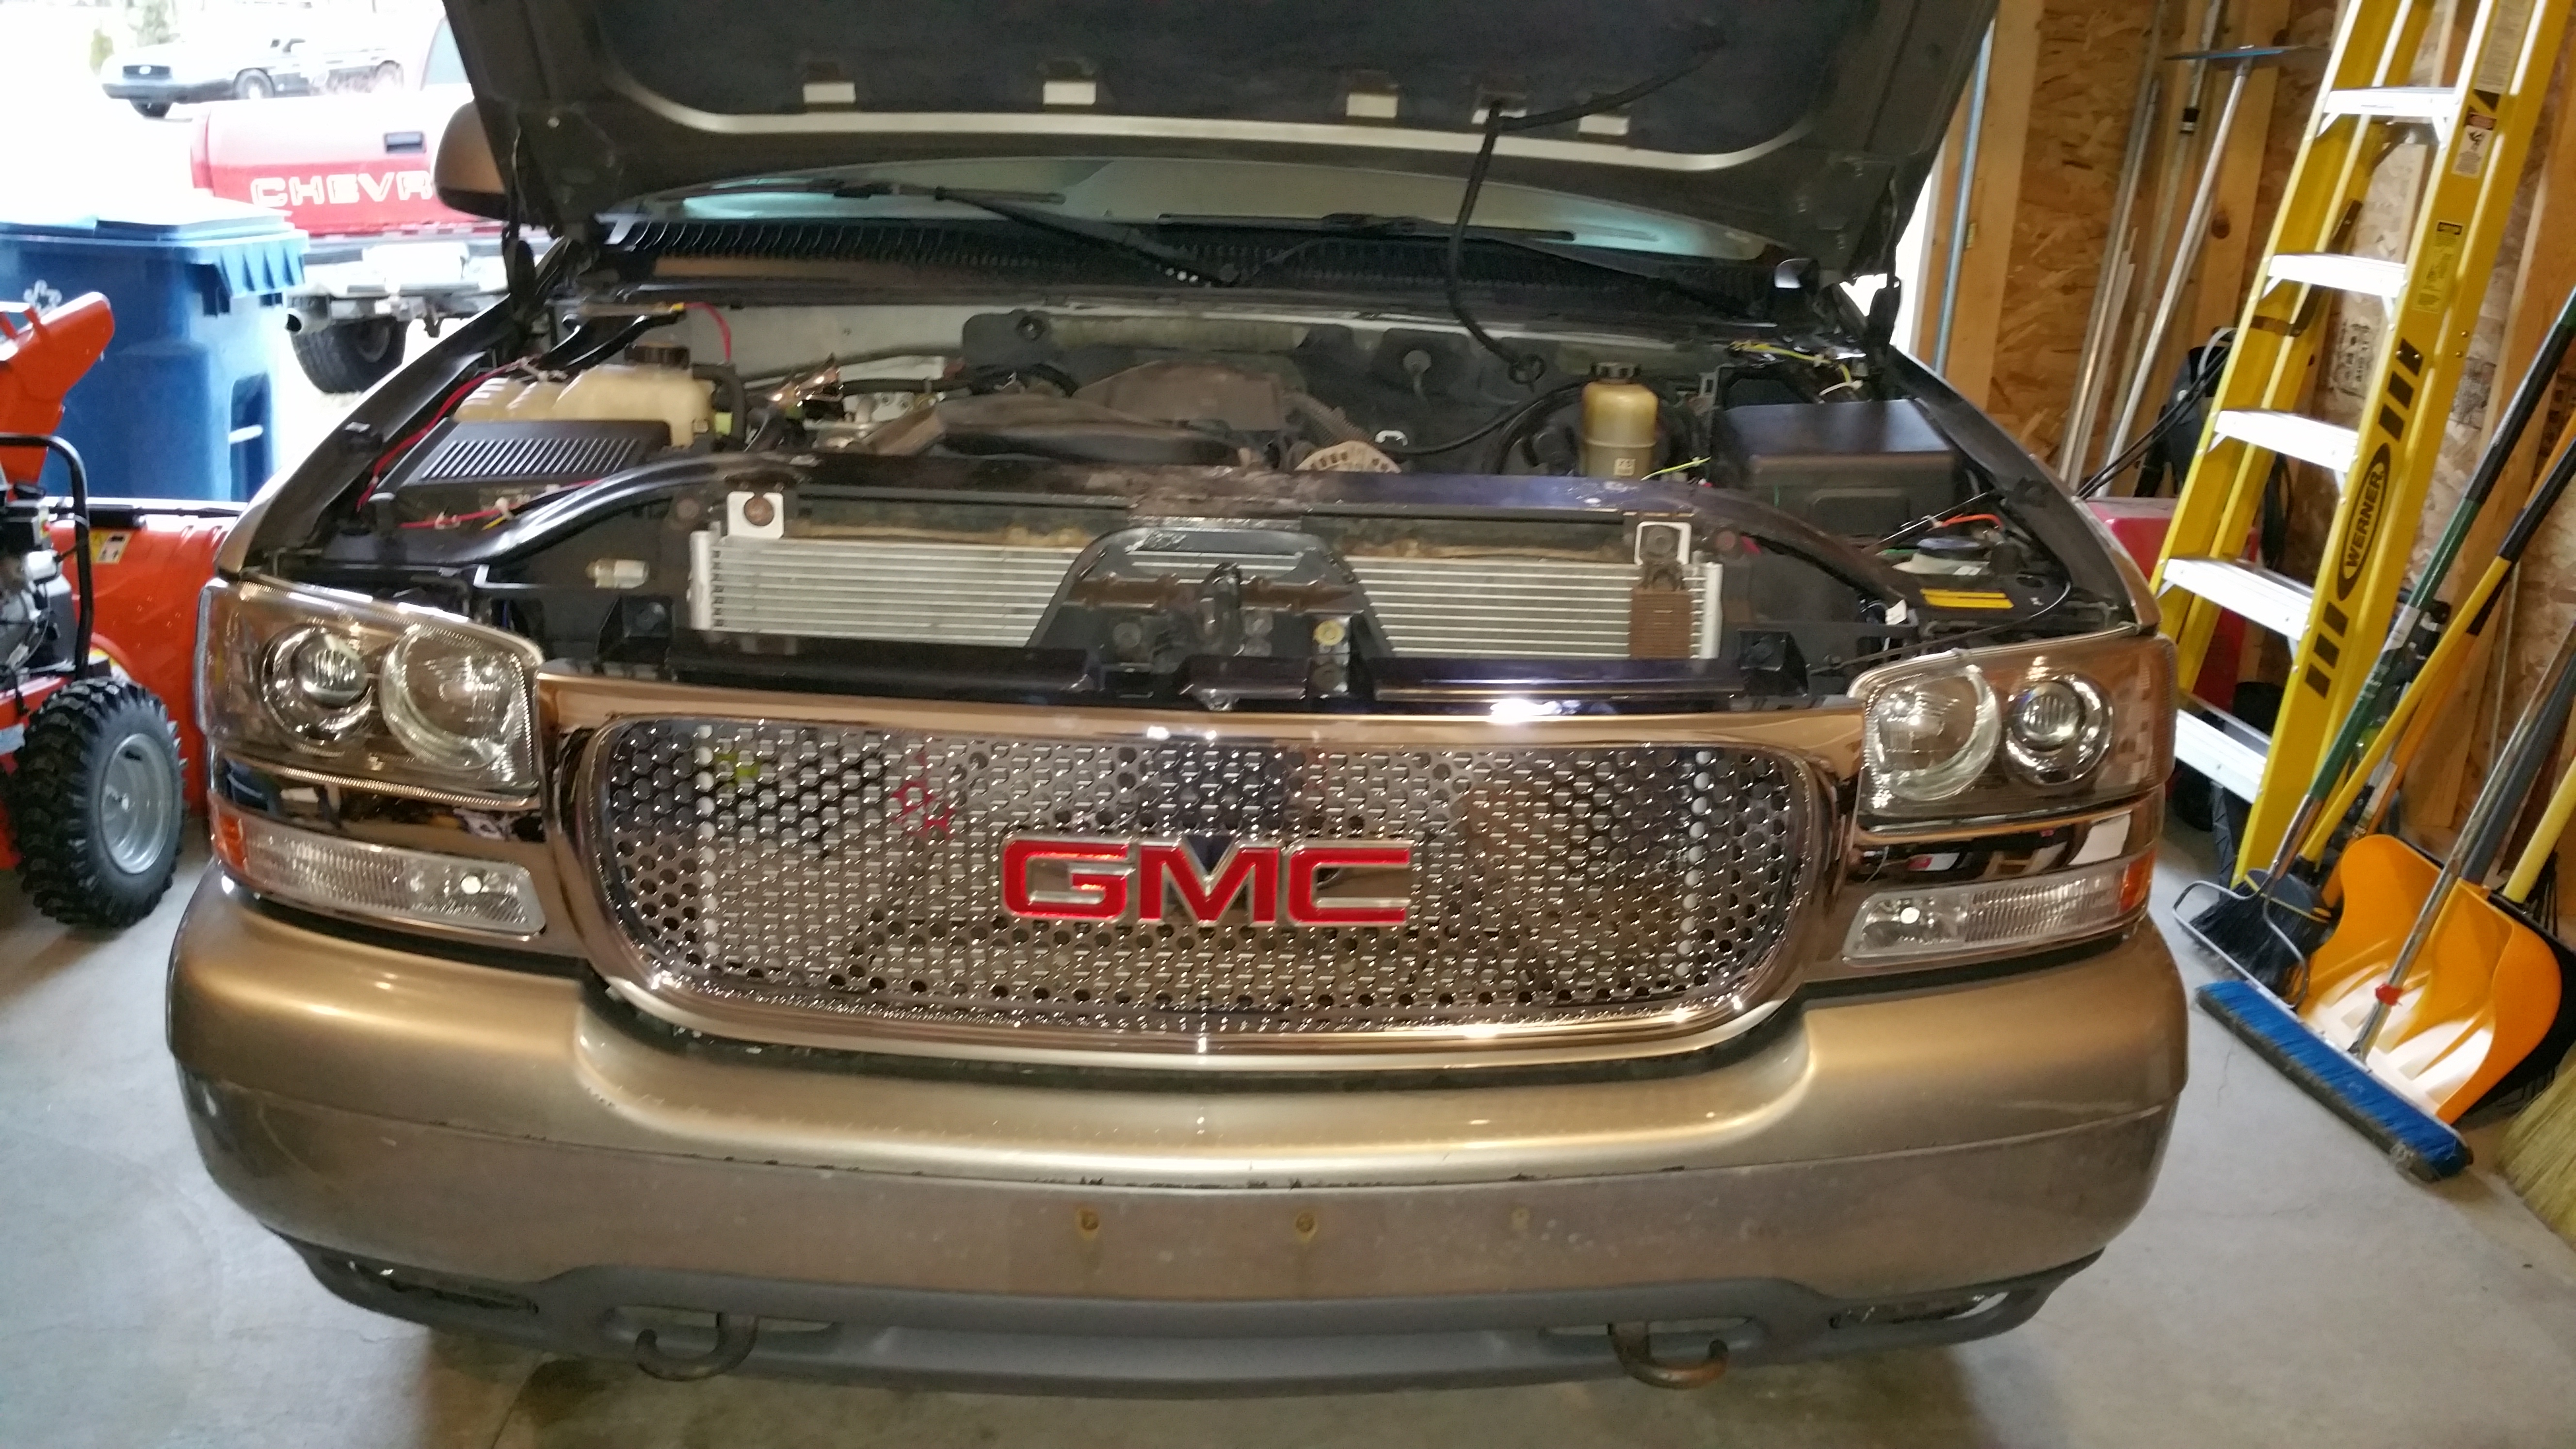
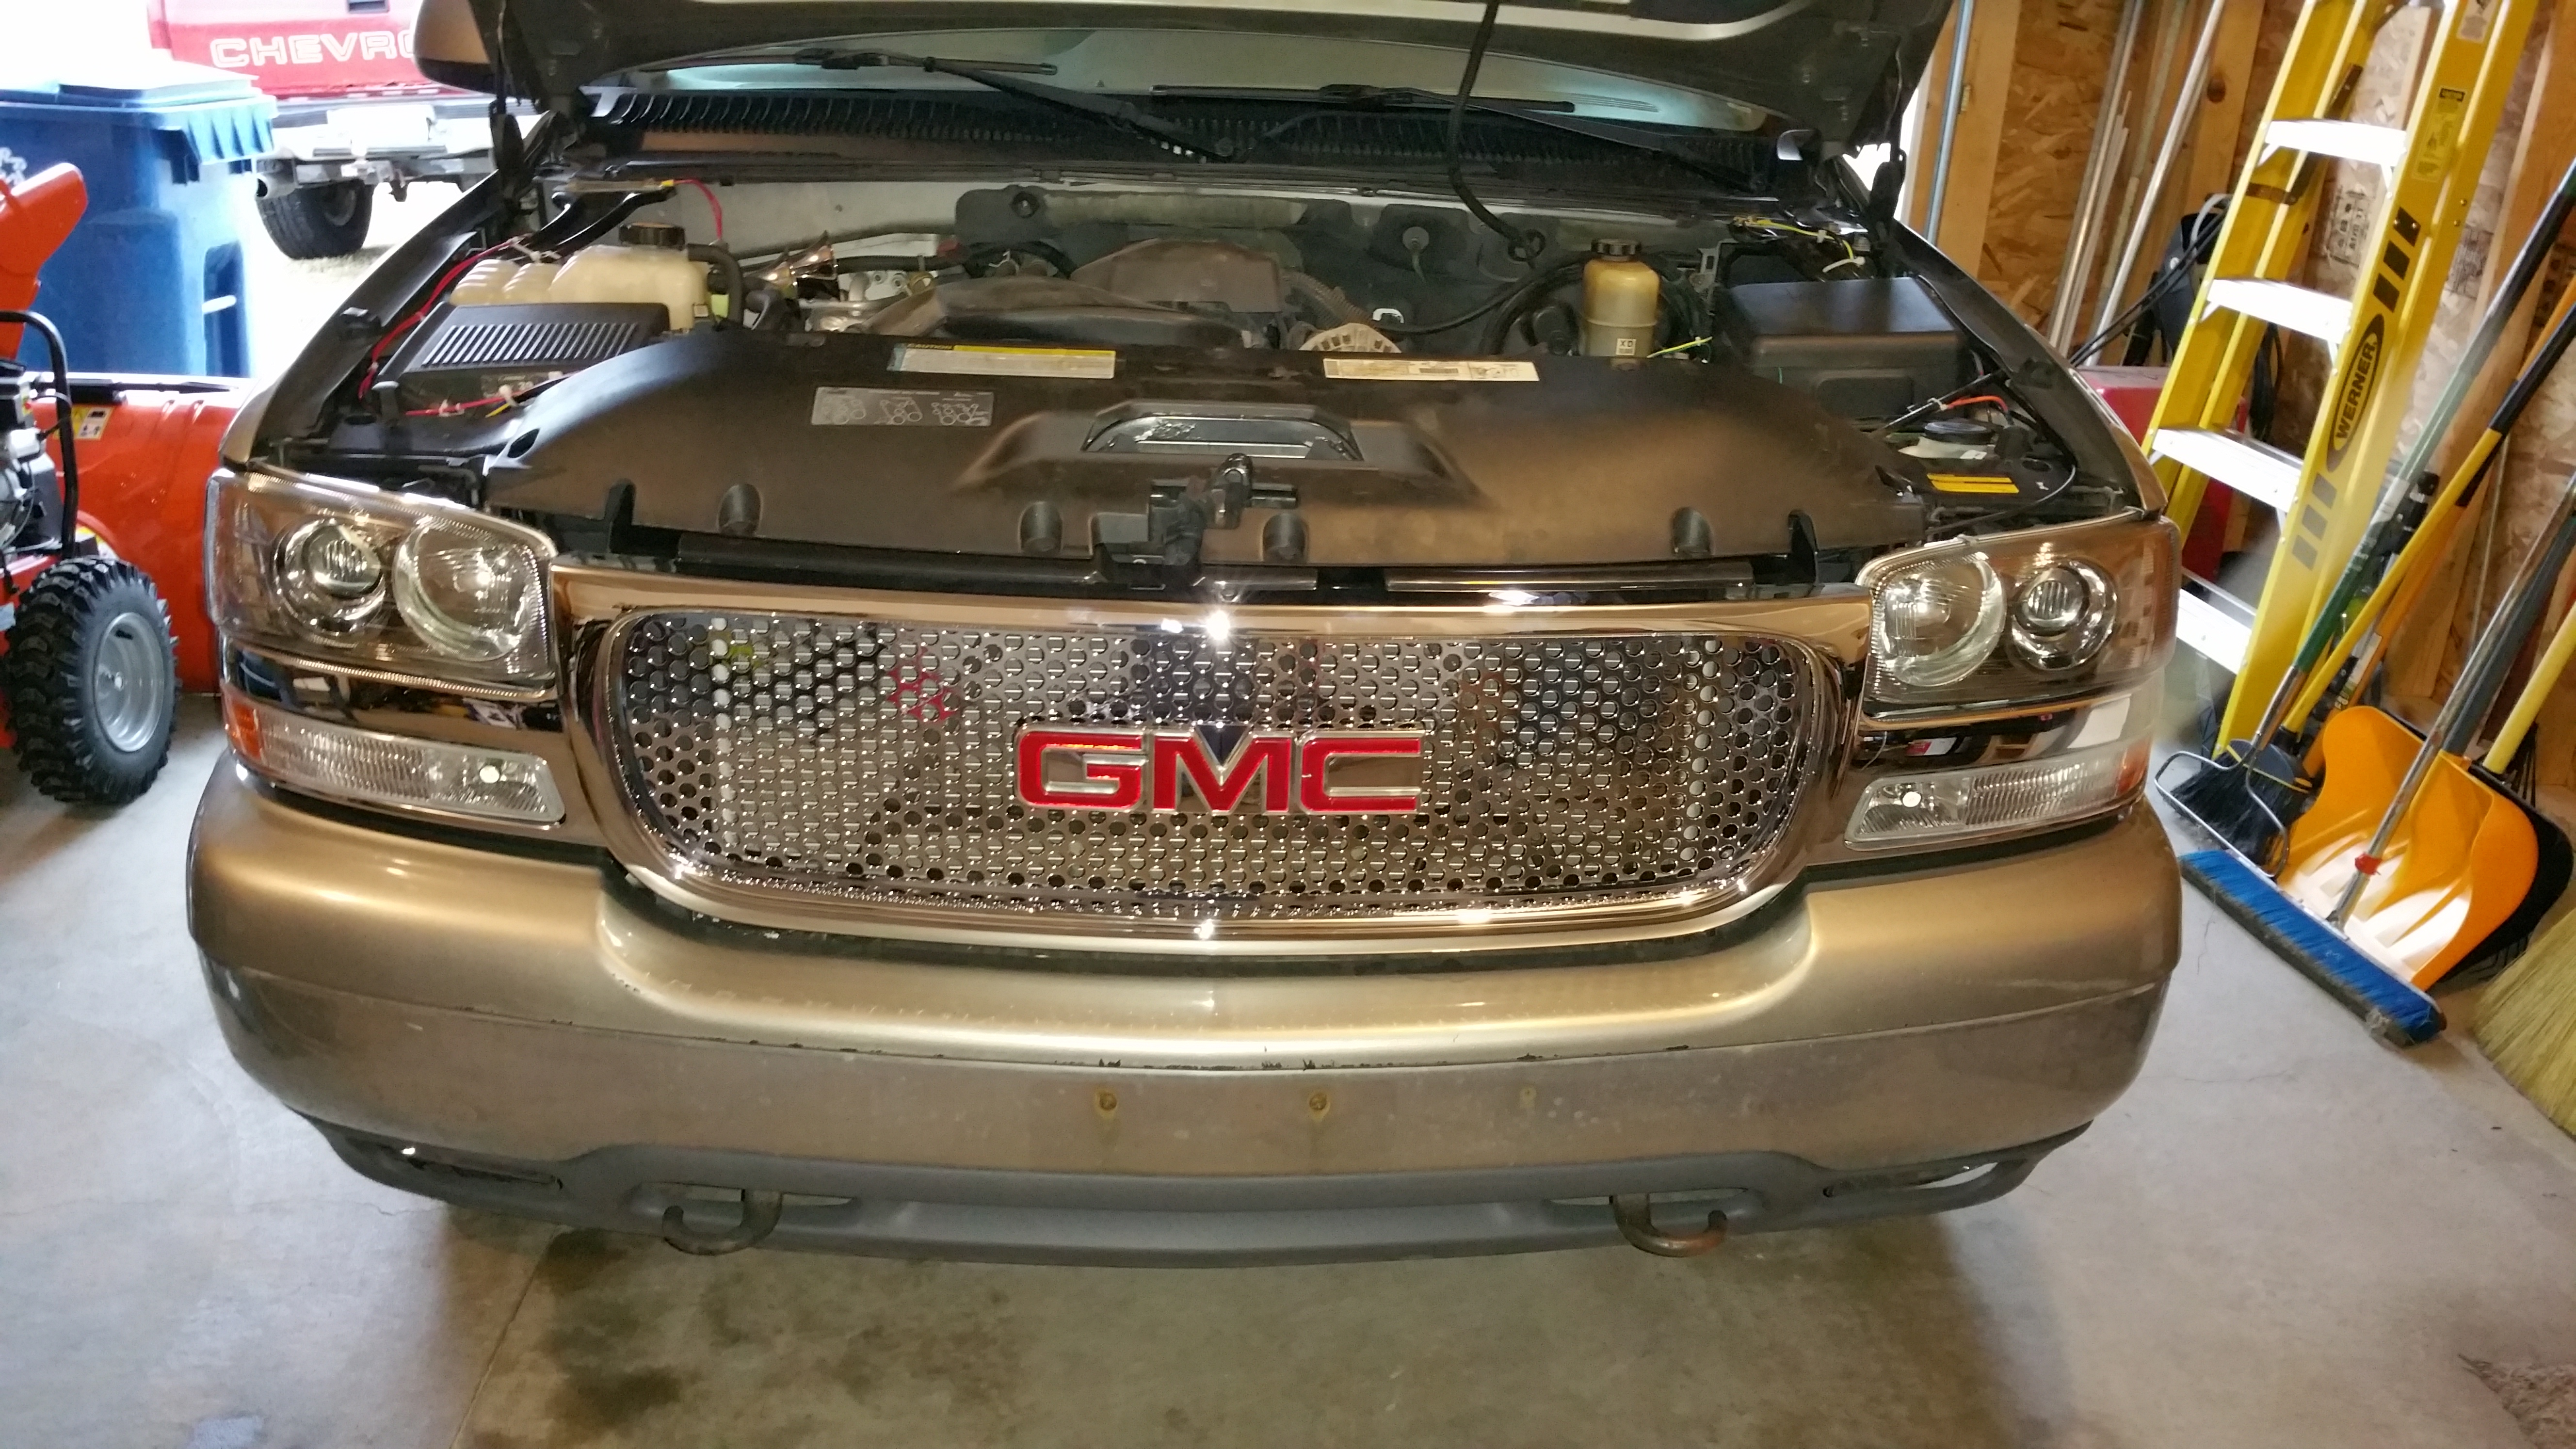
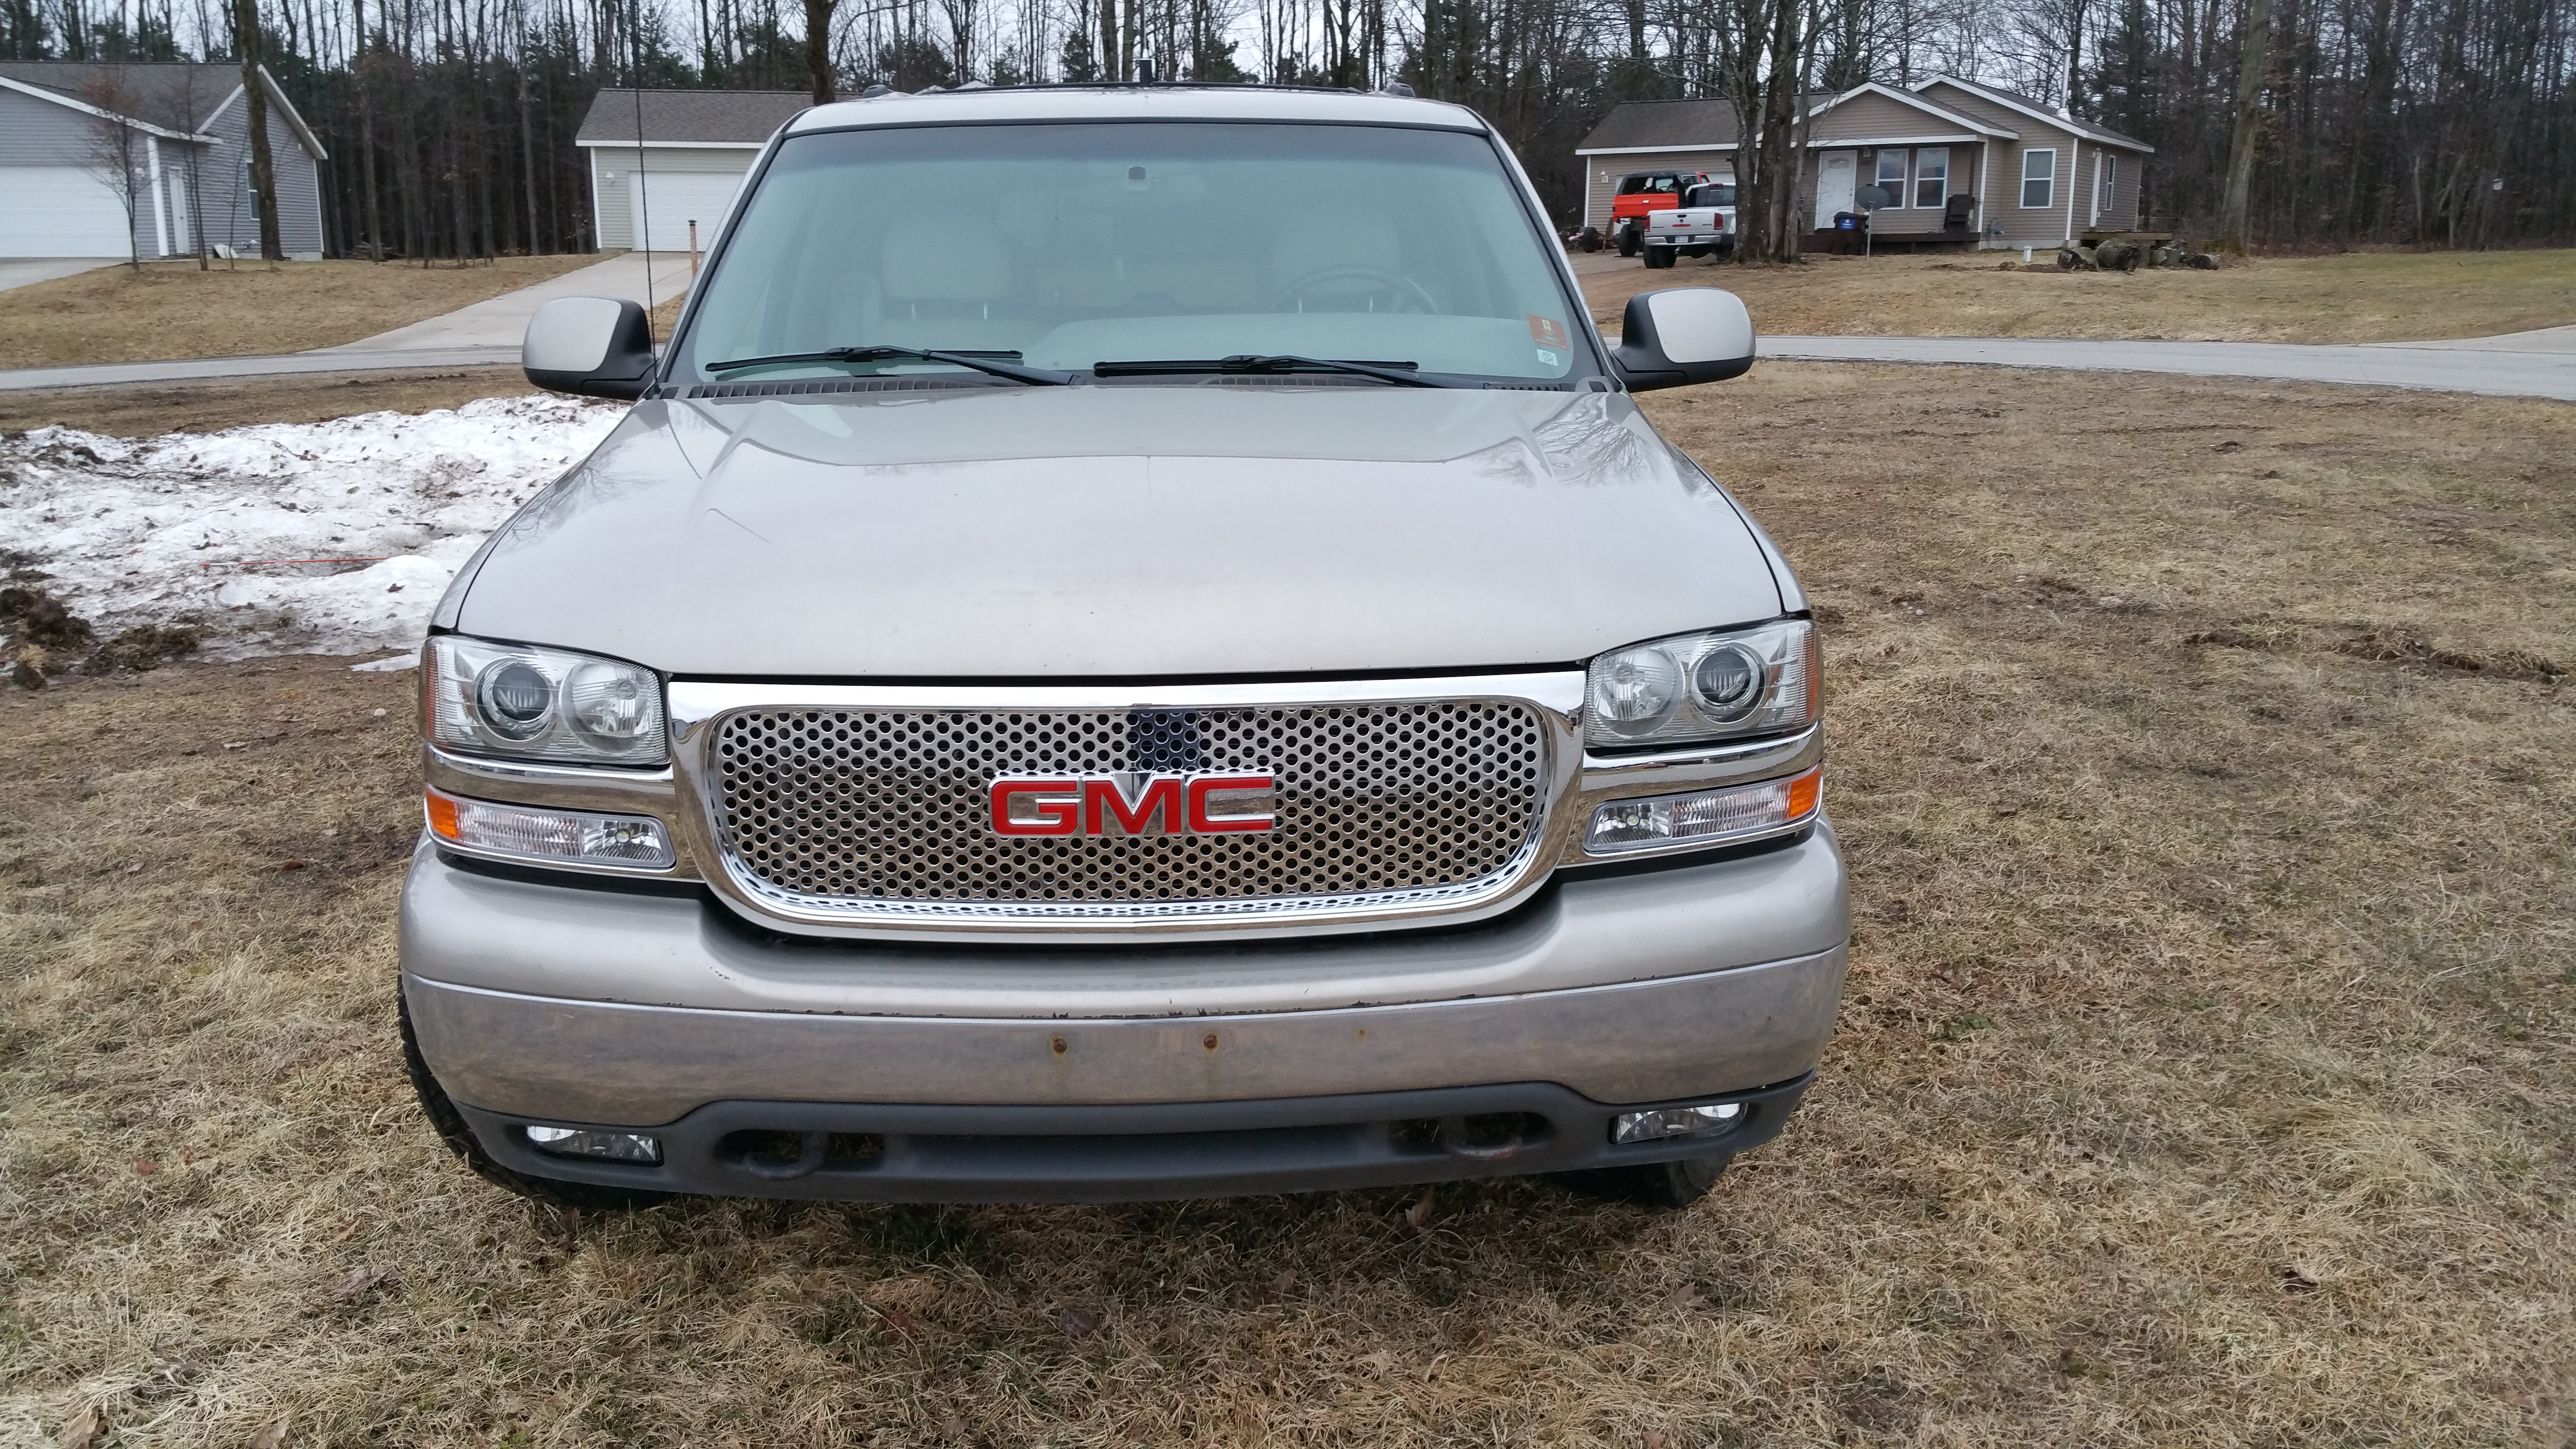
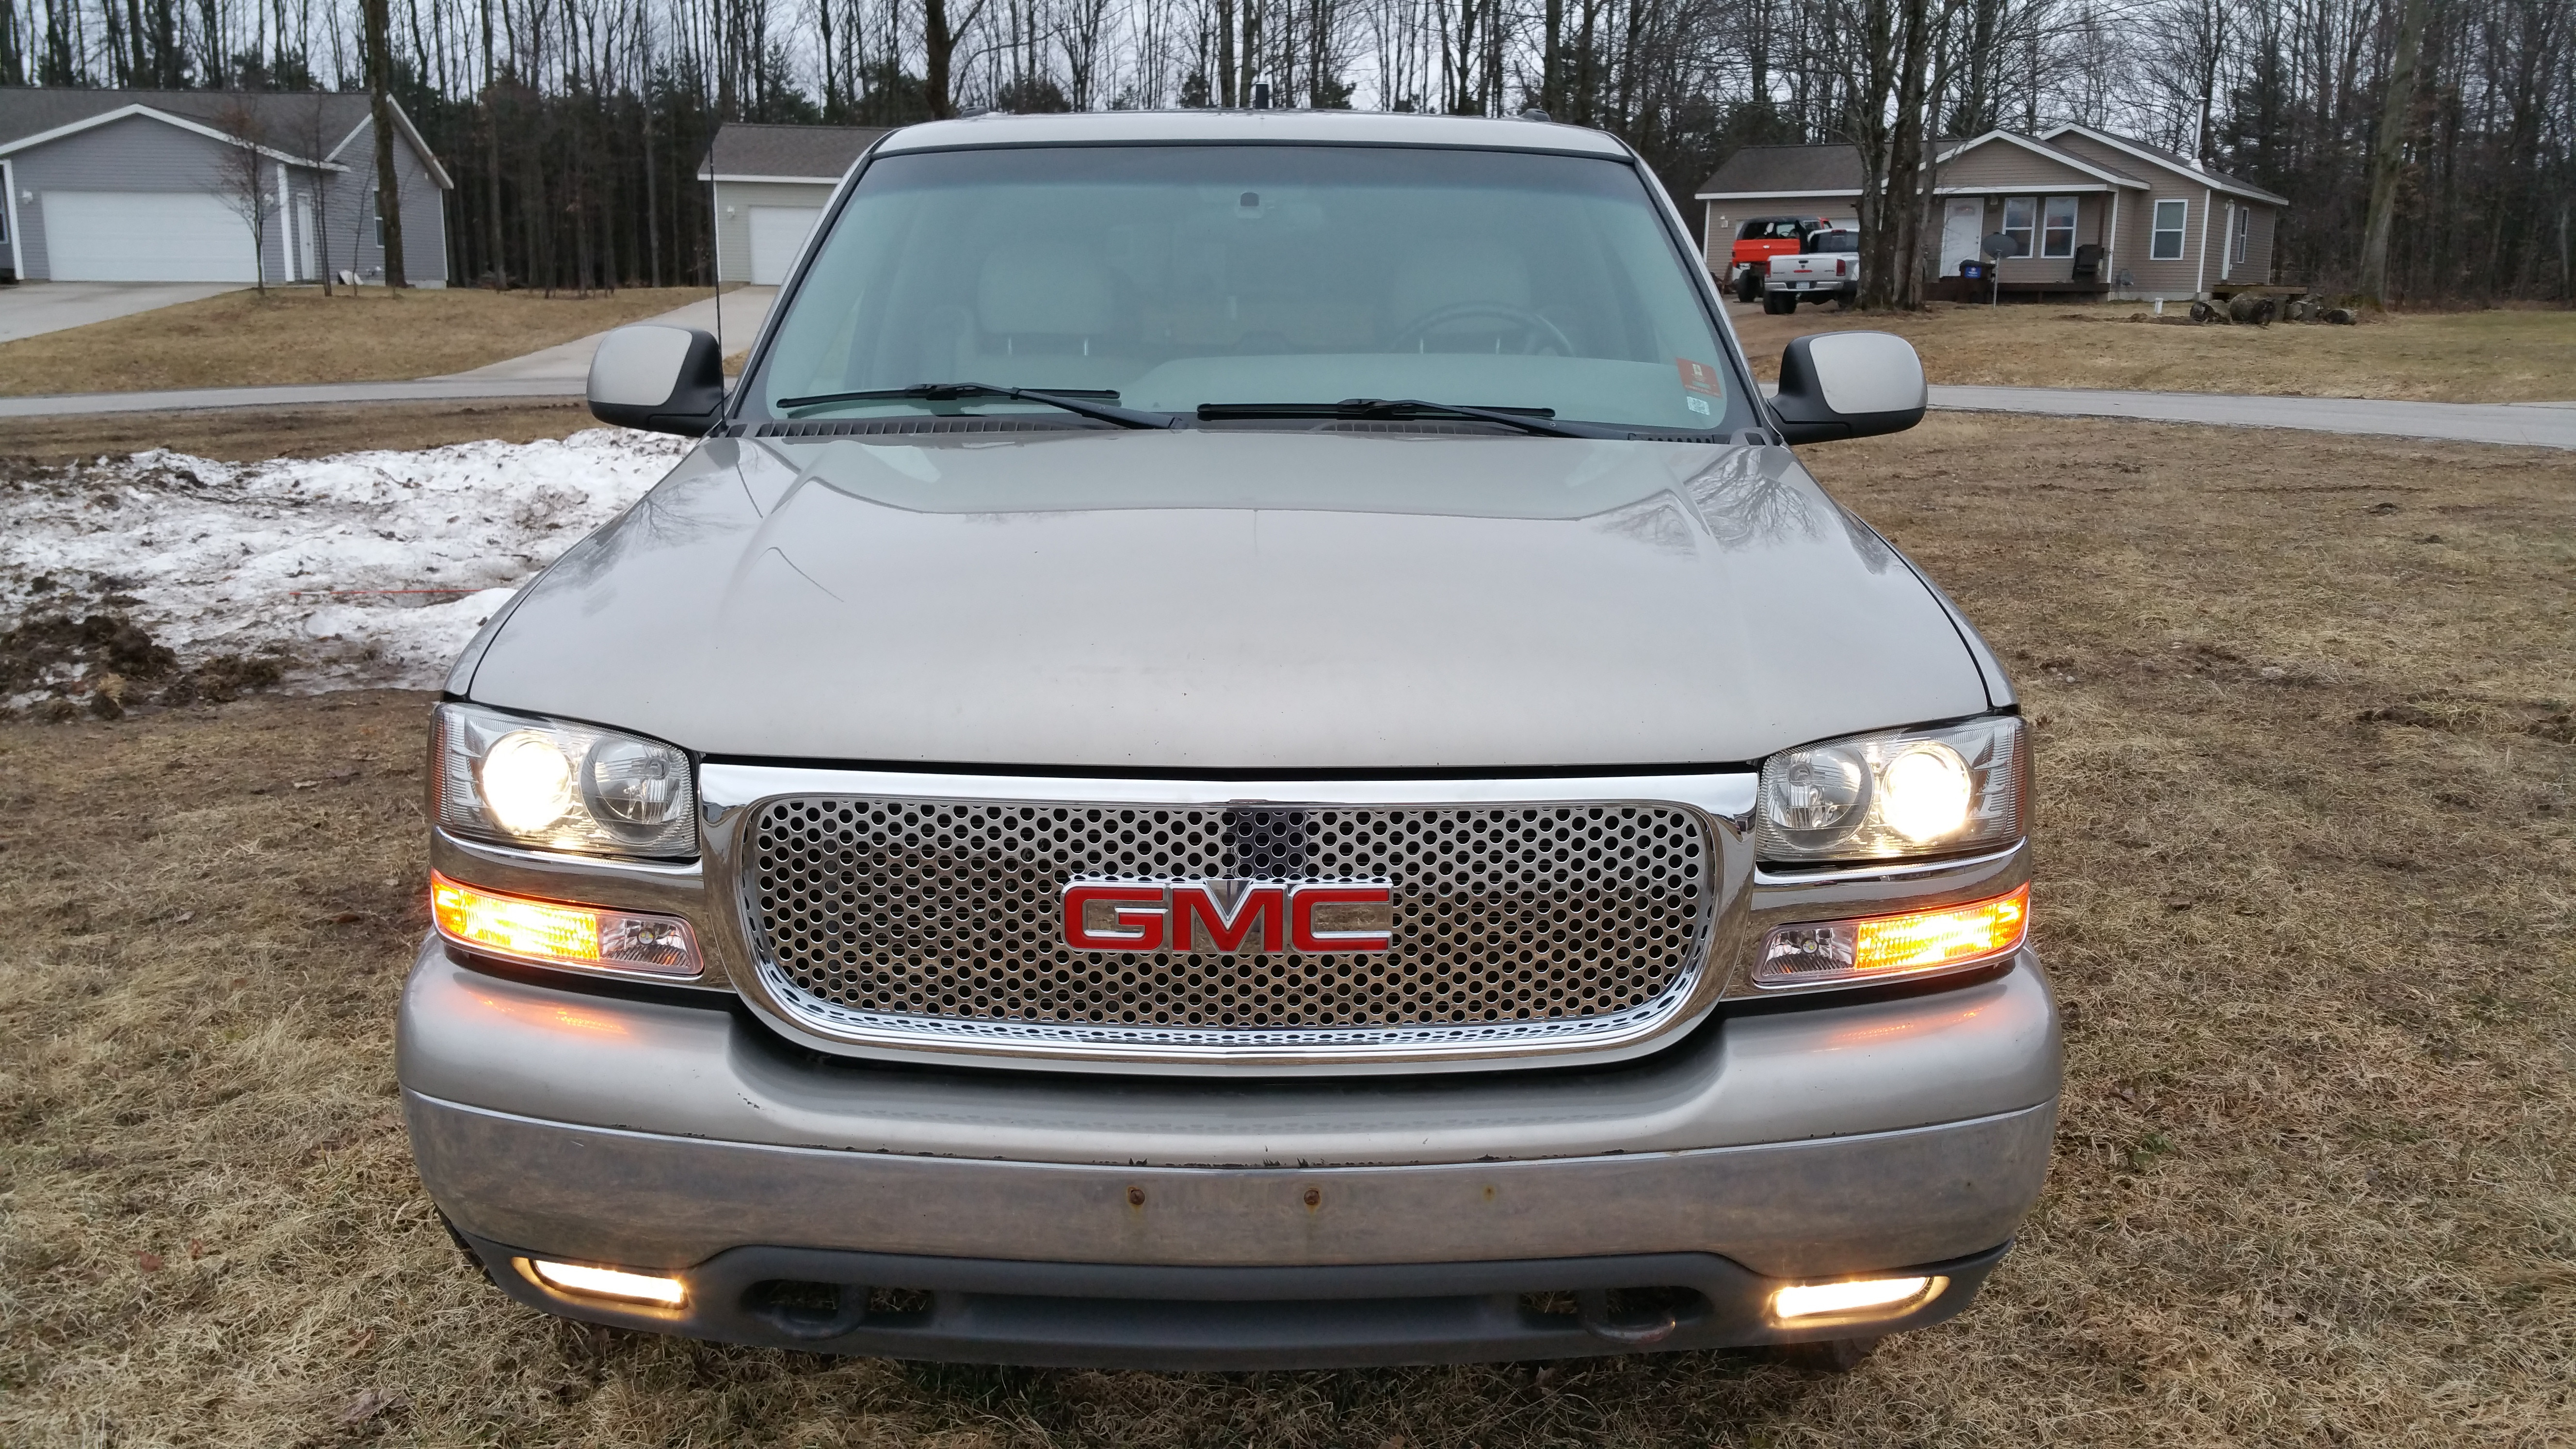
Saw a write up where a guy mounted them vertically behind the front bumperI wanted to install them behind the grille but there wasn't anyplace to fit anything this large.
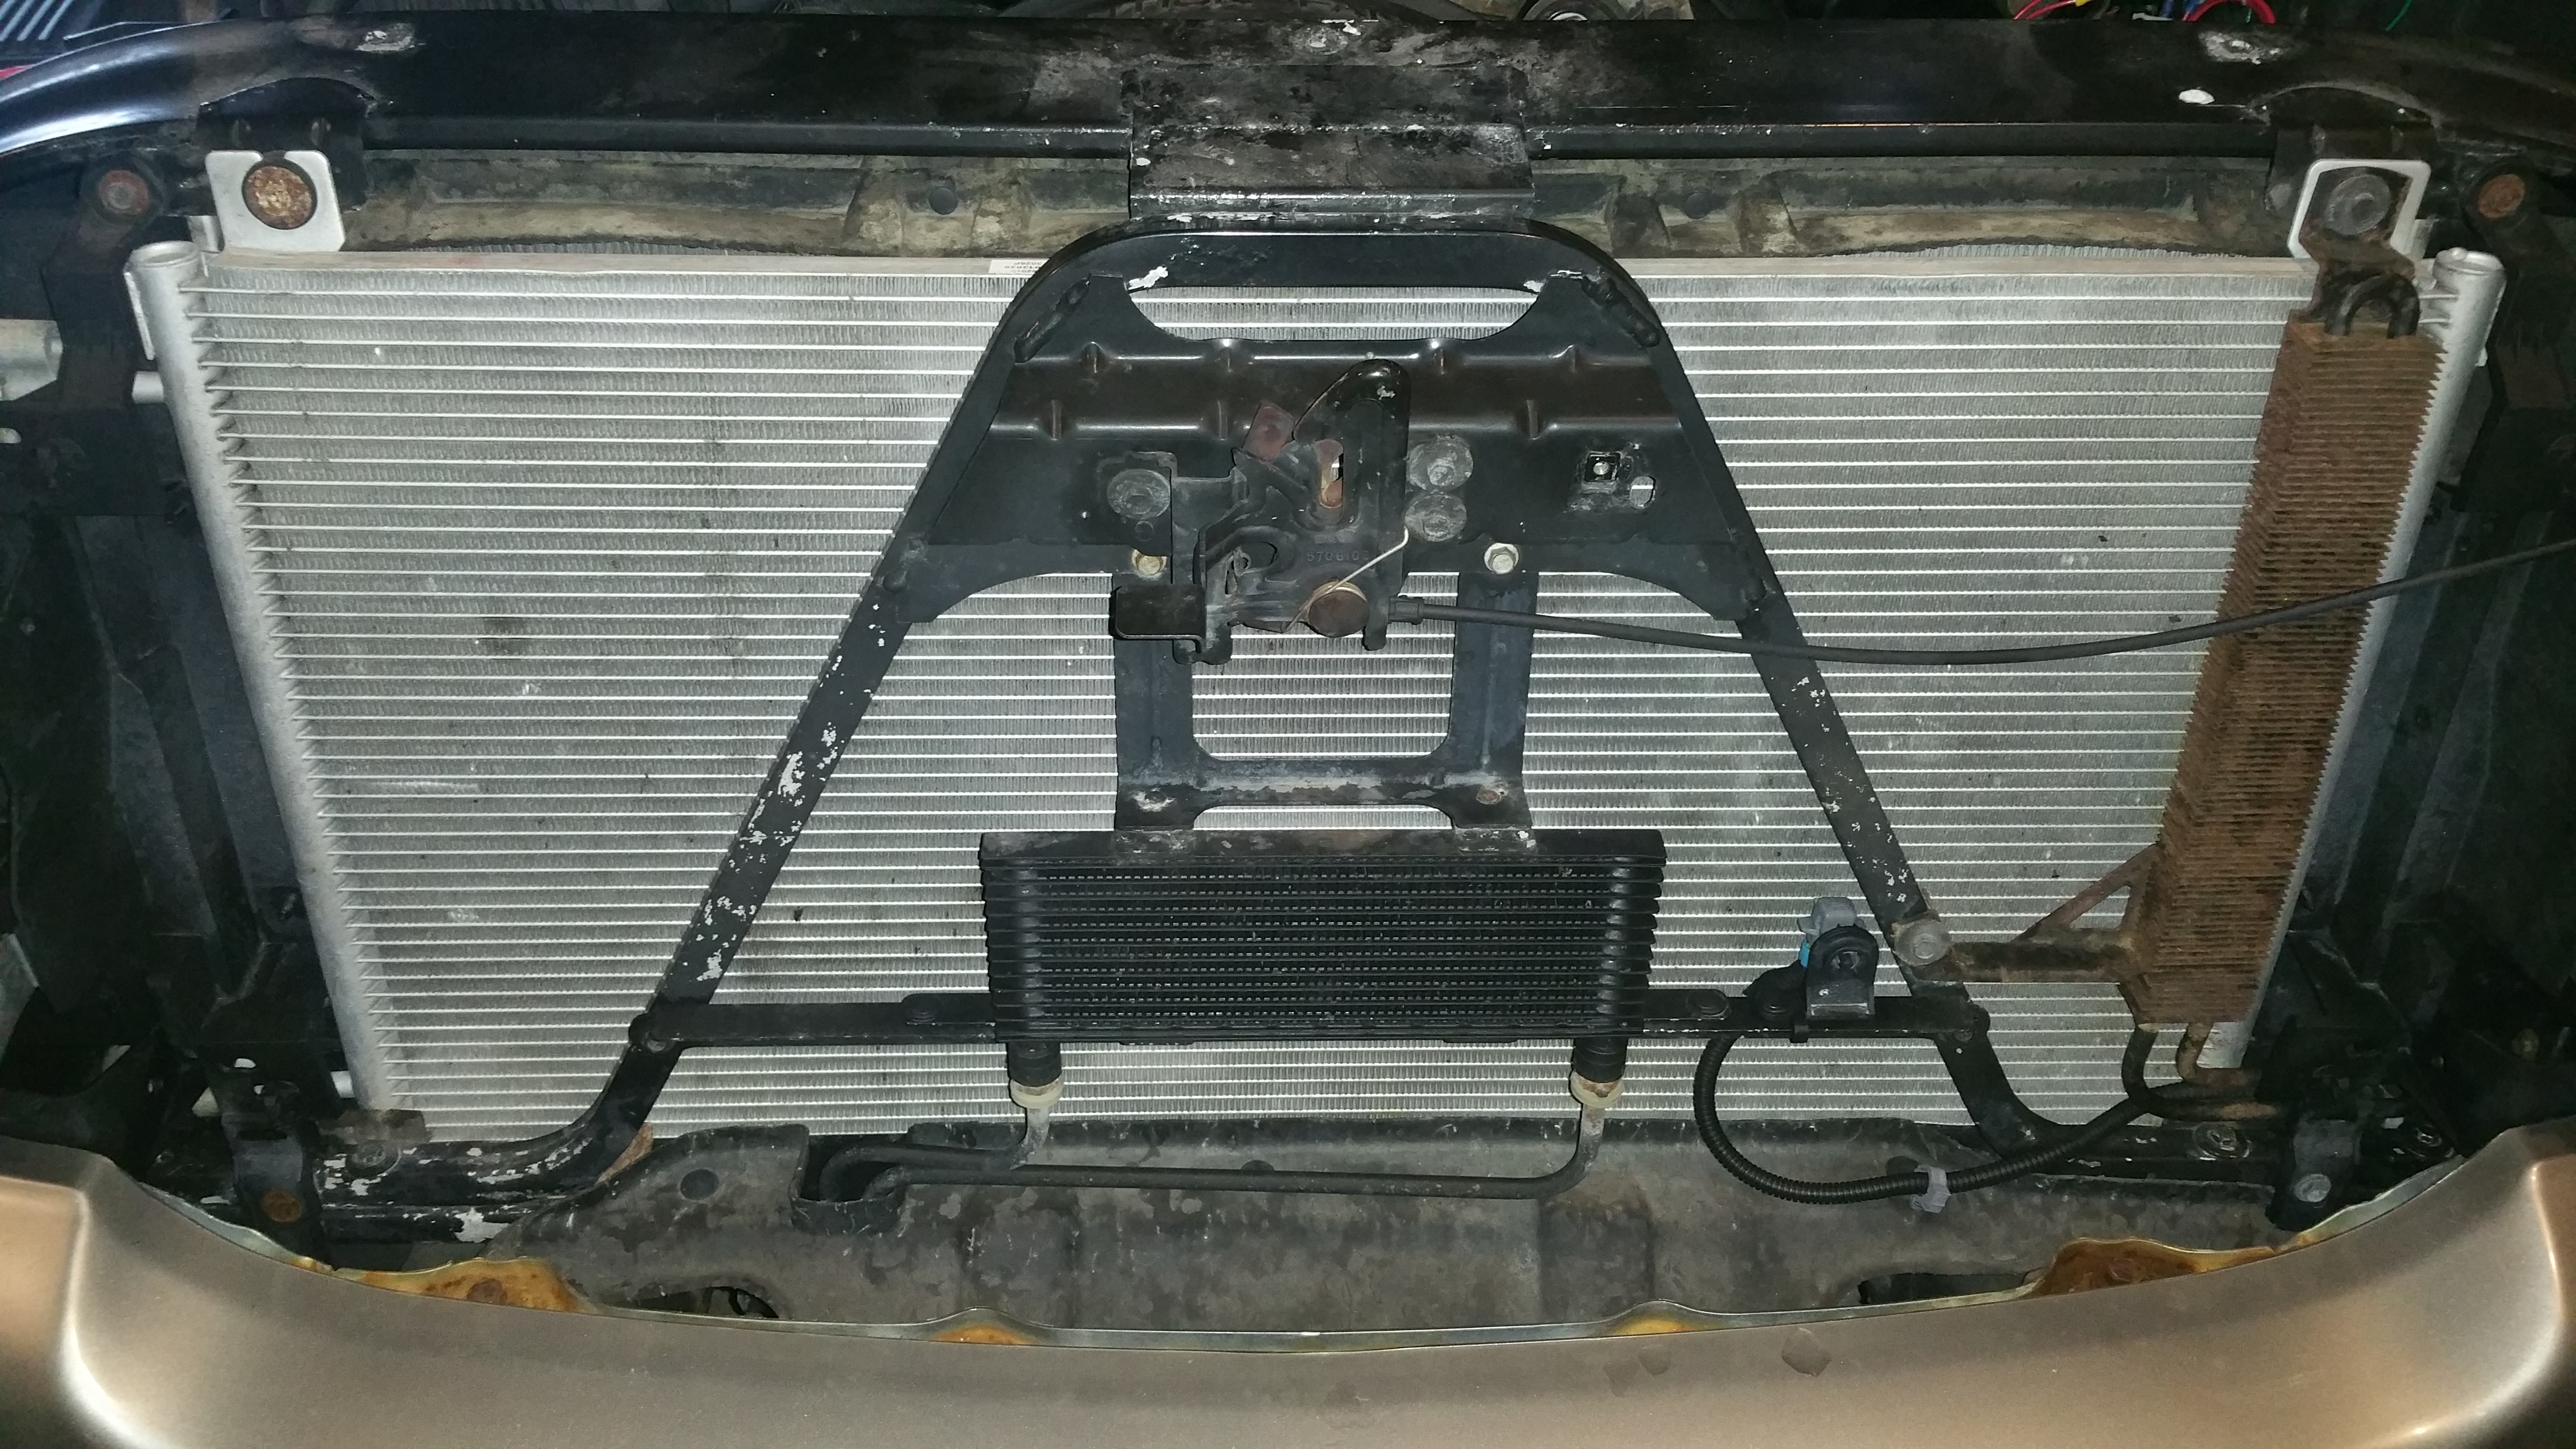
I even looked under the back of the bumper, and the only thing I could find that was solid (and had room to fit them) would have been the frame rails.
I just couldn't find any good locations for these monsters.