Rocket Man's 2008 Bagged CC Silverado Build AKA "THE MACHINE"

Disclaimer: Links on this page pointing to Amazon, eBay and other sites may include affiliate code. If you click them and make a purchase, we may earn a small commission.

OP
OP
Rocket Man

Rocket Man

Mark
Supporting Member
Joined
Dec 25, 2014
Posts
26,679
Reaction score
52,954
Location
Oregon
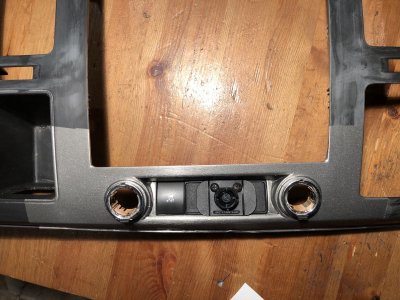
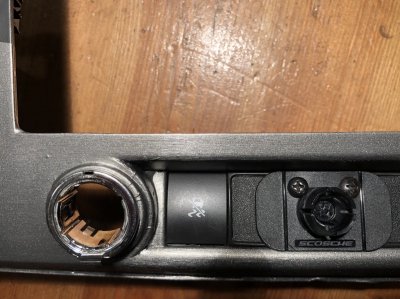
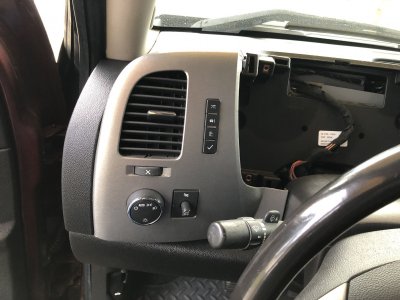
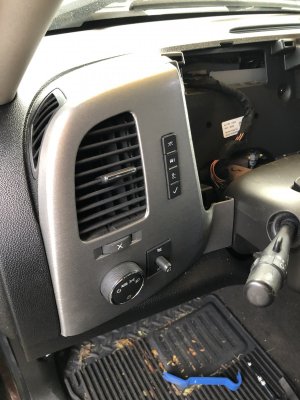
The main dash part is gonna be a pain to wrap imo. The area around the accessory outlets especially.
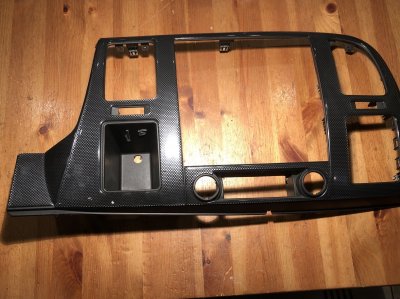
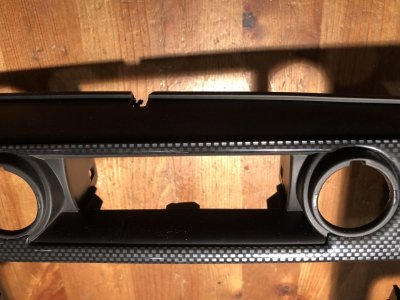
F37153A5-B9C4-4477-A3CF-81473F6C7D8A.jpeg D0437EA9-CB4D-4232-A74D-235BEC1DCFB0.jpeg FE7B649A-5072-423D-8DDD-75F1A9AB07FF.jpeg
 

Staggered 02

Full Access Member
Joined
Jul 5, 2019
Posts
672
Reaction score
1,556
That's alot of work no doubt. if it wasn't for you having all of that time and patience, it would almost be worth finding new pieces and going from there. Is color matching an option?
 
OP
OP
Rocket Man

Rocket Man

Mark
Supporting Member
Joined
Dec 25, 2014
Posts
26,679
Reaction score
52,954
Location
Oregon
That's alot of work no doubt. if it wasn't for you having all of that time and patience, it would almost be worth finding new pieces and going from there. Is color matching an option?
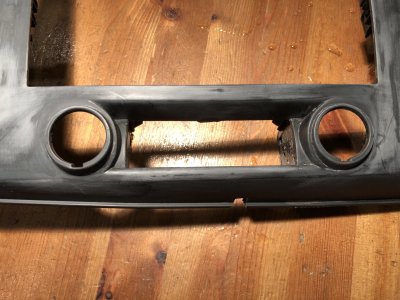
I looked; the main bezel is $85 used on EBay at best. And CM might be what I end up doing since I just realized the 12” wide wrap I bought is about an inch too narrow for that piece. The next size up, 2’, only comes in a 5’ long piece and it’s $50. I already spent (wasted) $25 on the 12” x 5’ piece I have now. I was sure 12” was wide enough but I didn’t measure. Doh. I’ll practice with the wrap to see if it will look good before deciding.
 

Staggered 02

Full Access Member
Joined
Jul 5, 2019
Posts
672
Reaction score
1,556
I hear you. So I know that I have all of the door bezels and even a dash bezel in my garage in Florida for sure. I think I also have a dash cap and the rest of the bezels you are working on. If I wasn't in Louisiana I could easily check.

20160531_093923.jpg
 
OP
OP
Rocket Man

Rocket Man

Mark
Supporting Member
Joined
Dec 25, 2014
Posts
26,679
Reaction score
52,954
Location
Oregon
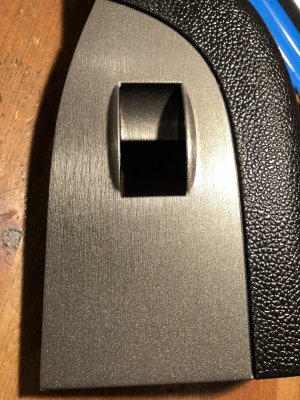
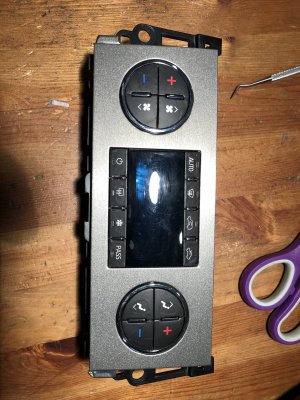
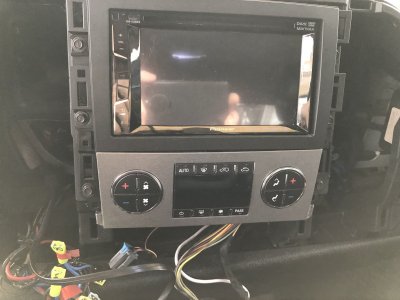
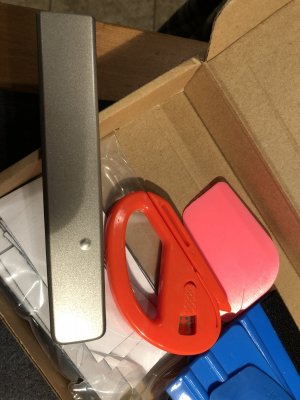
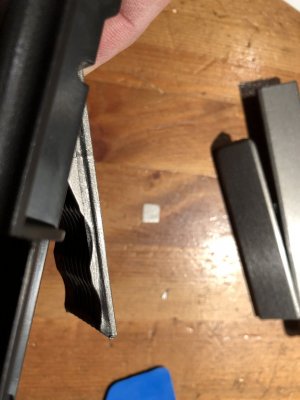
It’s not a big deal, I cleaned up the center dash piece and HVAC piece in an hour and a half. So now they’re ready for paint or wrap. I actually think it might be possible for me to wrap the center dash after more practice. My first shot at the problem area went so-so mostly because I cut the center of the opening in the wrong place so there wasn’t enough wrap to cover. Next time I’ll do better. I’ll try a few times until I either get it or give up. I need some more wrap tools too, I’m just using a plastic card.

7D9B512F-DCDF-4B0F-835B-128C681F7180.jpeg 8ECA3D77-8CAA-436D-8904-52D5D6E119A2.jpeg
 
OP
OP
Rocket Man

Rocket Man

Mark
Supporting Member
Joined
Dec 25, 2014
Posts
26,679
Reaction score
52,954
Location
Oregon
Hydro dip!
Hmm that’s a possibility. Haven’t thought about that stuff since back when I was building Harleys.
Edit: I just looked at a bunch of hydro film and remembered why I never used it. I couldn’t find a pattern that I really liked. If you want skulls or something it’s ok but I guess because it has to conform to curves and whatnot, the patterns are limited it seems. I like something like brushed aluminum or stainless steel but I don’t think it will look right dipping it. IDK.
 
Last edited:

iamdub

Full Access Member
Joined
Apr 23, 2016
Posts
20,821
Reaction score
45,014
Location
Li'l Weezyana
Hmm that’s a possibility. Haven’t thought about that stuff since back when I was building Harleys.
Edit: I just looked at a bunch of hydro film and remembered why I never used it. I couldn’t find a pattern that I really liked. If you want skulls or something it’s ok but I guess because it has to conform to curves and whatnot, the patterns are limited it seems. I like something like brushed aluminum or stainless steel but I don’t think it will look right dipping it. IDK.

I would think that a pattern such as brushed metal would be much easier to have come out right than something that could be affected by stretch, such as lines or icons, etc. I had to see if there was a hydro dip/water transfer brushed metal pattern- there are lots of them. I don't know if it's anything you'd be interested in, though.
 
OP
OP
Rocket Man

Rocket Man

Mark
Supporting Member
Joined
Dec 25, 2014
Posts
26,679
Reaction score
52,954
Location
Oregon
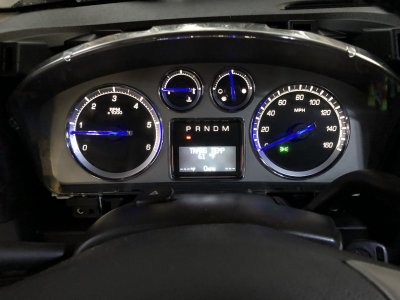
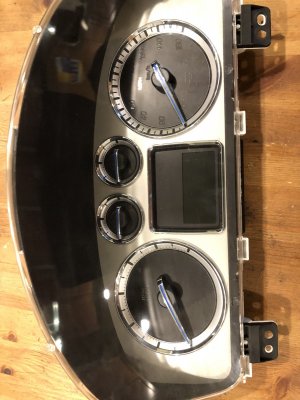
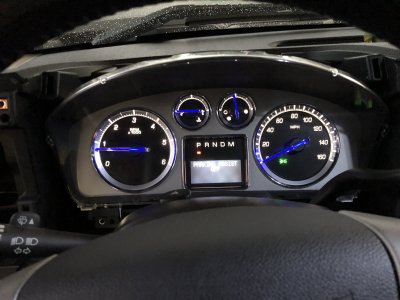
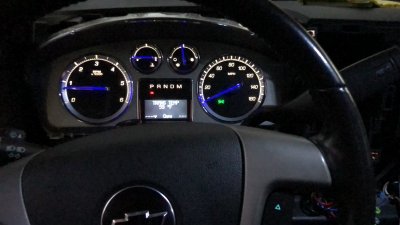
Got the cluster today and it was in great shape so I hooked up the pigtail I made and plugged into the truck. Nothing. I went inside and looked at the wiring diagrams again and discovered I had inserted the plug with all the pins in it the wrong way in the holder on the cluster side so I slid it out, turned it around, and slid it back in. Still nothing. Then I discovered I hadn't slid it all the way and it wasn't seating all the way into the cluster, so I did that. Aha! It's alive!

IMG_0138.JPG IMG_0142.JPG IMG_0143.JPG IMG_0146.JPG
 

iamdub

Full Access Member
Joined
Apr 23, 2016
Posts
20,821
Reaction score
45,014
Location
Li'l Weezyana
*Plugs in cluster

-Dead-

Raging in 5... 4... 3... 2... Oh, wait, lemme check the harness... Ah-ha!

*Plugs in cluster again

-Dead-

Raging in 3...2...1... Wait! Lemme push on the connector a little more...

*click*

Whew! Rage trigger averted!


Now I want blue needles.
 
OP
OP
Rocket Man

Rocket Man

Mark
Supporting Member
Joined
Dec 25, 2014
Posts
26,679
Reaction score
52,954
Location
Oregon
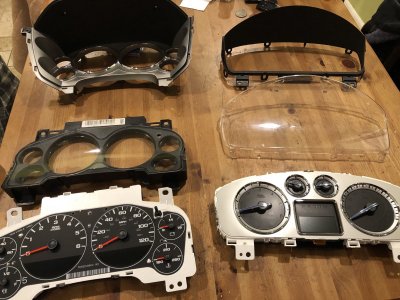
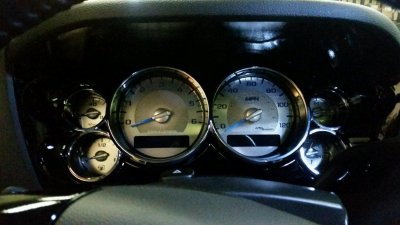
Well shit. I just noticed the other guys who have done the cluster did so in the LTZ or SLT pickups or the SUV’s. Mines an LT of course so the dash is completely different. The only ones I’ve been able to find pics of in an LT look like the cluster is just stuffed in there, untrimmed. I asked @fiatdale and he said he saw one in Houston done, maybe with fiberglass. I haven’t given up yet but this is gonna be a challenge if I can pull it off. The clusters are completely different shapes. Way different. I’m having a hard time even coming up with a plan yet. It’s given me a headache trying to brainstorm this lol.

622ECBBE-EC41-4B2B-8C3D-D7A99C3B330D.jpeg
 

HiHoeSilver

Away!
Joined
Feb 28, 2017
Posts
10,918
Reaction score
14,578
Location
Chicago
Well shit. I just noticed the other guys who have done the cluster did so in the LTZ or SLT pickups or the SUV’s. Mines an LT of course so the dash is completely different. The only ones I’ve been able to find pics of in an LT look like the cluster is just stuffed in there, untrimmed. I asked @fiatdale and he said he saw one in Houston done, maybe with fiberglass. I haven’t given up yet but this is gonna be a challenge if I can pull it off. The clusters are completely different shapes. Way different. I’m having a hard time even coming up with a plan yet. It’s given me a headache trying to brainstorm this lol.

View attachment 236553

Grrrr. That's the kind of thing that'll keep me up all night thinking. Wish I was there to touch them and set them on top of each other and fiddle around. Gotta be a way.
 
OP
OP
Rocket Man

Rocket Man

Mark
Supporting Member
Joined
Dec 25, 2014
Posts
26,679
Reaction score
52,954
Location
Oregon
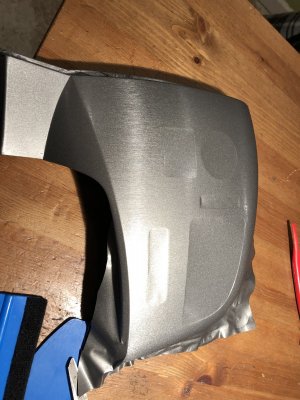
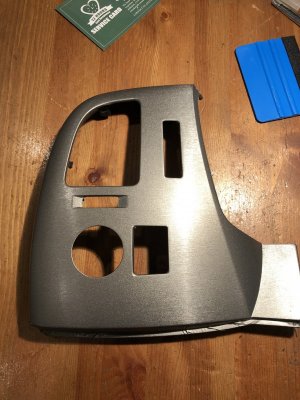
I got my wrap tools today and after a bit of experimenting I think I can do the dash pieces. The pocket for the TC switches and the accessory outlets is the problem but if I pre-wrap part of it first and then layer the main wrap over it you can’t really see the seam plus that part is seen from above so you’re looking down at it. In the pics I got a couple bumps because I didn’t really worry about how clean it was, I was just experimenting with technique. I’m pretty sure I can make it look acceptable so I’m ordering the wider wrap.

A3759405-9381-4885-98BA-DD66096D39CB.jpeg 00165837-9C56-47D0-9D21-DE67284672AE.jpeg
 
OP
OP
Rocket Man

Rocket Man

Mark
Supporting Member
Joined
Dec 25, 2014
Posts
26,679
Reaction score
52,954
Location
Oregon
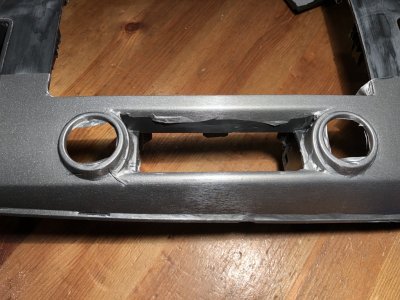
Re-did the switch assembly and the HVAC escutcheon, and now I see I'll have to do the HU one too. I ran out of wrap except small pieces so the rest will have to wait a few days. Still have to do the hardest one, the big dash piece. Hopefully this practice stuff will help me gain some skills lol.

IMG_0163.JPG IMG_0166.JPG IMG_0167.JPG
 
OP
OP
Rocket Man

Rocket Man

Mark
Supporting Member
Joined
Dec 25, 2014
Posts
26,679
Reaction score
52,954
Location
Oregon
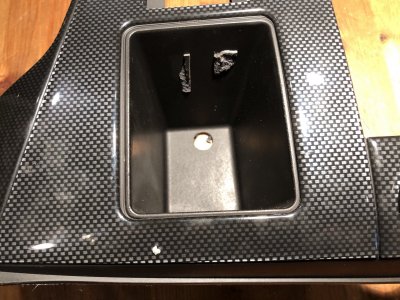
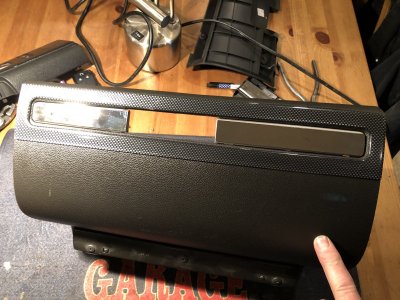
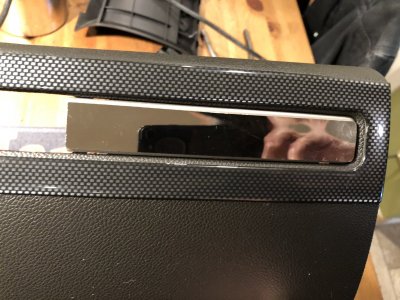
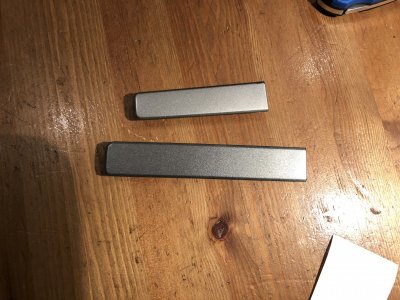
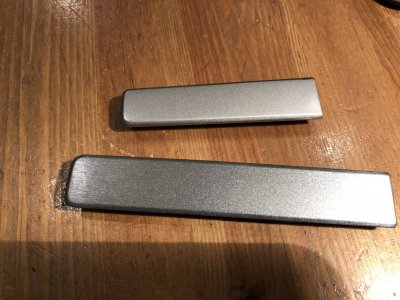
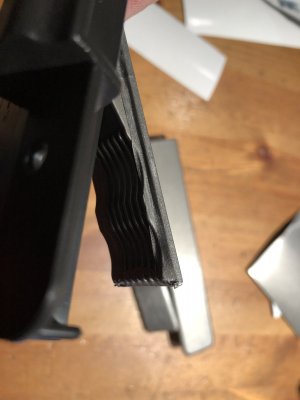
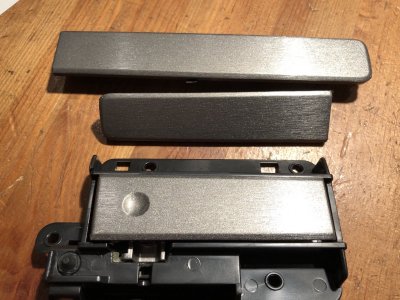
Started on the glove box. I didn't realize the small pieces had mirrored stuff glued on them and the carbon fiber crap around them was glued to the textured area so that is coming off and I'll have to repaint the glove box due to using denatured to remove the glue which means I'll probably have to paint more pieces unless I can find an exact paint match. The Krylon Fusion satin black I have doesn't.

IMG_0169.JPG IMG_0170.JPG IMG_0171.JPG IMG_0172.JPG
 
OP
OP
Rocket Man

Rocket Man

Mark
Supporting Member
Joined
Dec 25, 2014
Posts
26,679
Reaction score
52,954
Location
Oregon
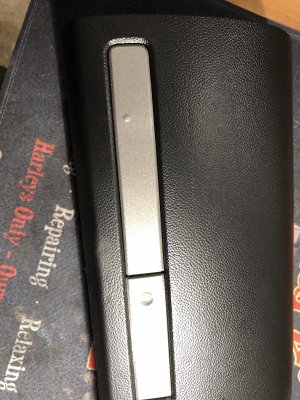
Putting the glove box back together tonight, on the last screw holding the inside cover on, and found out the one I used was too long. The hard way. Of course I decided just then to use the impact instead of hand driving it or else I would have noticed it bottoming out. So I pulled the piece, removed the wrap and sanded out the bump but I ran out of wrap. It will be here tomorrow.

8C1D9449-0441-48CA-929C-CE0D0150E39A.jpeg A9197237-7401-4D68-B902-F26E03157FA5.jpeg C036D170-AE90-4F12-A55A-E6F982F4DC7A.jpeg 7F54704E-D737-40E4-B89D-86C74CD41D5A.jpeg 008F4900-E439-404E-87EC-D0122DBED2F6.jpeg
 

Forum statistics

Threads
138,092
Posts
1,998,714
Members
103,016
Latest member
BadDaddy2003
Back
Top