RBT's Build Thread

Disclaimer: Links on this page pointing to Amazon, eBay and other sites may include affiliate code. If you click them and make a purchase, we may earn a small commission.

Joined
Dec 29, 2018
Posts
44
Reaction score
17
This thing will be a slow burn gents. The hit list is below and in no certain order:

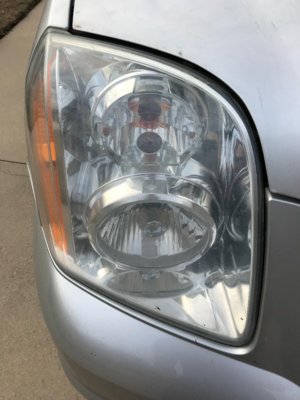
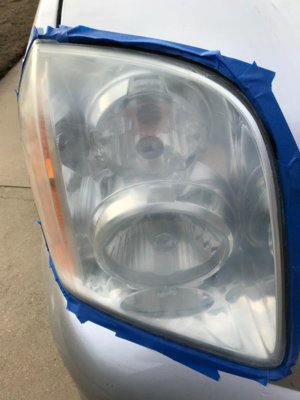
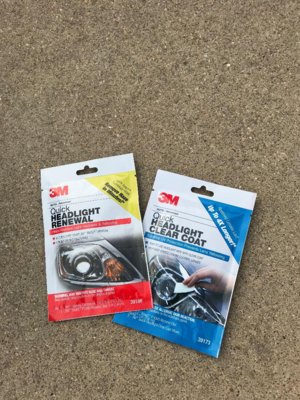
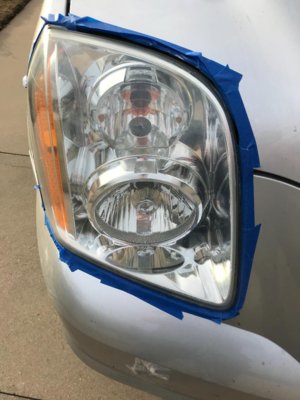
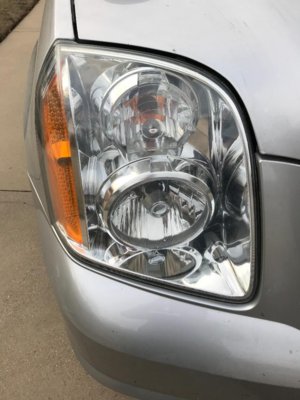
-headlight refurb - Lens polish done, may still upgrade to LEDs.
-rear third light replacement
-leveling kit
-catch can install
-clearing rust from the brake drum
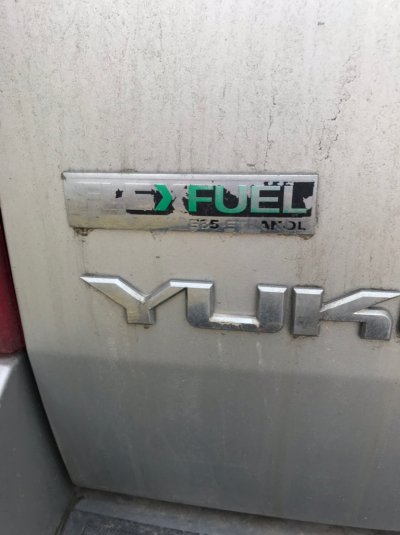
-de-badge - Done
-headlight replacement? Unsure as of now if needed
-sound deadening - mainly trying to tamp down road noise

Updates will be posted here along with additions/deletions.
 
Last edited:
OP
OP
Running Bomb Tech
Joined
Dec 29, 2018
Posts
44
Reaction score
17
Here's the HL clean up I did today. I pretty much followed the directions from the other guys posting about it. I'm not sure if the difference between the before and after is as dramatic as I expected. I should probably do it again. But, they're old headlights and I'm thinking about replacing them.

bf.jpeg 2.jpeg 3.jpeg 4.jpeg 5.jpeg
 

Fosscore

Full Access Member
Joined
Apr 16, 2014
Posts
10,472
Reaction score
18,075
Good hit list moving forward.
Headlight looks better. Even if it holds you out for a new one for a while.
 
OP
OP
Running Bomb Tech
Joined
Dec 29, 2018
Posts
44
Reaction score
17
Thanks. I noticed for the first time there should also be some polishing done on the inside of the lens. I'll either disassemble and upgrade with LEDs or replace outright down the road.
 
OP
OP
Running Bomb Tech
Joined
Dec 29, 2018
Posts
44
Reaction score
17
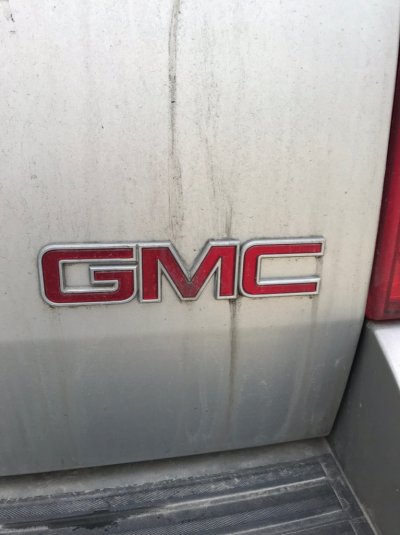
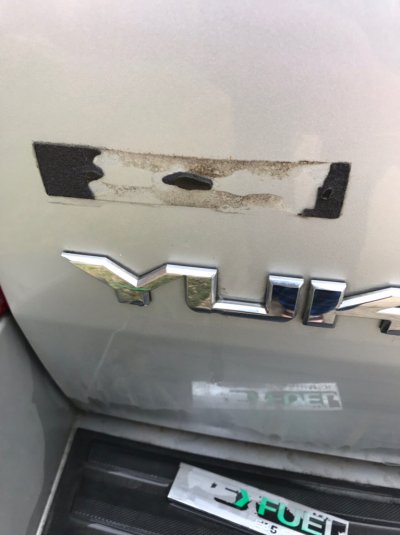
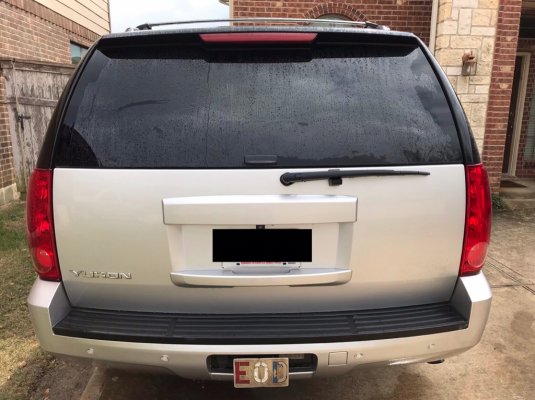
Removed two badges on the rear this morning. I’ll keep the “yukon” badges because I like the silver on gray look. But the GMC and fuel badge just look horrendous.

Gone.
91112bb7b72f4029e70b7a9b90ae087b.jpg49b7179ed8af402b5b4dc232855991f5.jpg0cf7327ae4b963191a86eec0cc1246d0.jpg
40c446bf38bd58e251069e18c3df34ef.jpg
2ae27e1facd203ca4944dbeec4f6709f.jpg


Sent from my iPhone using Tapatalk
 
OP
OP
Running Bomb Tech
Joined
Dec 29, 2018
Posts
44
Reaction score
17
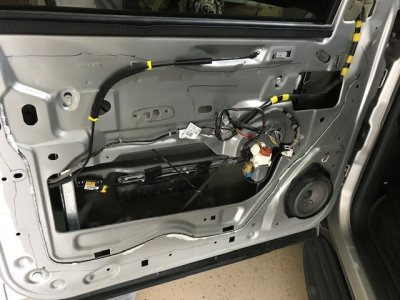
Here's the sounded deadener I added to the driver side door today. These are the before videos:

 
OP
OP
Running Bomb Tech
Joined
Dec 29, 2018
Posts
44
Reaction score
17
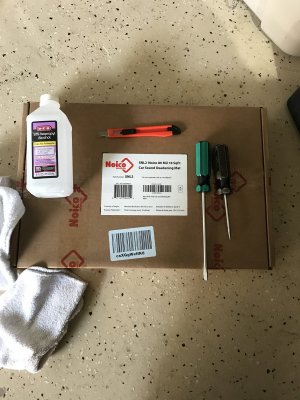
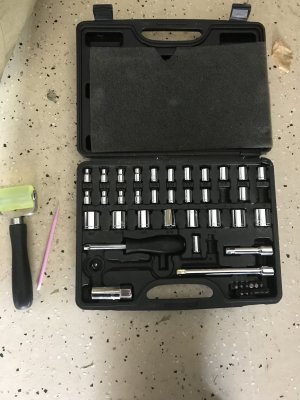
Here's the step by step for it. These are the tools I started with (yes, I had to improvise later). The entire project for just this door took 3.5 hours.

I've never attempted anything like this and consider myself a complete novice.

IMG-1087.jpg IMG-1088.jpg
 
OP
OP
Running Bomb Tech
Joined
Dec 29, 2018
Posts
44
Reaction score
17
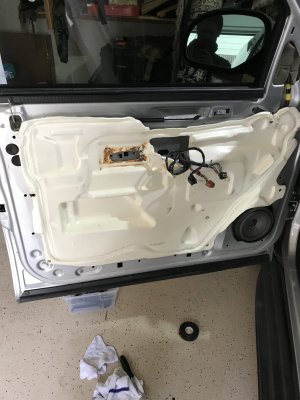
Now the time for this includes the 30 minutes I spent looking for the ratchet my son took to his room. I just followed the youtube video on how to remove the door panel.

After taking it off, I kept the moisture barrier on and took a sharpie to mark the outline. Then I took off the moisture barrier.

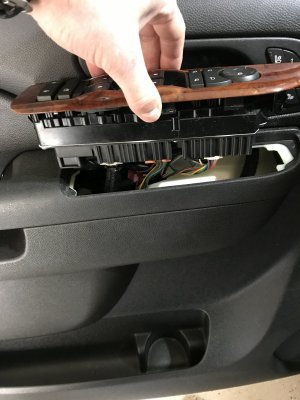
I took the picture of the window control panel so I could see which way to reinstall the plugs. I didn't think the pic would be so fuzzy and I could barely tell what went where.

IMG-1089.jpg IMG-1090.jpg IMG-1091.jpg IMG_1092.jpg
 
Last edited:
Top