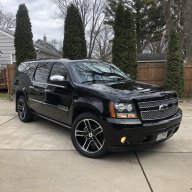
Rocket Man's 02 Denali Build Thread AKA "THE BEAST"

Disclaimer: Links on this page pointing to Amazon, eBay and other sites may include affiliate code. If you click them and make a purchase, we may earn a small commission.

OP
OP
Rocket Man

Rocket Man

Mark
Supporting Member
Joined
Dec 25, 2014
Posts
26,679
Reaction score
52,954
Location
Oregon
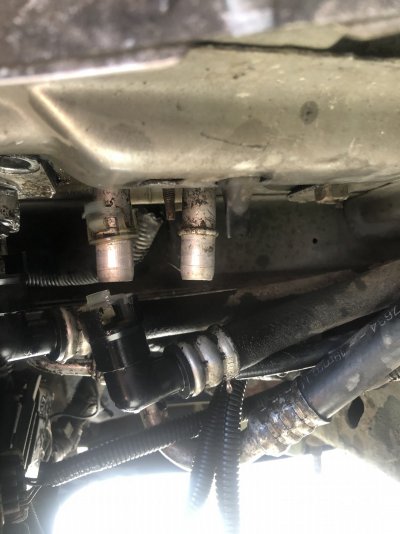
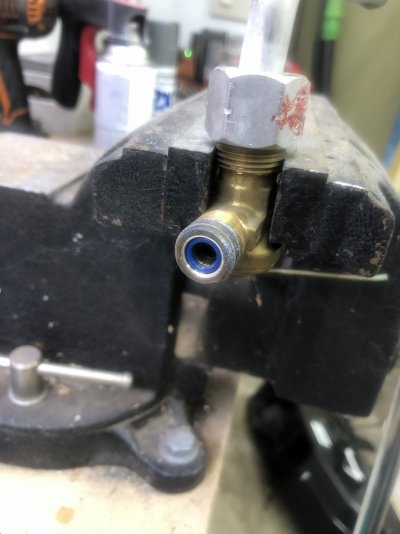
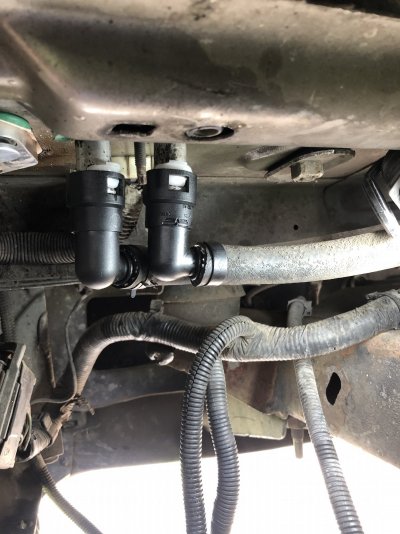
I removed the rear quick connects. They weren’t as brittle as the fronts, maybe because of no engine heat. But there was no way they were coming off without just destroying them.

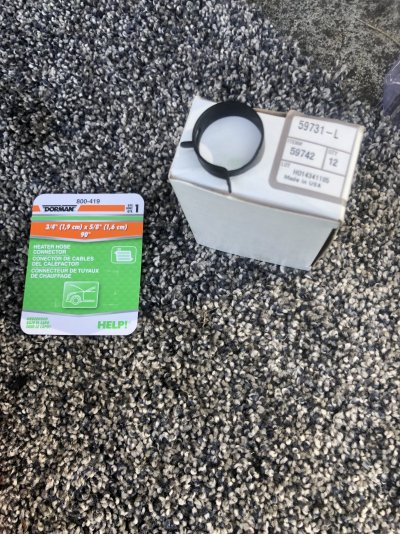
I don’t think I can do without elbows there, the hose would kink. I can’t find those on any GM parts site, so I ordered some Dorman ones, 1 day prime. They’re easy enough to access so if they break in the future they’re easy to replace.
 

Attachments

  • 9AAEFA8B-15CA-4BD5-987D-53FD21CF1F8C.jpeg
    9AAEFA8B-15CA-4BD5-987D-53FD21CF1F8C.jpeg
    219.7 KB · Views: 33

89Suburban

Bull in the china shop
Space X Supporting Member
Joined
Jan 10, 2013
Posts
18,077
Reaction score
51,452
Location
SE PA
I removed the rear quick connects. They weren’t as brittle as the fronts, maybe because of no engine heat. But there was no way they were coming off without just destroying them.

I don’t think I can do without elbows there, the hose would kink. I can’t find those on any GM parts site, so I ordered some Dorman ones, 1 day prime. They’re easy enough to access so if they break in the future they’re easy to replace.
Do you have enough slack in the lines for the new connectors?

 
OP
OP
Rocket Man

Rocket Man

Mark
Supporting Member
Joined
Dec 25, 2014
Posts
26,679
Reaction score
52,954
Location
Oregon
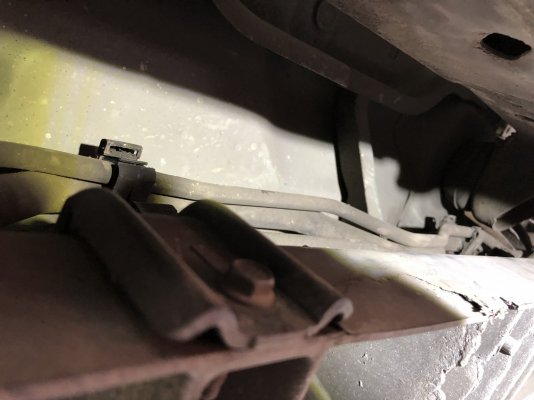
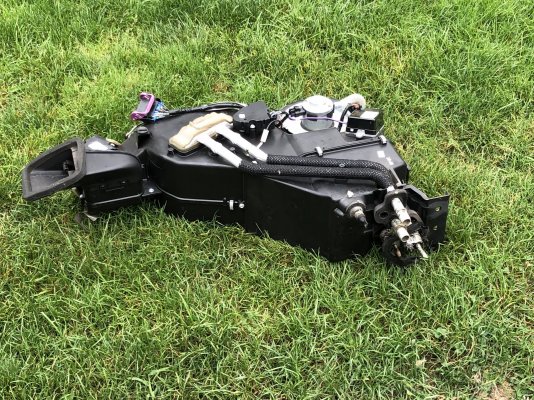
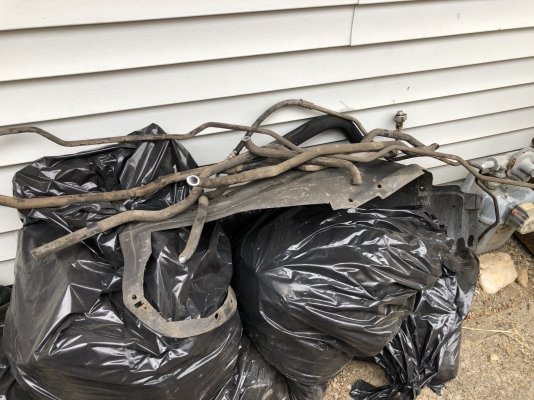
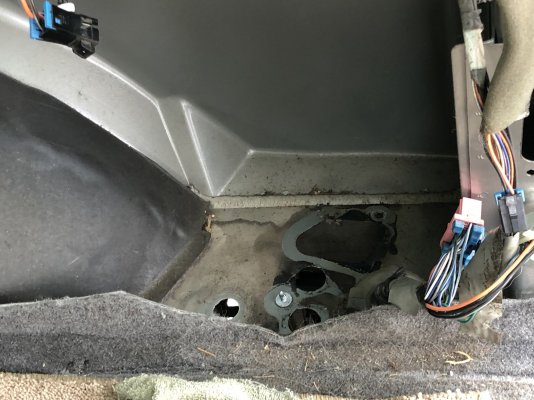
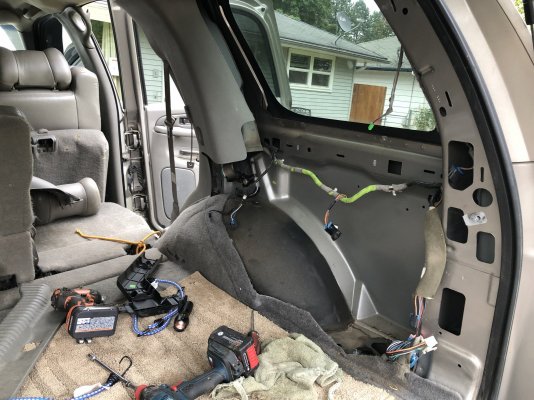
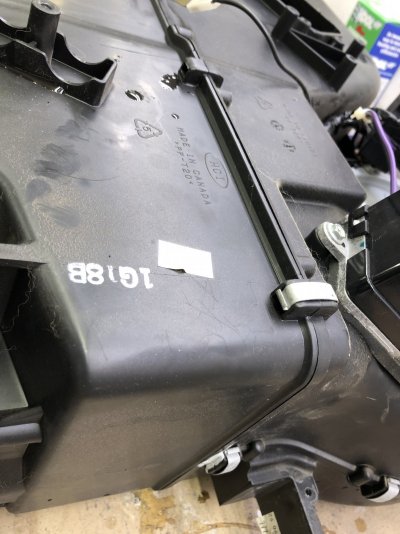
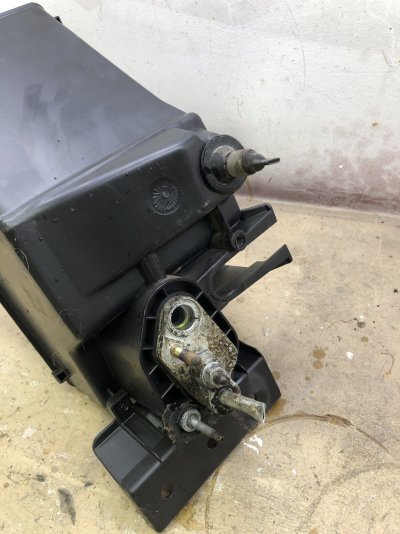
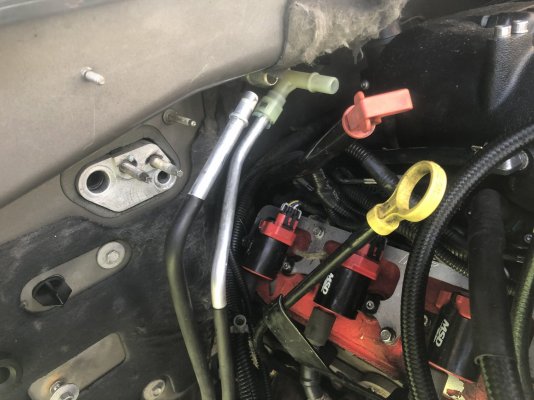
I started on the rear hvac unit today. Fist thing was removing the old refrigerant hard lines. I know the new kit says you don’t need to remove them but why wouldn’t you? Hopefully they’ll fit in the original clips. I will say if you were to use hard lines to replace them with it would be a lot of work. There would have to be a bunch of stuff removed including the running boards, at least on a Denali. There’s 2 types of clips, neither are too hard to release. I ended up cutting the lines into several pieces to get them out. After that, and having the heater lines removed, it was fairly easy to remove the unit. There’s 2 10mm nuts on the underside and some harnesses and screws on the inside, accessible after removing the panel.
 

Attachments

  • F83BFEAC-E6E2-493D-88F6-5BFA7704F221.jpeg
    F83BFEAC-E6E2-493D-88F6-5BFA7704F221.jpeg
    213.3 KB · Views: 47
  • D2DFAC42-B06B-44B2-9934-0908B657ED37.jpeg
    D2DFAC42-B06B-44B2-9934-0908B657ED37.jpeg
    808.3 KB · Views: 47
  • 6C6540AD-233B-496E-88E7-91FC7A9B0D95.jpeg
    6C6540AD-233B-496E-88E7-91FC7A9B0D95.jpeg
    403.4 KB · Views: 44
  • 3C5EC554-C286-413F-B688-CE36D160AE21.jpeg
    3C5EC554-C286-413F-B688-CE36D160AE21.jpeg
    287.2 KB · Views: 50
  • 021A63FB-F7D4-476B-88C3-159B9D887102.jpeg
    021A63FB-F7D4-476B-88C3-159B9D887102.jpeg
    374.9 KB · Views: 45
OP
OP
Rocket Man

Rocket Man

Mark
Supporting Member
Joined
Dec 25, 2014
Posts
26,679
Reaction score
52,954
Location
Oregon
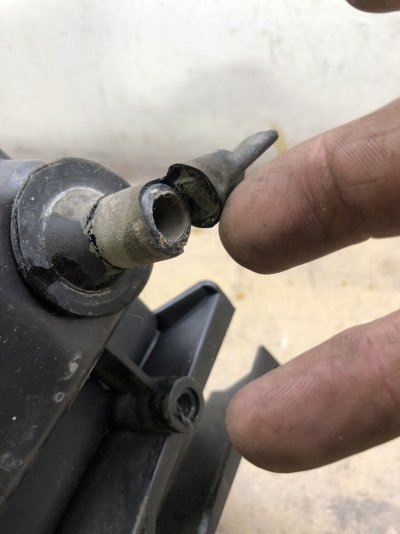
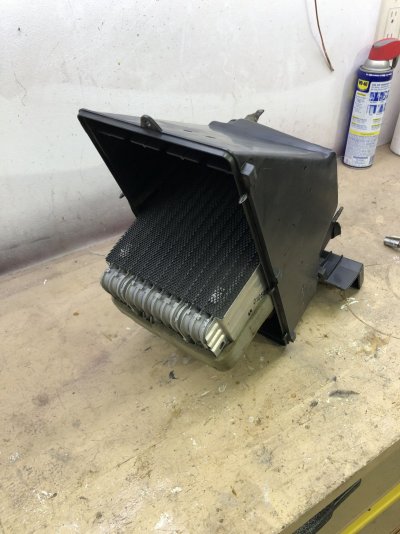
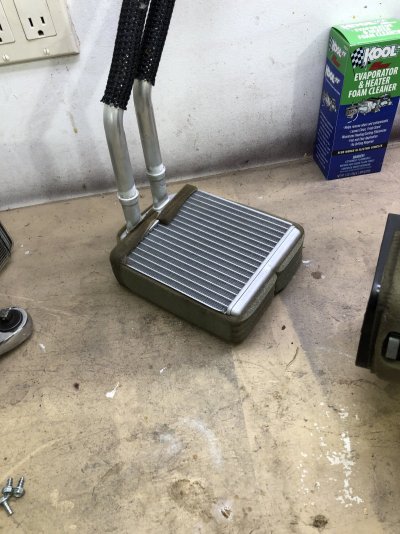
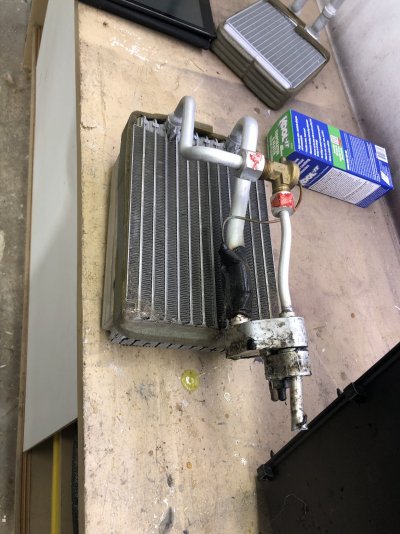
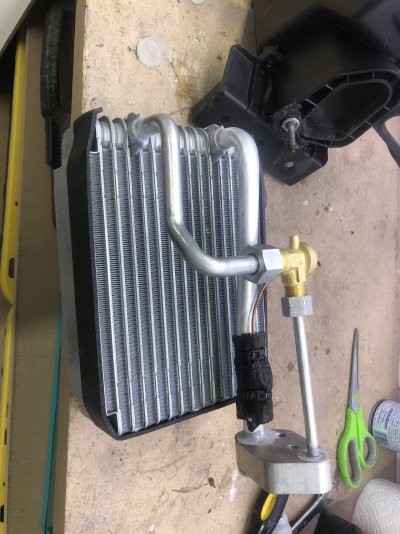
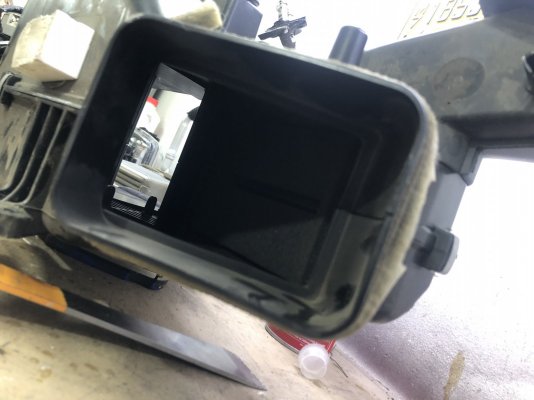
To access the evaporator you need to pull the heater core, which is accessible now, and then remove the bottom of the case which is where it sits. There’s just clips around the perimeter, remove those and one 7mm screw and the case splits in 2. The rubber weep thing in the bottom was rotted so I just pulled the end off. Im not worried about bugs climbing up there. :p
 

Attachments

  • 92AF099F-0379-494C-AFAE-07D4042A899B.jpeg
    92AF099F-0379-494C-AFAE-07D4042A899B.jpeg
    180.8 KB · Views: 37
  • 2AAFCD09-88FB-441E-AE49-AFD2E174EDD6.jpeg
    2AAFCD09-88FB-441E-AE49-AFD2E174EDD6.jpeg
    307.7 KB · Views: 36
  • BFD03F05-AB61-4535-B5C5-A8AB67F5C7B5.jpeg
    BFD03F05-AB61-4535-B5C5-A8AB67F5C7B5.jpeg
    266.7 KB · Views: 34
  • 07727D4F-AE9F-47D3-8B58-470BEA301474.jpeg
    07727D4F-AE9F-47D3-8B58-470BEA301474.jpeg
    305.1 KB · Views: 29
  • 63108FD5-0509-4880-B2F5-F14D597E6EB4.jpeg
    63108FD5-0509-4880-B2F5-F14D597E6EB4.jpeg
    406.6 KB · Views: 36
OP
OP
Rocket Man

Rocket Man

Mark
Supporting Member
Joined
Dec 25, 2014
Posts
26,679
Reaction score
52,954
Location
Oregon
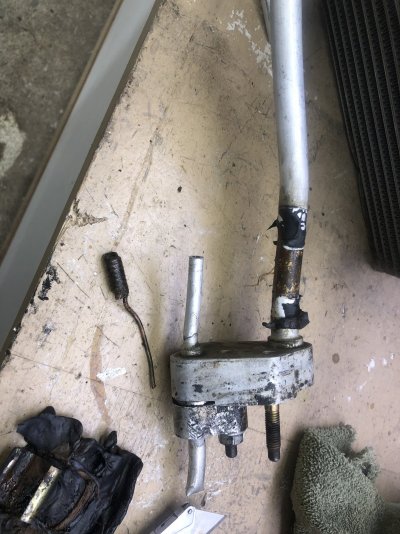
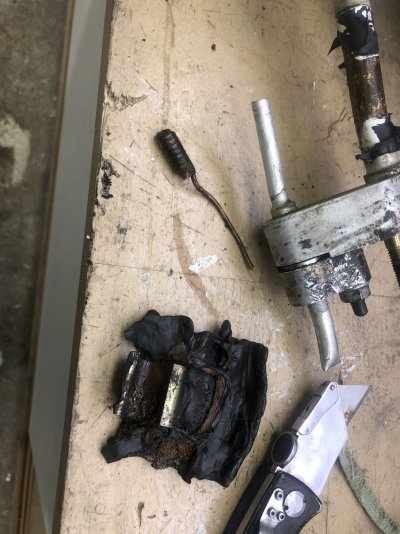
The new expansion valve didn’t come with instructions nor was alldata much use. There were 2 o-rings in there so I removed the old one to see where they go. Alldata said to reuse the packing around the thermal thing so I removed it from the old one and discovered a lot of rust around that thing. It may have been faulty. Not sure why it was so rusty.
 

Attachments

  • 5A5DFF8F-219C-4430-A4FF-12367A9E0AEC.jpeg
    5A5DFF8F-219C-4430-A4FF-12367A9E0AEC.jpeg
    185.5 KB · Views: 29
  • BDC90FB4-8702-486A-8B7B-D1E0D57FBFBC.jpeg
    BDC90FB4-8702-486A-8B7B-D1E0D57FBFBC.jpeg
    368.7 KB · Views: 34
  • 1BEE5689-ACC9-4A7F-92B7-B5E08B426A7D.jpeg
    1BEE5689-ACC9-4A7F-92B7-B5E08B426A7D.jpeg
    361.4 KB · Views: 35
  • 39A0C8EB-CD85-4C10-903D-4068E538E6A5.jpeg
    39A0C8EB-CD85-4C10-903D-4068E538E6A5.jpeg
    345.7 KB · Views: 42
  • 3AD197C6-A246-4134-ABF0-9AF5568F5411.jpeg
    3AD197C6-A246-4134-ABF0-9AF5568F5411.jpeg
    347.3 KB · Views: 40
OP
OP
Rocket Man

Rocket Man

Mark
Supporting Member
Joined
Dec 25, 2014
Posts
26,679
Reaction score
52,954
Location
Oregon
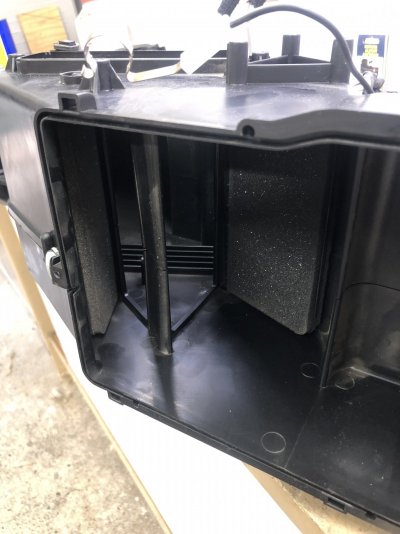
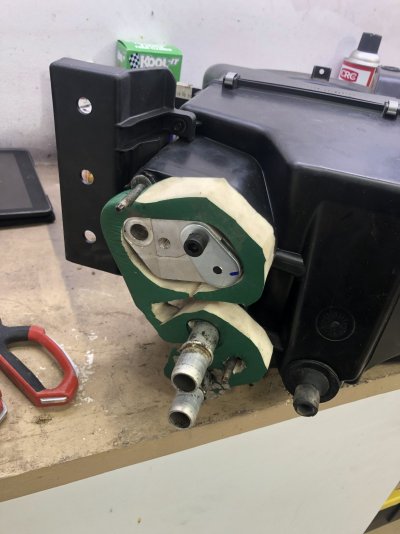
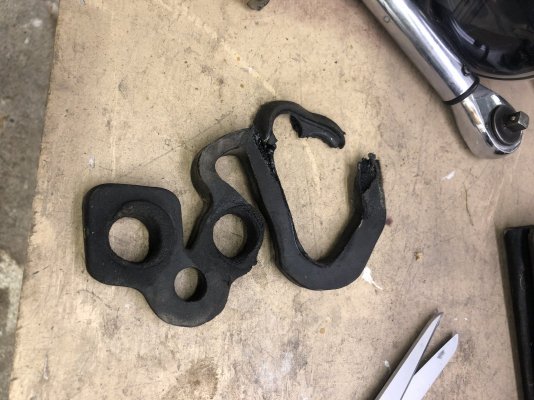
While it was apart I removed the actuators and checked all the door operations. Glad to see nothing broken. I know I replaced at least one of the actuators before. Removed the fan motor and gave it a blowie with the compressor. The foam seal that goes at the floor was tore up so I made one out of a foam kneepad. It was thicker so I had to pry down on the assembly when I reinstalled it in order to get the screws in. It sealed it up good though. So that’s it for today, waiting on parts again.
 

Attachments

  • 79E0D568-3B2D-4A14-B3F8-B08E47C0561F.jpeg
    79E0D568-3B2D-4A14-B3F8-B08E47C0561F.jpeg
    222.8 KB · Views: 40
  • 18330D97-7F30-4CA6-A46D-F58CFAC9FF23.jpeg
    18330D97-7F30-4CA6-A46D-F58CFAC9FF23.jpeg
    196.8 KB · Views: 39
  • DCB8C2F2-A9FD-47C7-AC8F-27ABFEE8B352.jpeg
    DCB8C2F2-A9FD-47C7-AC8F-27ABFEE8B352.jpeg
    373.6 KB · Views: 37
  • B1B09048-3406-47DF-AA82-D03AE07CD105.jpeg
    B1B09048-3406-47DF-AA82-D03AE07CD105.jpeg
    276.7 KB · Views: 37
  • 9970A320-D221-489D-8E14-DA7E64D2A3B4.jpeg
    9970A320-D221-489D-8E14-DA7E64D2A3B4.jpeg
    179.6 KB · Views: 40
OP
OP
Rocket Man

Rocket Man

Mark
Supporting Member
Joined
Dec 25, 2014
Posts
26,679
Reaction score
52,954
Location
Oregon
Outstanding! Great pics!!!


Why not replace the heater core too? :crazy::anitoof:
Because it works! I’m only replacing the evaporator because of the possibility of metal shavings, I don’t want any ending up in the new compressor.

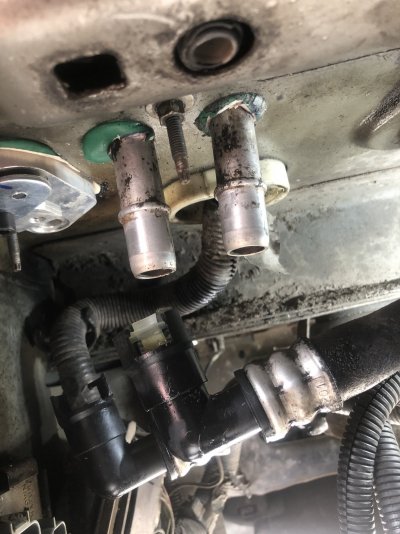
Amazon delivered the elbows and spring clamps so I attached the heater hoses at the rear. Nice and clean. The elbows didn’t state they were compatible but I saw in the comments a guy that used them in his 02 Tahoe and they worked. Pic in case anybody wants p/n’s. Yes I used spring clamp pliers! Love those things.

Also installed the white tee up front but I’m waiting on the new heater hose so I can install it to that one before I install the black one. I see why GM uses these, super easy to install.
 

Attachments

  • 06FA59FF-B72D-44D0-A47B-9B95BC0132E0.jpeg
    06FA59FF-B72D-44D0-A47B-9B95BC0132E0.jpeg
    281 KB · Views: 37
  • B855C6FA-B6F0-447F-9C17-D228C2BCB34B.jpeg
    B855C6FA-B6F0-447F-9C17-D228C2BCB34B.jpeg
    622.9 KB · Views: 45
  • B501D794-C511-47B6-A8FB-38322A90E9EA.jpeg
    B501D794-C511-47B6-A8FB-38322A90E9EA.jpeg
    263 KB · Views: 44

Forum statistics

Threads
138,095
Posts
1,998,892
Members
103,021
Latest member
schafer98
Back
Top