Travieso Forged 6.0 Swap Build Thread

Disclaimer: Links on this page pointing to Amazon, eBay and other sites may include affiliate code. If you click them and make a purchase, we may earn a small commission.

Fosscore

Full Access Member
Joined
Apr 16, 2014
Posts
10,883
Reaction score
19,822
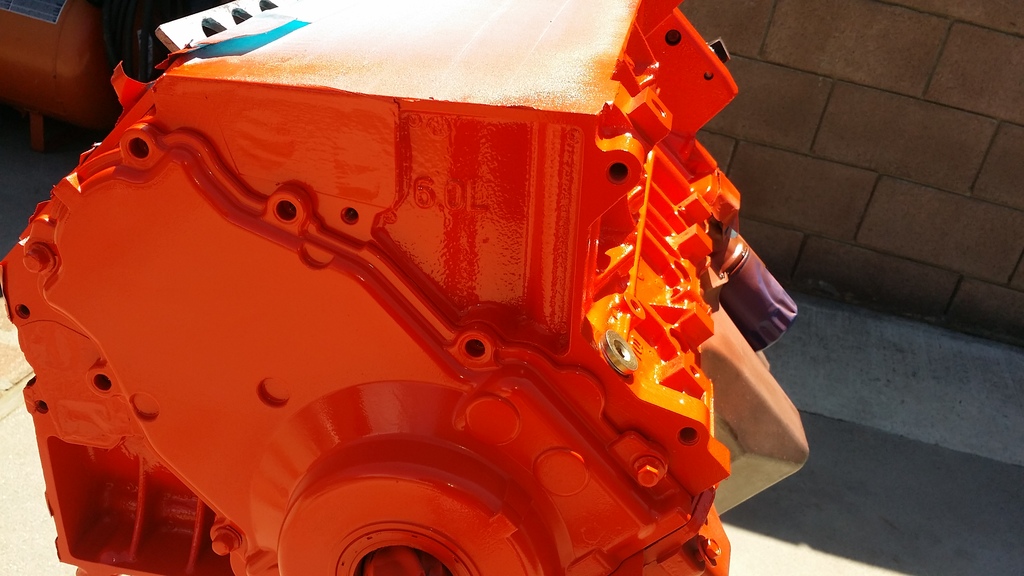
Looking great paint wise. I see you touched up the suspension a little too. That motor is going to look sick inside your engine bay.

 

bottomline2000

Full Access Member
Joined
Oct 21, 2009
Posts
1,722
Reaction score
991
Location
Dallas, TX
Paints looks good. I can tell you most of that block is going to be covered up and you wouldn't notice it all being one color, plus that red pops! Just don't paint the heads. The one thing that stood out most was that alternator bracket. Hate I didn't paint it black.
 
OP
OP
Travieso

Travieso

Boooooooost !
Joined
Jul 19, 2009
Posts
2,277
Reaction score
64
Location
Los Skandeles, CA
Paints looks good. I can tell you most of that block is going to be covered up and you wouldn't notice it all being one color, plus that red pops! Just don't paint the heads. The one thing that stood out most was that alternator bracket. Hate I didn't paint it black.

Yeah I figured that but it would really bug me if I didn't paint it, The Alternator bracket has been painted Gloss black, I just gotta be careful putting everything back on, make sure I don't scratch stuff. The heads will be aluminum personally I wouldn't paint them.
 

a4edwin

Full Access Member
Joined
Nov 14, 2011
Posts
949
Reaction score
239
Location
ny
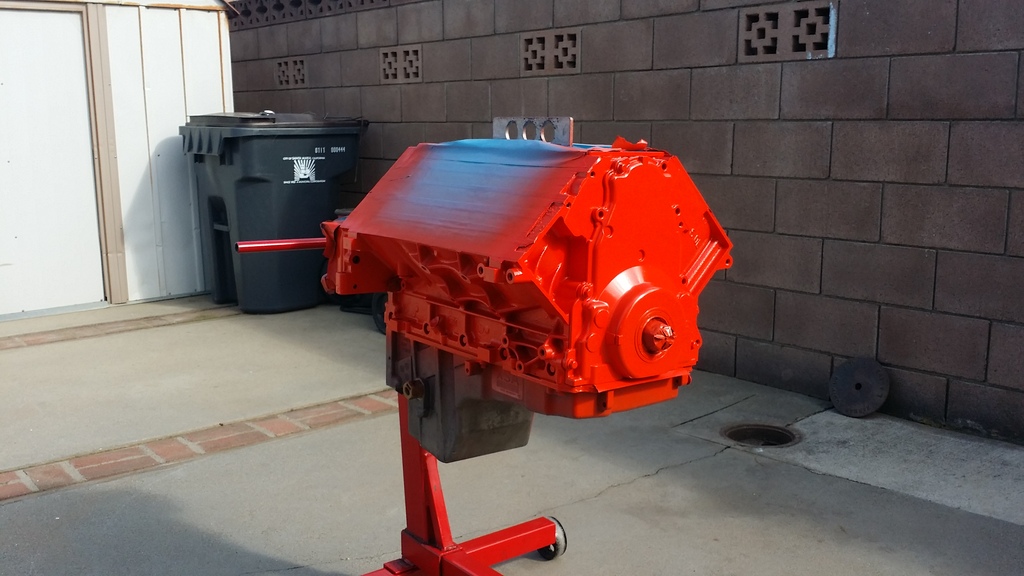
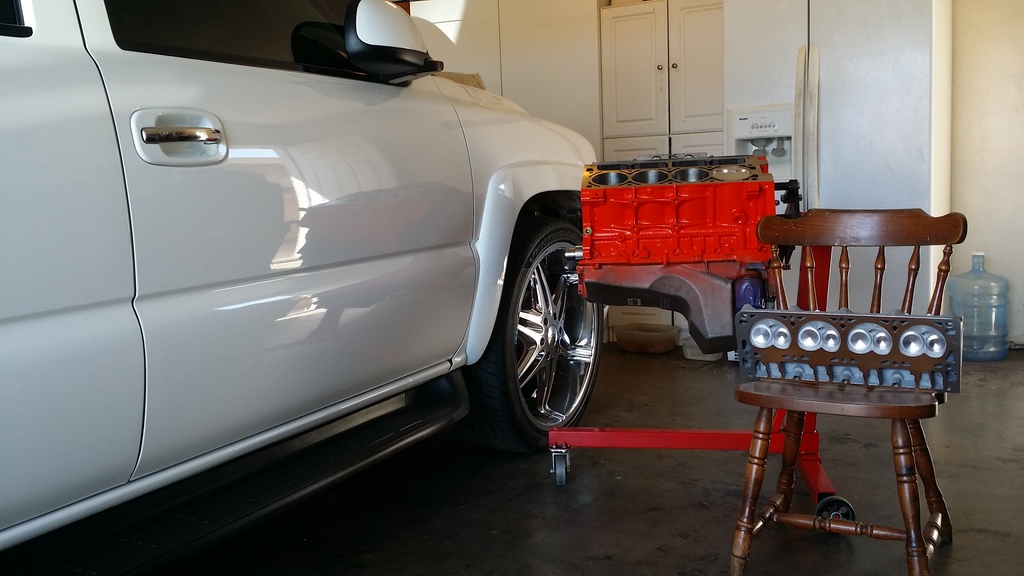
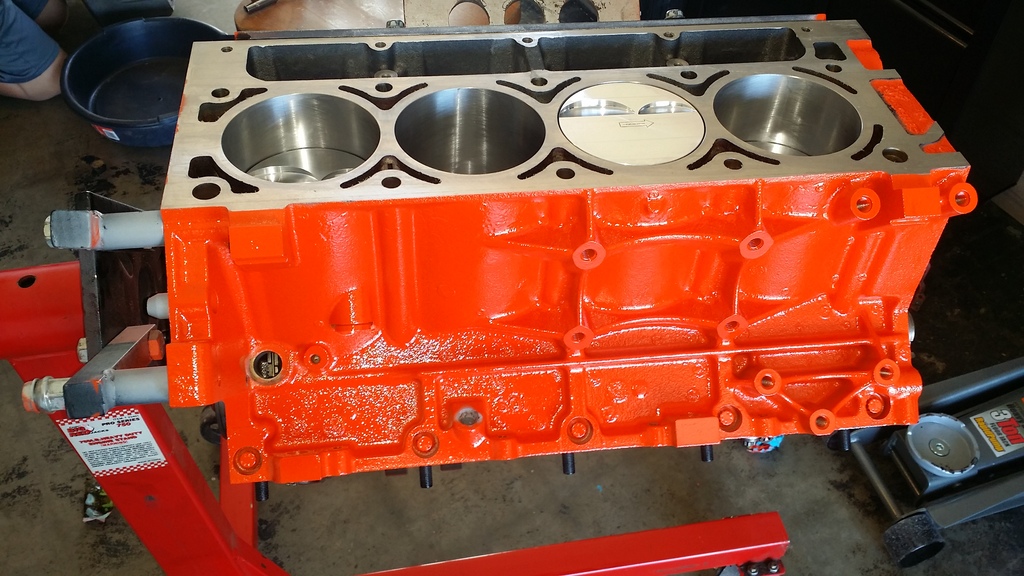
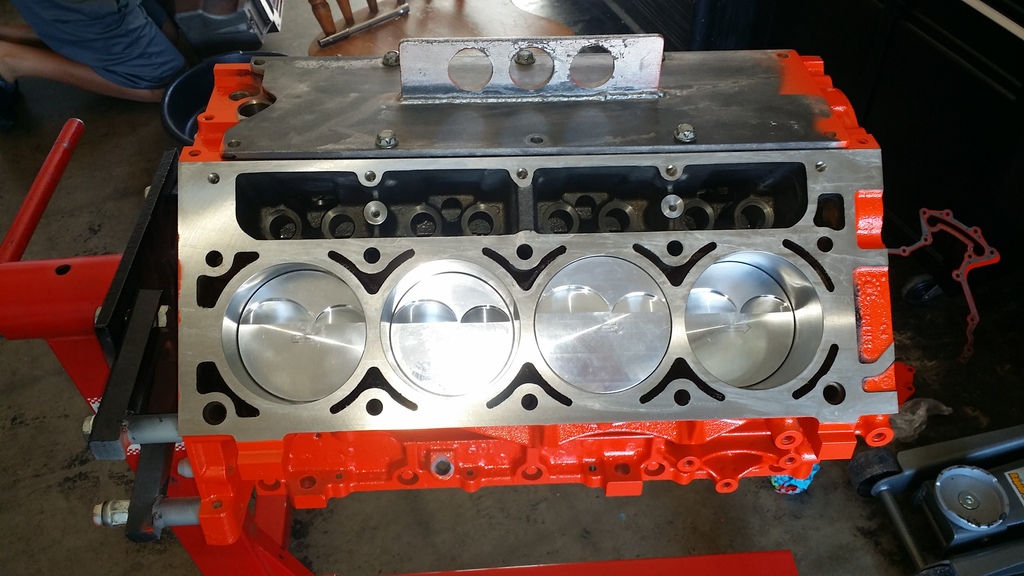
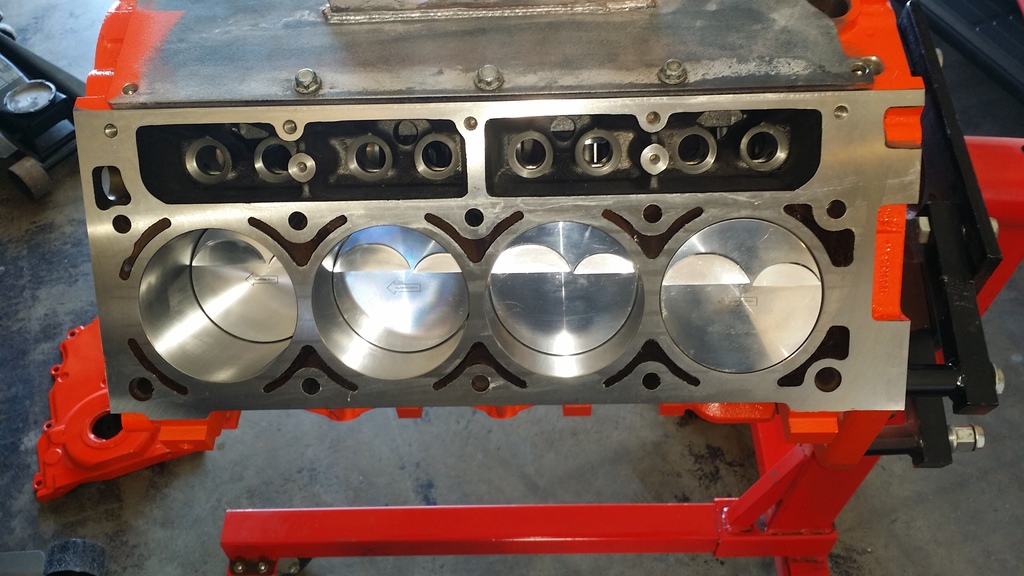
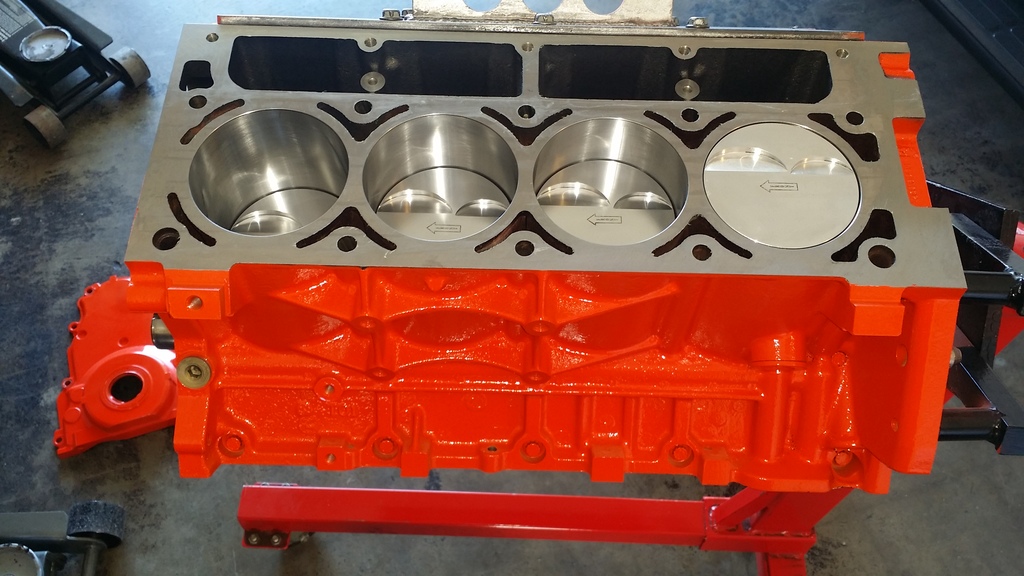
So I finally picked up the short block and did some painting I think it came out very good.

This is how I pickled up the motor all wrapped up for me
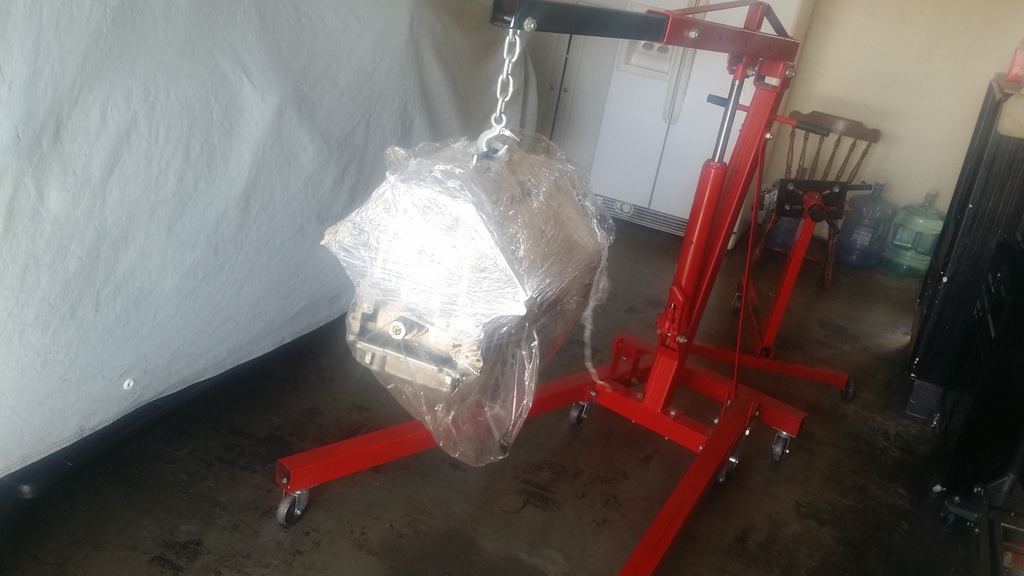
20160328_153202_zpsyy9xdks9.jpg


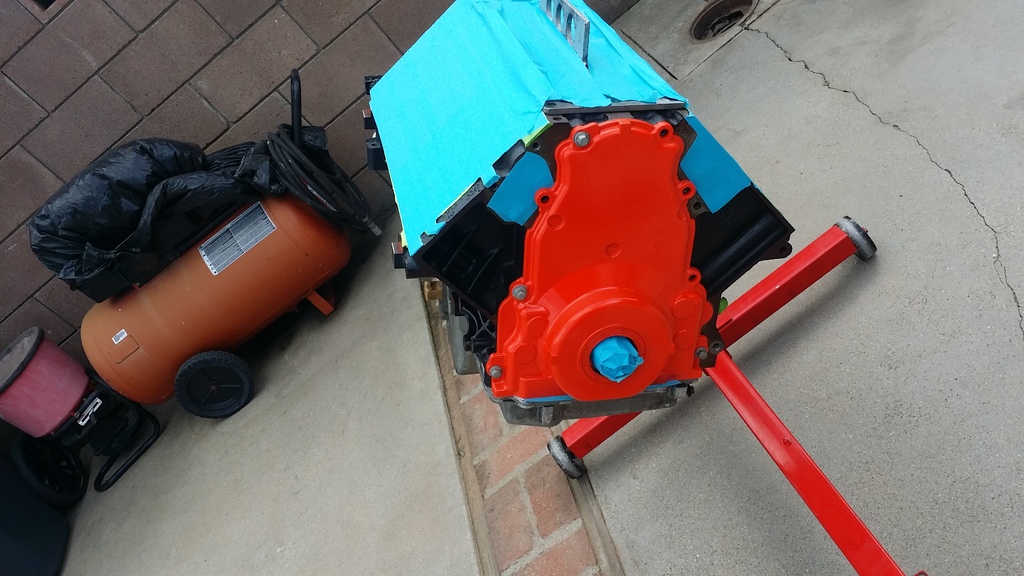
Spend about 1 hour making sure I masked everything and about 3 rolls of painters tapes, Wanted to make sure their wasn't any over spray inside the engine. It was easier for me to put the rear and front covers on I didn't feel like mocking up a cardboard template, so I went this route. The front and rear Covers are gonna get painted black to add some contrast

Here are the pics
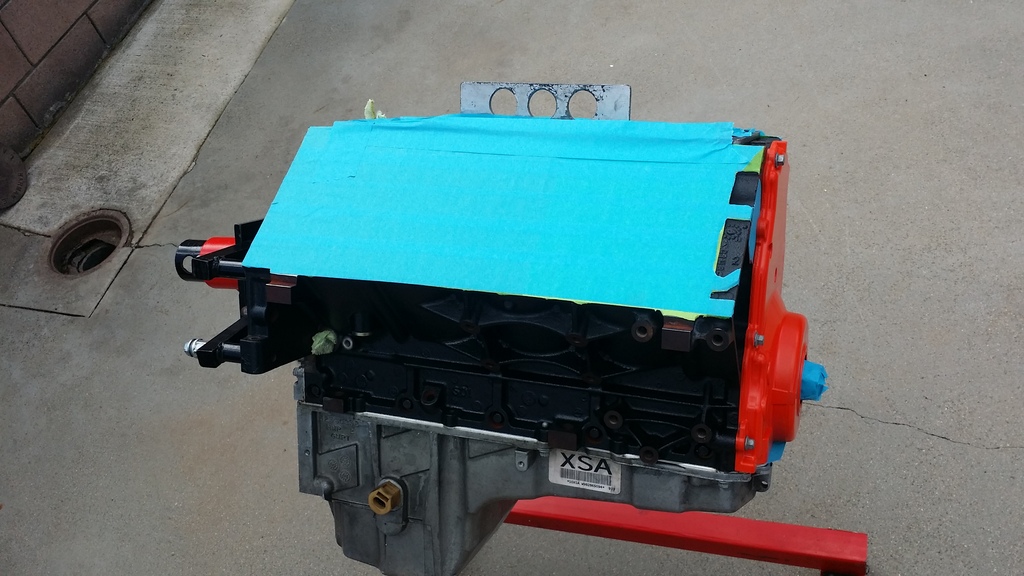
20160329_145309_zpsqafxyjkf.jpg

20160329_145315_zpsulvafjpv.jpg


3 coats of primer
2 light coats and one medium coat
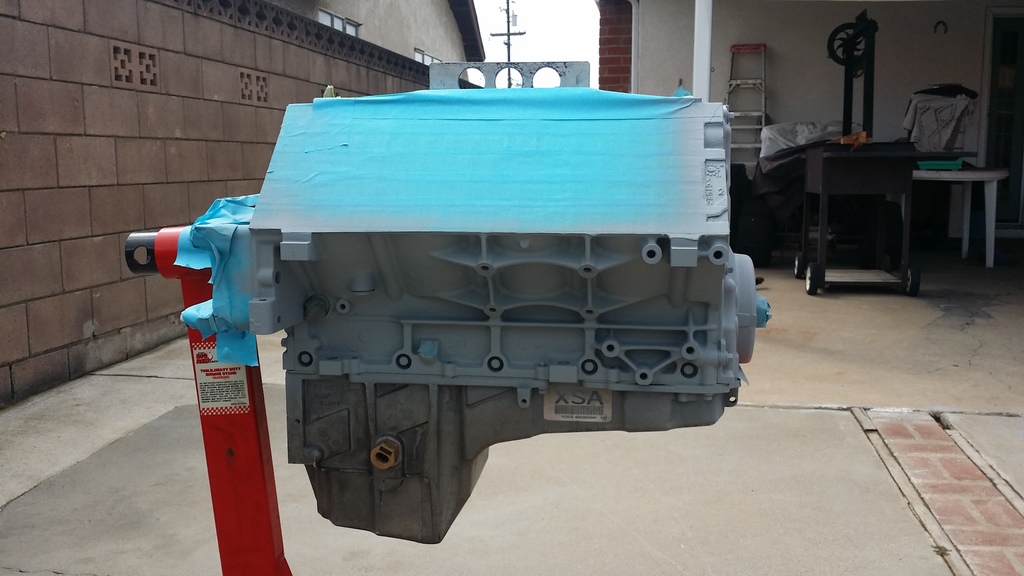
20160329_150932_zps8rmx4uu3.jpg


then 3 coasts of Chevy Orange

20160329_163307_zpsd7qx7bxn.jpg

20160330_131152_zpsbiwuhltg.jpg


Waiting on the new heart Transplant
20160330_140018_zpsrrjuwrrr.jpg


the goods
20160330_140916_zps8mz2kfgw.jpg

20160330_141021_zpsmwjzkrwo.jpg

20160330_141031_zps36wnbyh7.jpg

20160330_141044_zpshghrkyn9.jpg

20160330_141100_zpsfkvbndza.jpg

20160330_141118_zps2csfphpa.jpg

20160329_120850_zpsrtjdzrlg.jpg


This is were I left off, Tomorrow hopefully if i have some spare time I will paint the oil pan black.
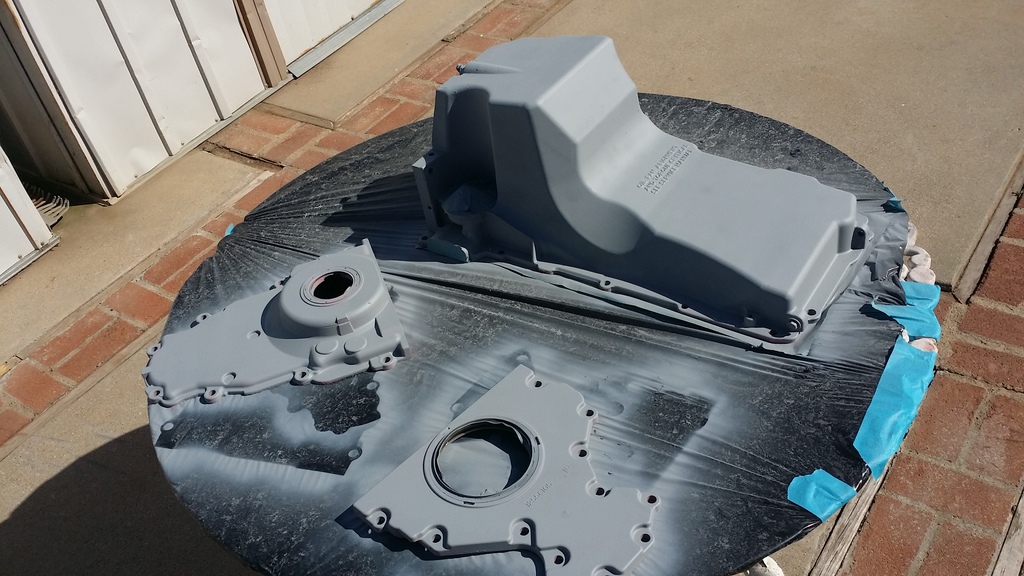
20160330_154410_zpsrsjeuw5f.jpg


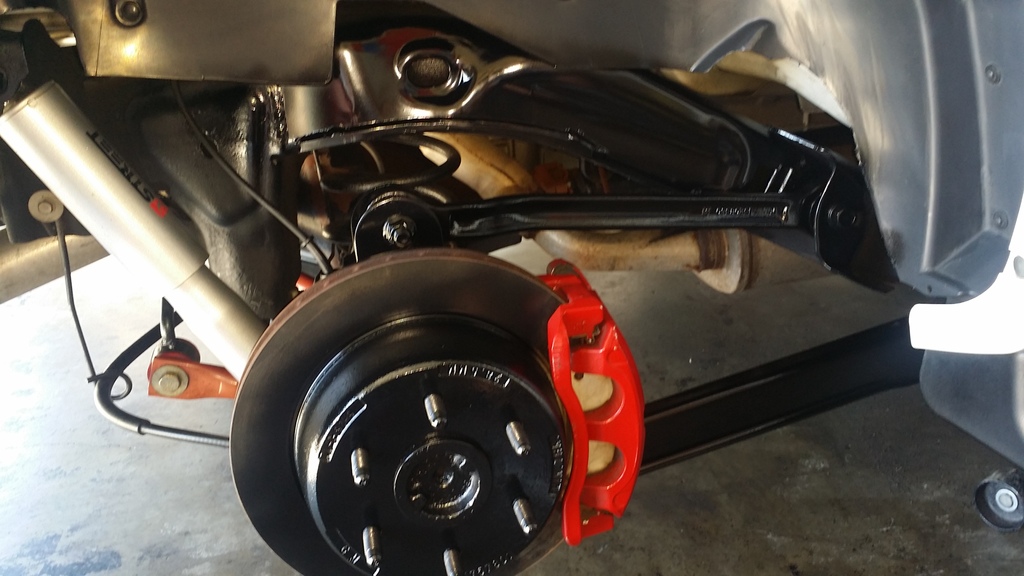
I also worked on the rear end just wasn't happy with how I left it last time
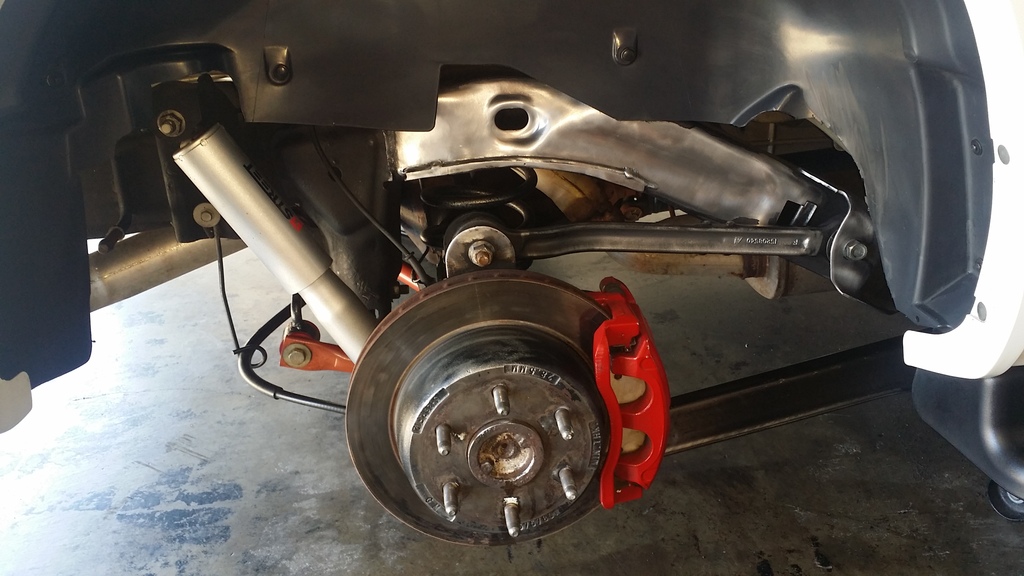
20160325_132953_zpsrf7xwbhi.jpg

20160325_134254_zpspi53je3c.jpg
What paint did you use on the calipers?
 
OP
OP
Travieso

Travieso

Boooooooost !
Joined
Jul 19, 2009
Posts
2,277
Reaction score
64
Location
Los Skandeles, CA
Any updates?

Sent from my SAMSUNG-SM-G900A using Tapatalk
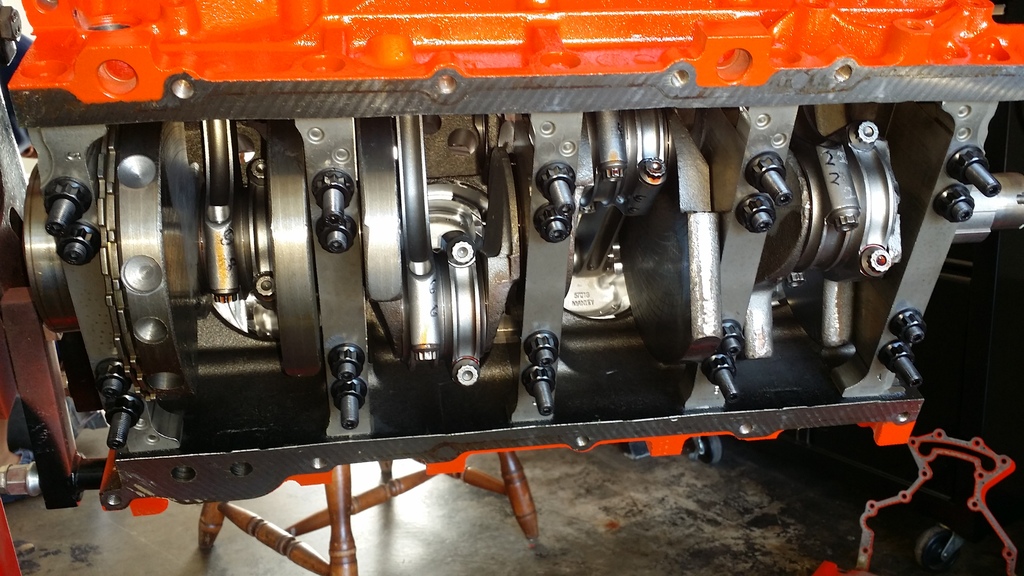
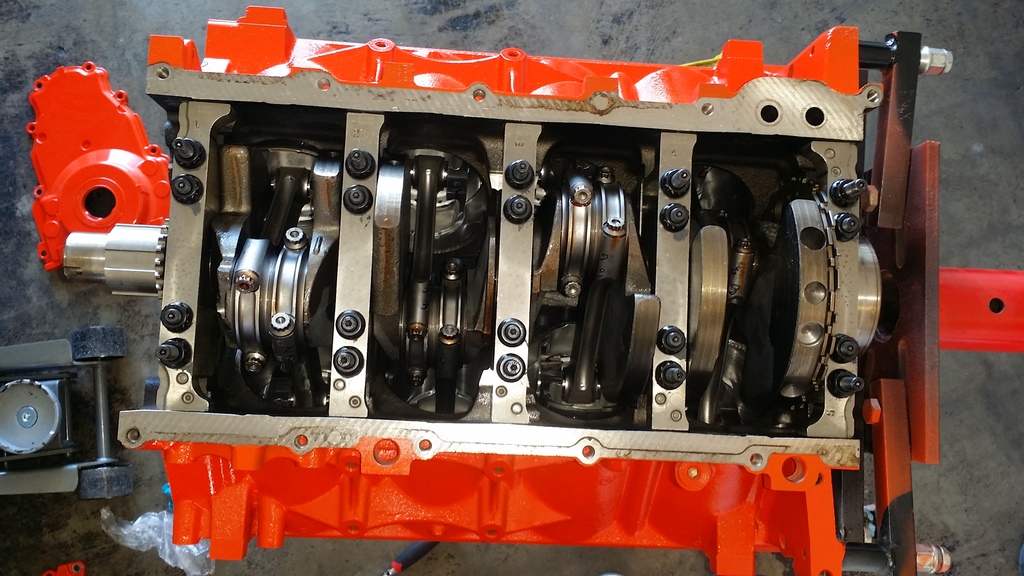
I Haven't posted here for a while been real busy with life and work, anyways here is an update of what was done this saturday to the short block finally buttoned up

20160604_100120_zpsneght907.jpg

20160604_100128_zpsmgbbhmnp.jpg


20160604_102751_zpszhef1hry.jpg


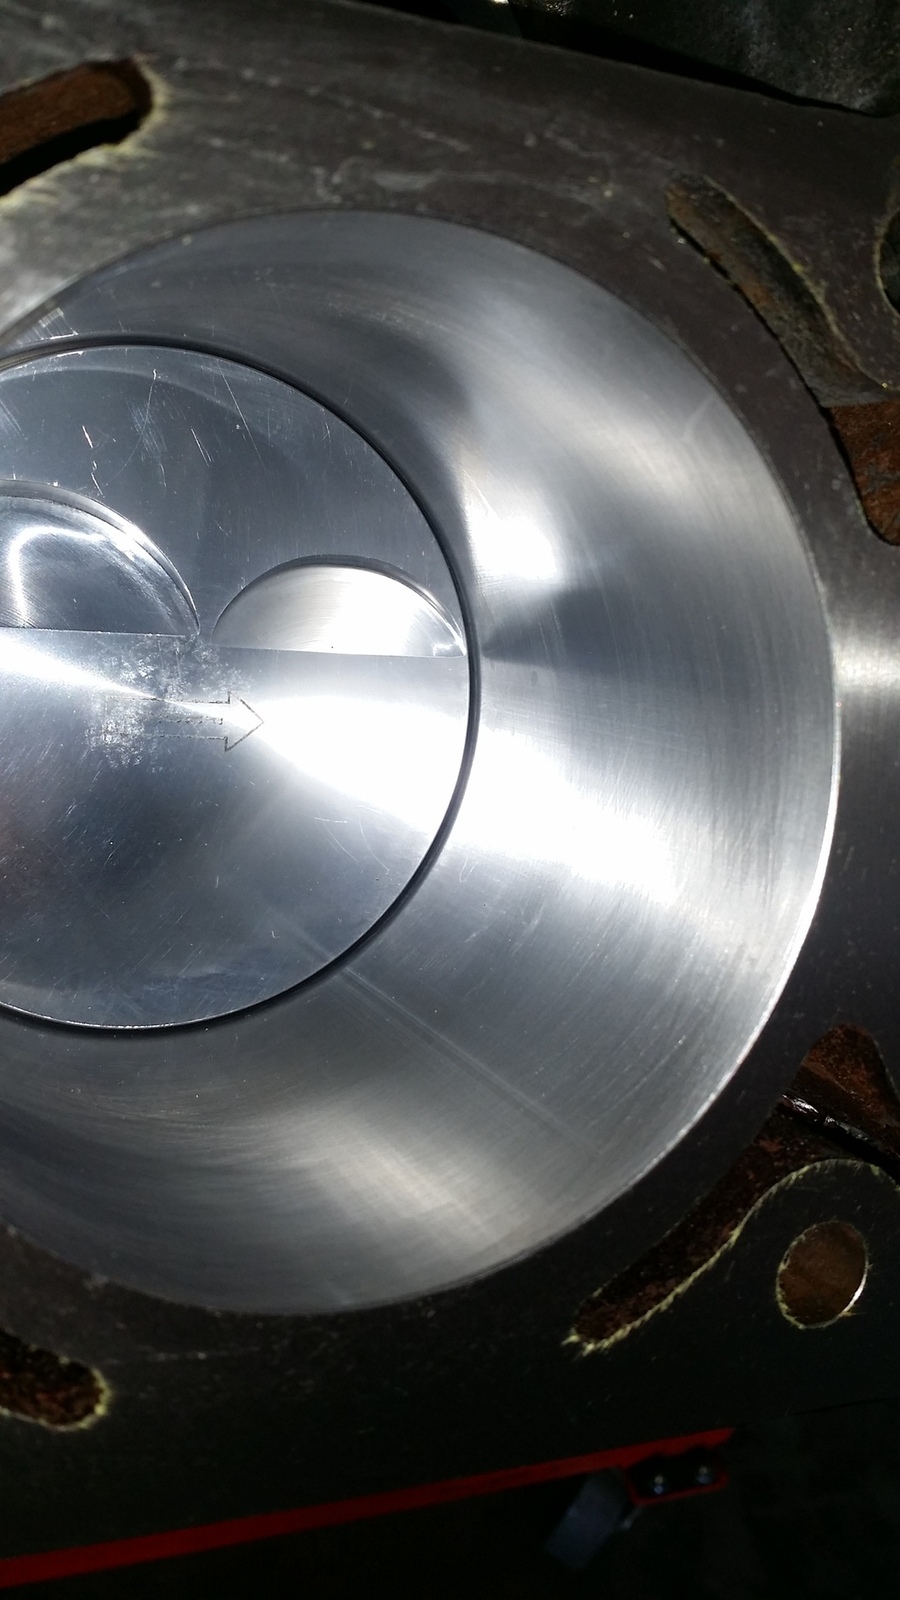
Ran into some issues with the Windage tray, Weren't lining up with the Oversized ARP main Studs so I had to break out the Drill and make the holes a little bigger.
20160604_104643_zpsdxc9xeu7.jpg


20160604_120726_zpshlgkox1j.jpg


got the clay out and measure how far the oil pick up tube was from the bottom of oil pan
20160604_150322_zpsqdophrin.jpg


Magic stick going in lol
20160604_124903_zpsdlidslc9.jpg


New CAM RETAINER with new style bolts going in all buttoned up
20160604_154304_zpsfsf90ocb.jpg


Chase the head bolts, Did about a total of 4 total passes
20160604_160444_zpsmxpmxr1f.jpg

new CYLINDER HEAD DOWELS
20160331_104449_zpsrvwhtgsk.jpg


LS9 Head Gaskets seated with brand
20160604_165907_zpsujhdesyd.jpg

20160604_165925_zpsnwv3bmdj.jpg

20160604_170130_zpsduxxxrl9.jpg


Heads on torqued to spec in three sequences

20160604_171643_zpskztbfkqm.jpg

20160604_185622_zps0tybfj7e.jpg


This is it for now, I'll probably wont work on the motor till the beginning of August due to the kids being on vacation and the wife having all type of summer plans, lol
 
Last edited:

TheAutumnWind

Full Access Member
Joined
Jan 8, 2015
Posts
3,255
Reaction score
1,997
So I had some time off today and decided to work on the truck a little bit since I have some down time and waiting on the motor figure I would do something productive, Nothing big just routine maintenance

Covered all Plugs getting ready to Pressure wash the engine Compartment there was transmission fluid all over the place.


Done not noticeable difference in picture but in real life big difference.


Took the ***** out on my driveway so she could dry and get some sun, Since all it knows is being in the garage


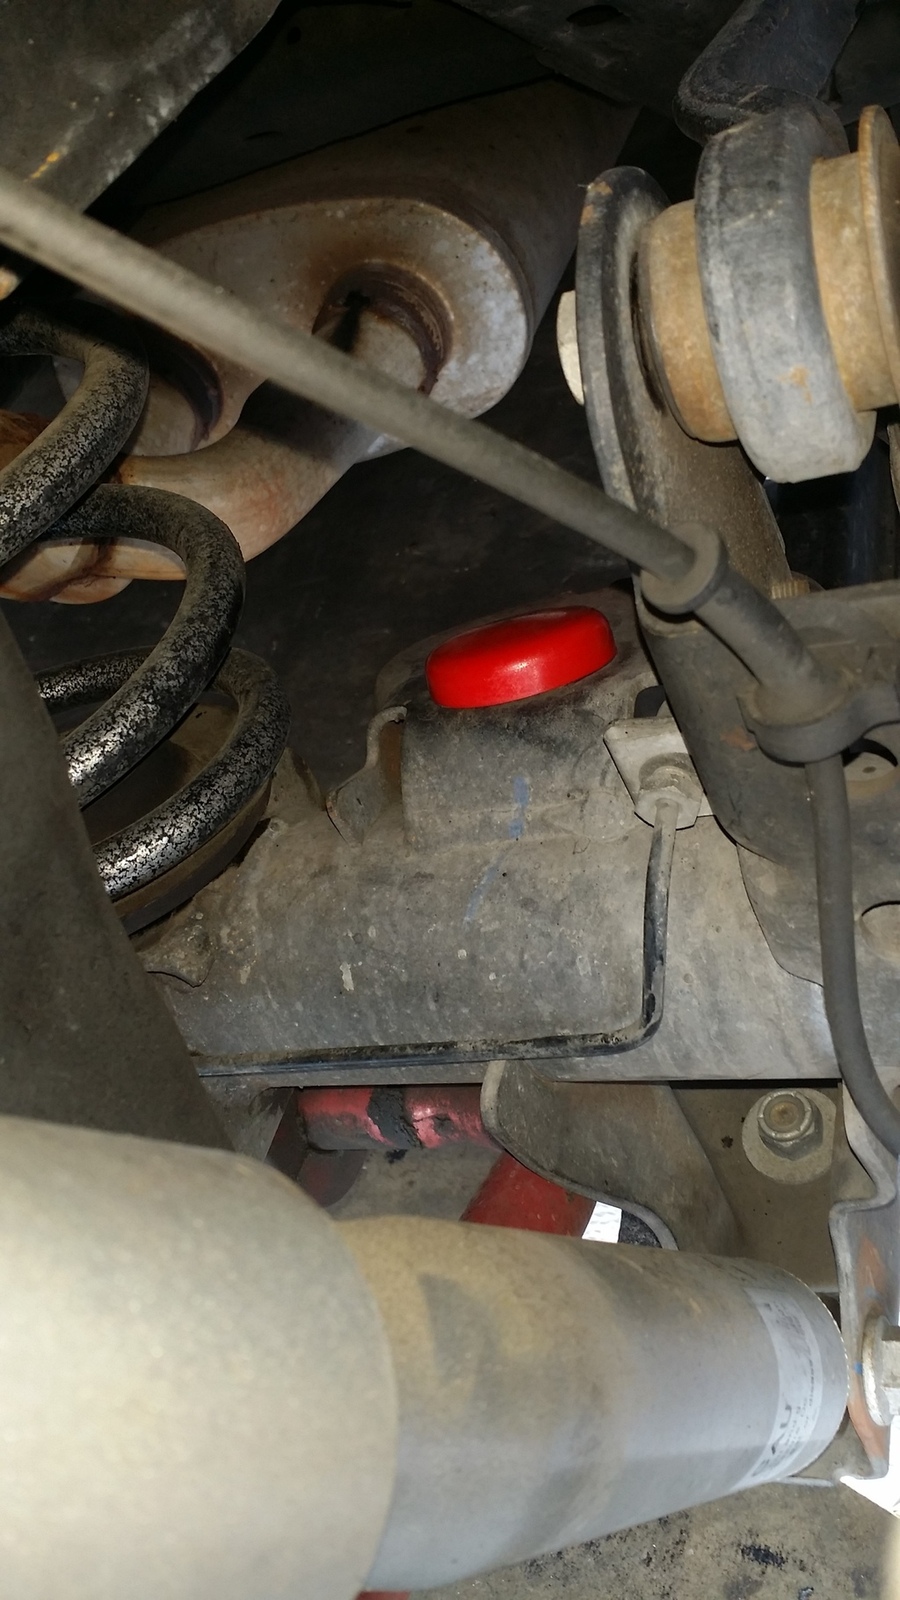
I also went ahead and finally put my bumpstops that I had for more then 3 years and finally now decided to put on, lol Thanks to @Fosscore
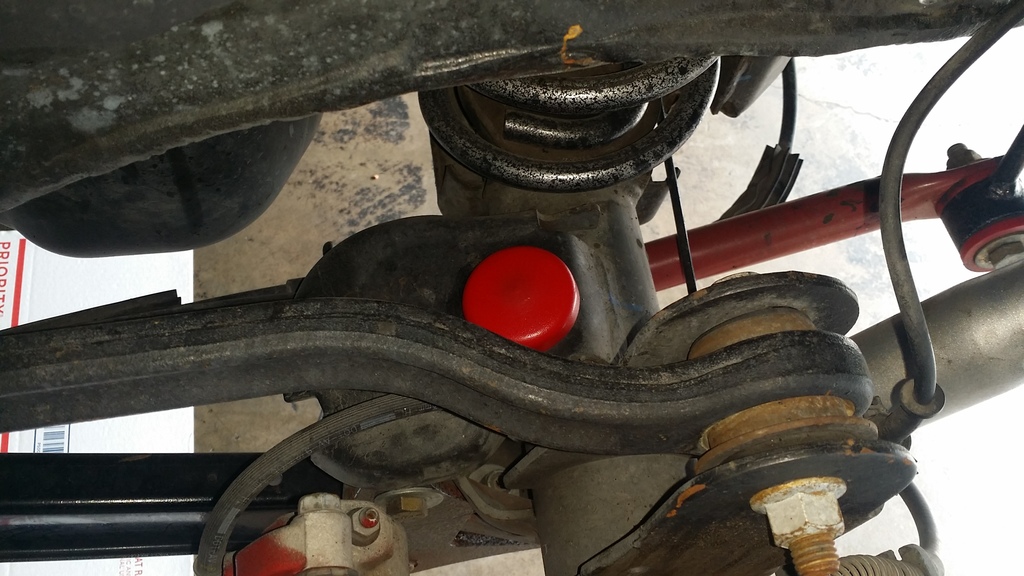
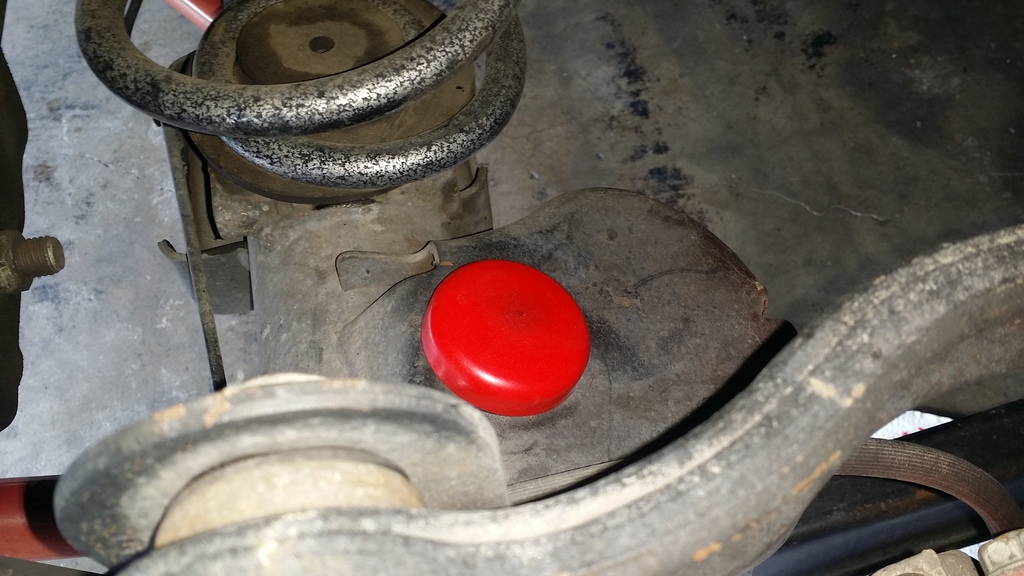
20160311_155100_zpsy8rpihzu.jpg

20160311_162002_zpszcttmgdd.jpg

20160311_162022_zpsfaevjfxx.jpg

This thing is looking great! What pancake bumpstops are those?
 

bottomline2000

Full Access Member
Joined
Oct 21, 2009
Posts
1,722
Reaction score
991
Location
Dallas, TX
Not much of an update but finally installed my COMP Cams Trunnions
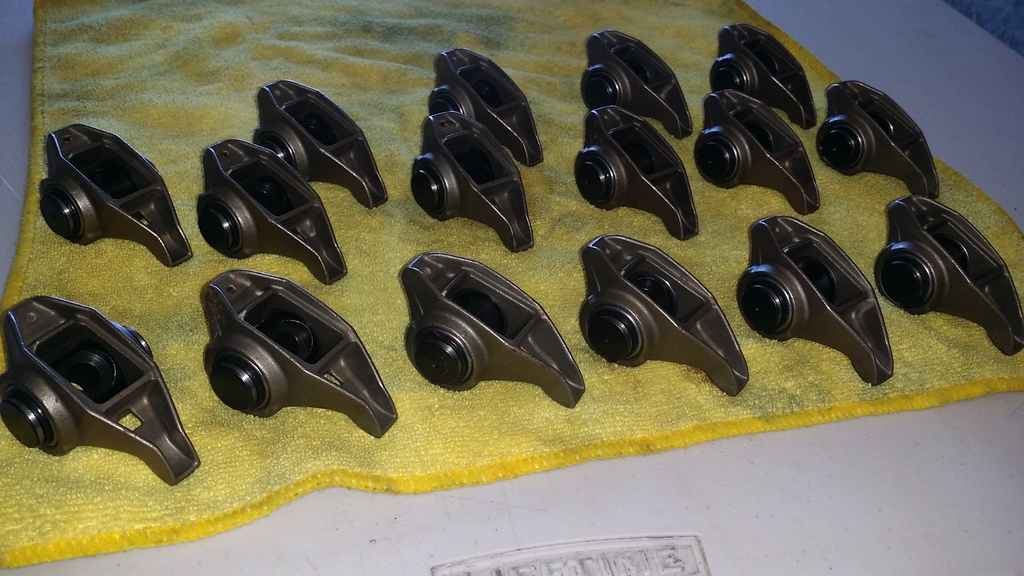
20160710_123213_zps2xihqesl.jpg
Nerve wrecking and time consuming process making sure bearings in right. U have to have done this to appreciate it lol..at least a step in the right direction. Everything went fast after this for me..

Git er done!!

Sent from my SAMSUNG-SM-G900A using Tapatalk
 
OP
OP
Travieso

Travieso

Boooooooost !
Joined
Jul 19, 2009
Posts
2,277
Reaction score
64
Location
Los Skandeles, CA
Nerve wrecking and time consuming process making sure bearings in right. U have to have done this to appreciate it lol..at least a step in the right direction. Everything went fast after this for me..

Git er done!!

Sent from my SAMSUNG-SM-G900A using Tapatalk

this is true, It took alot of my time, but I made sure all the bearings were seated and flushed, Rocker shafts moves freely in there, so I'm very happy.. definitely lots of time and work.
 
OP
OP
Travieso

Travieso

Boooooooost !
Joined
Jul 19, 2009
Posts
2,277
Reaction score
64
Location
Los Skandeles, CA
I know it's been long due for a update, Been so busy with life, I just finally had the time to work on the truck this past weekend here are a few pictures

got the Katech oil pump lined up with ARP Bolts
20170211_144310.jpg


Oil Pan Lined up
20170211_162837.jpg

Shimming the oil pan
20170211_172450.jpg


20170211_172457.jpg


Lugging everything from the machine shop and borrowing a couple of tools to drop in the engine
20170429_171952.jpg
 

Fosscore

Full Access Member
Joined
Apr 16, 2014
Posts
10,883
Reaction score
19,822
Man that is a mean sounding mofo!! Sweet burnouts.

Nice work and good to see the updates.
 

Forum statistics

Threads
138,037
Posts
1,997,585
Members
102,974
Latest member
kikeap
Back
Top