Rocket Man's 2008 Bagged CC Silverado Build AKA "THE MACHINE"

Disclaimer: Links on this page pointing to Amazon, eBay and other sites may include affiliate code. If you click them and make a purchase, we may earn a small commission.

OP
OP
Rocket Man

Rocket Man

Mark
Supporting Member
Joined
Dec 25, 2014
Posts
26,679
Reaction score
52,954
Location
Oregon
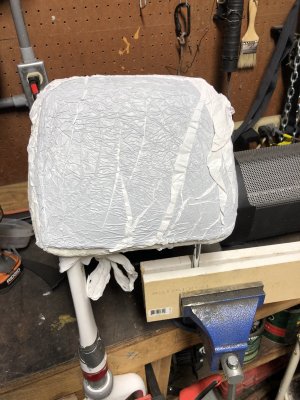
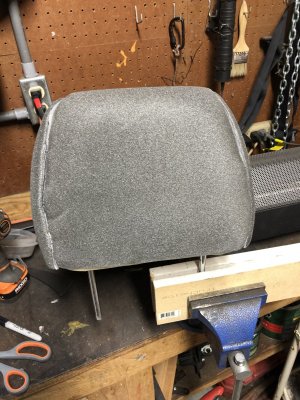
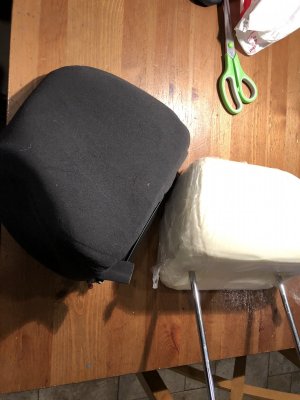
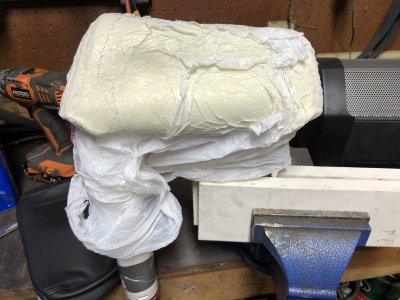
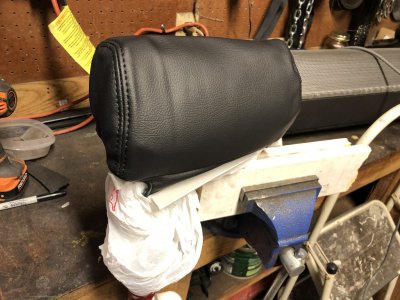
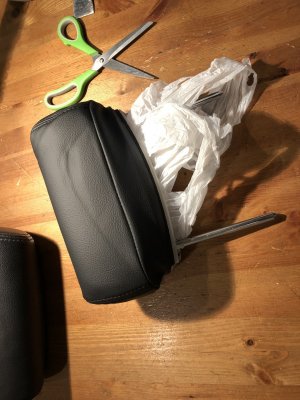
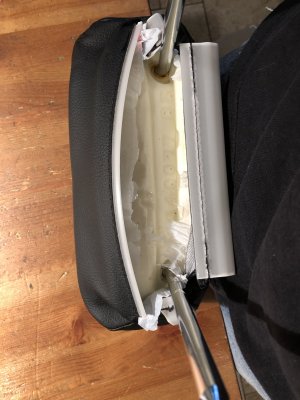
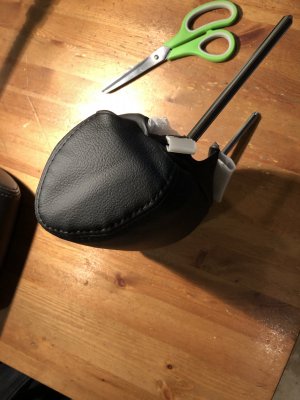
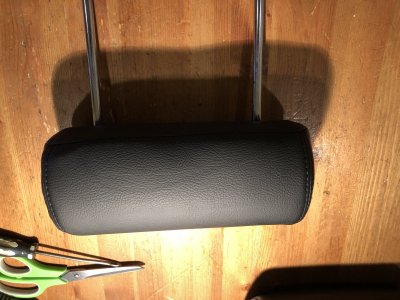
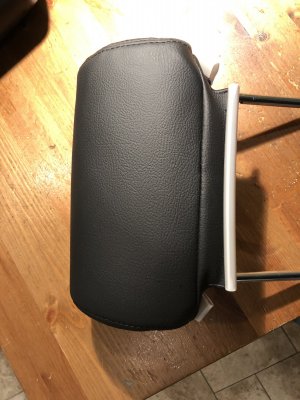
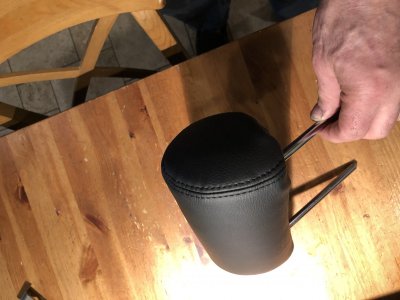
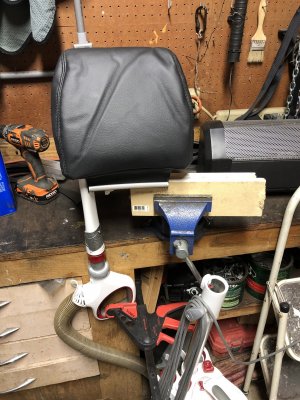
So I watched a couple other videos and saw a method of putting the suction to one leg, so it sucks through the foam and then wrapping the ends of the bag together as best as possible. And I also noticed my vacuum nozzle had vents in it so you couldn’t suck too hard I guess. I taped up the holes, tried that method and it worked great. Also, after pulling the original plastic bag off I saw the old cloth cover was still on so I cut it off. Then I added foam to the front and back and used the method. Still not tight enough so I added foam to the sides too. I used a bench vise to hold the headrest and quick grip to hold the vacuum nozzle. After it suctioned down I could let loose and use both hands to work the cover over. It was easy.

D651F076-AB0C-4F8C-B17E-BE6A0ADB3E34.jpeg 47518146-A0EE-4B6E-BCD4-0F3A47D574DF.jpeg 3A53782C-6A0D-4A74-8840-1ACDD6A012A3.jpeg 5566A92E-CC0A-4F7F-950C-50043DF7C0F9.jpeg
 

yates ™

Resident Apple hater
Joined
Jul 9, 2010
Posts
24,413
Reaction score
6,448
Location
Iowa
Got one of the headrest covers on and was hoping I wouldn’t have to add the foam they included for the 08’s. They said the cover probably wouldn’t be tight enough and they’re right. It’s gonna be a ***** to fit these things over something even bigger than what I just did. They show use of a shop vac and plastic bag in the video in order to make the foam smaller. I tried it but my vacuum didn’t do much it seemed like.

View attachment 238737 View attachment 238738
I remember the headrests being one of the hardest parts.
 
OP
OP
Rocket Man

Rocket Man

Mark
Supporting Member
Joined
Dec 25, 2014
Posts
26,679
Reaction score
52,954
Location
Oregon
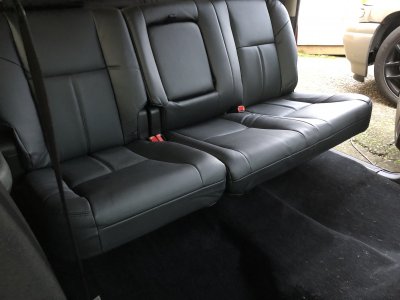
The rears from start to finish. First I removed the OEM leather, then the OEM fabric. Then set it up on the vise, bagged it, suctioned it, pulled the cover over it. Turned the vacuum off and it reformed but was a tad wrinkled.

405355D9-A791-436A-9C00-ABCB877E3C9C.jpeg 76962FF7-FDA0-44D9-A430-16281B7D68B3.jpeg 61E7EE24-23DC-4A56-8B24-502567E5F4DD.jpeg 83B8D3E3-8B20-4DE1-836A-6D3679370648.jpeg AFE41DB7-CFB0-493F-923A-6F12947FE70A.jpeg
 
OP
OP
Rocket Man

Rocket Man

Mark
Supporting Member
Joined
Dec 25, 2014
Posts
26,679
Reaction score
52,954
Location
Oregon
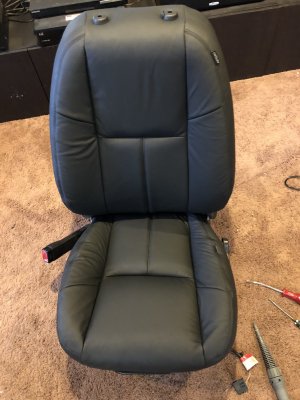
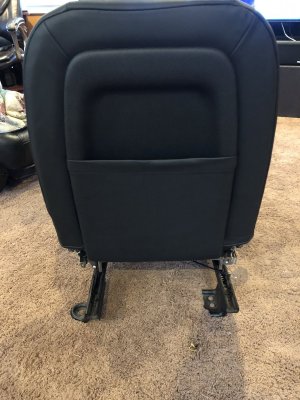
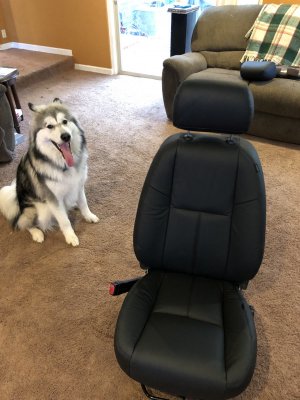
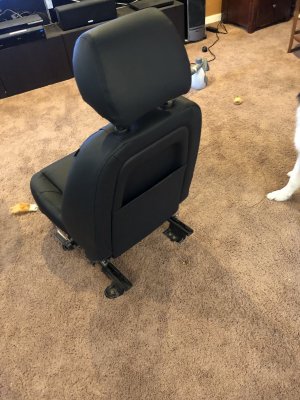
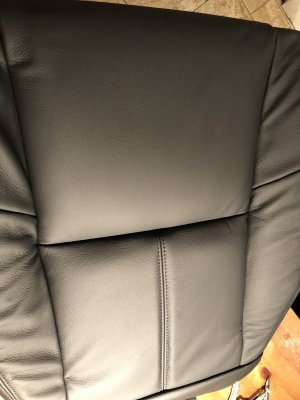
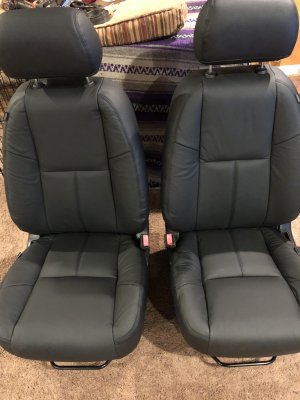
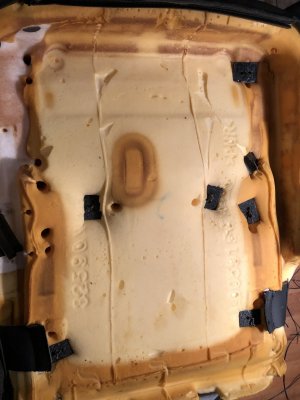
I pulled the bottom off the DS front seat, attached wires instead of zip ties, and reinstalled it. This time all the points where there were broken clips had something holding it. I steamed the hell out of the bottom and back and reattached the hooks. It’s as good as it’s gonna get. I used my new stapler and attached the back fabric to the seat back. Just need to put the plastic trim on the base.

5672864A-7419-4FD6-A1CB-2E2EBD0303F2.jpeg 77A188A4-8BE9-468E-8AE2-BF79E2457867.jpeg AD053BA3-6423-428D-9567-EA07F2FC9B72.jpeg 2C1D60F8-3C55-413E-AA31-F6F2BFBECBC2.jpeg
 

Sam Harris

Elite Member
Supporting Member
Joined
Sep 26, 2018
Posts
7,445
Reaction score
14,977
Location
Texas
I pulled the bottom off the DS front seat, attached wires instead of zip ties, and reinstalled it. This time all the points where there were broken clips had something holding it. I steamed the hell out of the bottom and back and reattached the hooks. It’s as good as it’s gonna get. I used my new stapler and attached the back fabric to the seat back. Just need to put the plastic trim on the base.

View attachment 238801 View attachment 238802 View attachment 238803 View attachment 238804
Puppers supervising. Good dog!
 
OP
OP
Rocket Man

Rocket Man

Mark
Supporting Member
Joined
Dec 25, 2014
Posts
26,679
Reaction score
52,954
Location
Oregon
Did the passenger front. Some of those stupid plastic clips were broken on the back and most on the bottom. I used the same method on the back but the bottom had the passenger presence module so there was no access to the springs to twist the wires around so I cut some plastic squares, drilled 2 holes in each, put the wires through and pulled on them and twisted the wires. They can’t pull through the foam and the creases are set before attaching the cushion to the frame like it’s supposed to be. It came out pretty good. I reinstalled the plastic parts and they’re ready to go.

B109A30A-9B01-4225-8AD4-6290CEDC2690.jpeg 6A61107E-C0CD-4012-BE61-07CDB3DEC0BC.jpeg 73CD77A5-9301-4B9F-8186-C61AC8D026BB.jpeg
 

Sam Harris

Elite Member
Supporting Member
Joined
Sep 26, 2018
Posts
7,445
Reaction score
14,977
Location
Texas
Supervising sure... he steals shit left and right, and I never know if what he’s chewing on is garbage or an important part lol, and he has a severe issue with giving me my personal space. But I love him for sure.
Hehehe. That’s funny.
 
OP
OP
Rocket Man

Rocket Man

Mark
Supporting Member
Joined
Dec 25, 2014
Posts
26,679
Reaction score
52,954
Location
Oregon
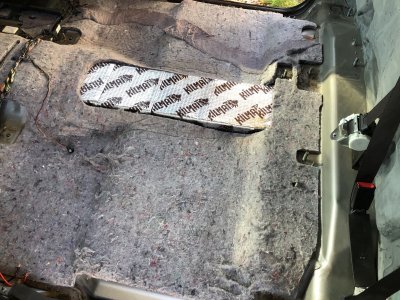
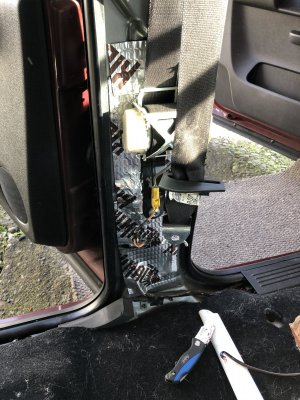
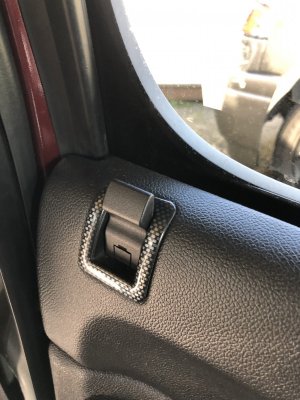
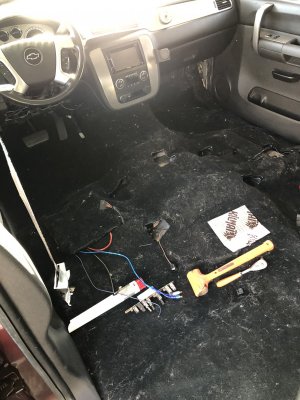
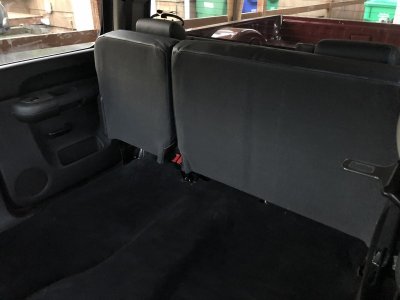
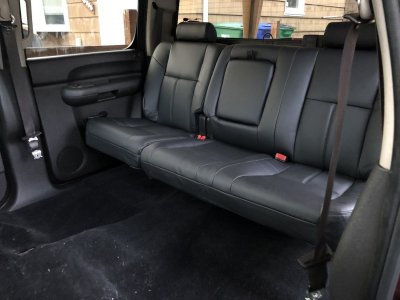
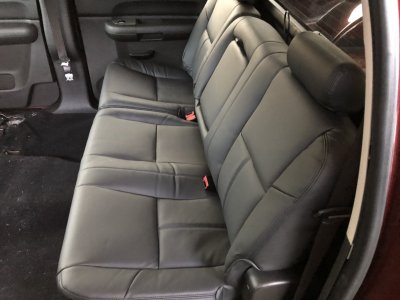
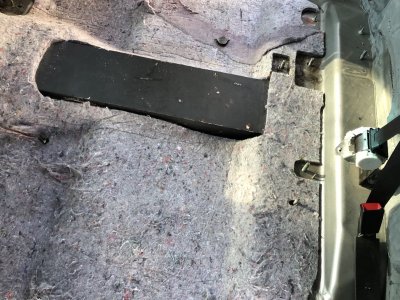
I re-steamed the rear seats today and installed the carpet. The mass backing they sent was separate from the carpet and the truck already had the same stuff installed so I didn’t put it in, fearing the seat bolts would be too short with those 2 layers of 1/2” material combined with the thick ass carpet. This stuff is super thick and dense.It weighs 3 times what the stock stuff did. I laid the old one on top of the new stuff and used it as a pattern. The stuff fit perfect. ACC is quality stuff. I found a small tunnel in the rear where they clearanced for the driveshaft that wasn’t insulated so I used the Kill Mat on it, and used some behind the B and C pillars. I didn’t do much more if it, I will do the doors one day. I did notice more stupid fake CF on the door lock buttons. I will deal with that later.

2A4E9F85-FF40-4795-B1E5-469DB413928A.jpeg 45D64190-DC91-4EC1-8FB4-F80596B37E3C.jpeg 5D38EB65-4F84-422E-814C-F4A498C3A64B.jpeg 872CD4AD-62FD-4374-942D-8346211AAB62.jpeg CB2384D4-6DC5-4FC8-A494-09BA5A21FB05.jpeg
 
OP
OP
Rocket Man

Rocket Man

Mark
Supporting Member
Joined
Dec 25, 2014
Posts
26,679
Reaction score
52,954
Location
Oregon
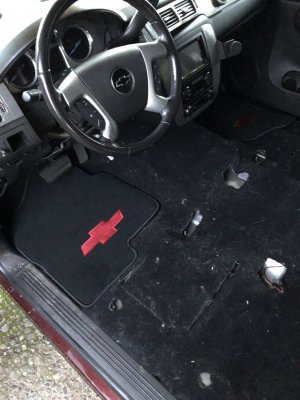
The Kilmat works great for cleaning the carpet and I’ll tell you what- the vacuum had little effect in removing all the white fibers that I guess are from manufacture. I ran out of time and only got the back half clean. Looks great though. In comparison the factory carpet was greyish. This stuff is BLACK. Had to throw one of the front mats in even though the carpet isn’t clean

B5848B4D-D85A-4F1E-848D-A687A8BCFFE1.jpeg F6328F1A-101F-4406-B0C9-4D7D9E3E8532.jpeg A0DFCEEF-2DC5-4382-9C5C-1194858F0B0B.jpeg D3C9B7E9-8311-4C33-9ED0-F1F6B6F60019.jpeg AB0F624B-CB44-42A8-A80A-19370E89C415.jpeg
 
Last edited:

Tonyrodz

Resident Resident
Joined
Feb 16, 2012
Posts
33,342
Reaction score
51,830
Location
Central Jersey
The Kilmat works great for cleaning the carpet and I’ll tell you what- the vacuum had little effect in removing all the white fibers that I guess are from manufacture. I ran out of time and only got the back half clean. Looks great though. In comparison the factory carpet was greyish. This stuff is BLACK. Had to throw one of the front mats uneven though the carpet isn’t clean

View attachment 238897 View attachment 238898 View attachment 238899 View attachment 238900 View attachment 238901
She's gonna be whisper quite now.
 

Sam Harris

Elite Member
Supporting Member
Joined
Sep 26, 2018
Posts
7,445
Reaction score
14,977
Location
Texas
I re-steamed the rear seats today and installed the carpet. The mass backing they sent was separate from the carpet and the truck already had the same stuff installed so I didn’t put it in, fearing the seat bolts would be too short with those 2 layers of 1/2” material combined with the thick ass carpet. This stuff is super thick and dense.It weighs 3 times what the stock stuff did. I laid the old one on top of the new stuff and used it as a pattern. The stuff fit perfect. ACC is quality stuff. I found a small tunnel in the rear where they clearanced for the driveshaft that wasn’t insulated so I used the Kill Mat on it, and used some behind the B and C pillars. I didn’t do much more if it, I will do the doors one day. I did notice more stupid fake CF on the door lock buttons. I will deal with that later.

View attachment 238892 View attachment 238893 View attachment 238894 View attachment 238895 View attachment 238896

C’mon those sweet little carbon fiber accents everywhere are slick man..![emoji23]
 

Forum statistics

Threads
138,098
Posts
1,999,061
Members
103,024
Latest member
jpurdie

Latest posts

Back
Top