mattbta
Full Access Member
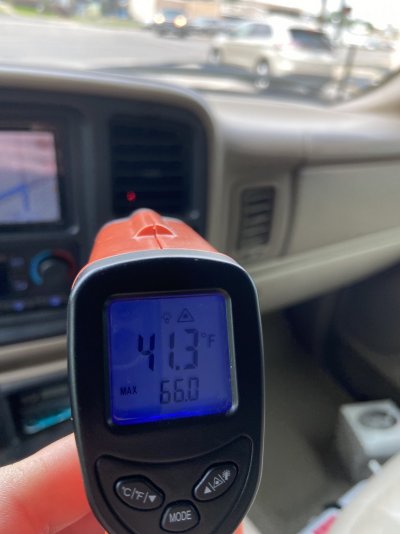
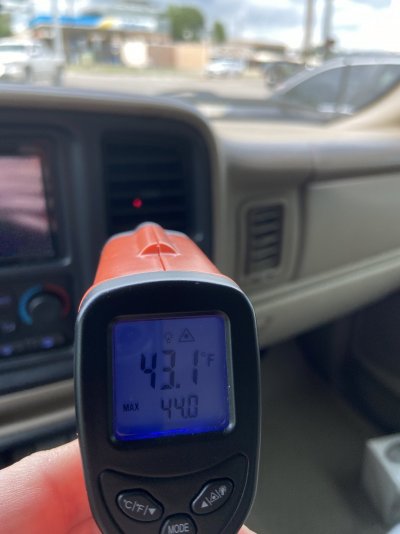
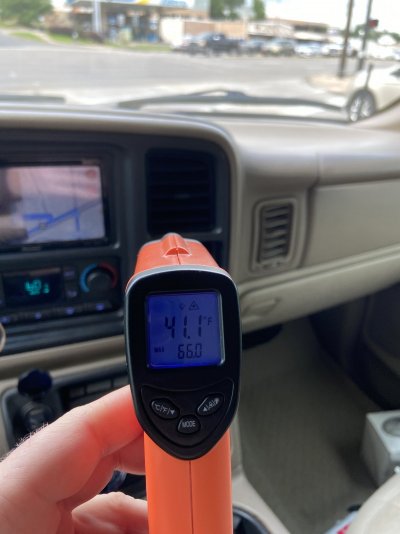
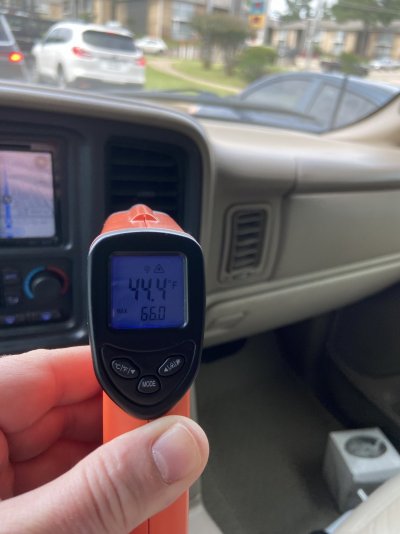
Curious to see where you get. Mine had both ports replaced (within a week of each other) last summer which required evac/vac/refill 2x. I'm skeptical because prior to this, it would push 40* all the time. Now it barely breaks 50* after sitting in the sun and driving 20 min or so. I brought it back to the shop and they inspected and didn't observe a leak but I wanted to know the levels. They wanted to charge me a service fee to evac and refill again but I declined as it may need further work later.I tried my hand at fine tuning the A/C charge now that temps have approached 90 degrees here in Texas. I can't seem to figure out the best way to gauge how much refrigerant I should add (I know, I should be measuring by weight but we're long past that unless I want to evacuate, vaccum, and recharge from scratch which I'd like to avoid). Should the fan be blowing on high, or on low when I'm reading pressures? Should I have a shop fan blowing across the condenser, or spraying with a hose, or leave it completely alone and let the vehicle pull air across it, unassisted?
I can't seem to get it much colder than 50 degrees from the vent with ambient temps around 75 and humidity around 70%. I think the old girl is capable of better cooling, but maybe based on her age it's time for a new condenser since I'm sure after a quarter million miles, the OEM is likely not as efficient as it used to be.
Do you have gauges for checking pressure? Might need to drop by once we get more info on the "how".
 .
.