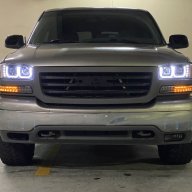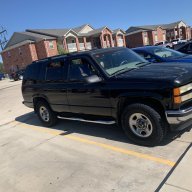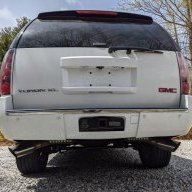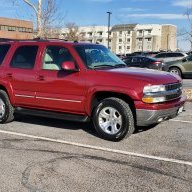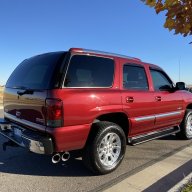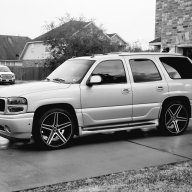
02 Base for my son

Disclaimer: Links on this page pointing to Amazon, eBay and other sites may include affiliate code. If you click them and make a purchase, we may earn a small commission.

ivin74

05 NBS Nali
Joined
Aug 3, 2014
Posts
2,420
Reaction score
2,557
Location
Htown, Texas
I wanted to put this on its own thread because I’ve done some work and still more to do.
First thing was to fix the issues that I know about. The stalling in gear was only a dirty throttle body. I removed the throttle body, bypassed the coolant that goes through the TB with a barbed fitting and also cleaned the MAF sensor.
Replaced the passenger window motor and track. That was only $42 from Amazon and an easy swap. While I had the window out I removed the tint and put on some 5% ceramic tint. Then I also did the drivers side with the same. I’ll address the rear windows soon. The tint job was terrible thats why I had to change it.
1048d7c78e805776ef1447ac6b4c87fb.jpg


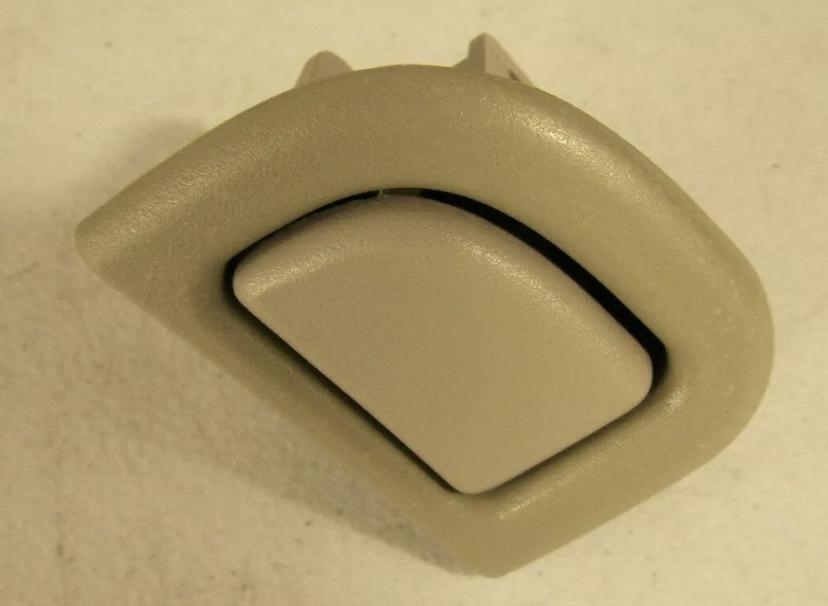
The center console lid was just a $12 part off eBay. I pulled that apart and put in the new latch.
90521d19096aeeb44b3681fa827a0a17.jpg

523423483becbf6a29f90d92ba41d43f.jpg


The tire was a leaking valve stem at the rim. Took the tire off and dropped it off at Firestone and had them swap that out for me. $30.
The ac was only a leaky high pressure fitting. $3 part and some time evacuating the system, pulled 28” vacuum on it for 40 minutes then added some pag oil and 3lbs of freon. Blow cold and haven’t had an issue since.
a801e35c35af1c941507a835f341b428.jpg


I also replaced the fog lights because the lenses were yellow and one had a crack in it.
bb91144f424a04abbad4346eb3471272.jpg


There’s also a broken exhaust manifold bolt and it ticks when it’s cold. Drives me crazy. So I ordered the parts but have yet to dig into it. These are the best manifold gaskets and I won’t use anything but these.
ab509ff4f619e54f38c6fee373509a33.jpg

41db45e7cc2e197e1e1477ed0036c128.jpg

fab7e4688db2e65632c3be22bbb9c553.jpg


Then I addressed the dim yellow headlights. The lenses could use a good cleaning too but I needed more lighting so I ordered these LEDs.
34b0fd59cd2c9984a06d50caffbc8303.jpg

f99afb95fd5e14faf930f67e1c2be955.jpg


Sent from my iPhone using Tapatalk


Congrats on the new ride, looks like you know the nbs very well. Hope your son enjoys it.
 

A Ransom

TYF Newbie
Joined
Jul 1, 2020
Posts
24
Reaction score
36
Went to the salvage yard this past Saturday to pull those back vents off an Esky for my 00 NBS Yukon and they broke in my hands like brittle cookies.

Nice first ride for your son. Seems like the previous owner knew very little about some of those simple repairs for his vehicle.

One man’s trash is another man’s treasure.
 
OP
OP
Snowbound

Snowbound

Jim
Joined
Nov 23, 2016
Posts
1,058
Reaction score
2,496
Location
Chicagoland (Lockport)
Did you replace the parking brake shoes too?
They are on the way. I dropped the ball. I usually order everything I think I may need but I didn’t get the brake package with the calipers and I should have. I didn’t order the parking shoes and I should have. I assumed and it bit me. I’ll take pics when I get back into the rear brakes again. The parking shoes were gone. Like not there! I’m not too concerned, I can still drive it but I didn’t like the way it looked under the drum so I have new parking shoes, hardware and backing plates coming. Also new calipers should be here Tuesday or Wednesday. I’m gonna paint them but I’ll share when i get back at it. Also ordered stainless steel brake line kit and all new flex lines for tube to calipers (front and rear) and the one above rear axle.

After this brake stuff is behind me and I check over everything else really well, I’m gonna lower it 2/4. Just gonna go with 2” drop spindles, rear springs and shock extenders. Probably throw some new shocks on it too “while I’m in there.”


Sent from my iPhone using Tapatalk
 

swathdiver

Full Access Member
Joined
May 18, 2017
Posts
21,321
Reaction score
30,315
Location
Treasure Coast, Florida
They are on the way. I dropped the ball. I usually order everything I think I may need but I didn’t get the brake package with the calipers and I should have. I didn’t order the parking shoes and I should have. I assumed and it bit me. I’ll take pics when I get back into the rear brakes again. The parking shoes were gone. Like not there! I’m not too concerned, I can still drive it but I didn’t like the way it looked under the drum so I have new parking shoes, hardware and backing plates coming. Also new calipers should be here Tuesday or Wednesday. I’m gonna paint them but I’ll share when i get back at it. Also ordered stainless steel brake line kit and all new flex lines for tube to calipers (front and rear) and the one above rear axle.

After this brake stuff is behind me and I check over everything else really well, I’m gonna lower it 2/4. Just gonna go with 2” drop spindles, rear springs and shock extenders. Probably throw some new shocks on it too “while I’m in there.”


Sent from my iPhone using Tapatalk

When I saw the inside of those rear rotors, I figured something was up.

I did mine about 2 years ago but did not set the spacing right. The clearance between the shoe and drum is supposed to be a 1/4 millimeter! Well, I bought a brake drum caliper to measure it right and am trying to get them adjusted in between rain squalls and the stifling summer heat outside! Right now they hold but not great. Just put brand new GM OE calipers on the front, they were $64 delivered and painted black. It was going to cost about $45 to rebuild each caliper with new pistons and seals, which I'll probably do anyway and put them on the shelf as spares. We're planning to add at least two more GMT900 or K2s to the barn.
 
Last edited:

Rocket Man

Mark
Supporting Member
Joined
Dec 25, 2014
Posts
26,679
Reaction score
52,954
Location
Oregon
They are on the way. I dropped the ball. I usually order everything I think I may need but I didn’t get the brake package with the calipers and I should have. I didn’t order the parking shoes and I should have. I assumed and it bit me. I’ll take pics when I get back into the rear brakes again. The parking shoes were gone. Like not there! I’m not too concerned, I can still drive it but I didn’t like the way it looked under the drum so I have new parking shoes, hardware and backing plates coming. Also new calipers should be here Tuesday or Wednesday. I’m gonna paint them but I’ll share when i get back at it. Also ordered stainless steel brake line kit and all new flex lines for tube to calipers (front and rear) and the one above rear axle.

After this brake stuff is behind me and I check over everything else really well, I’m gonna lower it 2/4. Just gonna go with 2” drop spindles, rear springs and shock extenders. Probably throw some new shocks on it too “while I’m in there.”


Sent from my iPhone using Tapatalk
I suggest the Dorman 2-piece backing plates so you don’t have to pull the axles. Just cut the old ones off with snips and install the 2-piece ones. There’s not much Dorman stuff I would buy but these are a great idea and work great.
 

RAFJR

TYF Newbie
Joined
Feb 11, 2020
Posts
9
Reaction score
5
You can take the haze out of the headlights with some 3M plastic compound/polish. I usually sand 1st, go down in grits, polish them out, then use a 2 step UV liquid protectant that dries.
 

petethepug

Michael
Joined
May 4, 2016
Posts
3,790
Reaction score
4,359
Location
SoCal
Nice pivot on locating the vehicle you wanted but on a different nameplate. The platform has so many current and aftermarket options to upgrade or simply maintain.

Good call in getting a vehicle of mass for your sons first ride. Rain, snow and slush won’t be a problem with some good snow tires.

All the Best!


Sent from my iPhone using Tapatalk
 

jakcol997

Member
Joined
Sep 18, 2019
Posts
79
Reaction score
29
I wanted to put this on its own thread because I’ve done some work and still more to do.
First thing was to fix the issues that I know about. The stalling in gear was only a dirty throttle body. I removed the throttle body, bypassed the coolant that goes through the TB with a barbed fitting and also cleaned the MAF sensor.
Replaced the passenger window motor and track. That was only $42 from Amazon and an easy swap. While I had the window out I removed the tint and put on some 5% ceramic tint. Then I also did the drivers side with the same. I’ll address the rear windows soon. The tint job was terrible thats why I had to change it.
1048d7c78e805776ef1447ac6b4c87fb.jpg


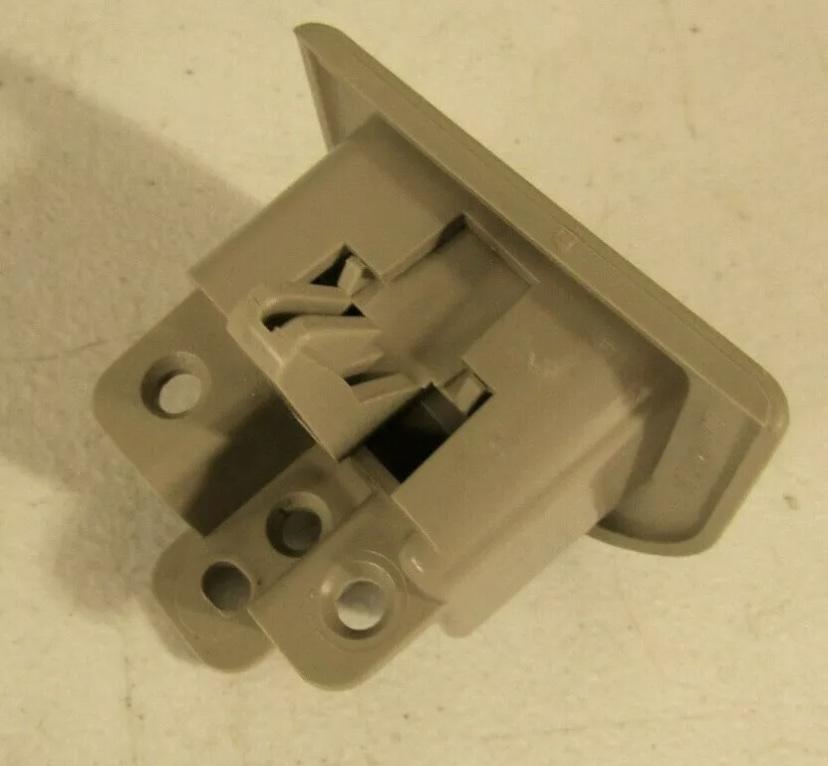
The center console lid was just a $12 part off eBay. I pulled that apart and put in the new latch.
90521d19096aeeb44b3681fa827a0a17.jpg

523423483becbf6a29f90d92ba41d43f.jpg


The tire was a leaking valve stem at the rim. Took the tire off and dropped it off at Firestone and had them swap that out for me. $30.
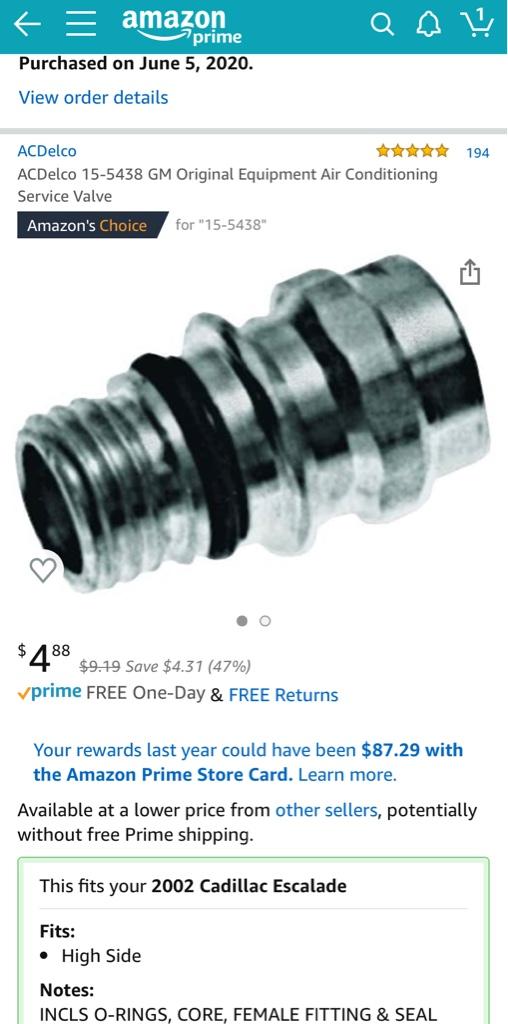
The ac was only a leaky high pressure fitting. $3 part and some time evacuating the system, pulled 28” vacuum on it for 40 minutes then added some pag oil and 3lbs of freon. Blow cold and haven’t had an issue since.
a801e35c35af1c941507a835f341b428.jpg


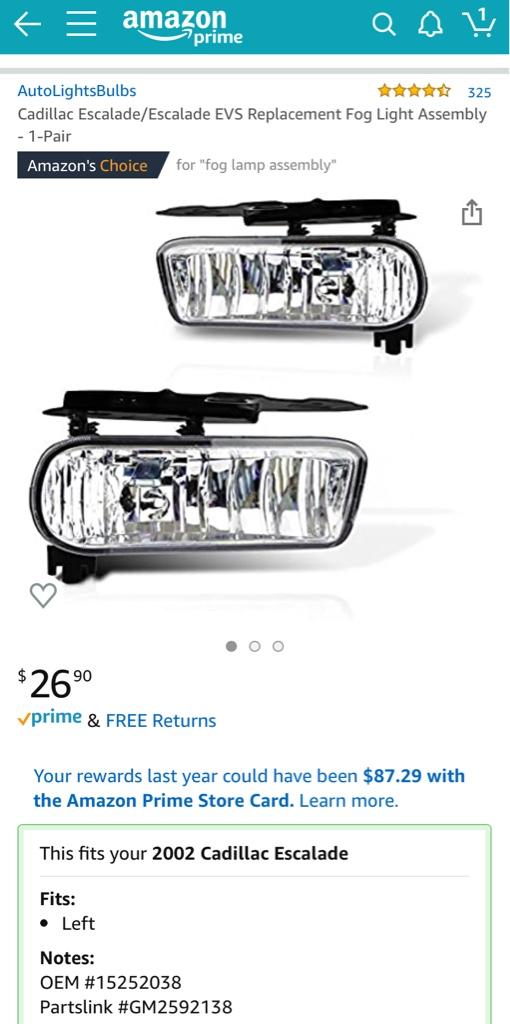
I also replaced the fog lights because the lenses were yellow and one had a crack in it.
bb91144f424a04abbad4346eb3471272.jpg


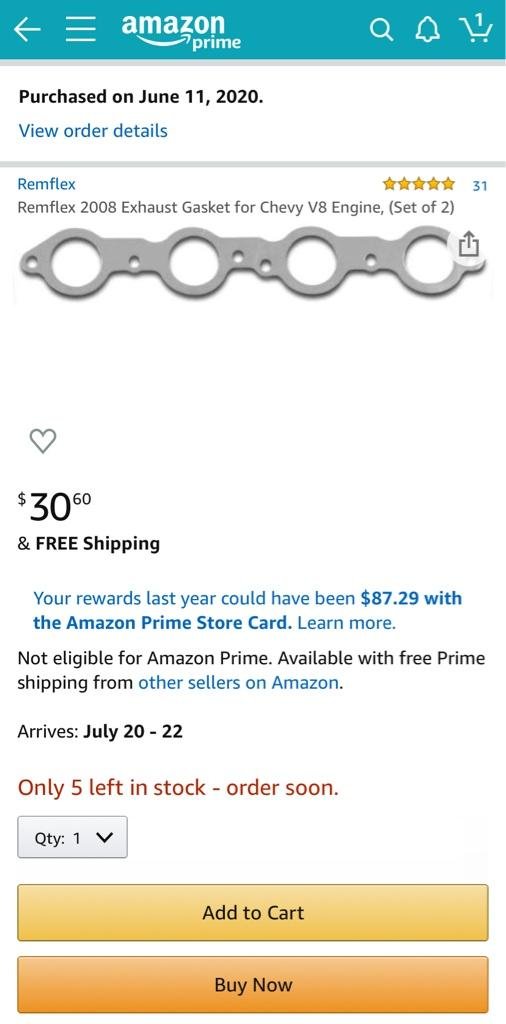
There’s also a broken exhaust manifold bolt and it ticks when it’s cold. Drives me crazy. So I ordered the parts but have yet to dig into it. These are the best manifold gaskets and I won’t use anything but these.
ab509ff4f619e54f38c6fee373509a33.jpg

41db45e7cc2e197e1e1477ed0036c128.jpg

fab7e4688db2e65632c3be22bbb9c553.jpg


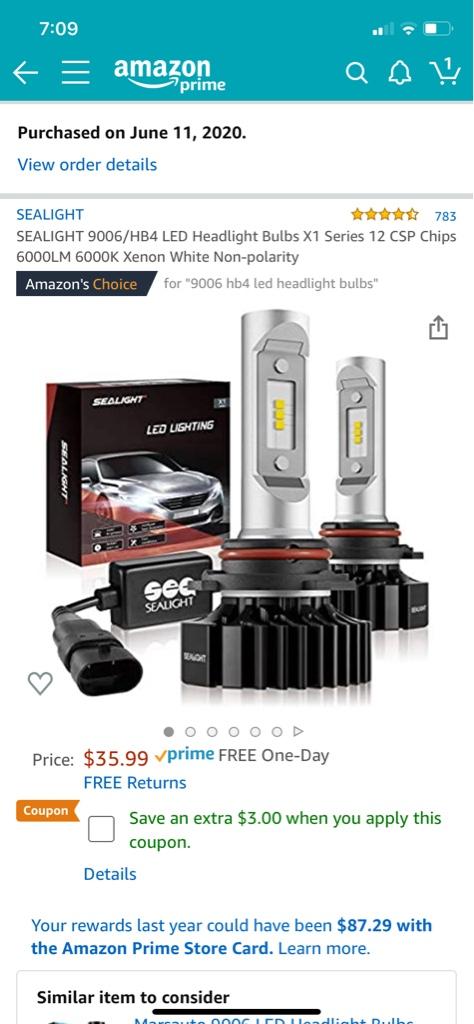
Then I addressed the dim yellow headlights. The lenses could use a good cleaning too but I needed more lighting so I ordered these LEDs.
34b0fd59cd2c9984a06d50caffbc8303.jpg

f99afb95fd5e14faf930f67e1c2be955.jpg


Sent from my iPhone using Tapatalk
You just missed it!!!!! I bought all 4 sealight LEDs for my 99 Yukon for $59! They were on sale on amazon!!
 
OP
OP
Snowbound

Snowbound

Jim
Joined
Nov 23, 2016
Posts
1,058
Reaction score
2,496
Location
Chicagoland (Lockport)
These things are famous for broken manifold bolts. Are you drilling out the old exhaust manifold bolts and replacing them.?
I’m gonna have to weld a nut to the broken stud after removing the manifold to get it out. Then put all ARP bolts in.


Sent from my iPhone using Tapatalk
 
OP
OP
Snowbound

Snowbound

Jim
Joined
Nov 23, 2016
Posts
1,058
Reaction score
2,496
Location
Chicagoland (Lockport)
I will be getting Jack more involved with the work that needs to be done. It’s just been so hot and humid lately that I haven’t been doing much myself. Last couple things I did were at work when it cooled off some.
Like today, I decided to change the cabin filters. I knew they were most likely never replaced. I got these from Rockauto. Everywhere else wanted $26 for a set of filters and I got these hepa filters for $12 from RA.
9078edb5be81c49b40f532c8a151308b.jpg


There are 3 screws holding the cover to the HVAC box. One is a little difficult to get to because it’s above the trans hump and behind the center console but it’s doable. May even be able to leave that one and still get the filters out but I wanted to clean that cover so I pulled it. Just need a 7mm 1/4” drive deep socket and ratchet.
c08155cd19583a5ff45ce0a0867d309a.jpg


The filter cover is held up by a screw that takes a 5.5mm socket but I couldn’t find one here at work. A 7/32 socket works just as well.
e60ffbeee00afb8b7300b5163839b44f.jpg


A lot of crap came out of there and it appears as if my suspicion was confirmed. If they were changed before it’s been a long time.
1803c2de1b57ed7626c646396c574945.jpg


I attached a 5/8” hose to the shop vac and made sure I got anything that may be up in there out. Then had to clean the floor as well.
5b895840b9b3da7cf3a31d61f6af5e81.jpg


New filters went in no problem and should be a lot more air flow and better filtration.
63eed3025827b2f3bc87455b7160e134.jpg


03b8d90a37a5d3953e49fded4fa814f6.jpg


I cleaned the filter cover in the sink with warm water and a brush before putting that back on. Now I just have to clean up the big cover and put it back on. One more thing scratched off the list.


Sent from my iPhone using Tapatalk
 
OP
OP
Snowbound

Snowbound

Jim
Joined
Nov 23, 2016
Posts
1,058
Reaction score
2,496
Location
Chicagoland (Lockport)
One other thing I did last week when my RA order came in. I replaced the rear windshield wiper stop/rest. It was missing when I acquired the vehicle.

I can’t find a picture of the back of the vehicle. I was gonna zoom in and show you how it looked but I don’t have any ass shots. Oh well, here’s the new part. It was only $10. I thought I would have to get it from the dealer but to my surprise, RA came thru for me again.
d8706743e78dbf7124f67a0e23d8508c.jpg


You think I don’t see how ugly that wiper looks? Lol
I was going to pull it and give it a rattle can paint job but I’m holding off because the wiper motor isn’t functioning properly so I’ll replace the motor if everything else looks good when I finally get into it. I may just order a new arm as well because this one doesn’t pull tight against the rear window. I could clean up the hinge but I think if I paint it after getting it to pivot properly, it may just stick on me again. It’s cheap, so I’m better off just buying a new one.


Sent from my iPhone using Tapatalk
 

Joseph Garcia

Elite Member
Supporting Member
Joined
Aug 2, 2018
Posts
10,522
Reaction score
15,270
Order a new wiper arm and blade from Rock Auto, and be done with it. If you believe that the spring tension on the existing arm has reduced over time, you won't get the quality of the wiper action that you need and want.
 

Rocket Man

Mark
Supporting Member
Joined
Dec 25, 2014
Posts
26,679
Reaction score
52,954
Location
Oregon
One other thing I did last week when my RA order came in. I replaced the rear windshield wiper stop/rest. It was missing when I acquired the vehicle.

I can’t find a picture of the back of the vehicle. I was gonna zoom in and show you how it looked but I don’t have any ass shots. Oh well, here’s the new part. It was only $10. I thought I would have to get it from the dealer but to my surprise, RA came thru for me again.
d8706743e78dbf7124f67a0e23d8508c.jpg


You think I don’t see how ugly that wiper looks? Lol
I was going to pull it and give it a rattle can paint job but I’m holding off because the wiper motor isn’t functioning properly so I’ll replace the motor if everything else looks good when I finally get into it. I may just order a new arm as well because this one doesn’t pull tight against the rear window. I could clean up the hinge but I think if I paint it after getting it to pivot properly, it may just stick on me again. It’s cheap, so I’m better off just buying a new one.


Sent from my iPhone using Tapatalk
That’s on upside down. It’s supposed to “cup” the arm as it comes down so it sits in it like a cradle. And the wiper blade is supposed to sit on the bottom of the glass not the body or trim. The stop will keep it from coming too far down if the arm and stop are installed correct. It looks like the arm might need to be adjusted up but if you install the stop right it might be ok. You just don’t want the motor pushing down too hard , the arm just needs to rest on the stop. If it’s pushing down too hard that might be why the motor went bad. If you turn that stop over you’ll see the inside is sloped to match the angle of your wiper arm. This is all from memory as I shaved the whole damn tree branch off of mine. Never need it.
 
Last edited:

Fless

Staff member
Moderator
Joined
Apr 2, 2017
Posts
16,624
Reaction score
34,411
Location
People's Republic of Colorado
That’s on upside down. It’s supposed to “cup” the arm as it comes down so it sits in it like a cradle. And the wiper blade is supposed to sit on the bottom of the glass not the body or trim. The stop will keep it from coming too far down if the arm and stop are installed correct. It looks like the arm might need to be adjusted up but if you install the stop right it might be ok. You just don’t want the motor pushing down too hard , the arm just needs to rest on the stop. If it’s pushing down too hard that might be why the motor went bad. If you turn that stop over you’ll see the inside is sloped to match the angle of your wiper arm. This is all from memory as I shaved the whole damn tree branch off of mine. Never need it.

I think it's on right-side up. The blade on mine sits below the glass and offset from the body so the glass can be raised without hitting the wiper arm. The blade also tucks down lower on top of the pocket on the bracket.

Wiper from left_resized.jpg


Wiper from right_resized.jpg
 
Last edited:

Sam Harris

Elite Member
Supporting Member
Joined
Sep 26, 2018
Posts
7,445
Reaction score
14,977
Location
Texas
I think it's on right-side up. The blade on mine sits below the glass and offset from the body so the glass can be raised without hitting the wiper arm. The blade also tucks down lower on top of the pocket on the bracket.

View attachment 252831

View attachment 252832
This is how mine sits too. Unfortunately, the wiper sitting on the damn paint has created a nice mark in it... seriously considering deleting mine, but that damn mark on the paint is gonna drive me nuts.
 

Rocket Man

Mark
Supporting Member
Joined
Dec 25, 2014
Posts
26,679
Reaction score
52,954
Location
Oregon
I think it's on right-side up. The blade on mine sits below the glass and offset from the body so the glass can be raised without hitting the wiper arm. The blade also tucks down lower on top of the pocket on the bracket.

View attachment 252831

View attachment 252832
Oh yeah, and that makes sense. I remember now. I see @Snowbound ‘s wiper blade just isn’t sitting on it. Like I said I was going from memory which at my age isn’t good at all. :mad:
 

Forum statistics

Threads
138,047
Posts
1,997,834
Members
102,984
Latest member
TexasTaz
Back
Top