tx07tahoe
Full Access Member
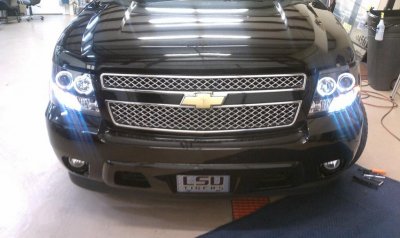
The LTZ grill in black looks really good.
Disclaimer: Links on this page pointing to Amazon, eBay and other sites may include affiliate code. If you click them and make a purchase, we may earn a small commission.
The grill and front bowtie come out together. They were sanded down then primed with plastic primer and adhesion promoter. They were then sprayed with rustoleum satin black (for plastic). The back bowtie is two pieces, the gold peice over an all chrome lower piece. I seperated the two and just painted the chrome one the same way I painted the grill.How did you black out your grill and bowties? And what offset are your wheels. By the way truck is coming along nicely.

I've thought about it. What all is involved?looks really good, Once those badges are blacked, and the mirror caps are on it will have a "complete" look to it.
What about removing the roof rack? You into that?
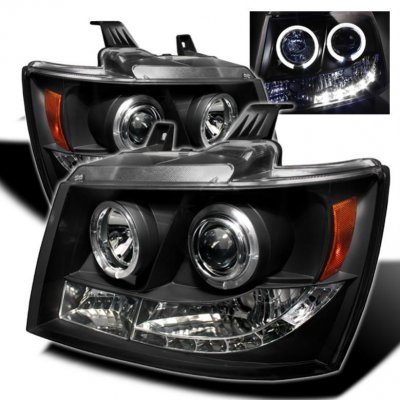
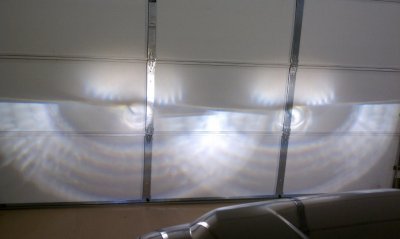
What exactly are you looking for?Can you grab a couple pics of the lights...still on the fence about buying them...TIA!