Fosscore's 2006 Tahoe Build Thread

Disclaimer: Links on this page pointing to Amazon, eBay and other sites may include affiliate code. If you click them and make a purchase, we may earn a small commission.

OP
OP
Fosscore

Fosscore

Full Access Member
Joined
Apr 16, 2014
Posts
10,863
Reaction score
19,736
Brakes look good! Nice write up. I'll probably go this route when the time comes...which isn't too far away.

Thank you sir. The price point was good and the all-in-one kit made it an easy decision. As well as the labor savings by doing it ourselves was worth the time.
 
OP
OP
Fosscore

Fosscore

Full Access Member
Joined
Apr 16, 2014
Posts
10,863
Reaction score
19,736
A few updated pics of the brake upgrade from last week. Stopping power has definitely increased. A lot less fade, better bite, no squealing and less dust.

Any residual spray paint from the initial coating on the rotors prior to installation has since been removed. I still want to flush the brake fluid and power steering fluid. Will update regarding the brakes again once that service has been completed.
 

Attachments

  • IMG_0812.JPG
    IMG_0812.JPG
    97.5 KB · Views: 105
  • IMG_0811.JPG
    IMG_0811.JPG
    92.2 KB · Views: 101
  • IMG_0929.jpg
    IMG_0929.jpg
    56 KB · Views: 98
OP
OP
Fosscore

Fosscore

Full Access Member
Joined
Apr 16, 2014
Posts
10,863
Reaction score
19,736
3 May 2015

A few updates since the brake upgrades.

I had the brake fluid and power steering fluid flushed this week at my friend's shop. Still very happy with the Powerstop brake kit. No noise, seems to be low dust, stopping power feels good and the brake pedal feels more firm.

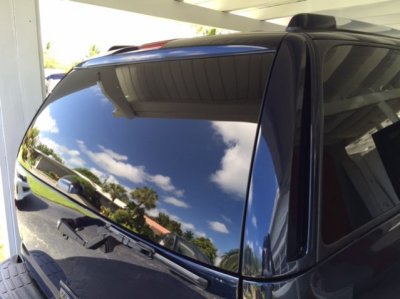
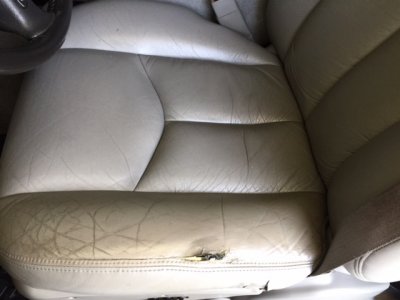
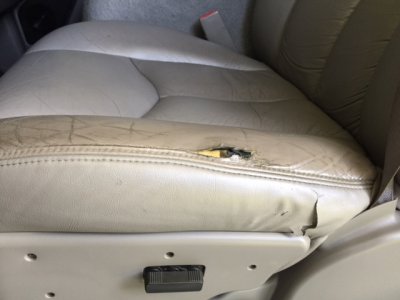
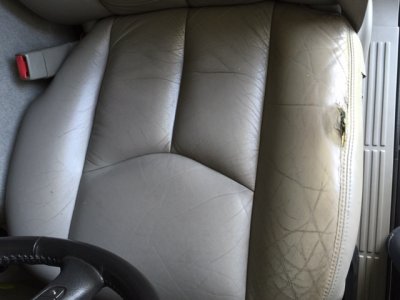
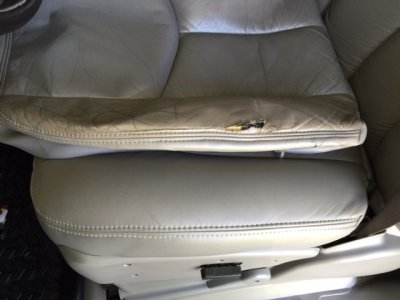
Polished out the roof and put another coat of Collinite's 845 Insulator Wax over the entire truck this weekend. Smooth as butter going on and the paint just sheds water. Put some Lexol leather conditioner on the seats.

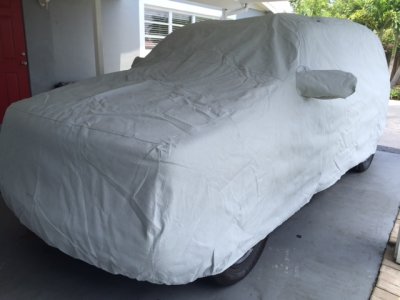
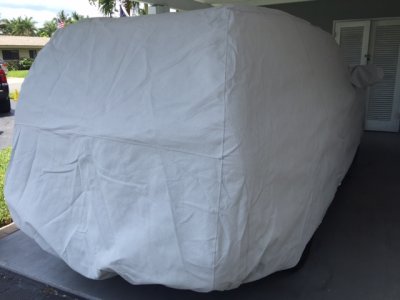
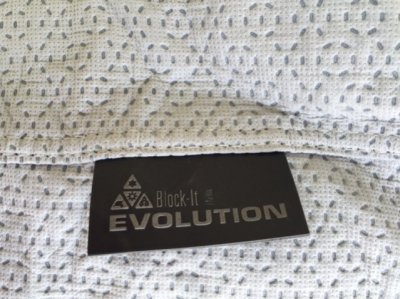
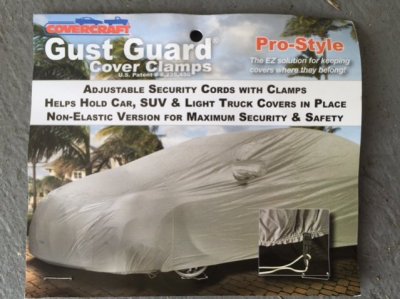
Did a test fit with my new custom truck cover from Cover Craft. I ordered it from Car Covers Direct as they had a 15% off sale at the time. It is the Technalon Evolution style which came recommended for the harsh Florida summers. We use the Evolution lining on the yachts to line any covers that we put over varnish or areas that need to be super soft. The price with discount and $10 Gust Guards was $280 shipped. Pretty happy with that considering some covers that I was looking at were upwards of $500 with the ultimate Cover King Autobody Armor cover coming in at $1000! Ouch.

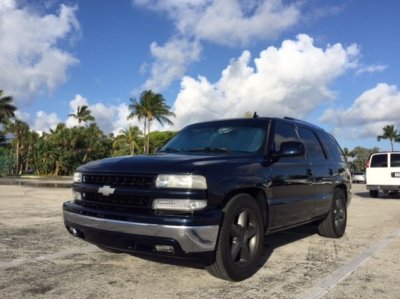
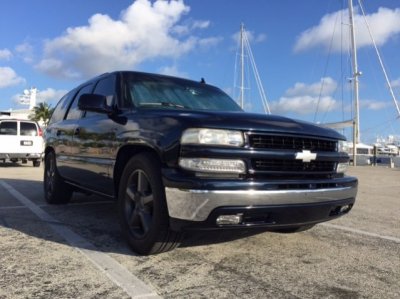
Some of you may wonder why I would bother with a cover for the Tahoe? Unfortunately, I do not have a garage and cannot kick the wife out of the car port all the time. There are extended times when the truck does not get driven or washed. After spending countless hours last fall detailing the neglected paint from the harsh summer due to my travel schedule, I decided to detail the hell out of the paint this year, buy a custom, quality cover and do my best to protect the paint and keep her in better shape this summer.

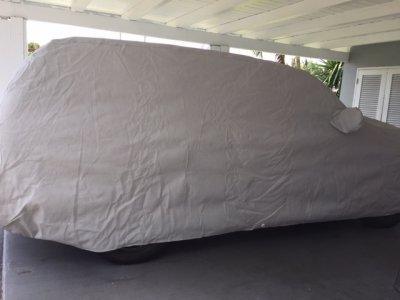
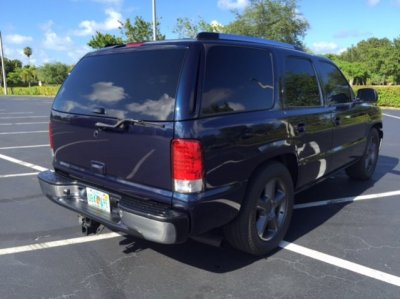
I am very happy with the fit. This is a custom cut/fit cover to the truck with limited seams. As you look at the pictures, you can see that it hugs the vehicle pretty tight, but with a little breathing room. There are mirror pockets that leave a little wiggle room, but not so tight that it is a hassle to get on. There is not an antenna hole unless you want to make your own with the provided grommet. I deleted my antenna to the engine bay, so I will not be adding a hole to the cover. Each end is elastic and fits all the way under the bumpers. There are two grommets where I will be attaching a cable and lock under the center of the frame. I purchased the Gust Guards to combat the summer storms that roll through. The cover comes all the way down to about 6 inches above the ground. Total coverage from rain, wind, dust, birds, yard service, sprinklers, sun, salt, hopefully a sticky fingers/looky loo theft deterrent, etc...

Here is a link to the cover that I purchased.
http://www.carcoversdirect.com/

I will update after the summer tropical abuse.

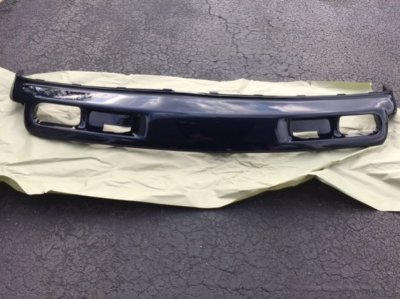
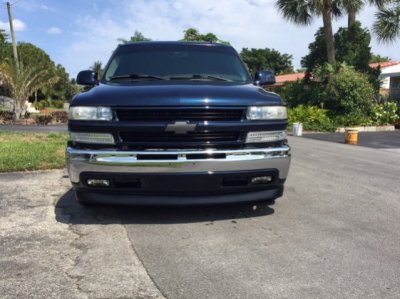
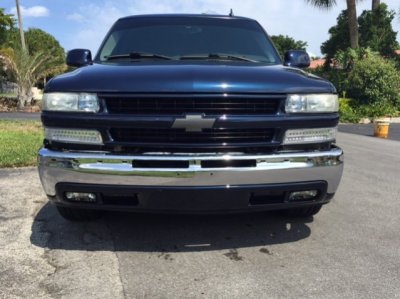
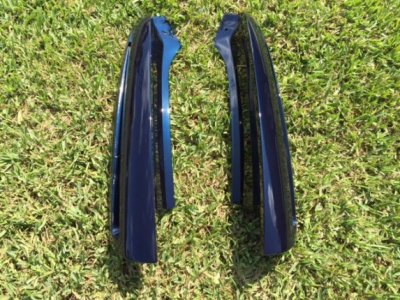
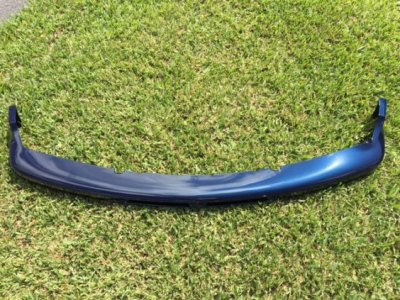
The painters finally finished color matching my front lower valance after getting backed up big time in their shop. I think it looks sweet!! That was the last big piece of black textured plastic to color match. The bumper cap and Esky rear appliques also went in for a fresh coat of paint, but both came out of the booth with small imperfections that are going to get reshot. And we ran out of the custom paint from Automotivetouchup.com Every batch I have ordered has been spot on with color, but it takes a good 5-7 days from order to ground delivery, so that will set me back a bit. Always a work in progress.

Now I just need to decide whether or not to add the front air dam or leave it off. I am kind of leaning towards leaving it off. Let me know what you guys think.
 

Attachments

  • IMG_1486.JPG
    IMG_1486.JPG
    86.9 KB · Views: 66
  • IMG_1489.JPG
    IMG_1489.JPG
    77 KB · Views: 60
  • IMG_1490.JPG
    IMG_1490.JPG
    74.3 KB · Views: 64
  • IMG_1487.jpg
    IMG_1487.jpg
    75.2 KB · Views: 68
  • FullSizeRender.jpg
    FullSizeRender.jpg
    63.2 KB · Views: 65
Last edited:
OP
OP
Fosscore

Fosscore

Full Access Member
Joined
Apr 16, 2014
Posts
10,863
Reaction score
19,736
Pics of the front lower valance color matched. Both with and without the lower air dam. To install or not to install?
 

Attachments

  • IMG_1479.jpg
    IMG_1479.jpg
    62.8 KB · Views: 127
  • IMG_1492.jpg
    IMG_1492.jpg
    68.4 KB · Views: 126
  • IMG_1493.jpg
    IMG_1493.jpg
    65.1 KB · Views: 120
  • IMG_1494.jpg
    IMG_1494.jpg
    64.2 KB · Views: 127
  • IMG_1495.jpg
    IMG_1495.jpg
    61.2 KB · Views: 125

OHSIXX

Full Access Member
Joined
Jul 15, 2011
Posts
3,764
Reaction score
226
Location
Milwaukee
Looking good!!! Tough call as it looks good either way.....but I'm leaning without for some reason. It might be case of better in person though...
 

NathanJax

Vacation Nathan
Staff member
Administrator Moderator Supporting Member
Joined
May 9, 2009
Posts
49,141
Reaction score
943,577,202
Location
Jax, Fl
without


with it, it looks too front end heavy, because the front sits lower than the rest of the truck. ESPECIALLY without the side steps
 

NeverSatisfied

eBay Baller
Joined
Jun 24, 2013
Posts
2,643
Reaction score
1,308
Location
Wichita, Kansas
Yes I also agree without because the fact that you don't have running boards. If you had running boards then I would say put it on.

Trucks looking good tho!
 
OP
OP
Fosscore

Fosscore

Full Access Member
Joined
Apr 16, 2014
Posts
10,863
Reaction score
19,736
Thanks guys for all the input on the air dam. Points well taken. It is staying off.
 
OP
OP
Fosscore

Fosscore

Full Access Member
Joined
Apr 16, 2014
Posts
10,863
Reaction score
19,736
Painted parts installed and new drivers seat leather.

15 May 2015
73K Miles

Picked up my front bumper cap and Esky rear appliques yesterday and they are back on and look sweet!! The painters re-shot those pieces again due to some contamination in the first shoot. Automotivetouchup.com got me the paint in one week.

I also ordered up a new drivers seat bottom to replace the OEM one that was worn and had a tear in the seam.

Here is the link from eBay. $160 shipped. My color is Pewter/Grey. Not sure if he has other colors, but shipping was fast and packaged well. Everywhere else was asking $169 - $199. I stopped by the upholstery shop to see about new carpet and they wanted over $300 to replace the seat cover!!

Here is the installation link I used from The Seat Shop.
http://blog.theseatshop.com/blog/2012/01/16/chevy-driver-bottom/

Removal of the seat bottom on my 2006 LS Tahoe was pretty straight forward. I watched the video first, then again for installation as there are a few handy tricks to get the plastic track from the cover back onto the seat frame. It has to be folded over to stick it on the track. When you first look at it, you will scratch your head and say WTF?

Remove the plastic side plate holding the power control, remove 2 nuts in the front underneath, detach 4 power plugs and slide forward to get the rear 2 rubber plugs to pop out of the frame.

Remove the old seat cover carefully as the metal is very sharp. I wore gloves just to be sure. My foam was in good shape so I did not bother ordering a new piece.

With the new cover on, I reinstalled it on the frame and then took my time cutting the side to get the power control to fit. I cut little bits at a time, dry fit, then cut again until I got the absolute minimum cut out for the power control to fit. You have to cut thru the vinyl, then cut the foam as well. The foam does not just tear apart. I used a brand new square razor blade to have good control. In the video they have some massive shears. I finally got the minimum amount cut out to slide the power control in the opening, lined up the Torx head screws and tightened it up. Total removal and install time was about 1 hour as I took my time with the cuts to be sure I did not slice too much off.

Wow!! Looks and feels so good to have brand new leather on that seat.
 

Attachments

  • IMG_1769.jpg
    IMG_1769.jpg
    101.1 KB · Views: 118
  • IMG_1771.jpg
    IMG_1771.jpg
    101.7 KB · Views: 111
  • IMG_1770.jpg
    IMG_1770.jpg
    48 KB · Views: 116
  • IMG_1779.jpg
    IMG_1779.jpg
    61.3 KB · Views: 117
  • IMG_1781.jpg
    IMG_1781.jpg
    55.2 KB · Views: 109
Last edited:
OP
OP
Fosscore

Fosscore

Full Access Member
Joined
Apr 16, 2014
Posts
10,863
Reaction score
19,736
Front end color matched and a fresh wash.
 

Attachments

  • IMG_1797.jpg
    IMG_1797.jpg
    59.2 KB · Views: 92
  • IMG_1798.jpg
    IMG_1798.jpg
    61.1 KB · Views: 86
  • IMG_1799.jpg
    IMG_1799.jpg
    62 KB · Views: 93
OP
OP
Fosscore

Fosscore

Full Access Member
Joined
Apr 16, 2014
Posts
10,863
Reaction score
19,736
Old seat.
 

Attachments

  • IMG_1563.JPG
    IMG_1563.JPG
    83.3 KB · Views: 114
  • IMG_1564.JPG
    IMG_1564.JPG
    82.2 KB · Views: 106
  • IMG_1565.JPG
    IMG_1565.JPG
    86.3 KB · Views: 106
  • FullSizeRender.jpg
    FullSizeRender.jpg
    48.3 KB · Views: 105
OP
OP
Fosscore

Fosscore

Full Access Member
Joined
Apr 16, 2014
Posts
10,863
Reaction score
19,736
Cutting the seat.
 

Attachments

  • IMG_1748.jpg
    IMG_1748.jpg
    44.9 KB · Views: 134
  • IMG_1763.JPG
    IMG_1763.JPG
    81.2 KB · Views: 134
  • IMG_1764.JPG
    IMG_1764.JPG
    77.2 KB · Views: 136
  • IMG_1765.JPG
    IMG_1765.JPG
    80.1 KB · Views: 135
  • IMG_1768.JPG
    IMG_1768.JPG
    83.6 KB · Views: 132

tgui

Full Access Member
Joined
Feb 17, 2014
Posts
859
Reaction score
816
I need to do the same with my drivers seat. Yours looks fantastic.
 
OP
OP
Fosscore

Fosscore

Full Access Member
Joined
Apr 16, 2014
Posts
10,863
Reaction score
19,736
I need to do the same with my drivers seat. Yours looks fantastic.

Thanks. The fit is perfect. Immediate change and easy to do yourself for only the cost of the new seat cover.
 

Forum statistics

Threads
137,703
Posts
1,990,031
Members
102,698
Latest member
JamesinAbilene
Back
Top