OP
OP
Disclaimer: Links on this page pointing to Amazon, eBay and other sites may include affiliate code. If you click them and make a purchase, we may earn a small commission.

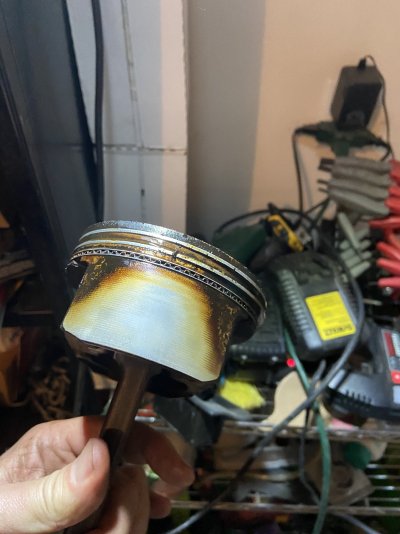
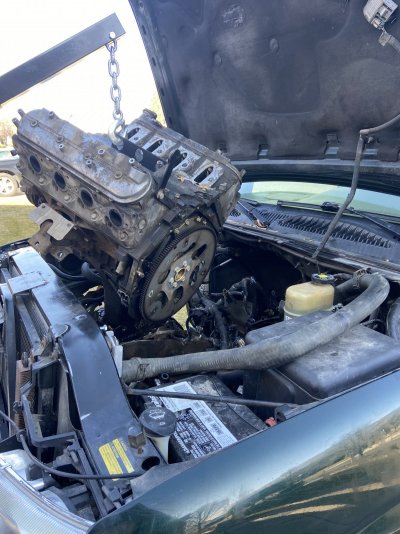
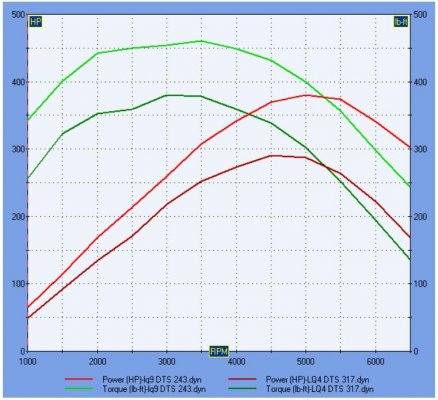
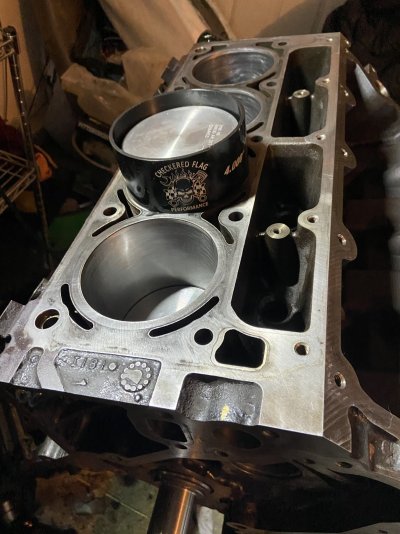
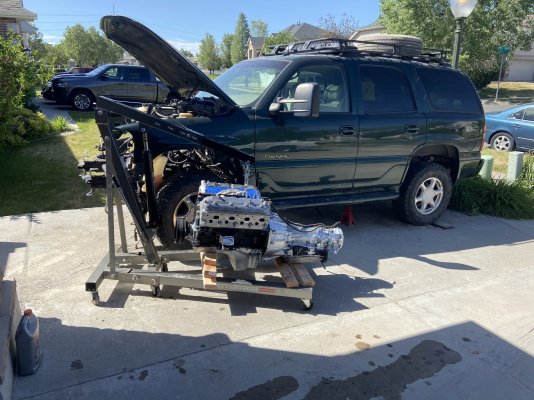
Rebuild is slow, my main and rod bearings are back ordered right now. I hope to get them next week to begin the re-build. I will document as best as possible. I am also struggling working in a non-heated garage (first world problems). Heating the block to get my measurements for clearances is a slow process when the ambiant temp is 30 degrees F. In the mean time I have been modeling my new setup with a program called DynoSim. The program is not perfect (i don't have a lot of faith in the absolute values of predicted HP and TQ) but gives a good comparison and relative changes on the same engine model. With my piston (LQ9/LS2) and Head (243) upgrade, cam change and headers, I am estimating an increase in torque of about 22% (85 ft/lbs) and an increase in horse power of about 31% (90 HP) over my old LQ4, see my plot below. I have modeled other truck torque cams and none offer any substantial gains or advantages over my Vinci cam choice. I have also modeled the 862 head on my "new" LQ9 and my simulations did not show any torque increase past 1500 rpm and it died off earlier than the 243 head. Given that switching to the 862 would increase my chance of detonation on pump gas (static compression about 11.7:1), I am keeping with the 243 heads (static compression of 11:1) for this setup.How is the rebuilt coming along? Can you post some pictures, TIA.
How long have you been waiting on the bearings? I have a new set for sale in the classifieds.Rebuild is slow, my main and rod bearings are back ordered right now. I hope to get them next week to begin the re-build. I will document as best as possible. I am also struggling working in a non-heated garage (first world problems). Heating the block to get my measurements for clearances is a slow process when the ambiant temp is 30 degrees F. In the mean time I have been modeling my new setup with a program called DynoSim. The program is not perfect (i don't have a lot of faith in the absolute values of predicted HP and TQ) but gives a good comparison and relative changes on the same engine model. With my piston (LQ9/LS2) and Head (243) upgrade, cam change and headers, I am estimating an increase in torque of about 22% (85 ft/lbs) and an increase in horse power of about 31% (90 HP) over my old LQ4, see my plot below. I have modeled other truck torque cams and none offer any substantial gains or advantages over my Vinci cam choice. I have also modeled the 862 head on my "new" LQ9 and my simulations did not show any torque increase past 1500 rpm and it died off earlier than the 243 head. Given that switching to the 862 would increase my chance of detonation on pump gas (static compression about 11.7:1), I am keeping with the 243 heads (static compression of 11:1) for this setup.
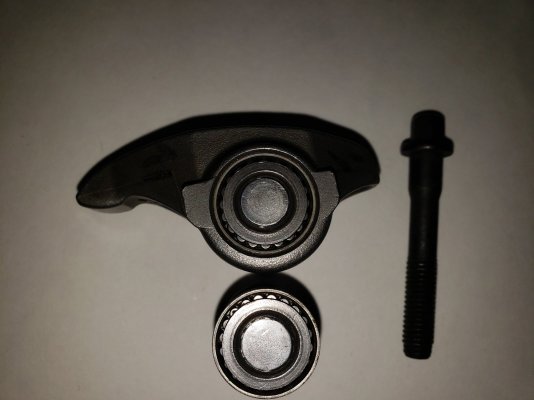
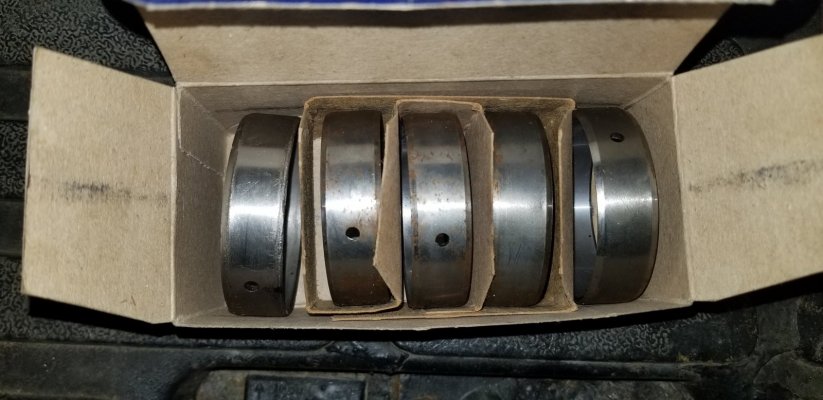
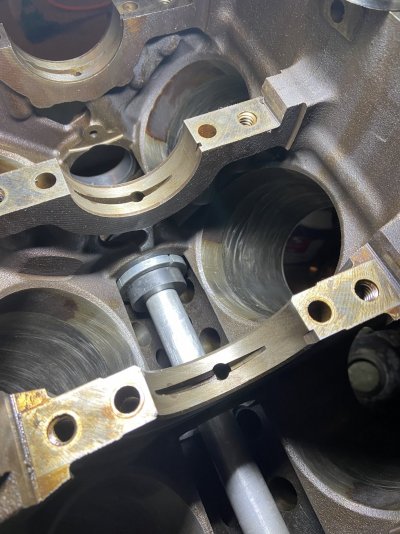
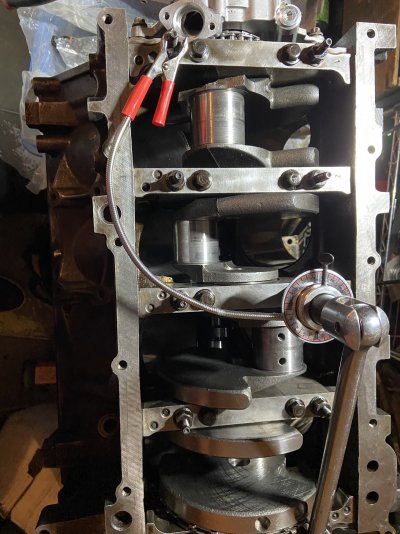
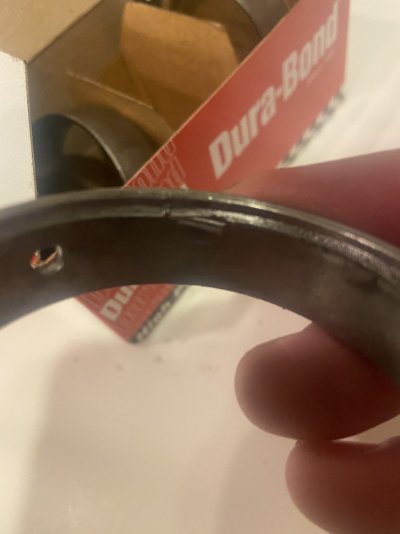
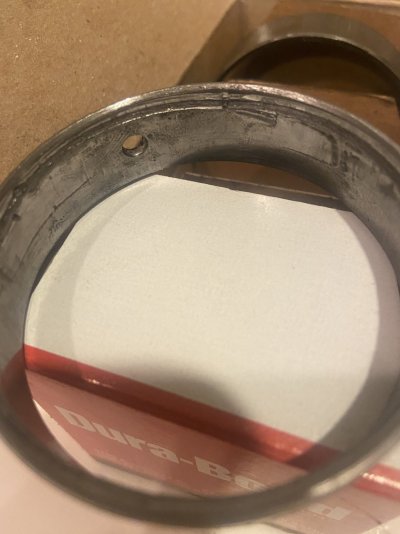
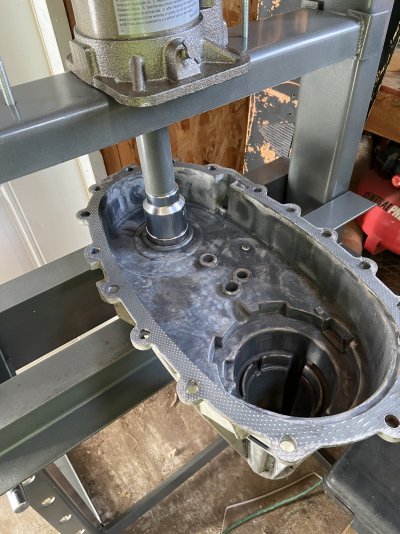
I appreciate the heads up Tony, I have not been waiting long on my bearings. There was a mix-up on my Christmas Eve delivery and I was not sent the correct rod and main Clevite bearing set. I have them in the mail back and the replacements will be shipped on Friday. I was just hoping to get started last week on the re-build, but alas I was slowed down. I am still targeting getting the engine completed in early Feb. I will then start on the transmission re-build and transfer case rebuild after that. I have my cam bearings in hand but I have not installed them yet as I want to heat up the block only once to room temperature to install my main and rod bearings at the same time as my cam bearings.How long have you been waiting on the bearings? I have a new set for sale in the classifieds.
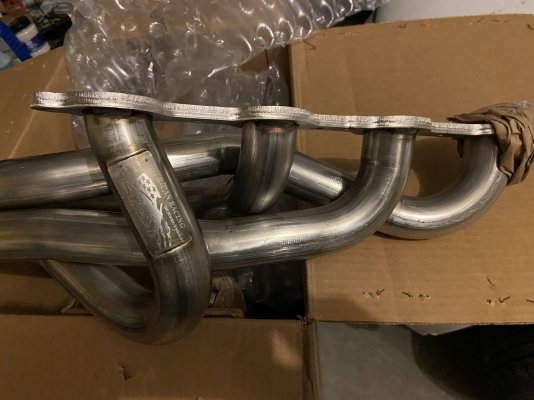
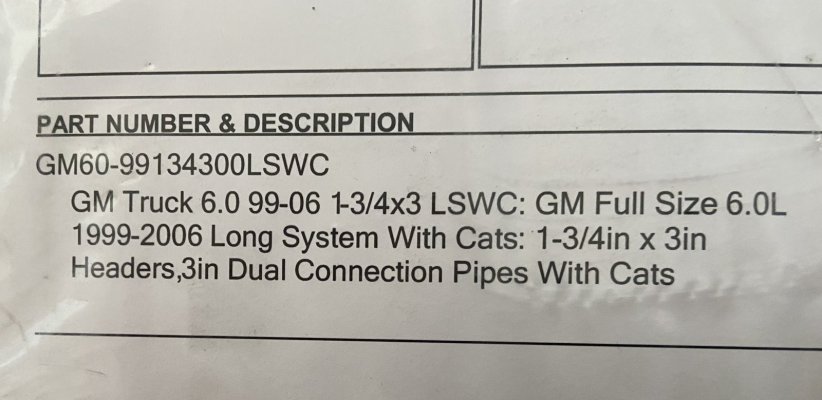
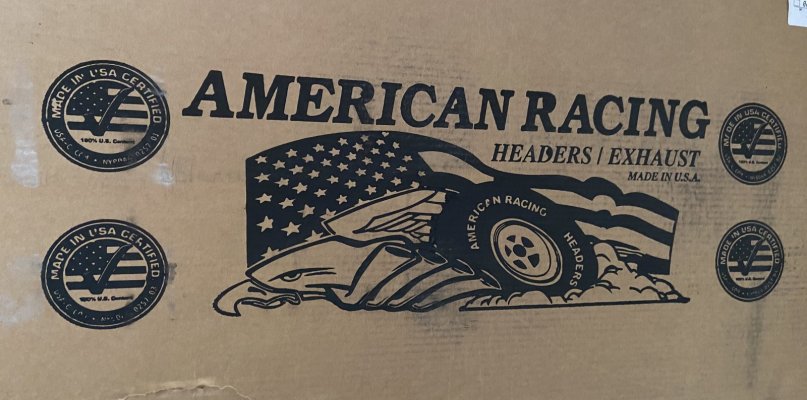
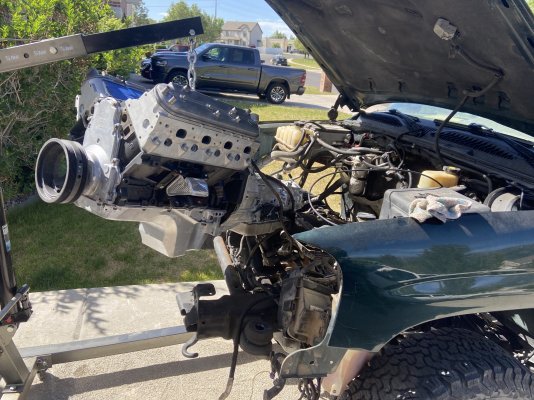
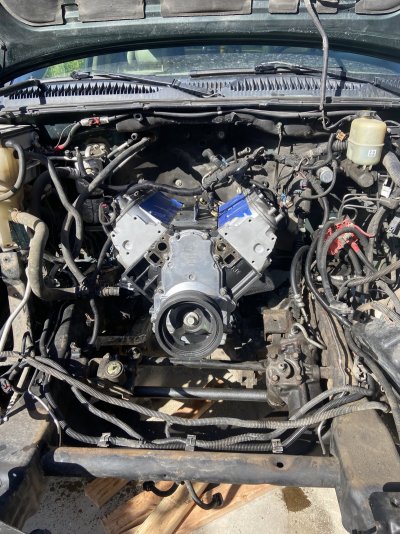
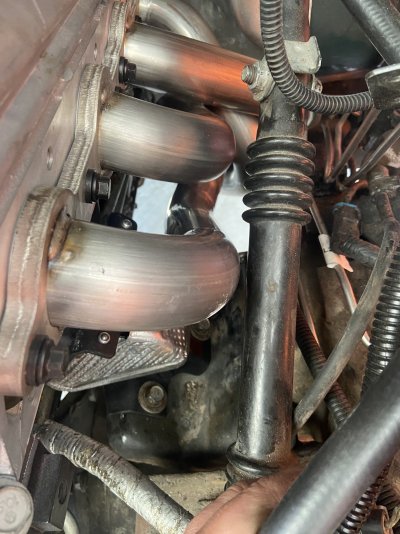
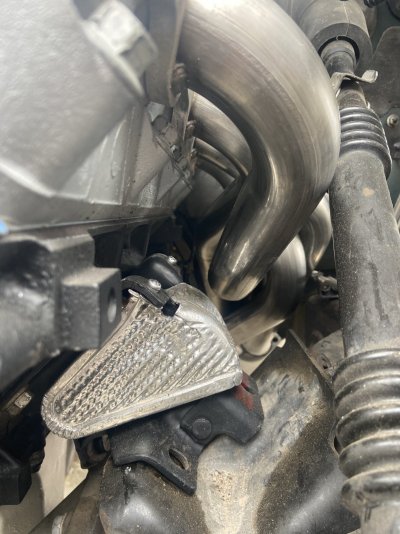
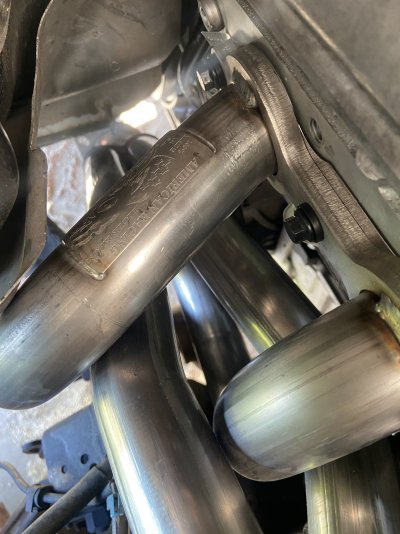
I have their headers on my 02 Denali and every time I have had to work on my trans or anything else under the truck I’m thankful for them. Not just for the way they fit but also for the ball and socket connectors on the midpipe sections which makes removing those parts fairly easy.Headers are installed. The figment of the American Race headers are near perfect.