2002 Denali Camping Build

Disclaimer: Links on this page pointing to Amazon, eBay and other sites may include affiliate code. If you click them and make a purchase, we may earn a small commission.

OP
OP
Buggdave

Buggdave

Full Access Member
Joined
Jul 26, 2015
Posts
103
Reaction score
235
Location
SLC , Utah
When installing my durations cam bearings, they had a chamfer that I did not account for. I did not have my install tool tight enough and scored the bearing beyond repair. Lesson learned, make sure your install tool is very tight prior to installing the cam bearings.
 

Attachments

  • 4BD72426-900C-4EA1-94CE-788BA48DDA2C.jpeg
    4BD72426-900C-4EA1-94CE-788BA48DDA2C.jpeg
    160.2 KB · Views: 7
  • 6C172F0F-1B48-448B-9619-551139DB02FC.jpeg
    6C172F0F-1B48-448B-9619-551139DB02FC.jpeg
    219.8 KB · Views: 6
OP
OP
Buggdave

Buggdave

Full Access Member
Joined
Jul 26, 2015
Posts
103
Reaction score
235
Location
SLC , Utah
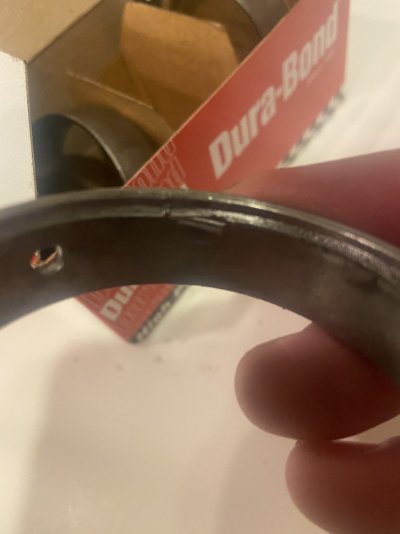
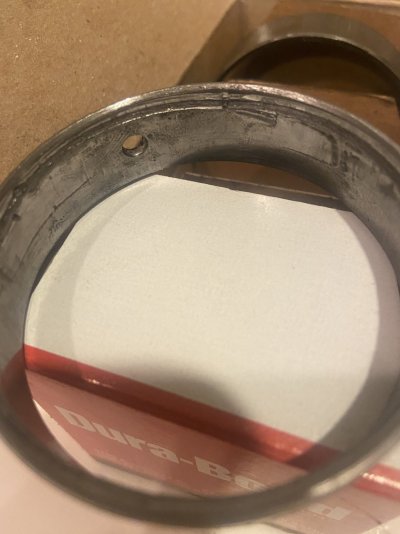
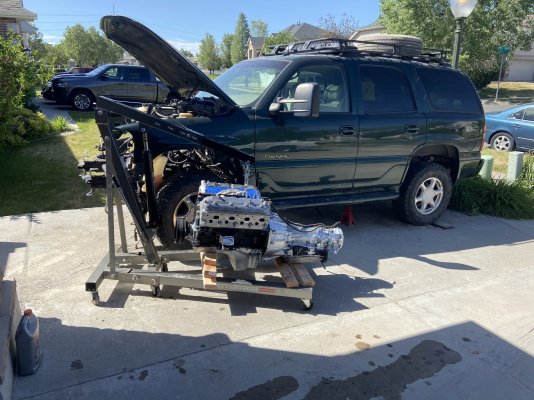
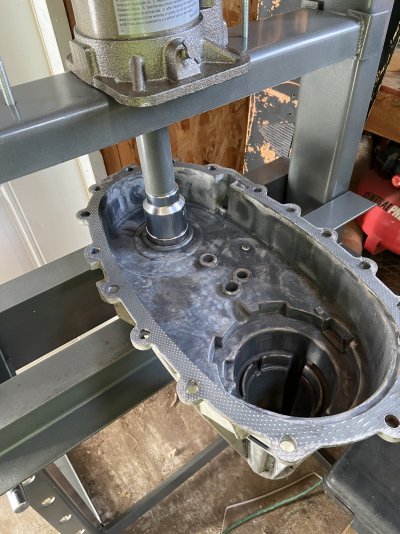
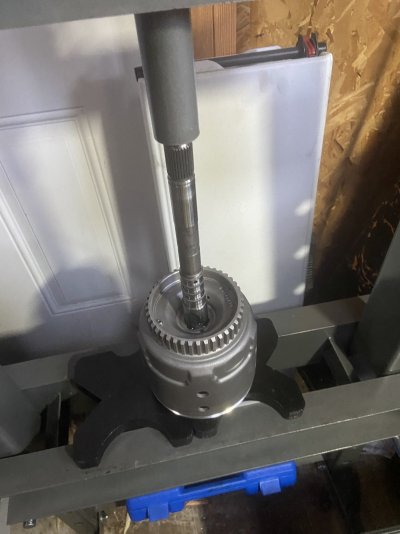
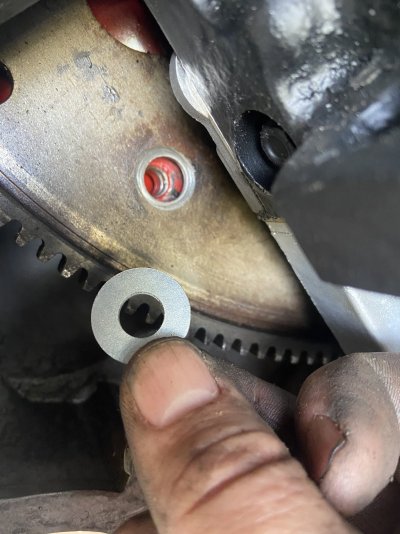
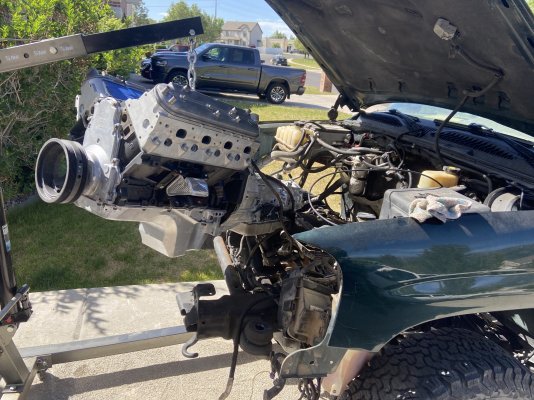
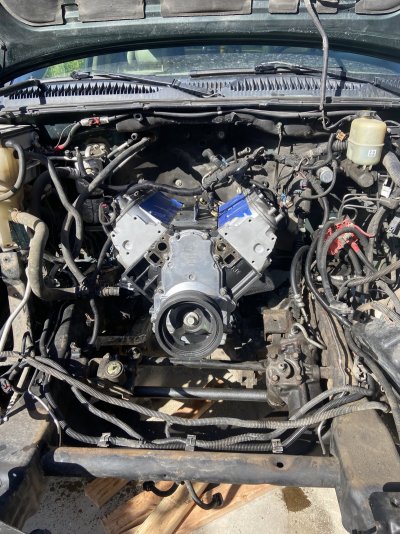
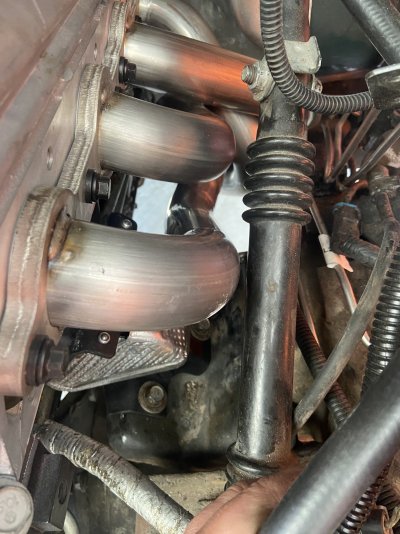
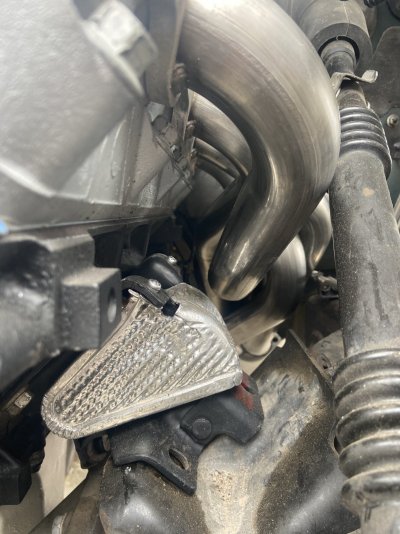
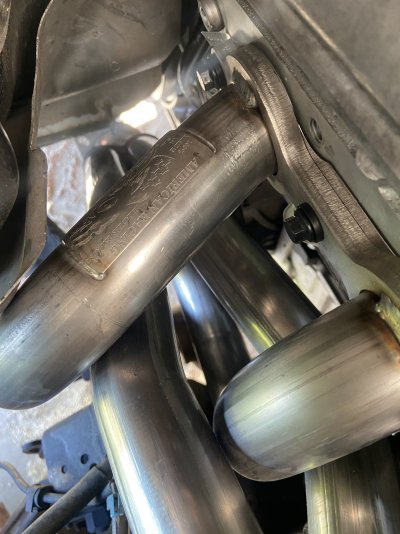
It has been a while since I updated my build. It has been on hold though most of winter due to other projects that took priority. I have been slowly working on when time has allowed. I finally finished assembling the engine during the winter. The final specs of the engine are 6.0 with New OEM LQ9/Ls2 pistons, OEM floating pin rods, New OEM LS2 balanced crank, clevite crank and rod bearings, Moly Rings, Vinci max torque cam shaft (VHL556), Vinci dual valve springs, Vinci LS2 stay Lifters, OEM Lifter Trays, Vinci Moly Pushrods, Hand Ported 243 heads with LS2 head gasket (0.05 thick). This has netted a CR or 11.1:1. I have a TBSS intake and 87mm throttle body with 36LBS/hr injectors from a flex fuel Tahoe that I have rebuilt, though not flow tested. Blackbear has sent me a new tune to get the engine running when I am at that point. I did install a new melling oil pump (standard flow) and a LS2 timing chain and gear. New OEM engine mounts and trans mount as well.
 

Attachments

  • 6916395F-CD3C-4667-9B01-4B26EA7AB2E9.jpeg
    6916395F-CD3C-4667-9B01-4B26EA7AB2E9.jpeg
    427 KB · Views: 4
OP
OP
Buggdave

Buggdave

Full Access Member
Joined
Jul 26, 2015
Posts
103
Reaction score
235
Location
SLC , Utah
After finishing the engine, i rebuilt my NP149 transfer case with all new bearings and a Merchant Auto case saver for the pump. I installed all new bushings as well, using my press to install them.
 

Attachments

  • 01EA8158-2B03-4B85-BD99-02DA71C74F16.jpeg
    01EA8158-2B03-4B85-BD99-02DA71C74F16.jpeg
    389.1 KB · Views: 4
  • 5E82BB10-2598-4E6E-8931-843E8BE67D4D.jpeg
    5E82BB10-2598-4E6E-8931-843E8BE67D4D.jpeg
    273.5 KB · Views: 4
  • A6606EB2-AFEE-4B7D-9F1D-6F845977B3E8.jpeg
    A6606EB2-AFEE-4B7D-9F1D-6F845977B3E8.jpeg
    360.6 KB · Views: 4
  • E5B185BC-DD27-4775-B0C3-4C7371B79DE4.jpeg
    E5B185BC-DD27-4775-B0C3-4C7371B79DE4.jpeg
    333.6 KB · Views: 4
OP
OP
Buggdave

Buggdave

Full Access Member
Joined
Jul 26, 2015
Posts
103
Reaction score
235
Location
SLC , Utah
I have just finished rebuilding my transmission, 4l65E as well. The specs on this rebuild are a little long so bear with me.
CASE:
Removed factory 3rd accumulator, install Superior K0136 directional switch valve
Block 4th accumulator with 5/16 set screw, remove piston and spring
Remove #6 checkball (overrun)
Remove low/reverse encapsulated check ball
24219937 2nd accumulator housing, aluminum 2nd accumulator piston with hardened pin, superior red spring, washer, piston, pink spring? Maybe too harsh
End Play - 0.015

2-4 SERVO:
2nd servo - Corvette servo
Sonnax 77767K 4th servo
Sonnax 77787-02K servo pin kit
Superior red 2nd cushion spring inside factory cushion spring with spacer
Alto extra wide red 2-4 band ( .070 band clearance) - Alto Red

VALVE BODY:
3-2 control valve blocked inboard
3-2 downshift valve blocked inboard
Central valve bodies .001" oversized AFL valve
3-2 spring inside factory AFL spring
Superior purple 1-2 accumulator spring
Sonnax 77754-35K forward & reverse abuse valve kits
Sonnax 77964-08K o-ringed end plugs

(I have vacuumed tested the valve body and everything is above 20hg)

OEM seperator plate w/ steel reinforcement corner plate
Orifices drilled to:
Band release - 0.96
1-2 shift -096"
2-3 shift - 0.96
3-4 shift - 0.96
Low/reverse - 0.96

Borg Warner EPC solenoid (early style)
Rostra wiring harness (early style)
Rostra pressure switch manifold
Superior torlon check balls, serpator plate peened to except check balls
AC Delco A & B shift solenoids
Rostra TCC PWM solenoid
Rostra 3-2 Shift solenoid
Aluminum forward accumulator piston

PUMP:
Wide bronze inner and outer stator bushings -
13 vane rotor
13 vane slide w/ new pin
hardened retaining rings
Sonnax 0.490 Oringed boost valve
Superior blue regulator springs -
Superior power-valve for TCC

(I have also vacuum tested the pump and everything was above 20hg)

LOWER UNIT OF CASE:
Factory lower 5 pinion carrier
Borg warner HD low/reverse roller clutch (late design) - 28571AM
Borg Warner low/reverse clutches -
Raybestos "turbulator" steels
Sonnax 74678S-HD billet output shaft AWD

UPPER UNIT OF CASE:
GM factory 5 pinion upper carrier
Sonnax 77010-01 wide sun gear bushing
Sonnax 77749-02K smart shell
reaction shaft kit - GM 19356510

INPUT DRUM:
4L79 custom factory input drum
OEM 4l65E input shaft (non reluctor 300MM)
Sonnax 77733-51K reinforcement sleeve kit with billet overrun piston
Seal aftermarket product Hi-per blue molded 3-4 and forward pistons
Borg Warner overrun clutches -
Raybestos overrun steels
Borg Warner forward clutches -
Raybestos forward steels
4L79 custom 3-4 apply plate .180"
8 Exedy custom wide 3-4 clutches .062"
8 4L79 custom wide 3-4 steels .072"
Sonnax 74574-HD sprag clutch hub -
Borg Warner 29 element dual cage forward sprag - 29236AM

REVERSE INPUT DRUM:
AC Delco reverse input drum
Borg Warner clutches - clearance 0.058
Raybestos "turbulator " steels
Replace outer bushing to except roller bearing to replace plastic thrust washer
 
OP
OP
Buggdave

Buggdave

Full Access Member
Joined
Jul 26, 2015
Posts
103
Reaction score
235
Location
SLC , Utah
The transmission rebuild was my first and using Transmission Bench videos was a life’s saver. I also used LS1tech as my main source of reference material. There are some very smart individuals over there. My build ended up like a perfromabuilt Black edition, I know way over built but I wanted this 4l65 to last since I am not upgrading to a 4l80.
 

Attachments

  • 40ED16FB-C844-4CC2-BEFE-68B8CB68927A.jpeg
    40ED16FB-C844-4CC2-BEFE-68B8CB68927A.jpeg
    349.1 KB · Views: 2
  • 272163DE-89AE-4A39-9054-BC072C5DB062.jpeg
    272163DE-89AE-4A39-9054-BC072C5DB062.jpeg
    226.3 KB · Views: 2
  • 987CD92C-A7FC-4A75-ACC2-D4C7910FC797.jpeg
    987CD92C-A7FC-4A75-ACC2-D4C7910FC797.jpeg
    575.8 KB · Views: 2
  • 62835AD5-D180-46DA-A578-F6BE121ED426.jpeg
    62835AD5-D180-46DA-A578-F6BE121ED426.jpeg
    537.2 KB · Views: 2
  • 5CDA3496-221A-4636-AECC-66894C9B18C4.jpeg
    5CDA3496-221A-4636-AECC-66894C9B18C4.jpeg
    501 KB · Views: 2
OP
OP
Buggdave

Buggdave

Full Access Member
Joined
Jul 26, 2015
Posts
103
Reaction score
235
Location
SLC , Utah
I am using a Hughes Performance XTM torque converter with a stall around 1800. I did have to install some shines to get my converter clearance to 0.160”
 

Attachments

  • 1D7517EC-8077-42F6-8892-087E0E3D138B.jpeg
    1D7517EC-8077-42F6-8892-087E0E3D138B.jpeg
    294.8 KB · Views: 1
OP
OP
Buggdave

Buggdave

Full Access Member
Joined
Jul 26, 2015
Posts
103
Reaction score
235
Location
SLC , Utah
While my engine and transmission is out I am replacing all of my brake lines with SS lines. I found a Dorman prebent kit that I have been installing. This is a pain but my original lines were rusting and I was worried. I have updated the brake system to use a Hydroboost and with the added line pressure, I wanted to be sure I did not have a blow out. Pictures will follow. These lines complement the SS braided lines I installed earlier when I updated my calipers to NNBS style.
 
OP
OP
Buggdave

Buggdave

Full Access Member
Joined
Jul 26, 2015
Posts
103
Reaction score
235
Location
SLC , Utah
This is where I am at currently, I removed the front core support to make installing the engine easier and I will say it was worth the extra effort. I know have the engine and transmission sitting in the engine bay as of last night.
 

Attachments

  • 268DE467-0255-4C0C-AAAE-A1BA1D5C83C0.jpeg
    268DE467-0255-4C0C-AAAE-A1BA1D5C83C0.jpeg
    453.9 KB · Views: 7
  • 9A9E890B-9346-4D87-BF80-64FA82CDB60E.jpeg
    9A9E890B-9346-4D87-BF80-64FA82CDB60E.jpeg
    535.6 KB · Views: 6
OP
OP
Buggdave

Buggdave

Full Access Member
Joined
Jul 26, 2015
Posts
103
Reaction score
235
Location
SLC , Utah
Headers are installed. The figment of the American Race headers are near perfect.
 

Attachments

  • BFCA0F31-9C5F-4D8F-B9B7-3A0B359C4971.jpeg
    BFCA0F31-9C5F-4D8F-B9B7-3A0B359C4971.jpeg
    339.5 KB · Views: 3
  • AE03454D-C18A-4D8D-A890-747A6649B3F5.jpeg
    AE03454D-C18A-4D8D-A890-747A6649B3F5.jpeg
    319.2 KB · Views: 3
  • ED3A5D49-95D3-4986-A9D1-93FE4685C98F.jpeg
    ED3A5D49-95D3-4986-A9D1-93FE4685C98F.jpeg
    297.1 KB · Views: 3

Rocket Man

Mark
Supporting Member
Joined
Dec 25, 2014
Posts
25,966
Reaction score
50,660
Location
Oregon
Headers are installed. The figment of the American Race headers are near perfect.
I have their headers on my 02 Denali and every time I have had to work on my trans or anything else under the truck I’m thankful for them. Not just for the way they fit but also for the ball and socket connectors on the midpipe sections which makes removing those parts fairly easy.
 

Forum statistics

Threads
129,220
Posts
1,812,326
Members
92,321
Latest member
rick3645
Top