Project Workshop's offroad adventure mobile

Disclaimer: Links on this page pointing to Amazon, eBay and other sites may include affiliate code. If you click them and make a purchase, we may earn a small commission.

Project Workshop

Supporting Member
Joined
Nov 17, 2021
Posts
55
Reaction score
145
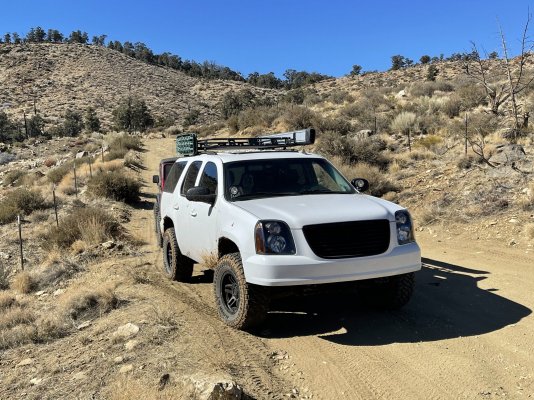
Hi everyone! My goal with this vehicle is to build something that can comfortably take my family out on our weekend adventures, but also provide an introduction to offroad exploration with my kids. I grew up taking offroad/dirt bike trips to the deserts and mountains of Southern California, and hope to make the same memories with my kids.

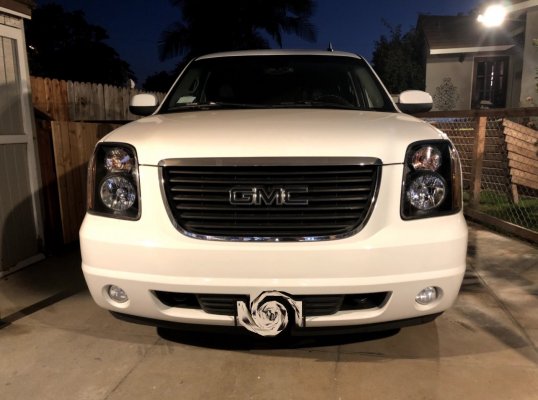
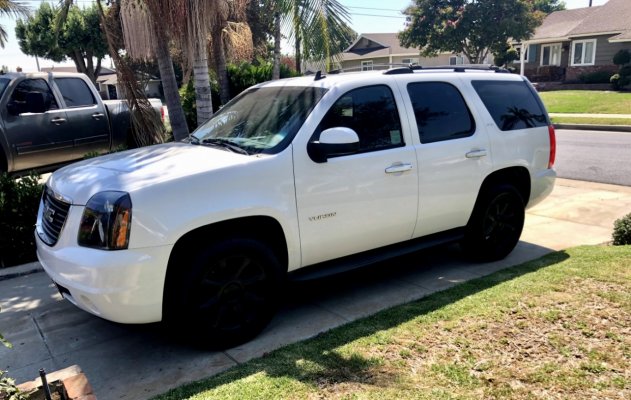
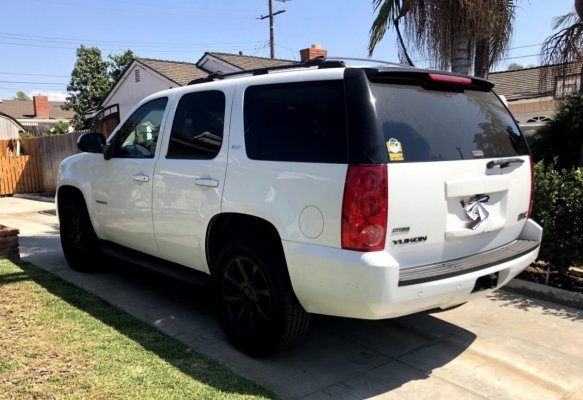
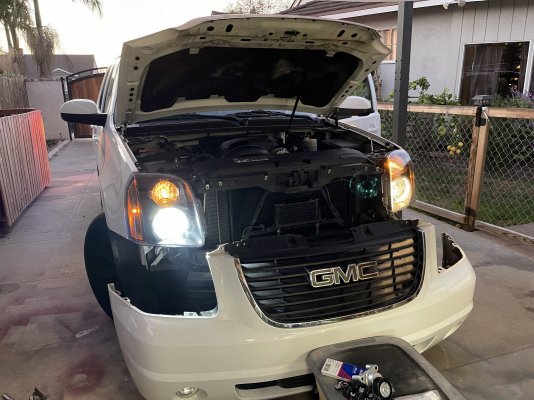
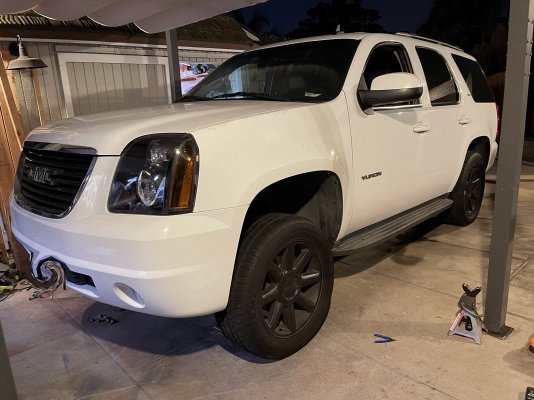
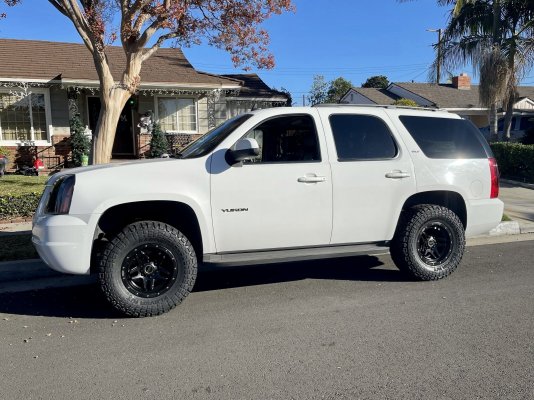
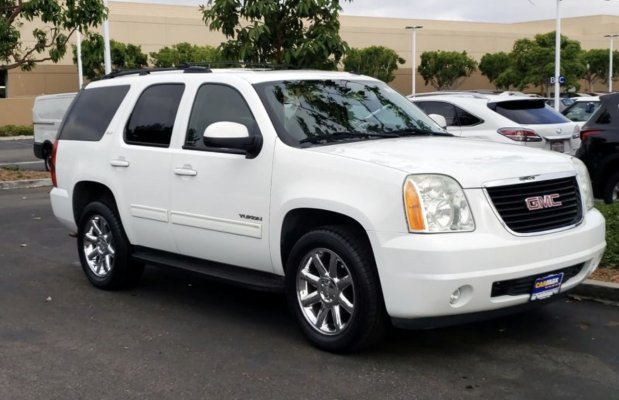
I picked this vehicle up from CarMax shortly after COVID lockdown. It is a well taken care of 2009 GMC Yukon SLT that had 116k miles. The only issue at the time of purchase was a chip in the windshield that was discovered after the vehicle was transported to our nearby CarMax. After some negotiation CarMax replaced the windshield.

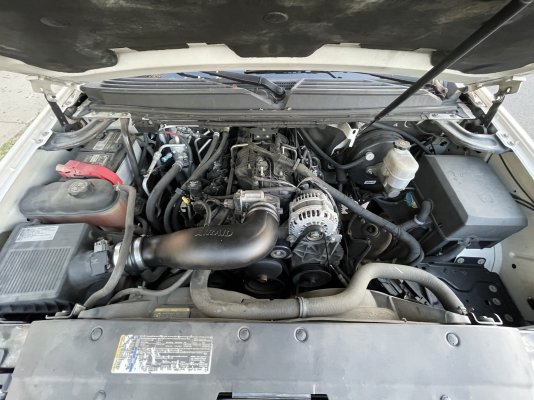
One month after the purchase I received a warning light and an electrical issue notification. The battery checked out good and after doing some digging replaced the alternator with the OEM 160 amp GM alternator.
 

Attachments

  • A799CD04-5AFC-4B45-927B-90A5693DBE11.jpeg
    A799CD04-5AFC-4B45-927B-90A5693DBE11.jpeg
    765.6 KB · Views: 25
  • A69ECB84-27A2-4E00-97DA-8443F46F5C21.jpeg
    A69ECB84-27A2-4E00-97DA-8443F46F5C21.jpeg
    582.5 KB · Views: 17
Last edited:
OP
OP
Project Workshop

Project Workshop

Supporting Member
Joined
Nov 17, 2021
Posts
55
Reaction score
145
When I purchased this vehicle the only thing I wasn’t in love with was the front end. I didn’t hate it, but felt with a little love the truck could look a little less cheerful. I vinyl wrapped the GMC emblem and swapped the headlights with some oem style black housing headlights.
 

Attachments

  • 8AA23611-618C-4984-8229-D83FC9C848C3.jpeg
    8AA23611-618C-4984-8229-D83FC9C848C3.jpeg
    839.8 KB · Views: 15
  • 2E6CD56F-3E38-48C8-BBDC-544014263FF1.jpeg
    2E6CD56F-3E38-48C8-BBDC-544014263FF1.jpeg
    249.9 KB · Views: 14
OP
OP
Project Workshop

Project Workshop

Supporting Member
Joined
Nov 17, 2021
Posts
55
Reaction score
145
Next up was the wheels. This was by no means a long term solution, but I was not a fan of the chrome 20’s. A few cans of Plastidip did the trick and came out looking better than I had anticipated. While I was at, I plastipped the rear badges as well. Left the side emblems alone as the plan was to remove them.
 

Attachments

  • A916848A-C44D-4F87-8DBE-AD64977E90CD.jpeg
    A916848A-C44D-4F87-8DBE-AD64977E90CD.jpeg
    406.9 KB · Views: 16
  • D9034EBD-3CFD-4A4B-8D90-633EB9BA46B4.jpeg
    D9034EBD-3CFD-4A4B-8D90-633EB9BA46B4.jpeg
    287 KB · Views: 16
Last edited:
OP
OP
Project Workshop

Project Workshop

Supporting Member
Joined
Nov 17, 2021
Posts
55
Reaction score
145
Next up was some maintenance. I replaced the spark plugs, wires, and serpentine belt.

I was going to only replace the air filter but then discovered this forum . I then ordered an AEM Dryflow filter and Airaid MIT tube. Thank you for anyone who has recommended this combo in the forum over the years, the sound makes me happy every time I get on the throttle.
 

Attachments

  • B7F9E2C0-E000-4EEC-BBCF-CEF6D9A679DF.jpeg
    B7F9E2C0-E000-4EEC-BBCF-CEF6D9A679DF.jpeg
    328.4 KB · Views: 13
  • 99689994-B54C-4BD2-B23A-AD9AA17412D1.jpeg
    99689994-B54C-4BD2-B23A-AD9AA17412D1.jpeg
    780.4 KB · Views: 12
OP
OP
Project Workshop

Project Workshop

Supporting Member
Joined
Nov 17, 2021
Posts
55
Reaction score
145
Now it was time to address the headlight bulbs. I have done HID conversions in the past, but was excited to try LED bulbs this time. I ordered a set of Sealight headlight and fog light bulbs off of Amazon and got to work.

I have been extremely impressed with the LED’s thus far. No flickering, and much better visibility at night.

I had ordered the leveling kit at this point so I took the opportunity to remove the factory air dam as well.
 

Attachments

  • D38F1FA8-78C0-4EA0-B02B-E253E478F65A.jpeg
    D38F1FA8-78C0-4EA0-B02B-E253E478F65A.jpeg
    373.5 KB · Views: 14
  • 005753C1-2671-40C2-BAC8-0C07A4F75E06.jpeg
    005753C1-2671-40C2-BAC8-0C07A4F75E06.jpeg
    180.9 KB · Views: 13
OP
OP
Project Workshop

Project Workshop

Supporting Member
Joined
Nov 17, 2021
Posts
55
Reaction score
145
Now we are at present day and the adventure of the Cognito Motorsports leveling kit install. I ordered the 3” Performance kit that includes Fox 2.0’s and Cognito’s UCA.

First off this kit looks great, I was a kid on Christmas when the boxes arrived! In addition to the Cognito components I ordered a set of OEM lower arms to replace the tired factory lowers, and a set of Kryptonite’s heavy duty tie rod ends. I was going to go with factory rod ends, but scored a great deal on Used like new Kryptonite rods through Amazon Warehouse.

I apologize, I forgot to take a picture of the kit components post install, but will be sure to do that to provide a side by side with the old crusty picture here.
 

Attachments

  • 4829A768-46E5-4D7C-B7DA-C92A13EA2667.jpeg
    4829A768-46E5-4D7C-B7DA-C92A13EA2667.jpeg
    331 KB · Views: 22
  • EC8DF44F-FD3D-4918-B27F-9970DE4B9AAD.jpeg
    EC8DF44F-FD3D-4918-B27F-9970DE4B9AAD.jpeg
    576.7 KB · Views: 22
  • E88D1F11-5B46-46F1-BBDB-D22B5B344745.jpeg
    E88D1F11-5B46-46F1-BBDB-D22B5B344745.jpeg
    642.9 KB · Views: 22
  • 8D1E3936-6782-40BA-9A06-A79F00EAA477.jpeg
    8D1E3936-6782-40BA-9A06-A79F00EAA477.jpeg
    650.6 KB · Views: 22
  • 7292F549-6A1A-49A5-AA81-66438EB6BE21.jpeg
    7292F549-6A1A-49A5-AA81-66438EB6BE21.jpeg
    423.6 KB · Views: 20
Last edited:
OP
OP
Project Workshop

Project Workshop

Supporting Member
Joined
Nov 17, 2021
Posts
55
Reaction score
145
Everything went together very smoothly on the Cognito install. The directions were very easy to follow and and I made sure to check and double check my work as I went. Once everything was buttoned up I reinstalled the wheels and tires, set her down, and…. Found I was pointing toward the moon .

The ride was insanely rough as you can imagine. For whatever reason the shocks shipped with the preload set a bit tight. As they sat there was less than 1/4” of droop and Cognito indicated the magic number to be 2” with this kit. After speaking with rep’s from Fox and Cognito I took the truck to a local mechanic to have the preload adjusted as I don’t have a press. What I was told by Fox is that each two turns on the preload ring is roughly 1/4” adjustment on height.

We landed on 21 turns down and boy what a difference that made! Ride quality is great now and we have over 3” of droop. I’m going to wait to see how they settle over the next few months, and may raise them a little in the future to accommodate future mods and add a small spacer in the rear.

I also had the shop install the new wheels/tires and do an alignment. I got a great deal from 4 Wheel Parts on their factory 17’s and a set of Kenda Klever 33” R/T’s from Walmart. These tires are very quiet on road and I can’t wait to see how they perform in the dirt!

Had to do a bit of plastic trimming for steering clearance as the front is sitting a bit lower than Cognito intends, but I prefer the lower stance.
 

Attachments

  • F9D9145B-9A7E-4C89-90A3-F2026F1006EE.jpeg
    F9D9145B-9A7E-4C89-90A3-F2026F1006EE.jpeg
    829.4 KB · Views: 23
  • 27E38319-3AF0-4C56-8C75-92B738292ADE.jpeg
    27E38319-3AF0-4C56-8C75-92B738292ADE.jpeg
    249.5 KB · Views: 23
  • 7A989485-9F53-419C-83D0-E4B4D7CD4F3D.jpeg
    7A989485-9F53-419C-83D0-E4B4D7CD4F3D.jpeg
    313.4 KB · Views: 25
  • CC406A33-D084-44DA-9252-4803090303DE.jpeg
    CC406A33-D084-44DA-9252-4803090303DE.jpeg
    521 KB · Views: 25
Top