Rocket Man's 02 Denali Build Thread AKA "THE BEAST"

Disclaimer: Links on this page pointing to Amazon, eBay and other sites may include affiliate code. If you click them and make a purchase, we may earn a small commission.

OP
OP
Rocket Man

Rocket Man

Mark
Supporting Member
Joined
Dec 25, 2014
Posts
26,679
Reaction score
52,954
Location
Oregon
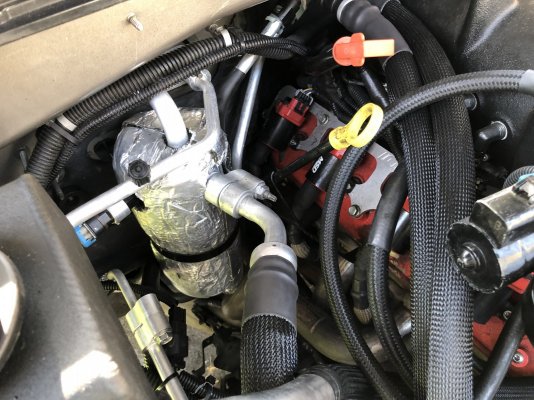
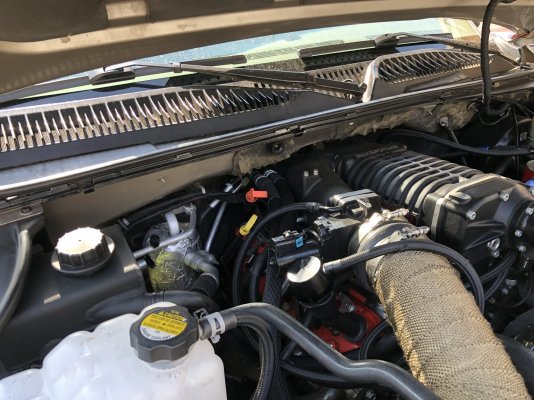
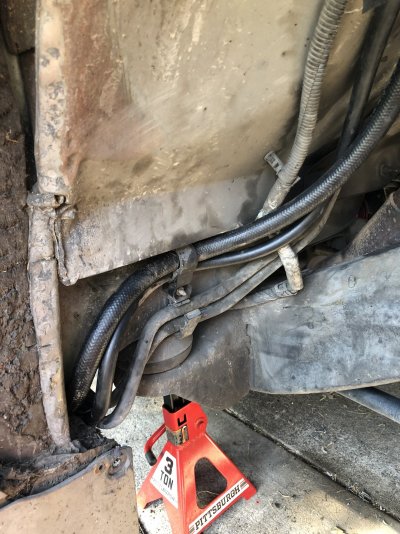
I got the rear lines yesterday and installed everything this morning. I highly recommend that rear line kit from Auto Cooling Solutions. Fit was perfect and they went right back where the hard lines were only they were easy to route because they’re flexible. The mounting clips snapped closed on them perfectly. The smaller line had about 6” extra so I just put a small loopy thing by the frame along the side.

Everything fit perfectly, and I took it to my buddy’s shop. After 2.7 lbs of Freon was put in, it’s blowing nice and cold front and rear.

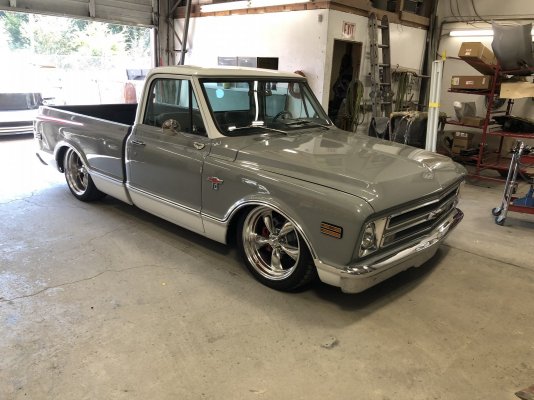
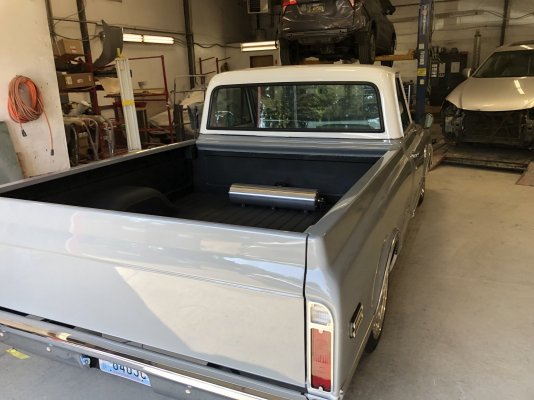
And of course there was this nice bagged C10 in there for some touch up.
 

Attachments

  • DFCDBE10-5651-49E0-80F3-67A199E370D2.jpeg
    DFCDBE10-5651-49E0-80F3-67A199E370D2.jpeg
    385.4 KB · Views: 46
  • EC8A4F11-089E-4282-B8DC-CAB761BD0A9A.jpeg
    EC8A4F11-089E-4282-B8DC-CAB761BD0A9A.jpeg
    371.8 KB · Views: 42
  • B3FA4059-402E-4A8B-B162-A272B56AA16D.jpeg
    B3FA4059-402E-4A8B-B162-A272B56AA16D.jpeg
    333 KB · Views: 39
  • 8033B007-17B0-41AA-A2AB-1311E092A1C1.jpeg
    8033B007-17B0-41AA-A2AB-1311E092A1C1.jpeg
    246.3 KB · Views: 48
  • 467ED009-4CE7-4D01-A9C9-6CD20315C86B.jpeg
    467ED009-4CE7-4D01-A9C9-6CD20315C86B.jpeg
    388.7 KB · Views: 44

RAMurphy

Bob
Military
Joined
Oct 5, 2011
Posts
1,450
Reaction score
4,649
Location
S. Maryland
The new expansion valve didn’t come with instructions nor was alldata much use. There were 2 o-rings in there so I removed the old one to see where they go. Alldata said to reuse the packing around the thermal thing so I removed it from the old one and discovered a lot of rust around that thing. It may have been faulty. Not sure why it was so rusty.
I'm so glad I didn't need to go through all that rear ac crap you had to go through. I learned a lot though. Great job Mark.
 

RAMurphy

Bob
Military
Joined
Oct 5, 2011
Posts
1,450
Reaction score
4,649
Location
S. Maryland
I got the rear lines yesterday and installed everything this morning. I highly recommend that rear line kit from Auto Cooling Solutions. Fit was perfect and they went right back where the hard lines were only they were easy to route because they’re flexible. The mounting clips snapped closed on them perfectly. The smaller line had about 6” extra so I just put a small loopy thing by the frame along the side.

Everything fit perfectly, and I took it to my buddy’s shop. After 2.7 lbs of Freon was put in, it’s blowing nice and cold front and rear.

And of course there was this nice bagged C10 in there for some touch up.
Awesome job knocking down the numerous issues and obstacles and getting this done.
 

89Suburban

Bull in the china shop
Space X Supporting Member
Joined
Jan 10, 2013
Posts
18,075
Reaction score
51,445
Location
SE PA
I got the rear lines yesterday and installed everything this morning. I highly recommend that rear line kit from Auto Cooling Solutions. Fit was perfect and they went right back where the hard lines were only they were easy to route because they’re flexible. The mounting clips snapped closed on them perfectly. The smaller line had about 6” extra so I just put a small loopy thing by the frame along the side.

Everything fit perfectly, and I took it to my buddy’s shop. After 2.7 lbs of Freon was put in, it’s blowing nice and cold front and rear.

And of course there was this nice bagged C10 in there for some touch up.
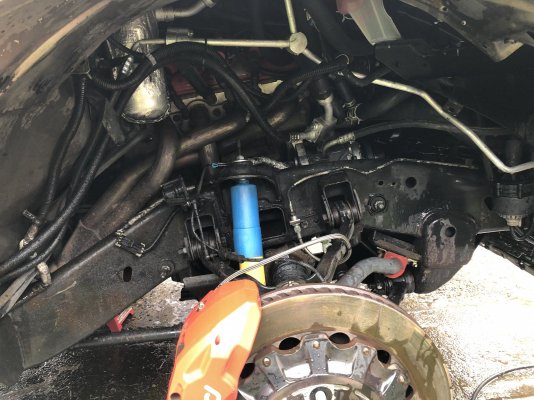
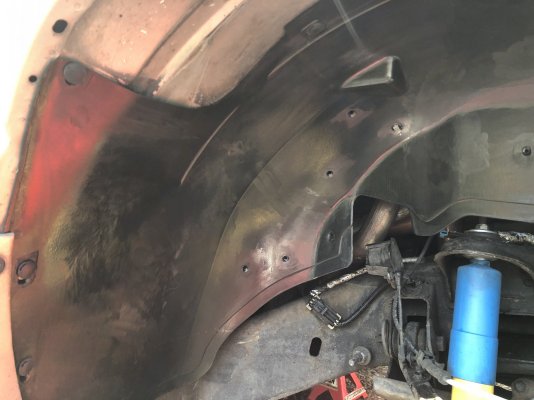
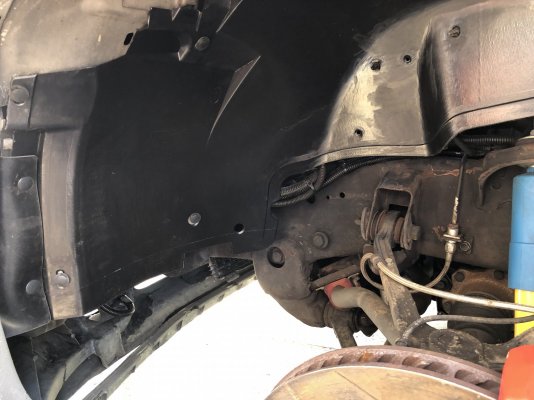
What the hell is all that shÌt in your fender there? Mud?
 

Fless

Staff member
Moderator
Joined
Apr 2, 2017
Posts
16,639
Reaction score
34,442
Location
People's Republic of Colorado
I got the rear lines yesterday and installed everything this morning. I highly recommend that rear line kit from Auto Cooling Solutions. Fit was perfect and they went right back where the hard lines were only they were easy to route because they’re flexible. The mounting clips snapped closed on them perfectly. The smaller line had about 6” extra so I just put a small loopy thing by the frame along the side.

Everything fit perfectly, and I took it to my buddy’s shop. After 2.7 lbs of Freon was put in, it’s blowing nice and cold front and rear.

And of course there was this nice bagged C10 in there for some touch up.

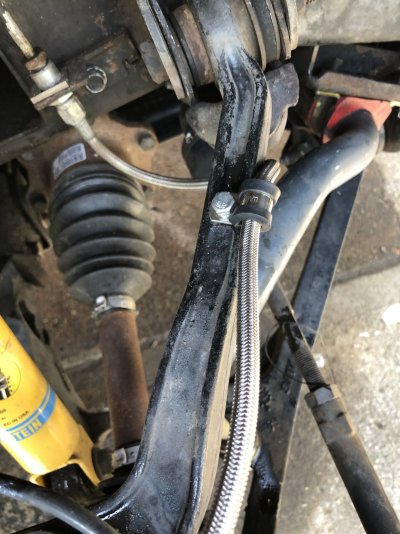
You probably did already, but don't forget to snap that clip back in.

467ED009-4CE7-4D01-A9C9-6CD20315C86B.jpeg
 
OP
OP
Rocket Man

Rocket Man

Mark
Supporting Member
Joined
Dec 25, 2014
Posts
26,679
Reaction score
52,954
Location
Oregon
What the hell is all that shÌt in your fender there? Mud?
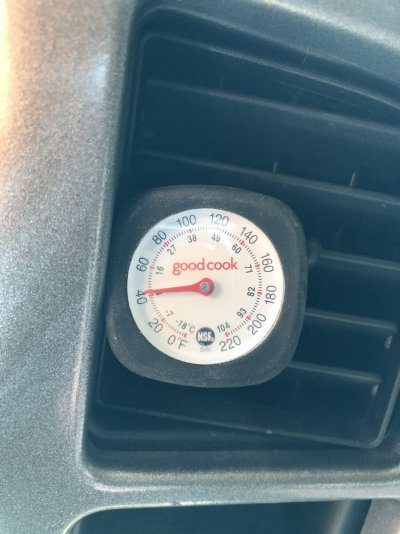
Yep. From having cut up fender liners. Pressure washed all 4 fender wells today, tidied up some wires, snapped that clip in and installed the new liners. Also sprayed that foam crap into the evaporator but didn’t think about the fact that I was supposed to run the AC afterwards and it would turn to liquid and drip out the hole. Well it was 55 degrees outside and the AC didn’t really come on. So I did everything else and came back later and took it for a drive. My thermometer said about 42*. And dripping happened.
 

Attachments

  • 8C7D561A-4CC6-4026-9328-414350495C39.jpeg
    8C7D561A-4CC6-4026-9328-414350495C39.jpeg
    372.6 KB · Views: 44
  • 90AAB023-8AC5-43BC-BA2F-7E31FF6E7479.jpeg
    90AAB023-8AC5-43BC-BA2F-7E31FF6E7479.jpeg
    222.4 KB · Views: 39
  • AFB97CF3-85CE-47C3-8F4E-1128F37419CA.jpeg
    AFB97CF3-85CE-47C3-8F4E-1128F37419CA.jpeg
    247 KB · Views: 44
  • 86DD9785-3CAA-4DBA-BAEB-5DEF3A64F306.jpeg
    86DD9785-3CAA-4DBA-BAEB-5DEF3A64F306.jpeg
    304.5 KB · Views: 44
  • 754535F2-79E5-4B71-AFCA-F38367B08BF5.jpeg
    754535F2-79E5-4B71-AFCA-F38367B08BF5.jpeg
    278.4 KB · Views: 41
OP
OP
Rocket Man

Rocket Man

Mark
Supporting Member
Joined
Dec 25, 2014
Posts
26,679
Reaction score
52,954
Location
Oregon
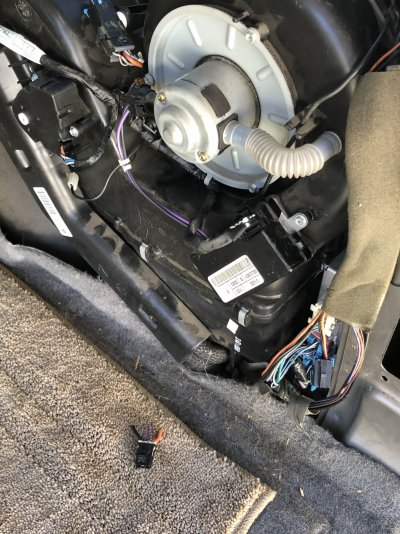
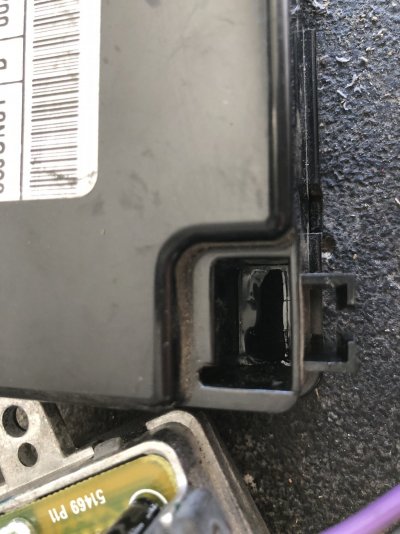
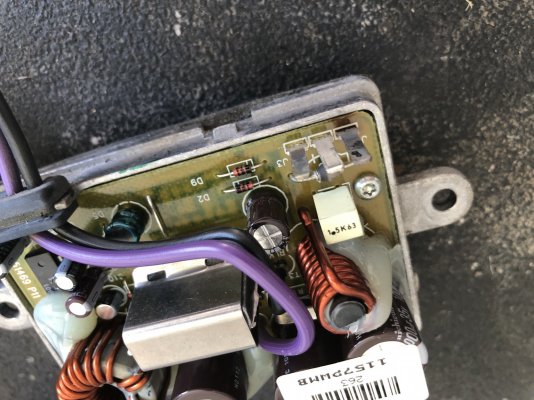
Then since I had assembled the rear side panel yesterday, today I noticed the rear AC not working. :mad: I hooked up the Tech 2 and it said the temp at the outlets was 90-100. The fan wasn’t running. So I tear the rear apart again and the fan comes on and it’s blowing cold air, wtf. I touched the blower resistor and fan goes off. The wiring connector was getting hot and it was intermittent. Wiggle it anc the fan goes on and off. I removed it and it smells burnt. I see it has a loose pin where it connects to the board, so I ordered a new one. 2 days from Amazon for a genuine GM one.
 

Attachments

  • D372C52C-70AE-4BAE-96E8-9AA8C0C5C186.jpeg
    D372C52C-70AE-4BAE-96E8-9AA8C0C5C186.jpeg
    275.2 KB · Views: 38
  • D720972D-B0AF-4CB6-9CE0-58B56AF0275F.jpeg
    D720972D-B0AF-4CB6-9CE0-58B56AF0275F.jpeg
    314.4 KB · Views: 40
OP
OP
Rocket Man

Rocket Man

Mark
Supporting Member
Joined
Dec 25, 2014
Posts
26,679
Reaction score
52,954
Location
Oregon
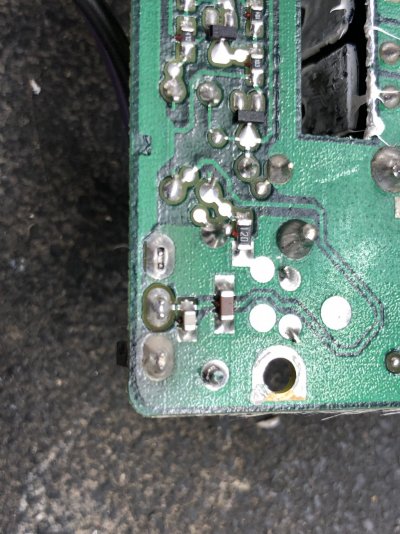
I said fock it and opened that thing up and found the ground pin had a broken connection and was loose so I soldered that sucker. It was working fine hanging there. Success! Put it back in the case and plugged it in again. Nothing. Pulled the connector halfway back out and it came on. Connector was melted around the ground wire terminal and it was collapsed, but I couldn’t pull that one out. The other 2 I could release and remove but not that one. It’s melted to the plug. So I cut a hole in the side of the plug with my Dremel and stuck a tiny tool in there and spread that spring terminal inside the connector and it’s working great. It’s not getting hot but I’ll leave the rear cover off and monitor it. I looked and can’t find that connector online, maybe because it’s an 02. All the ones I see are 5 or 7 pin, for the front.
 

Attachments

  • 5CE5FFD3-090D-49CE-B0C1-97176B212921.jpeg
    5CE5FFD3-090D-49CE-B0C1-97176B212921.jpeg
    346.5 KB · Views: 29

Fless

Staff member
Moderator
Joined
Apr 2, 2017
Posts
16,639
Reaction score
34,442
Location
People's Republic of Colorado
Then since I had assembled the rear side panel yesterday, today I noticed the rear AC not working. :mad: I hooked up the Tech 2 and it said the temp at the outlets was 90-100. The fan wasn’t running. So I tear the rear apart again and the fan comes on and it’s blowing cold air, wtf. I touched the blower resistor and fan goes off. The wiring connector was getting hot and it was intermittent. Wiggle it anc the fan goes on and off. I removed it and it smells burnt. I see it has a loose pin where it connects to the board, so I ordered a new one. 2 days from Amazon for a genuine GM one.

I'm curious about what part number you ordered. And would you have a good pic of the connector that plugs into it?

EDIT: Hard to tell but it kind of looks like this one (if it would fit you'd need to de-pin the old shell or get new pins):

Capture.JPG
 
Last edited:

89Suburban

Bull in the china shop
Space X Supporting Member
Joined
Jan 10, 2013
Posts
18,075
Reaction score
51,445
Location
SE PA
I said fock it and opened that thing up and found the ground pin had a broken connection and was loose so I soldered that sucker. It was working fine hanging there. Success! Put it back in the case and plugged it in again. Nothing. Pulled the connector halfway back out and it came on. Connector was melted around the ground wire terminal and it was collapsed, but I couldn’t pull that one out. The other 2 I could release and remove but not that one. It’s melted to the plug. So I cut a hole in the side of the plug with my Dremel and stuck a tiny tool in there and spread that spring terminal inside the connector and it’s working great. It’s not getting hot but I’ll leave the rear cover off and monitor it. I looked and can’t find that connector online, maybe because it’s an 02. All the ones I see are 5 or 7 pin, for the front.


MacGuyver FTW!!! :crazy:
 
OP
OP
Rocket Man

Rocket Man

Mark
Supporting Member
Joined
Dec 25, 2014
Posts
26,679
Reaction score
52,954
Location
Oregon
The color match on the seats isn’t great. Auto Leather Dye is making it right, swapping out the dye. I sent a swatch of the original lighter color in and they’re going to custom match it. The darker color I’m doing my best to match from their website. No charge from them. I’ll update when I re-do the seats.
 

Tonyrodz

Resident Resident
Joined
Feb 16, 2012
Posts
33,337
Reaction score
51,822
Location
Central Jersey
The color match on the seats isn’t great. Auto Leather Dye is making it right, swapping out the dye. I sent a swatch of the original lighter color in and they’re going to custom match it. The darker color I’m doing my best to match from their website. No charge from them. I’ll update when I re-do the seats.
Sun fade and dirt play a huge part in color matching. I had that problem alot. Might've matched when the truck was brand new. Were you able to compare the color to a spot in the seat that wasn't exposed?
 
OP
OP
Rocket Man

Rocket Man

Mark
Supporting Member
Joined
Dec 25, 2014
Posts
26,679
Reaction score
52,954
Location
Oregon
Sun fade and dirt play a huge part in color matching. I had that problem alot. Might've matched when the truck was brand new. Were you able to compare the color to a spot in the seat that wasn't exposed?
Yeah, it wasn’t close to tell the truth. I trusted her when she said she knew the colors for sure when I gave her the interior color code. It wasn’t until I put them right next to the ones in the truck that it became apparent. The light color looks more grey than mine which are definitely not grey and the dark color is way too dark.

I opened up a seat and cut a 1” x 1” patch from a flap and sent it in but there’s no way to do that on the dark color. They’re gonna custom match the light one and I did my best guess on the other.
 
OP
OP
Rocket Man

Rocket Man

Mark
Supporting Member
Joined
Dec 25, 2014
Posts
26,679
Reaction score
52,954
Location
Oregon
The pigtail from RA came today so I soldered, heat shrinked and wrapped it. All good now.

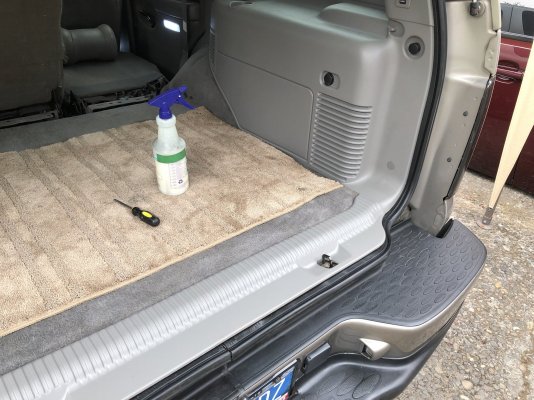
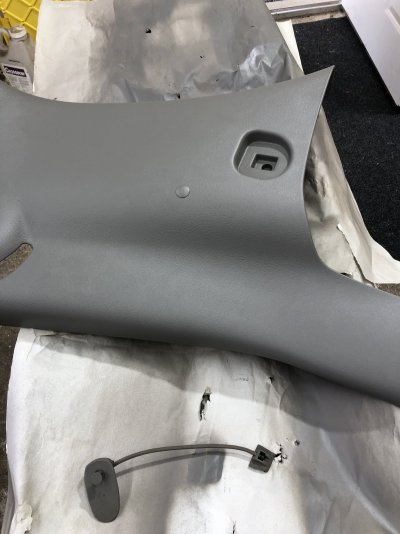
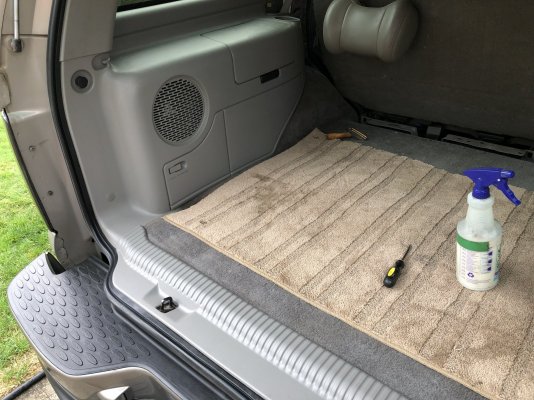
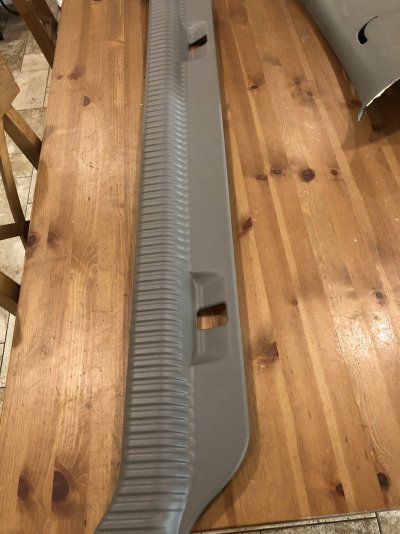
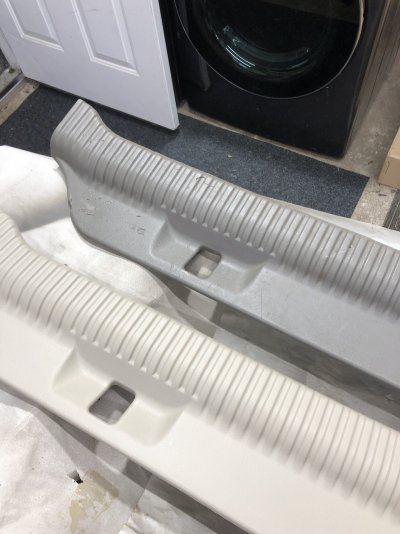
I ordered anew scuff plate for the hatch floor that’s shale because the pewter ones are discontinued. I have some SEM paint and I’m looking at painting the side panels too. Kind of a whole refresh for the back end thing I’m doing I guess. I mean since I spent all that money getting the rear AC fixed I might as well.
 

Attachments

  • A49EB8A3-9932-4E26-AF8C-2CE8B06088EA.jpeg
    A49EB8A3-9932-4E26-AF8C-2CE8B06088EA.jpeg
    428.8 KB · Views: 31
OP
OP
Rocket Man

Rocket Man

Mark
Supporting Member
Joined
Dec 25, 2014
Posts
26,679
Reaction score
52,954
Location
Oregon
I have most of the plastics painted but had to order more paint. The new scuff plate looks much better. I removed the middle row seat belt height adjusters because they never have been used and I hated them hanging there. I painted some trim plugs and installed them in the holes. I’ll get an installed pic of those panels after I have enough paint to do the other side.
 

Attachments

  • 62792A2B-8EE6-4D2C-AE51-1FE56E7807BB.jpeg
    62792A2B-8EE6-4D2C-AE51-1FE56E7807BB.jpeg
    425.5 KB · Views: 38
  • 1378221E-06E4-4089-9386-B90C1C86EFAB.jpeg
    1378221E-06E4-4089-9386-B90C1C86EFAB.jpeg
    269.2 KB · Views: 36
  • 24D08934-F89F-4FBA-9FB1-A683D213588C.jpeg
    24D08934-F89F-4FBA-9FB1-A683D213588C.jpeg
    435.7 KB · Views: 40
  • 104D8587-5295-4DB9-9FE3-5C53EFE095F3.jpeg
    104D8587-5295-4DB9-9FE3-5C53EFE095F3.jpeg
    279.7 KB · Views: 41
  • 8FD895F8-5C7D-4EB2-AADB-286E110500BA.jpeg
    8FD895F8-5C7D-4EB2-AADB-286E110500BA.jpeg
    263.3 KB · Views: 47
Back
Top