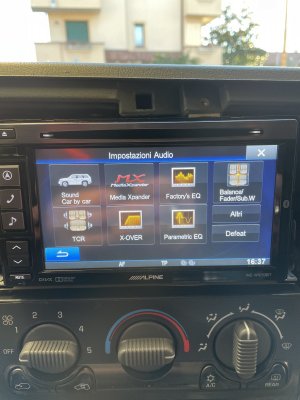
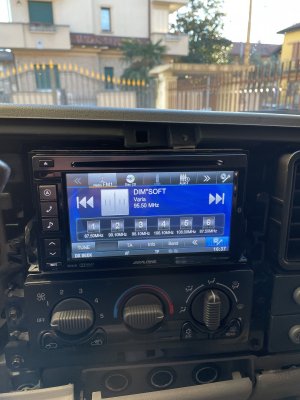
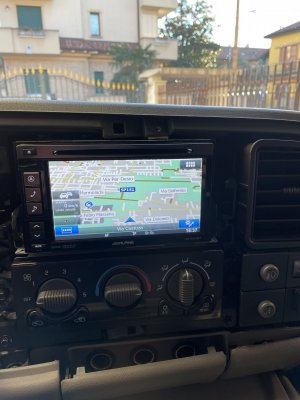
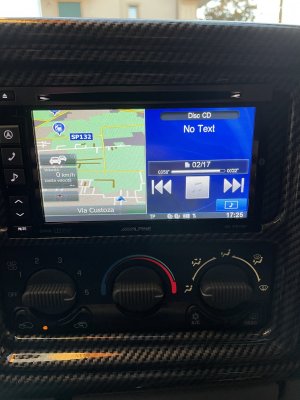
Cleared the ice off The Beast and went for a drive today. The video is short because of all the idiots in the streets. It turns into a real shit show here. I saw 2 people drive their cars right into 12” deep slushy snow and immediately get stuck. It’s so funny watching.
You are using an out of date browser. It may not display this or other websites correctly.
You should upgrade or use an alternative browser.
You should upgrade or use an alternative browser.
What did you do to your NBS GMT800 Tahoe/Yukon Today?
- Thread starter vwbeaner
- Start date
Disclaimer: Links on this page pointing to Amazon, eBay and other sites may include affiliate code. If you click them and make a purchase, we may earn a small commission.
05Single
afraid of the dark
- Joined
- Feb 26, 2015
- Posts
- 8,183
- Reaction score
- 11,449
Tonyrodz
Resident Resident
Most recent pic View attachment 270802
Been quite the journey with everyone on here. Best forum on the internet hands down.


05Single
afraid of the dark
- Joined
- Feb 26, 2015
- Posts
- 8,183
- Reaction score
- 11,449
Just sad that I never made TOTM
treehan77
TYF Fiend
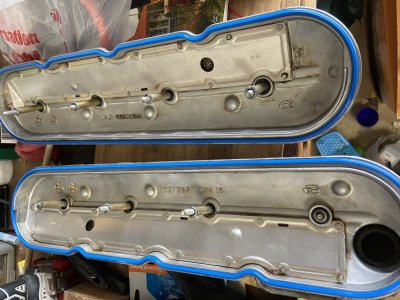
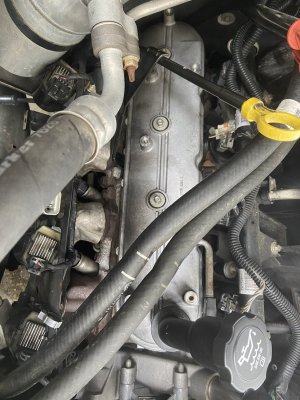
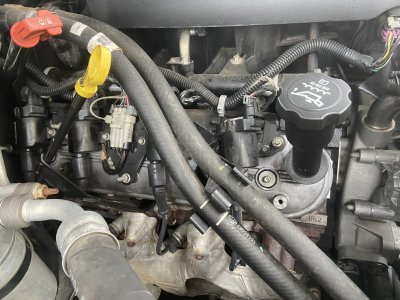
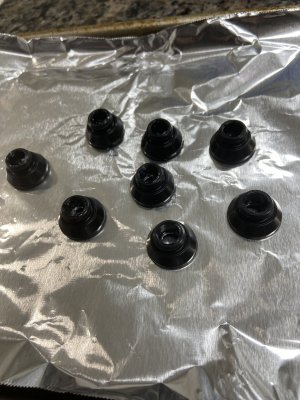
Valve covers and grommets done. Highly recommend “baking” your grommets at 200F in the toaster oven for 10 minutes. I read the felpro ones like to rip on install. So I practiced with my old ones. Required way too much effort (even with lube) to not rip some. I put the bolts in the freezer overnight, then cooked the grommets, and they went on super easy without damaging any. Replaced the filler neck-stupid thing still doesn’t fit flush like I think it should. Oh well, pretty easy job except for that passenger side coil pack bracket stud in back. Happy not to find sludge or chocolate milkshake hehe heh. Now I know I have 862 heads. 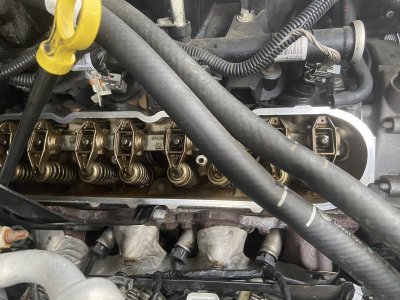


Last edited:
blueinkd
Full Access Member
- Joined
- Nov 21, 2017
- Posts
- 624
- Reaction score
- 1,498
Valve covers and grommets done. Highly recommend “baking” your grommets at 200F in the toaster oven for 10 minutes. I read the felpro ones like to rip on install. So I practiced with my old ones. Required way too much effort (even with lube) to not rip some. I put the bolts in the freezer overnight, then cooked the grommets, and they went on super easy without damaging any. Replaced the filler neck-stupid thing still doesn’t fit flush like I think it should. Oh well, pretty easy job except for that passenger side coil pack bracket stud in back. Happy not to find sludge or chocolate milkshake hehe heh. Now I know I have 862 heads. View attachment 270835View attachment 270836View attachment 270837View attachment 270838View attachment 270839
Nice. Being new to the forum this is great tip since my rig is high miles and surely could use this. Any links to a quick walk through? Just wondering on tips and tricks. The valve covers on my 2001 mustang were a pain in the rear to do, especially the driver side
Yep the last coil bracket bolt in the back of the passenger side is almost enough to make me say f it and leave it off but I just can’t do that.Valve covers and grommets done. Highly recommend “baking” your grommets at 200F in the toaster oven for 10 minutes. I read the felpro ones like to rip on install. So I practiced with my old ones. Required way too much effort (even with lube) to not rip some. I put the bolts in the freezer overnight, then cooked the grommets, and they went on super easy without damaging any. Replaced the filler neck-stupid thing still doesn’t fit flush like I think it should. Oh well, pretty easy job except for that passenger side coil pack bracket stud in back. Happy not to find sludge or chocolate milkshake hehe heh. Now I know I have 862 heads. View attachment 270835View attachment 270836View attachment 270837View attachment 270838View attachment 270839
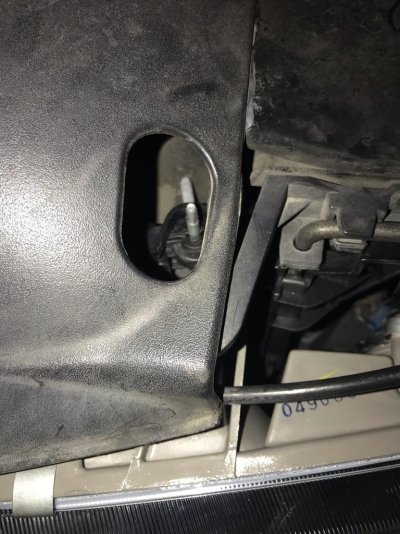
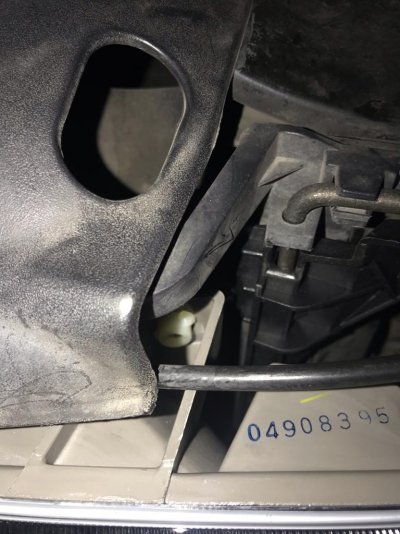
Takes a small socket, not sure what size just try some till you find the one that fits, you need a extension as well to reach down in there.How in the world do you adjust the Depo Headlights.
I know there is a screw facing front and one facing the bottom. (I’m assuming I have to take the lights off repeatedly to adjust the bottom screw).
I can’t seem to get any of my screw drivers to adjust the top side screw. I have to guess I am missing something.
Sent from my iPhone using Tapatalk
the oem ones used a philips or a socket, the aftermarket just cheaped out and made the metal rod smaller so only a socket works, you can swap the oem adjusters on if you want to not hard to do at all I used to keep a couple spares around because the cheaper aftermarket lights always came with crappy plastic adjusters that were stripped right out of the box.So I had to grab my small socket set. It takes a 5/32 or maybe the Metric equivalent. My poor eyesight couldn’t make out the find edges to even notice a socket could fit.
So ultimately you need 5/32 for the left and right then a 3” extension plus 5/32 to adjust up and down.
Seems odd never put any aftermarkets on any of vehicles that used a socket.
The adjustment points are standard both on top one on the left and one on the right with each headlight.
No google search came up with anything. Other than one individual stating he had to remove the depo lights to adjust them.
Appreciate the help
Sent from my iPhone using Tapatalk
Similar threads
- Replies
- 16
- Views
- 543
- Replies
- 3
- Views
- 2K

