Project Denali
Full Access Member
- Joined
- Nov 30, 2016
- Posts
- 148
- Reaction score
- 150
Hey all,
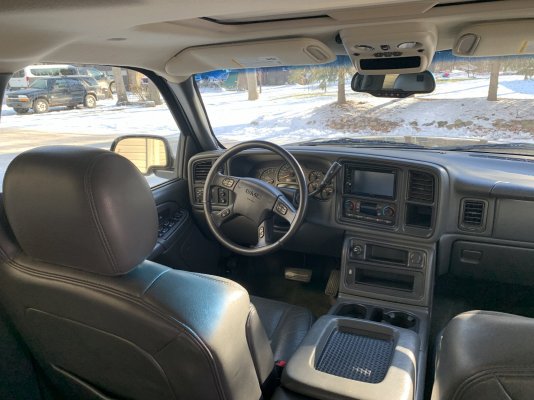
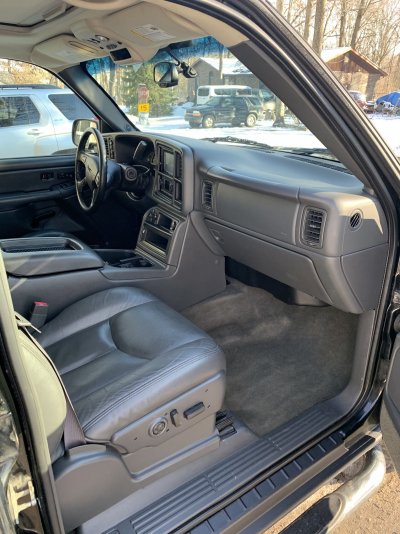
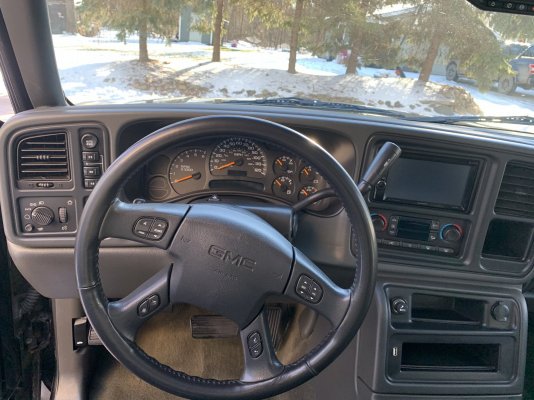
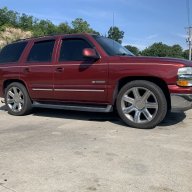
I am truckless right now and very sad because of that. Project Denali got me through college and to MI but she was falling apart. I got ahold of a 2005 Sierra crew cab to replace my Yukon but it was deceivingly rusty (frame) and didn't stay long. Oh well, during owning the truck I completely deleted the bose stereo system and thought I would make a post about it for those interested in doing so. I wish I had more pictures but I will detail my install below. I had alot of fun doing this diy build and hope this helps or inspires someone.
Products Used:
Kicker KS Series 6.5 component speakers (2 sets) $300 work discount
Scosche GM2000SW - 03+ GM $40 (pretty sure this was it)
Infinity Reference 704-A amplifier (ebay open box) $100
Kenwood DDX393 head unit (used but nice and worked) $125
Large cookie sheet for amp mount $10
Installgear soft touch 14g speaker wire $15
Skar Audio 8g OFC amp install kit $33
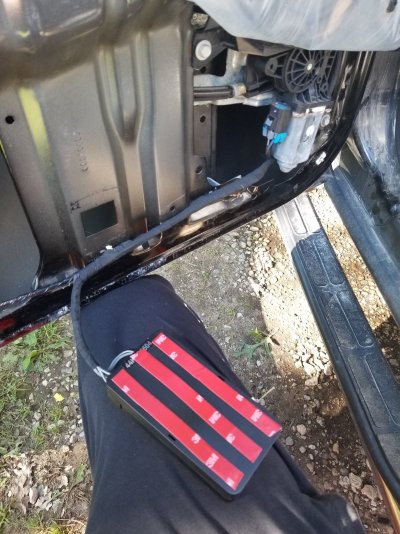
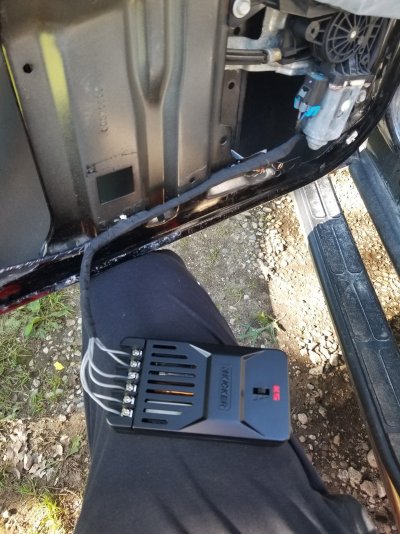
3M double sided tape for crossovers $7
Tessa cloth wire tape $8 (2 rolls)
Misc hardware from ace including grommet, nuts for grounding, etc. $10
Misc for stuff I'm forgetting $20
Grand Total $668
Process:
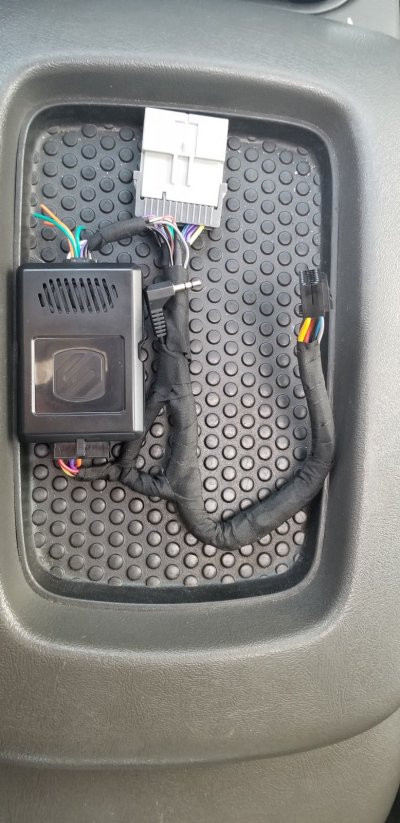
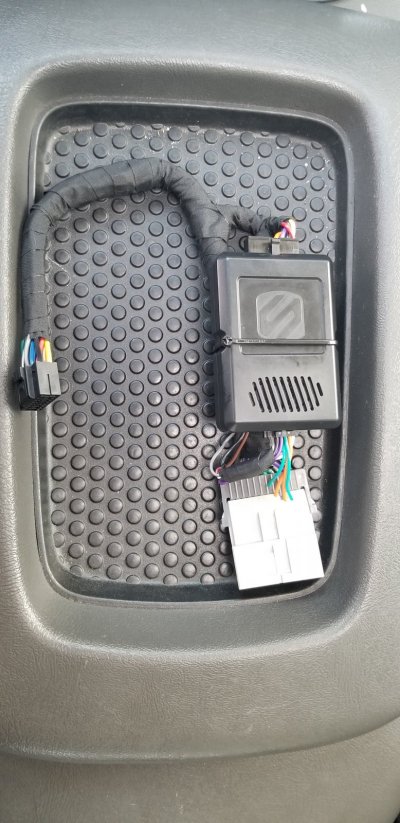
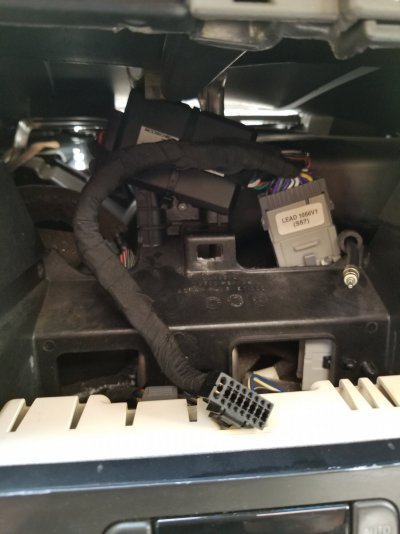
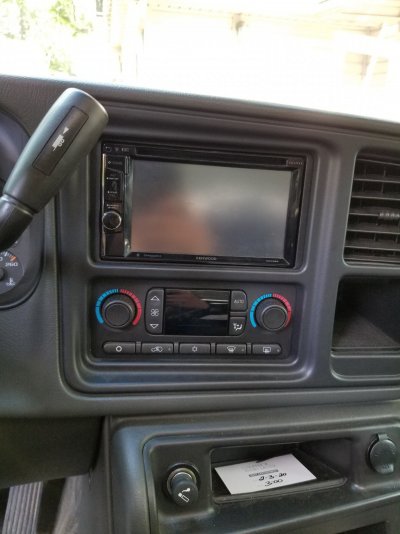
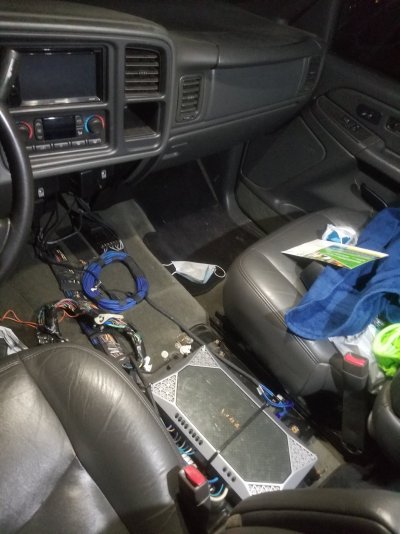
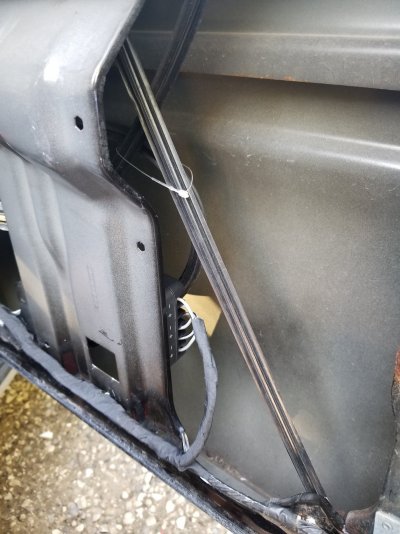
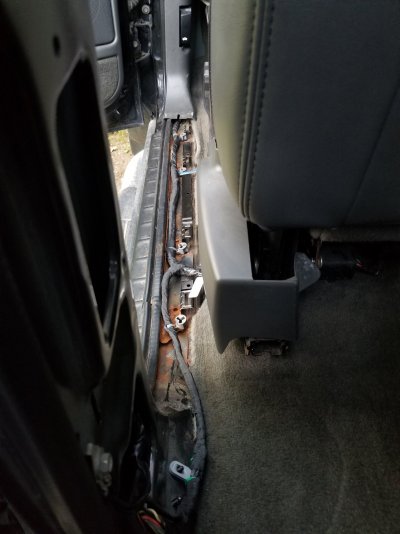
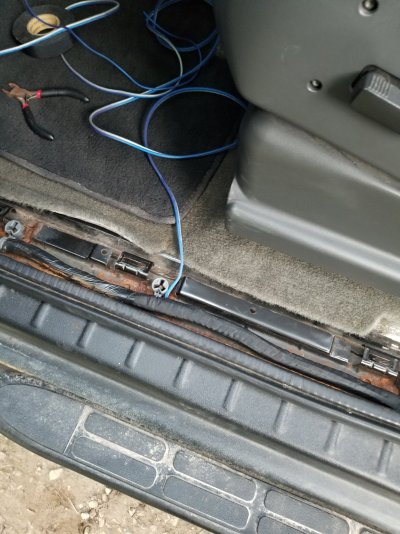
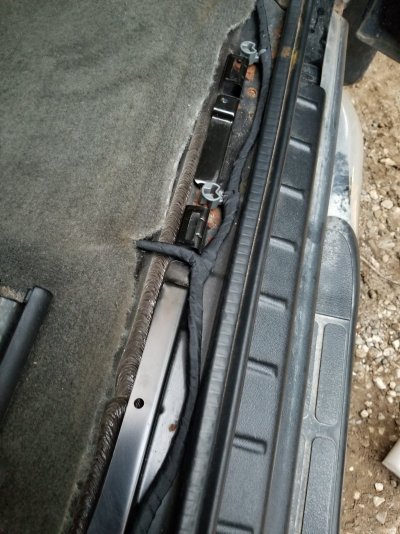
I started with the wiring, soldering and taping my scoche adapter to fit the new head unit and truck harness. Then I replaced the head unit, unplugging the bose extension harness behind the dash and mounting my scoche adapter behind. Next was more wiring, running speaker wire in the channels, through the door boots, behind the dash, and under the carpet... grrrr this can take forever.
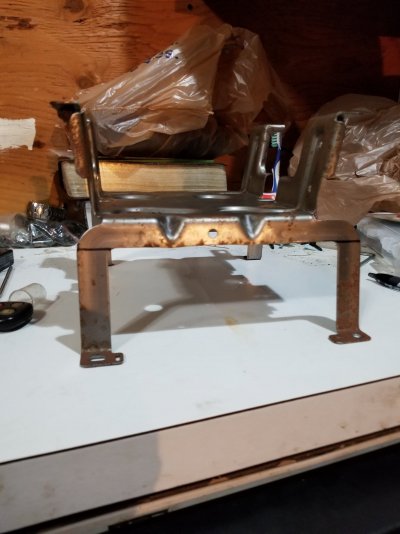
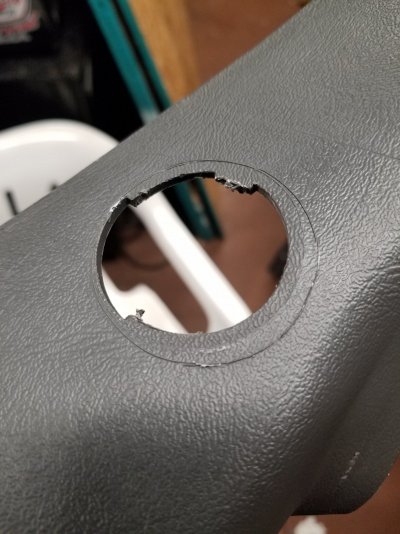
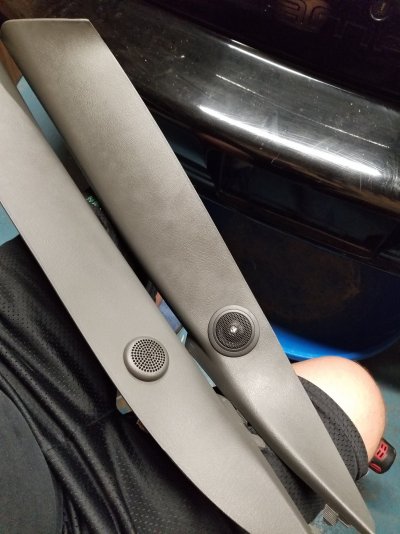
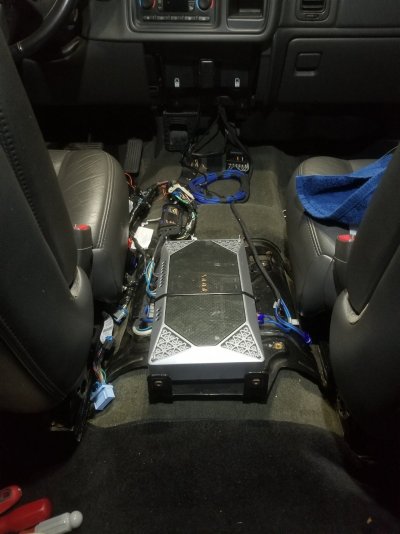
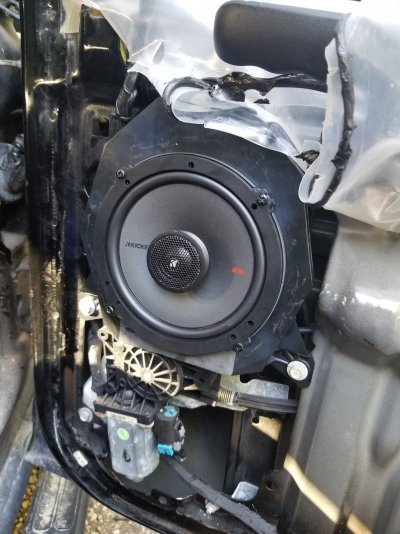
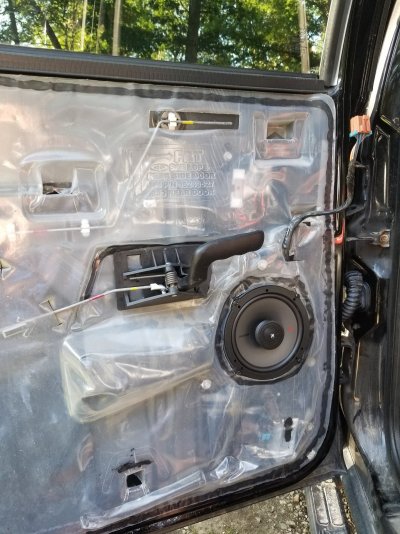
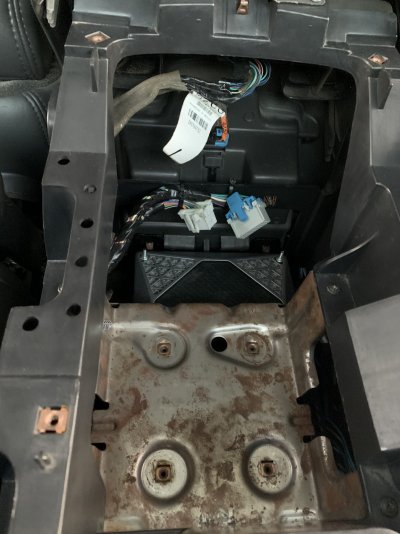
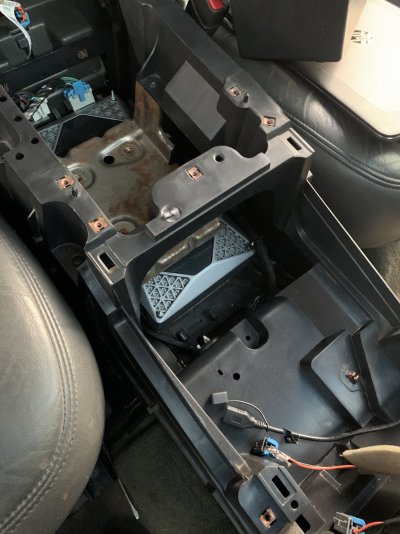
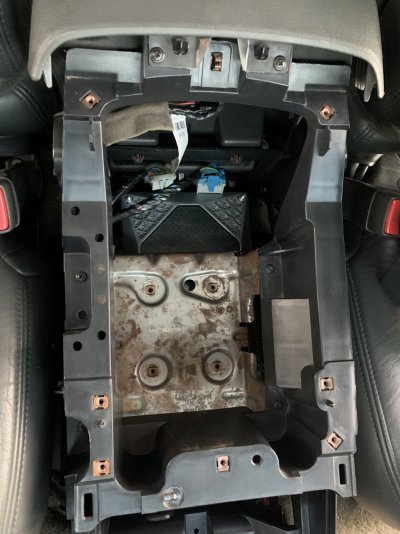
I then started swapping speakers out using the factory mounts though I did have to slightly trim some small tabs with my dremel. The console came out and I worked on the amp mounting. The factory console bracket that sits on the transmission bracket needed trimmed only in the front with the dremel. Then three holes in the cookie sheet and a slight trim for amp mounting. I also had to modify the front a pillars for the tweeters and decided to run the rears as coaxial for simplicity once I was in the process of this.
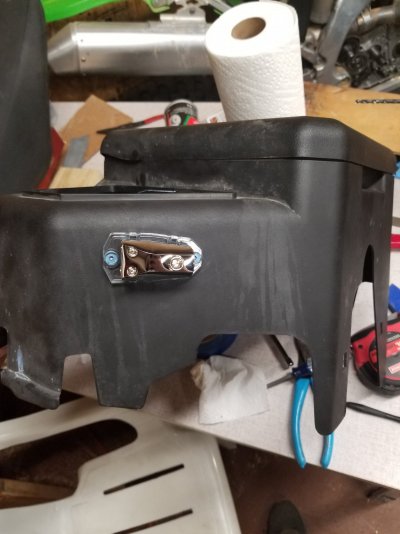
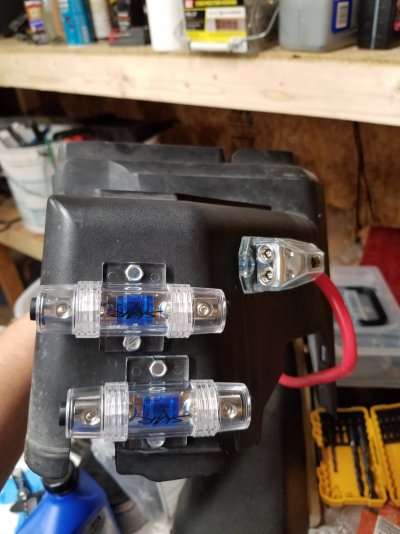
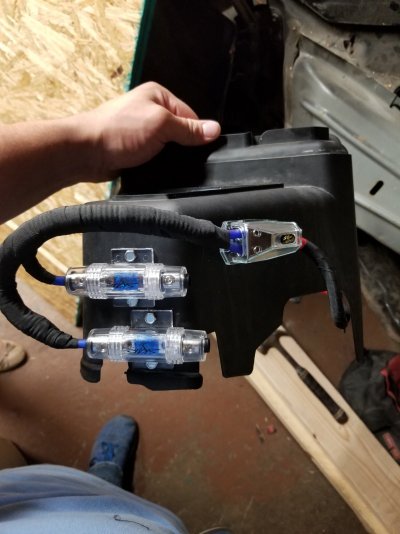
Home stretch, I mounted the distribution block (never finished subs and rear amp so I won't cover that) on the fuse box underhood and ran my power wires in the cab. Ground locations were to the inboard rear driver seat bolt, and the rear right seat bolt (again didn't finish this part). Power was tapped for the fuse and distribution block from the B+ stud under the fuse box cover.
This isn't the best writeup or post but I think this turned out well and I learned alot from it. Pictures to come and it sounded so good! If you have any questions of what I did let me know I can explain my process. P.S. I miss my yukon and truck and am wanting another GMT800. I am very interested in 2003-2006 Suv's or Crew Cab trucks. I am in MI but considering flying south to get a clean truck hopefully from one of you (the family). Comment If you are considering selling budget $6500 or less.
I am truckless right now and very sad because of that. Project Denali got me through college and to MI but she was falling apart. I got ahold of a 2005 Sierra crew cab to replace my Yukon but it was deceivingly rusty (frame) and didn't stay long. Oh well, during owning the truck I completely deleted the bose stereo system and thought I would make a post about it for those interested in doing so. I wish I had more pictures but I will detail my install below. I had alot of fun doing this diy build and hope this helps or inspires someone.
Products Used:
Kicker KS Series 6.5 component speakers (2 sets) $300 work discount
Scosche GM2000SW - 03+ GM $40 (pretty sure this was it)
Infinity Reference 704-A amplifier (ebay open box) $100
Kenwood DDX393 head unit (used but nice and worked) $125
Large cookie sheet for amp mount $10
Installgear soft touch 14g speaker wire $15
Skar Audio 8g OFC amp install kit $33
3M double sided tape for crossovers $7
Tessa cloth wire tape $8 (2 rolls)
Misc hardware from ace including grommet, nuts for grounding, etc. $10
Misc for stuff I'm forgetting $20
Grand Total $668
Process:
I started with the wiring, soldering and taping my scoche adapter to fit the new head unit and truck harness. Then I replaced the head unit, unplugging the bose extension harness behind the dash and mounting my scoche adapter behind. Next was more wiring, running speaker wire in the channels, through the door boots, behind the dash, and under the carpet... grrrr this can take forever.
I then started swapping speakers out using the factory mounts though I did have to slightly trim some small tabs with my dremel. The console came out and I worked on the amp mounting. The factory console bracket that sits on the transmission bracket needed trimmed only in the front with the dremel. Then three holes in the cookie sheet and a slight trim for amp mounting. I also had to modify the front a pillars for the tweeters and decided to run the rears as coaxial for simplicity once I was in the process of this.
Home stretch, I mounted the distribution block (never finished subs and rear amp so I won't cover that) on the fuse box underhood and ran my power wires in the cab. Ground locations were to the inboard rear driver seat bolt, and the rear right seat bolt (again didn't finish this part). Power was tapped for the fuse and distribution block from the B+ stud under the fuse box cover.
This isn't the best writeup or post but I think this turned out well and I learned alot from it. Pictures to come and it sounded so good! If you have any questions of what I did let me know I can explain my process. P.S. I miss my yukon and truck and am wanting another GMT800. I am very interested in 2003-2006 Suv's or Crew Cab trucks. I am in MI but considering flying south to get a clean truck hopefully from one of you (the family). Comment If you are considering selling budget $6500 or less.