Headlight retro

Disclaimer: Links on this page pointing to Amazon, eBay and other sites may include affiliate code. If you click them and make a purchase, we may earn a small commission.

blkonblk

Full Access Member
Joined
Dec 22, 2011
Posts
997
Reaction score
96
Location
NYC
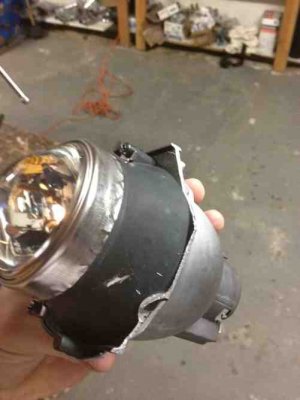
So thanks to Serge and a few guys here in the forum for starting this awesome trend to make our headlights belog to this century ( even fu..ing Hundays have projector headlights and our 50K hoes don't) I decided to start this project on my own. I'm a big fan of DIY ( because I'm cheap lol). Spoke to Serge a few times on the phone, spoke to the guys at the retrofitsource, and decided to go with S2000 projectors and oem ballasts , Gatling shrouds and D2S Philips 85122+ bulbs. Here is a step by step how I did it. Again my first time doing this, just from reading around and talking to people. Let me know how I did
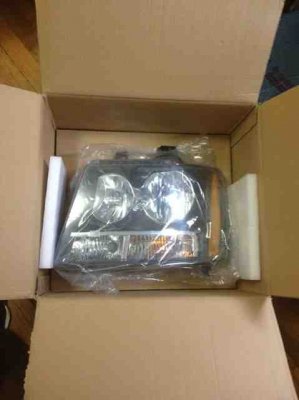
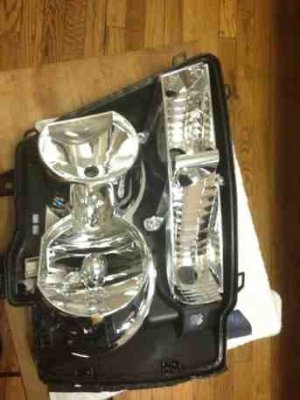
Tyc headlights from eBay
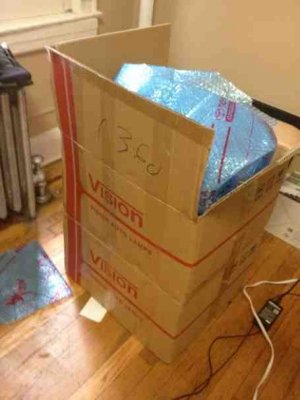
ImageUploadedByTapatalk1350882501.515060.jpg
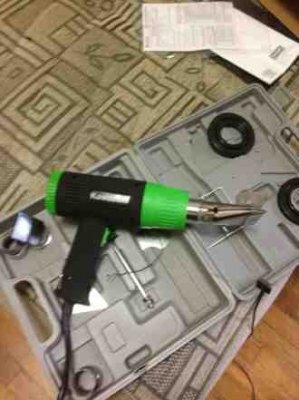
Heatgun used from amazon
ImageUploadedByTapatalk1350882547.679140.jpg
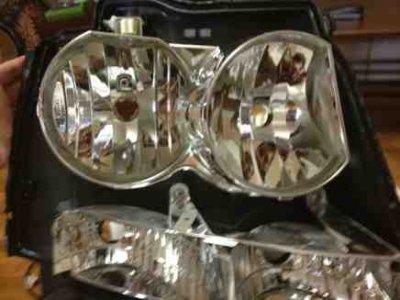
Another pic of tyc headlight
ImageUploadedByTapatalk1350882617.553287.jpg
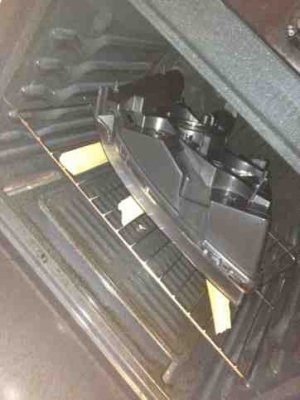
Put it in the oven for 9 min
ImageUploadedByTapatalk1350882655.272356.jpg
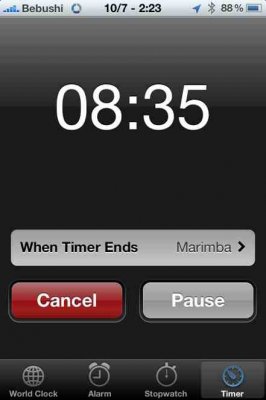
Timer started
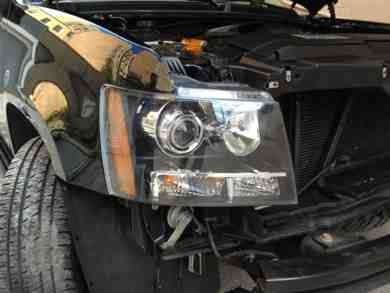
ImageUploadedByTapatalk1350882695.670140.jpg
 
OP
OP
blkonblk

blkonblk

Full Access Member
Joined
Dec 22, 2011
Posts
997
Reaction score
96
Location
NYC
Just puting it in the oven was not enough, I had to use the eat gun and go around to help with the opening, used a butter knife and a flat head screwdriver to open it
ImageUploadedByTapatalk1350882787.863726.jpg
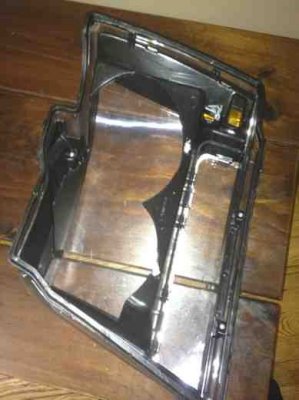
Lens off
ImageUploadedByTapatalk1350882891.401034.jpg
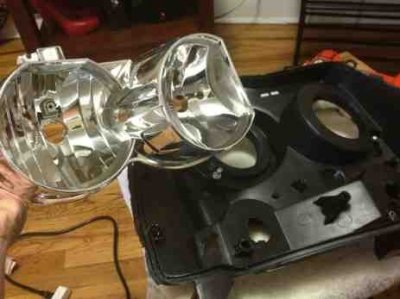
Time to separate the reflectors
ImageUploadedByTapatalk1350882921.186039.jpg
ImageUploadedByTapatalk1350883136.127484.jpg
Be very careful when you separate the reflectors so you don't brake the ball joints because your reflectors will be loose when you put it back together. Use a long screwdriver to pry it from its place gently
ImageUploadedByTapatalk1350883243.967400.jpg
 
OP
OP
blkonblk

blkonblk

Full Access Member
Joined
Dec 22, 2011
Posts
997
Reaction score
96
Location
NYC
ImageUploadedByTapatalk1350883285.860488.jpg
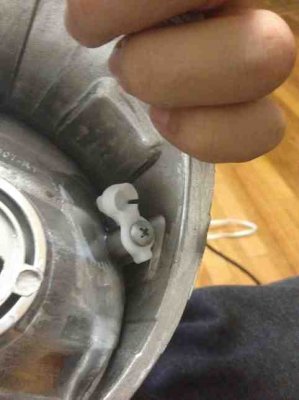
I did not take a pic of the S2Ks before together but you can google it and see them. I took the lense out so I don't damage them and started to mod the projector
ImageUploadedByTapatalk1350883441.029398.jpg
2nd
ImageUploadedByTapatalk1350883469.291561.jpg
ImageUploadedByTapatalk1350883492.354330.jpg
ImageUploadedByTapatalk1350883506.080637.jpg
 
OP
OP
blkonblk

blkonblk

Full Access Member
Joined
Dec 22, 2011
Posts
997
Reaction score
96
Location
NYC
ImageUploadedByTapatalk1350883550.389998.jpg
And done
ImageUploadedByTapatalk1350883565.283246.jpg
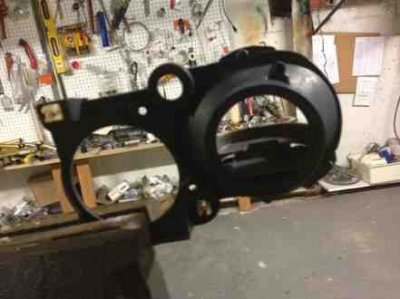
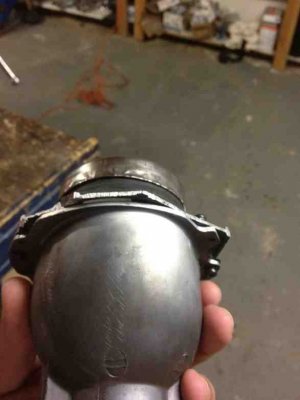
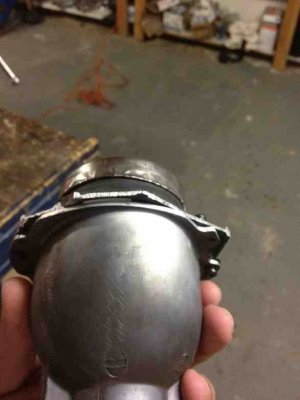
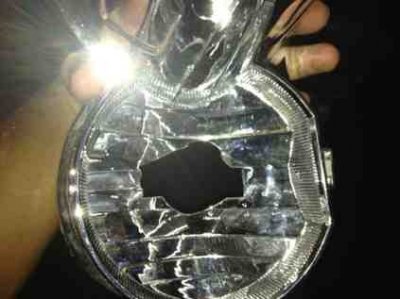
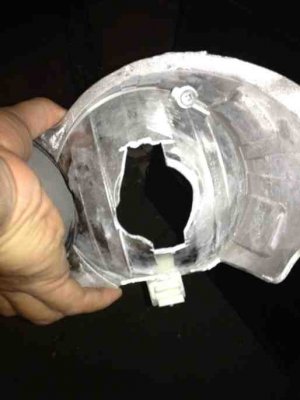
Time to cut the reflectors, in these pics I did not make a big enough whole, this was the first try then I had to cut a whole about 3.5'' for the projectors to fit nice.
ImageUploadedByTapatalk1350883659.131432.jpg
ImageUploadedByTapatalk1350883670.765739.jpg
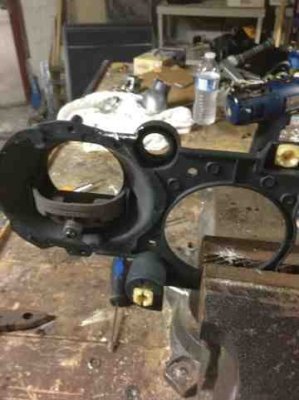
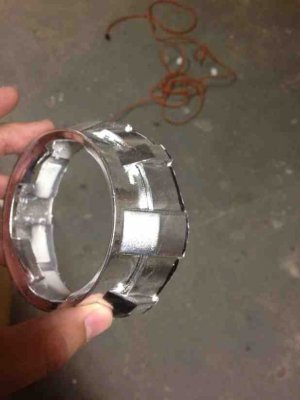
Now the gatling shrouds that I got are a little long so I had to cut them too
ImageUploadedByTapatalk1350883716.217972.jpg
Used jb weld to glue everything together, it's sux to use this method because once you glue it that's it.
 
OP
OP
blkonblk

blkonblk

Full Access Member
Joined
Dec 22, 2011
Posts
997
Reaction score
96
Location
NYC
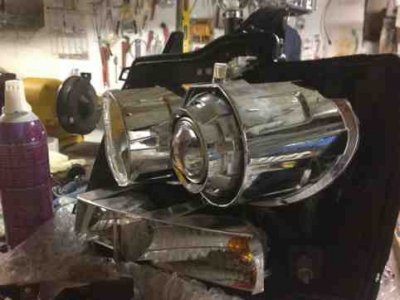
Pre finished product
ImageUploadedByTapatalk1350883847.508024.jpg
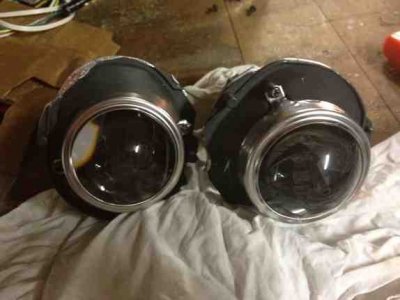
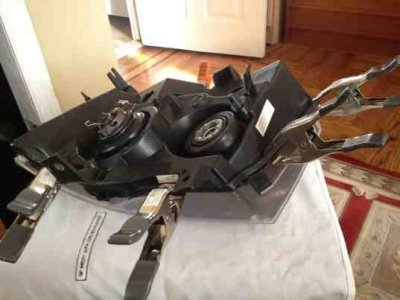
Bought bytyl sealant to glue them back, in the oven for another 9 min, clamps all over it to get a nice tight seal and clear coughing just in case it did not seal properly
ImageUploadedByTapatalk1350883981.960905.jpg
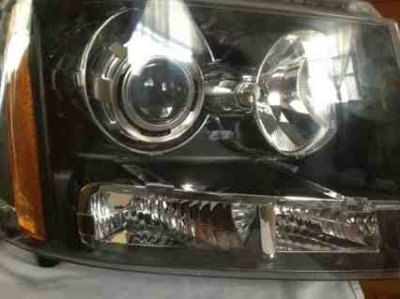
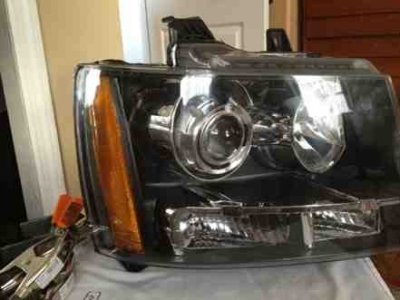
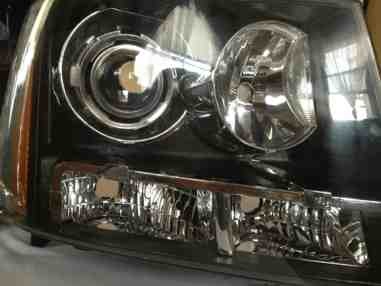
Finished product
ImageUploadedByTapatalk1350883996.109385.jpg
ImageUploadedByTapatalk1350884022.175784.jpg
ImageUploadedByTapatalk1350884036.560462.jpg
 
OP
OP
blkonblk

blkonblk

Full Access Member
Joined
Dec 22, 2011
Posts
997
Reaction score
96
Location
NYC
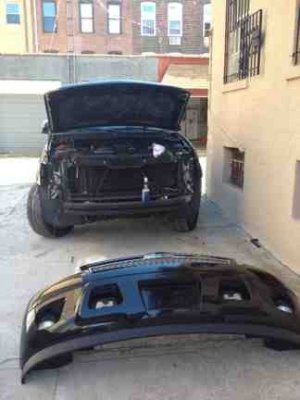
You have to take the front bumper off so you can mount these with ease
ImageUploadedByTapatalk1350884094.087443.jpg
Since the S2Ks are on the big size I had to cut two holes on the two beams of the car so the projector will fit
ImageUploadedByTapatalk1350884215.817342.jpg
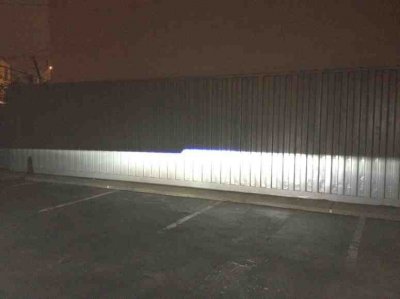
And the output
ImageUploadedByTapatalk1350884243.024309.jpg

Thanks guys hopefully this can help someone. It was my first time doing this to be honest next time I'm let a pro do it no matter how much money it costs, took way to much of my time to do this. I suggest go with a pro.
 

soulsea

Elite Member
Joined
Feb 19, 2011
Posts
11,857
Reaction score
667,430
Location
Bar
That output is insane in width and intensity!!!

What wattage ballasts did you end up going with?

---------- Post added at 01:46 AM ---------- Previous post was at 01:44 AM ----------

NVM you said oem. :)

Amazing job for your first go at this.
 
OP
OP
blkonblk

blkonblk

Full Access Member
Joined
Dec 22, 2011
Posts
997
Reaction score
96
Location
NYC
That output is insane in width and intensity!!!

What wattage ballasts did you end up going with?

S2K oem ballast, I used the bulbs that came with the rx350 projectors that I have lol D2S Philips 85122+, but next week or so getting the Osram CBIs
 

NathanJax

Vacation Nathan
Staff member
Administrator Moderator Supporting Member
Joined
May 9, 2009
Posts
49,141
Reaction score
943,577,203
Location
Jax, Fl
Awesome!!!
 

InTruckDesign

Full Access Member
Joined
Jun 5, 2009
Posts
832
Reaction score
29
Location
SW CT,
Nice, but you skipped a step...aiming. Did you aim them prior to JB Welding? If not looks like you got lucky with the rotation of the projector.
 
OP
OP
blkonblk

blkonblk

Full Access Member
Joined
Dec 22, 2011
Posts
997
Reaction score
96
Location
NYC
Nice, but you skipped a step...aiming. Did you aim them prior to JB Welding? If not looks like you got lucky with the rotation of the projector.

I did forget that step, didnt take any pictures doing this, used the old headlight to mark the cutoff then just match it with the projector. Glue the projector( you have time to play with it before it becomes hard so you set it up to your liking) then just let it sit overnight. Used JB Weld
 

InTruckDesign

Full Access Member
Joined
Jun 5, 2009
Posts
832
Reaction score
29
Location
SW CT,
with the stock lights, did you just put the tape where the hotspots were? then align from there? Starting my retro this week.
 
OP
OP
blkonblk

blkonblk

Full Access Member
Joined
Dec 22, 2011
Posts
997
Reaction score
96
Location
NYC
with the stock lights, did you just put the tape where the hotspots were? then align from there? Starting my retro this week.

Correct, from about 25 feet away. Look where the cutoff is and tape it.

Try to set the headlight on something that is the same height as the lights on the truck to make this process easier
 
Last edited:

LTLux

Full Access Member
Joined
Mar 17, 2010
Posts
177
Reaction score
0
Looks great! I'm still waiting on mine.

I thought about trying it myself as well but glad i did not. Leave it to the pros!

I will post pics of mine when I get them in!
 

Forum statistics

Threads
138,114
Posts
1,999,419
Members
103,036
Latest member
Durobans
Back
Top