OP
OP
RB_Trucker
Full Access Member
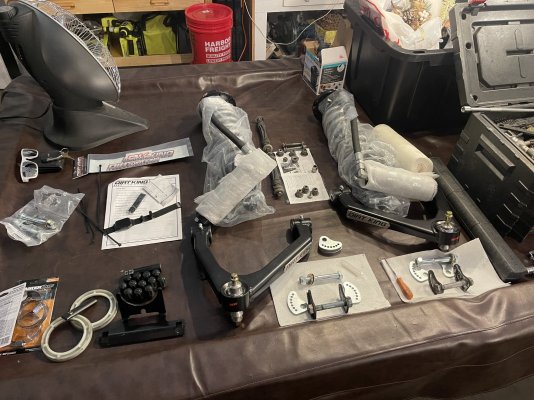
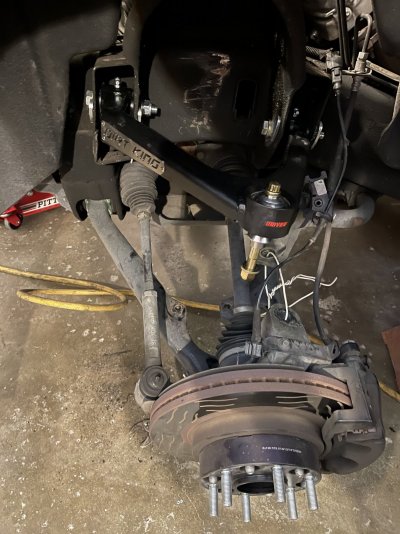
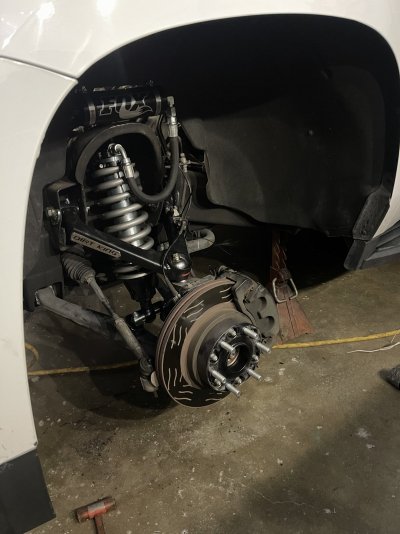
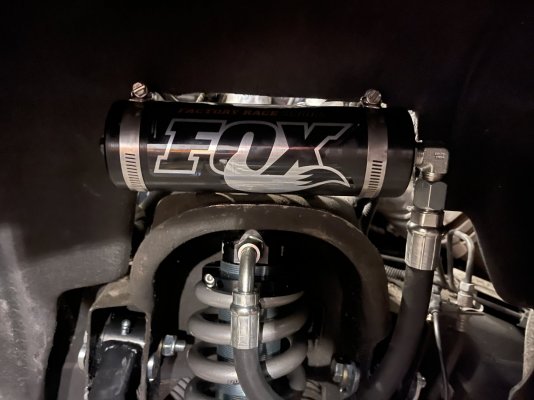
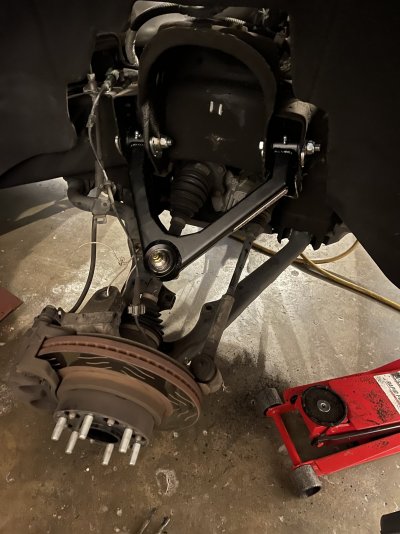
I finally started my mid-travel kit install, I have everything laid out on the table getting it organized according to what the parts go on. — coil overs and arms are side specific and DK did a good job labeling them properly.
—
—