Rocket Man's 02 Denali Build Thread AKA "THE BEAST"

Disclaimer: Links on this page pointing to Amazon, eBay and other sites may include affiliate code. If you click them and make a purchase, we may earn a small commission.

PG01

Supporting Member
Joined
Nov 6, 2016
Posts
14,758
Reaction score
17,877
Location
Up here to the right
Nice red, im lovin it, like McDonald's.......lolol
Lotsa work but it looks like you got a handle on it...now:grd:
 

HiHoeSilver

Away!
Joined
Feb 28, 2017
Posts
10,919
Reaction score
14,571
Location
Chicago
Thanks guys. I was pretty nervous before I started this. It's been a long time since I've done anything even close to this, plus it's my only vehicle except Harleys and I don't think my work tools will fit on my bagger so this HAS to work!

Yessir. You're all over this bud! Keep it up.
 
OP
OP
Rocket Man

Rocket Man

Mark
Supporting Member
Joined
Dec 25, 2014
Posts
25,966
Reaction score
50,662
Location
Oregon
Is that ever gonna be able to come off if you need to get back in there?
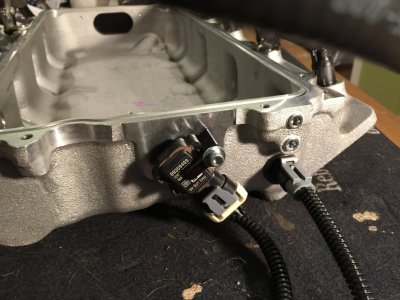
If you mean the knock sensors, then yeah I'll be able to get them back out. It's just a silicone cap over the rubber cap that the wires go through. I started with just a ring around them but then decided that if water gets over that ring it would just keep the water inside it so I just made a built-up cover about 3/8" deep of silicone so the water will just run off. If I need to remove it I'll just use one of my Olfa knives to cut through it. It has a razor blade that's about 4" long and an 8" long handle.
 
OP
OP
Rocket Man

Rocket Man

Mark
Supporting Member
Joined
Dec 25, 2014
Posts
25,966
Reaction score
50,662
Location
Oregon
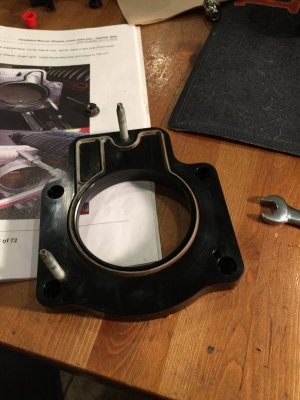
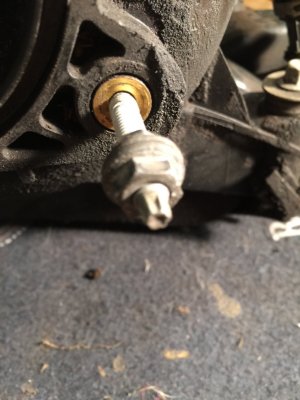
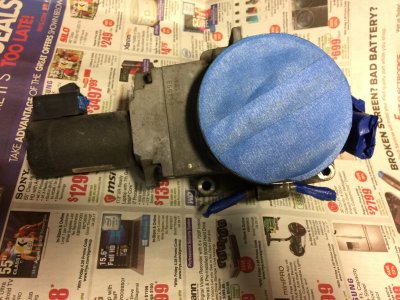
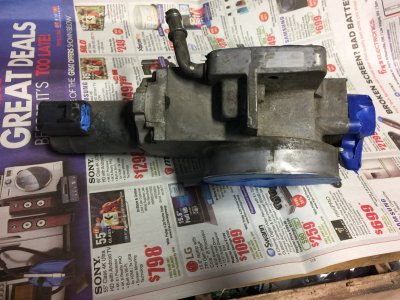
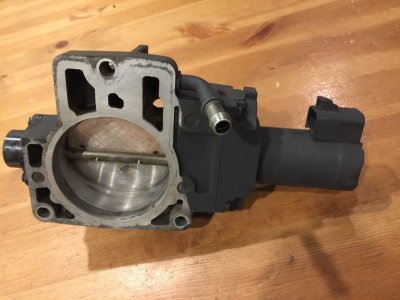
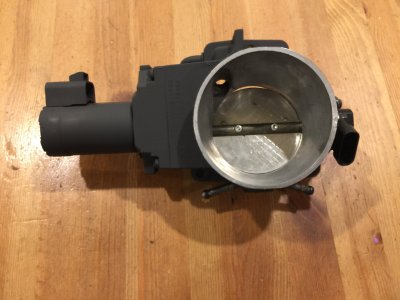
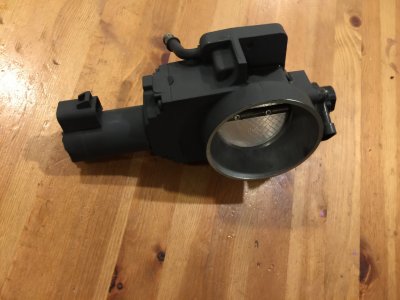
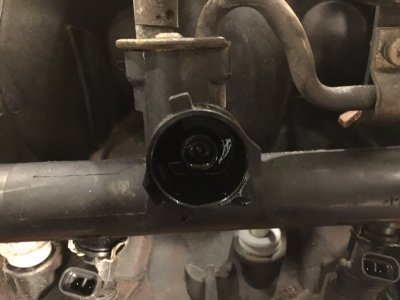
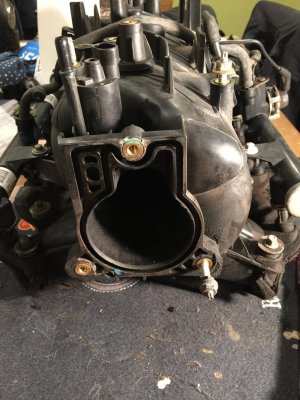
I ended the day after dinner doing a couple things to the intakes. I removed the throttle body from the old manifold and removed the studs and remounted them in the new TB adapter plate. The studs had an internal Torx head so I used the double nut procedure to remove and reinstall them. This was a perfect time to clean the TB inside and out and after I did, It still looked pretty damn ugly. GM didn't make these things for beauty. I couldn't stand the thought of mounting that like it was so I masked it off and sprayed with some flat black. I'll have those pics tomorrow, it's still in process.

IMG_6362.JPG

IMG_6363.JPG

IMG_6364.JPG

IMG_6365.JPG

IMG_6366.JPG
 
OP
OP
Rocket Man

Rocket Man

Mark
Supporting Member
Joined
Dec 25, 2014
Posts
25,966
Reaction score
50,662
Location
Oregon
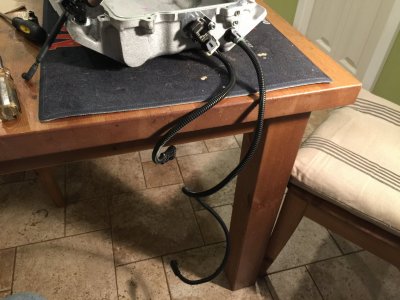
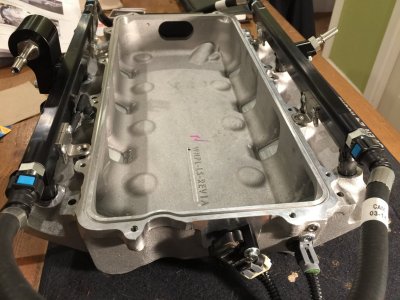
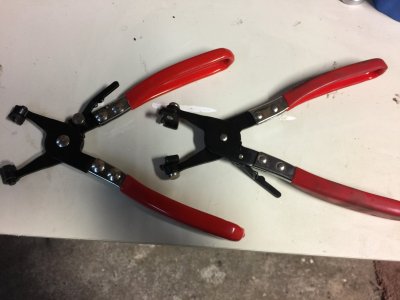
I also remounted the MAP sensor that I removed from the OE intake and also hooked up the extension cables for that and the IAT sensor. On another note, If you're going to be disconnecting hoses I highly recommend these pliers that are made for the spring clamps. They grab the ends and ratchet down so they hold the clamp in an open position and you can maneuver it back and forth on the hose. I probably removed 12-14 clamps today. Dang, my cat has been on my work mat again! Junior!!!
IMG_6367.JPG

IMG_6368.JPG

IMG_6372.JPG

IMG_6373.JPG
 
OP
OP
Rocket Man

Rocket Man

Mark
Supporting Member
Joined
Dec 25, 2014
Posts
25,966
Reaction score
50,662
Location
Oregon
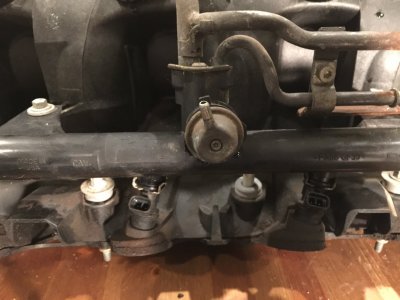
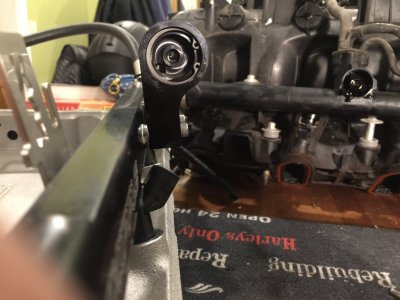
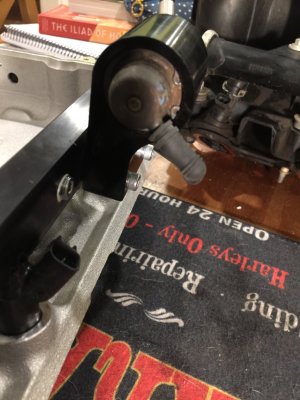
I remembered the damn fuel pressure regulator fiasco so I decided to swap it from the old intake to the new. This was another area that was missing from the instructions. It always seemed to me that the FPR would be on the incoming line, not the return line but what do I know. It's hard to believe this is a $60 part. Anyway, the attachment was different but not hard to figure out. The Whipple manifold just has an internal snap ring instead of the external clip that the OE had. I might have to take that FPR out tomorrow and paint it...

IMG_6379.JPG

IMG_6380.JPG

IMG_6383.JPG

IMG_6386.JPG
 

PG01

Supporting Member
Joined
Nov 6, 2016
Posts
14,758
Reaction score
17,877
Location
Up here to the right
Red? Red? Red? Red? Red? Red? Red?


Just kiddin brother, hope your doing well and movin along nicely with no probs bud
 

Forum statistics

Threads
129,250
Posts
1,812,840
Members
92,353
Latest member
Speardog
Top