My Fashionably Late 03 Denali XL Build Thread

Disclaimer: Links on this page pointing to Amazon, eBay and other sites may include affiliate code. If you click them and make a purchase, we may earn a small commission.

tooleyondeck

Full Access Member
Joined
Jan 24, 2022
Posts
235
Reaction score
495
Location
Northwest FL
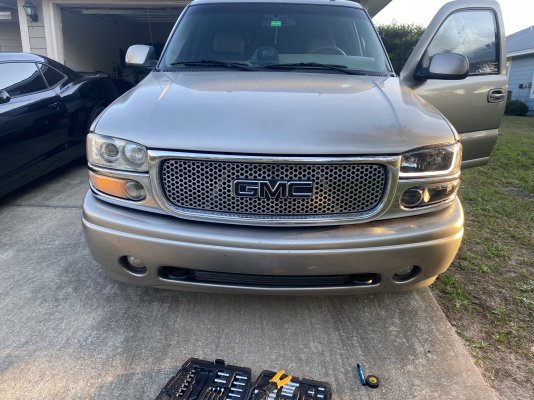
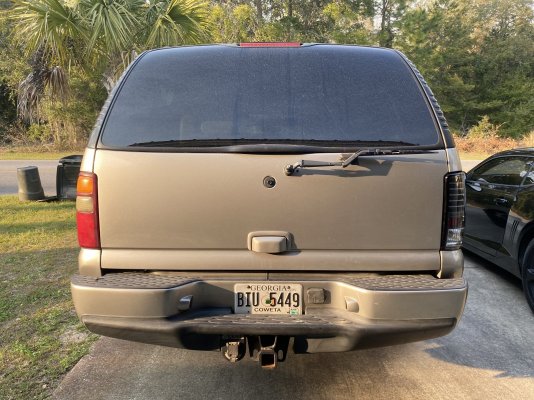
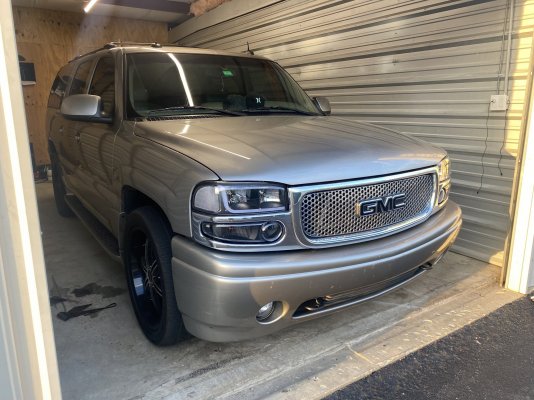
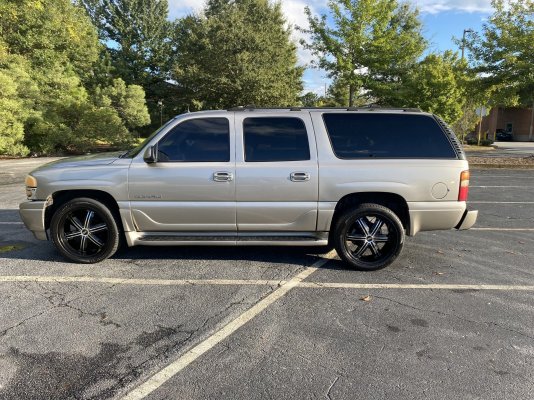
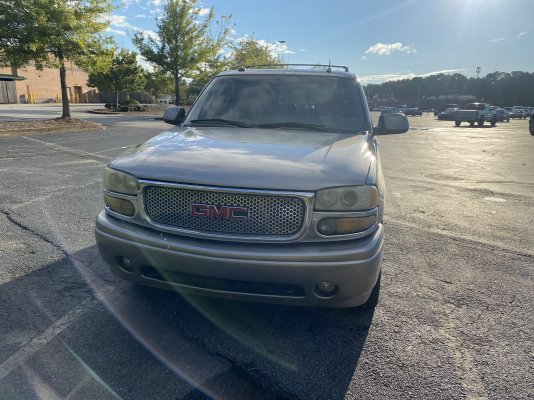
As indicated by the title, I figured I may as well go ahead and start a build thread on my 2003 Yukon XL Denali before I get too far into it to remember everything. I will be playing catch-up for awhile, posting everything in chronological order. So I’ll just start with the day I came into possession of this Cash Money music video-esque nostalgic icon of my high school years:

I was actually offered the vehicle in mid-Jan 2022 from a long time friend in Atlanta who had owned it since 2009 for an offer I simply couldn’t refuse: $2500 for a clean title, 2-owner, 188K mile 03 Denali, the HOMIE HOMIE price. He was upgrading to a new Denali XL after 13 years and knew I was either going to trade in my lifted 16 Silverado Z92 or find something similar to this, so he gave me first dibs.

So like any of us would do, I gladly accepted, got a one-way rental car (2022 Ford Explorer - which was a POS for the record), and made the 5 hour drive up north to pick it up. I checked the tires, battery, and fluids then drove it all the way back to Florida with zero issues, the Bose system made the trip a party to the tune of random 90s-early 00s rock and crunk music CDs that were in the CD changer, the LQ4 ran strong, the 4L65 shifted smooth, and the 22x11s on 305s kept this beast glued to the road through the inevitable rain bands you’ll encounter traversing the Southeast for any significant distance.

I finally made it home and stepped out and gave it a walk around. “Damn good deal” I remember thinking (in LT Aldo Raine’s voice).
IMG_1013.jpeg
IMG_1014.jpeg
IMG_8717.jpeg
 
Last edited:
OP
OP
tooleyondeck

tooleyondeck

Full Access Member
Joined
Jan 24, 2022
Posts
235
Reaction score
495
Location
Northwest FL
The first thing I did once I got settled back home was dive into this forum (which has been absolutely amazing thus far) and familiarize myself with the platform. Granted, I have worked on or owned Gen3-4 LS engines plenty before and my whole family being bowtie loyalists I already had a baseline understanding of the power train.

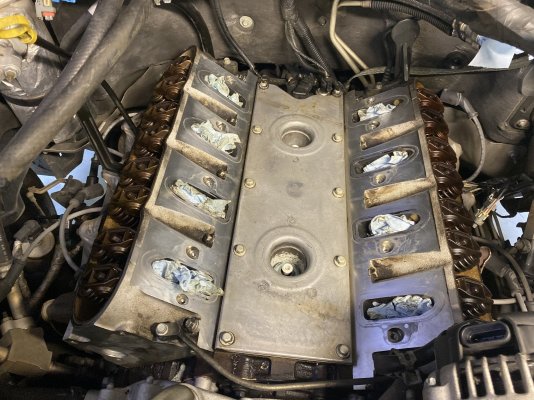
I checked all of the suspension components, cleaned the engine bay up and checked for leaks (rear main seal had just been replaced about 5 months before I bought it, lucky me). Being the neanderthal caveman that I am, I pressure washed water right into the knock sensors (got the code as soon as I started it after cleaning), so I went ahead and added those to the list.

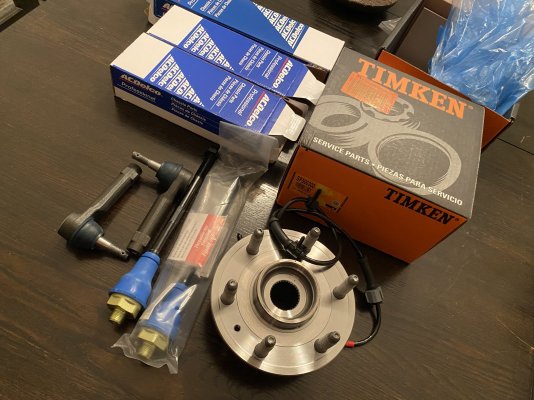
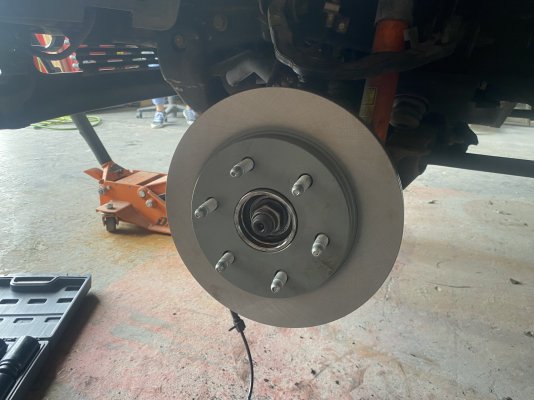
Thanks to some recommendations from our members, I picked up some Timken hubs and AC Delco Professional tie rods and upper control arms (didn’t end up needing the UCAs, so I gave them to my sister for her 00 SWBSC). I went ahead and did new rotors on the front but I can’t remember why I didn’t go ahead and do the back? Anyway, I got the truck to a point where I trusted it mechanically so I could shift my focus elsewhere for the time being.

IMG_8818.jpeg

IMG_8999.jpeg

IMG_0241.jpeg

68340355211__B37AAFDA-6CC0-4481-8A22-BA258E13E58B.jpeg

IMG_0247.jpeg
 
OP
OP
tooleyondeck

tooleyondeck

Full Access Member
Joined
Jan 24, 2022
Posts
235
Reaction score
495
Location
Northwest FL
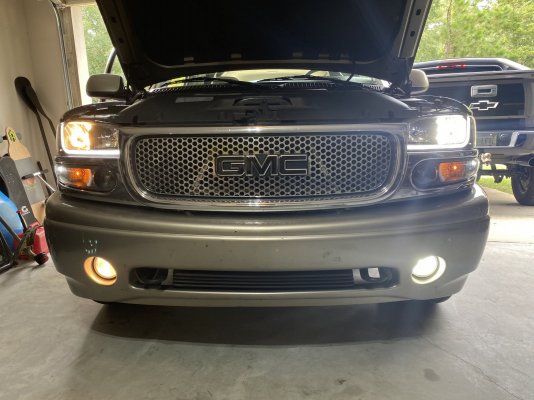
Shortly after, my headlights and tail lights arrived. I had attempted to polish up the OEMs but they didn’t last even with wet sanding and buffing them into oblivion. I did make the mistake of not ordering projector style headlights so that’s a zonk on me for downgrading. Still, after getting them aimed correctly with the LEDs it’s an upgrade from the factory output. I hit up the forum again to deal with the hyperflash and installed an LM487 (i believe) and it worked like a charm, lost cruise control though and I’m still looking into that.

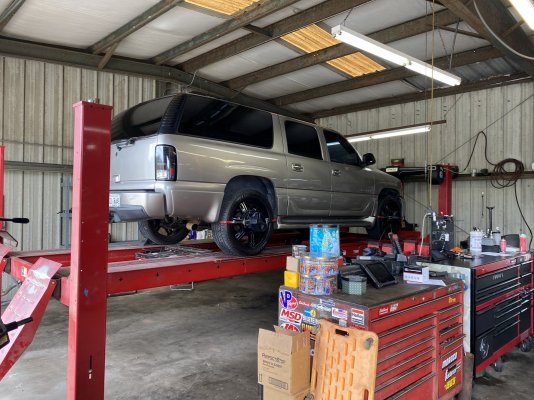
I also took my rubber wheel and deleted the gold eyesore pinstripe from the sides and debadged everything else, blacked out the grille emblem w vinyl wrap, and took it to get an alignment after the new suspension parts.

I had a turn signal light and both DRLs out, thankfully my dad keeps several GMT800s at his shop to scavenge parts from, so I harvested what I needed from a Tahoe and Yukon he had sitting in his grave yard. Also scored a couple replacement AC vents, courtesy light housings, and (surprisingly) 2 new A Pillars with Bose tweeters installed. I had not even realized that mine didn’t have tweeters (they had apparently been removed but the harness was still there). I also had my local tint guy strip and retint the front windows to match the factory rears since the driver’s side was peeling.

IMG_8971.jpeg

IMG_8994.jpeg

IMG_9972.jpeg

IMG_9015.jpeg

IMG_9045.jpeg
 
OP
OP
tooleyondeck

tooleyondeck

Full Access Member
Joined
Jan 24, 2022
Posts
235
Reaction score
495
Location
Northwest FL
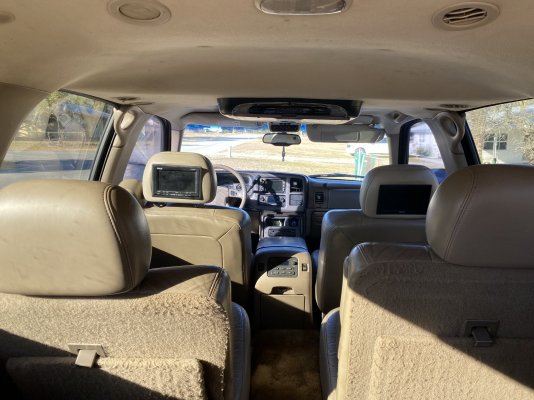
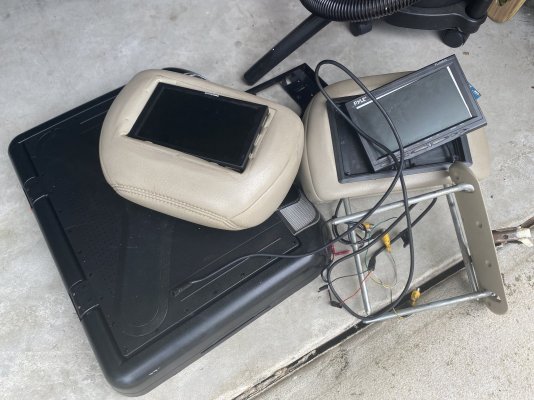
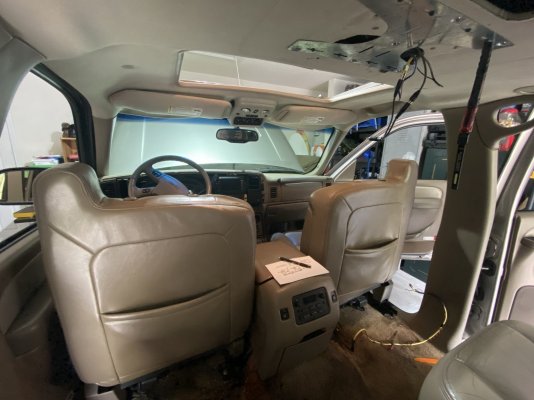
The previous owner had an aftermarket rear seat entertainment system installed waaaaaay back in 2009, and needless to say it way passed its shelf-life. Being that I wanted to use this truck for long road trips with the kiddos, I figured I would come up with a plan to update it. This was one area where I didn’t find much information on at all on here or elsewhere online, so if anyone else is interested in upgrading theirs I would gladly share my experience with them.

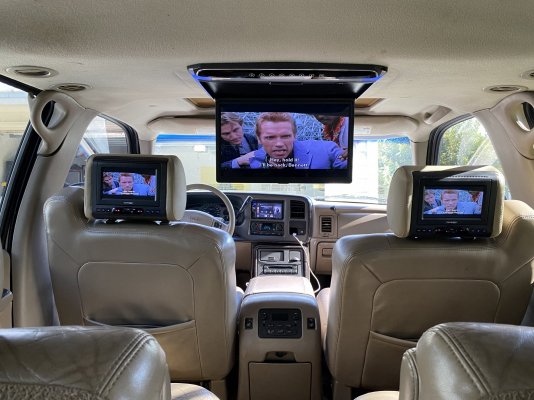
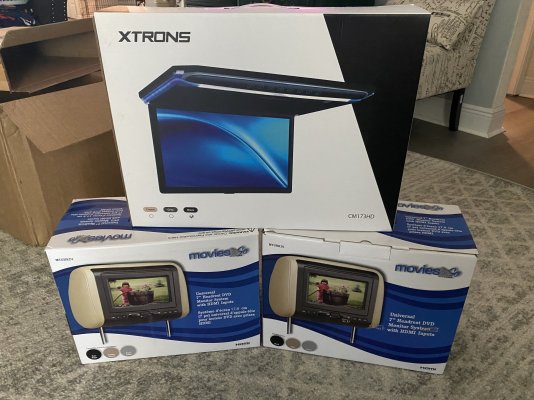
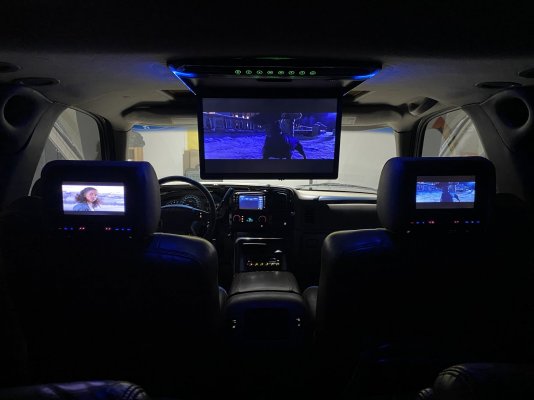
I scored 2 7” DVD/HDMI headrests and a 17” top mounted screen off of Amazon and I started ripping out all of the old equipment. Luckily, everything still had power, the hardware itself was just shot. So after tracing all of the wires and ensuring everything was properly connected, I devised a plan to do the new install. It looks like the original setup was done by a professional shop, as power was tapped into the accessory fuse in the driver’s side panel, and all of the cables were routed through the roof > B pillar > center console.

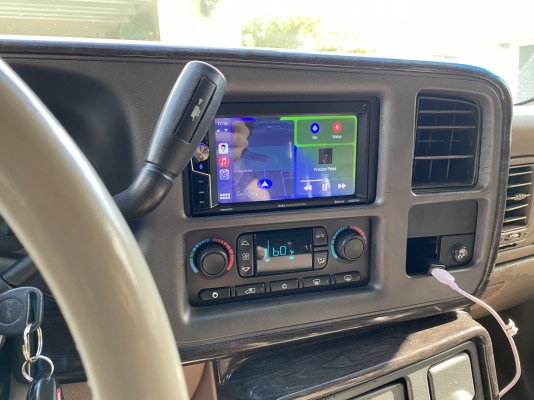
I went ahead and got a cheapo Carplay head unit off of Crutchfield along with the PAC RP5 GM-11 interface and used their readywire service (for only $25 that was a no brainer) while I was at it. The head unit was plug and play and I was able to retain my Bose amp and steering wheel controls. Perfecto!

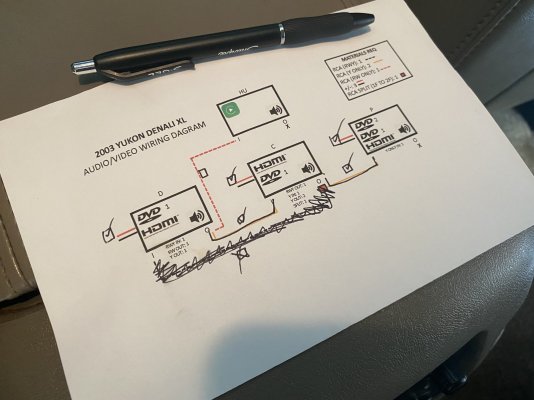
I made up a rough diagram for how I wanted everything to work. Basically, the driver’s side headrest would feed video to the center and passenger side screens, and audio to the head unit. I was able to get it all to work and even threw in a roku stick to allow streaming from my phone’s hotspot. All 3 screens can view the same thing or all three have a different source and use the car stereo or headphones. All in all, I put about $750 into the system and needless to say the kids love it and my wife enjoys (somewhat) peaceful vacation trips. Albeit, we have 4 boys so they’re still rambunctious after 30min in close proximity to each other, but that’s another story.

IMG_9996.jpeg

IMG_9997.jpeg

IMG_9998.jpeg

IMG_0219.jpeg

IMG_0220.jpeg
 
OP
OP
tooleyondeck

tooleyondeck

Full Access Member
Joined
Jan 24, 2022
Posts
235
Reaction score
495
Location
Northwest FL
The hardware I went with for reference. The headrest units came with 3 covers: black, gray, and tan. It’s not a perfect match, but it’s close enough to get the job done and not look out of place. I’m still debating getting “Denali” embroidered into them just to give it a little something more custom when you open the doors. I did this in July of 2022 and it’s held up great thus far.

IMG_9990.jpeg

IMG_0001.jpeg
 
OP
OP
tooleyondeck

tooleyondeck

Full Access Member
Joined
Jan 24, 2022
Posts
235
Reaction score
495
Location
Northwest FL
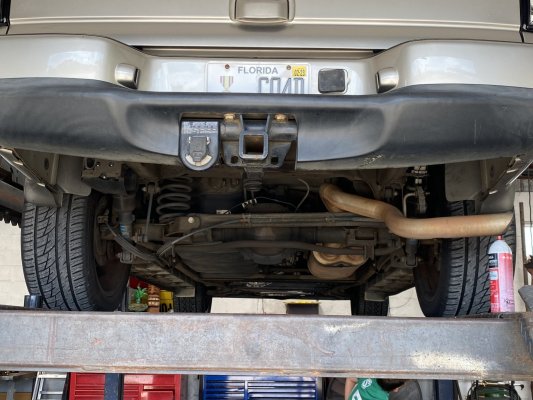
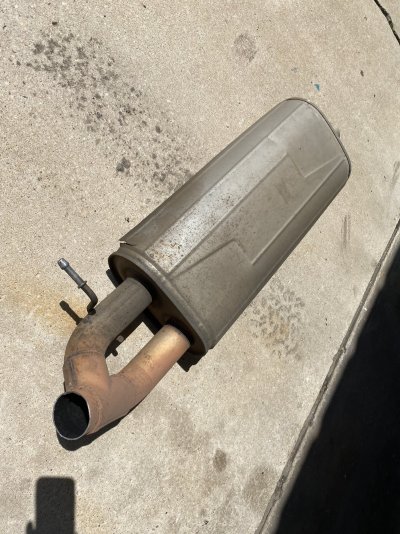
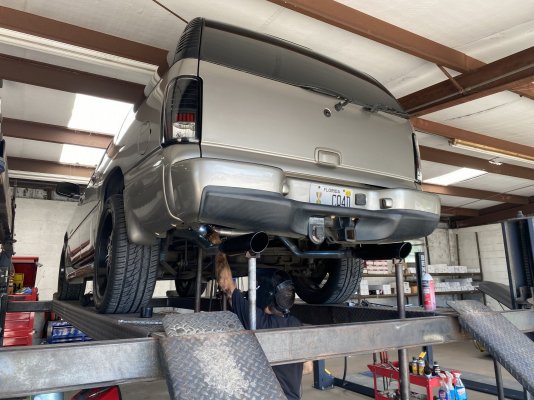
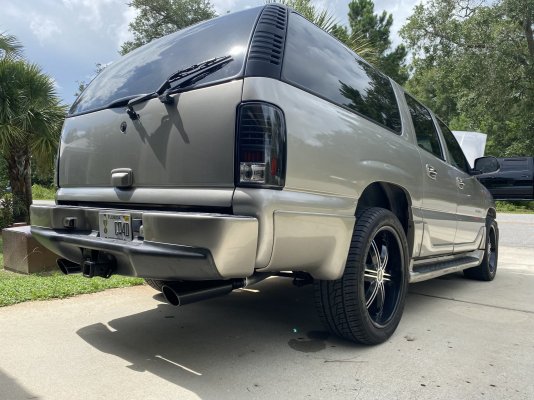
It was now time to make it where I can hear all 366ci of this LQ4. Quick trip to my go-to exhaust shop and I got x2 Jones Performance Flowpacks (single chamber) and 4.5” black slant-tip exhaust tips installed. I was honestly unaware that these Denalis came true-dual from the factory (meaning no Y pipe, 2 mid-pipes connect to a 2-in, 1-out muffler). I was actually impressed by how good it sounded with stock manifolds, and it took the wife some convincing to get used to. It’s loud enough to turn heads when accelerating but it doesn’t drone or overpower the stereo. I’m not even sure if I want to go with headers yet because it’s already pretty damn aggressive.

Cold start video:

IMG_0019.jpeg

IMG_0020.jpeg

IMG_0022.jpeg

IMG_0026.jpeg

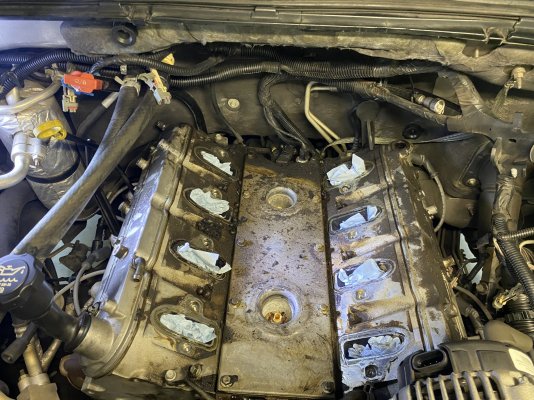
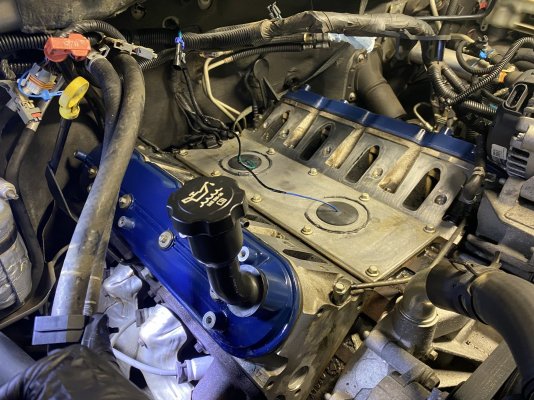
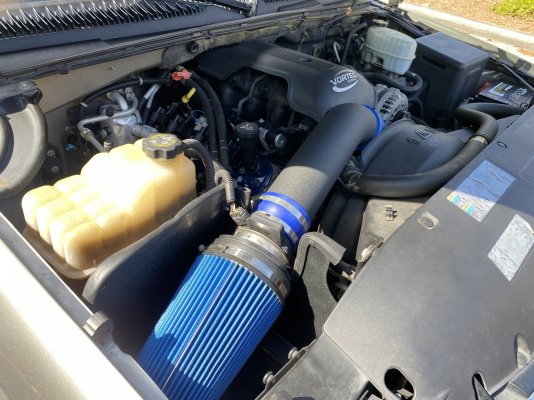
I also replaced the chrome intake with a black one with blue couplers to match the painted valve covers. I know there’s no power to be gained until I get tuned, but who doesn’t love that intake “wooosh”?

IMG_1129.jpeg
 
OP
OP
tooleyondeck

tooleyondeck

Full Access Member
Joined
Jan 24, 2022
Posts
235
Reaction score
495
Location
Northwest FL
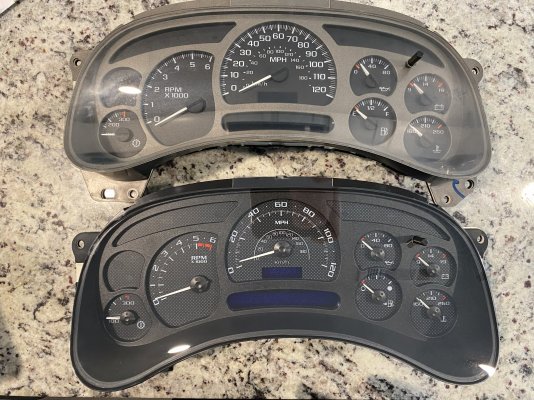
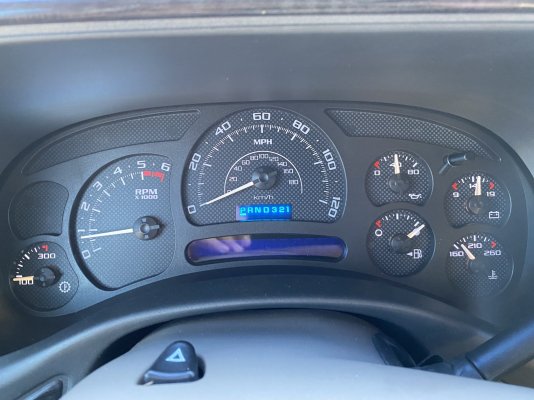
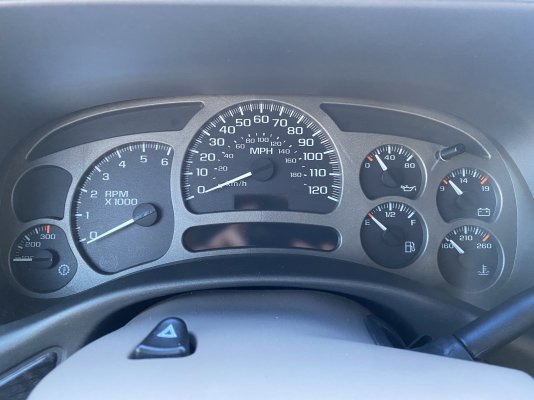
Next up was replacing the gauge cluster with a custom one from Digital Dash Solutions. I opted for the Escalade style with white needles and white LED backlighting. Gave it a much needed updated look, I felt the white looked more refined than all the colorful combinations I’ve seen online.

IMG_1093.jpeg

IMG_1094.jpeg

IMG_1095.jpeg
 

Forum statistics

Threads
129,239
Posts
1,812,626
Members
92,339
Latest member
Thekenstar
Top