66 Galaxie
Full Access Member
- Joined
- Sep 1, 2022
- Posts
- 234
- Reaction score
- 196
Where are people mounting resistors for LED taillight bulbs on '21-'22 Tahoes and Suburbans?
Disclaimer: Links on this page pointing to Amazon, eBay and other sites may include affiliate code. If you click them and make a purchase, we may earn a small commission.
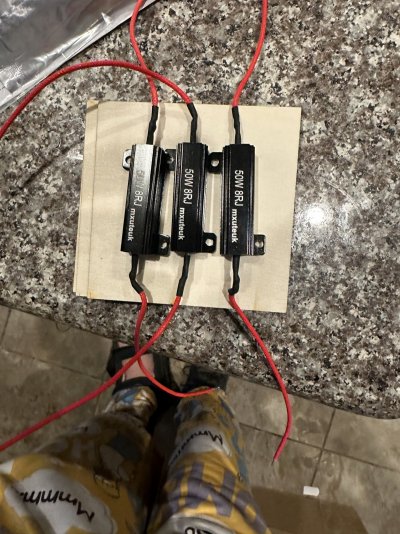
Ouch. Drilling into the body like that hurts to see. To each their own I suppose...Tahoes and Suburbans do not come with LED bulbs in the taillights for Brake, Turn or reverse. When switching the stock incandescent/filament bulb to LED you typically get error codes due to the electrical draw being less than stock so the system thinks there is a bulb out. The addition of appropriate sized resistor(s) creates the extra electrical draw to mimic the current used by the stock incandescent/filament bulb and not trigger a bulb out error code.
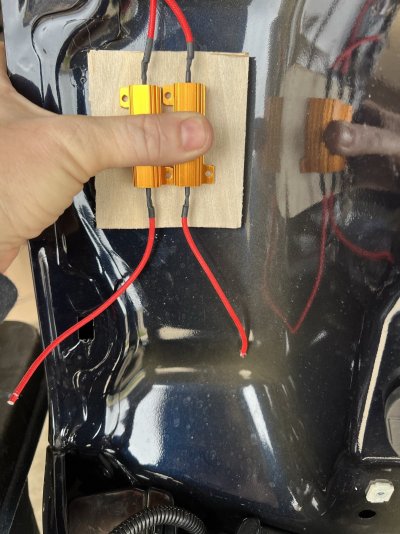
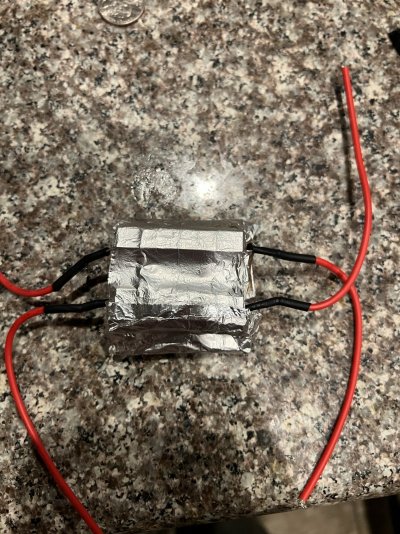
Here is a picture of one mounted for the right backup light before being connected.
View attachment 388076