- Joined
- May 9, 2018
- Posts
- 7,139
- Reaction score
- 13,928
All the different race cars I've worked on,.... during the specific track set up, we still used a string or measuring tape to double check.
Disclaimer: Links on this page pointing to Amazon, eBay and other sites may include affiliate code. If you click them and make a purchase, we may earn a small commission.
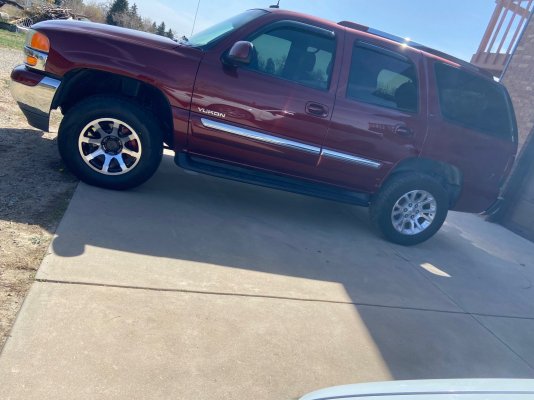
How bad are the dog legs?Dropped mine off to the body shop for rust repair on the rockers and "dog legs". Hoping for a quick turn around time because I'm missing valuable fishing time! As soon as it gets back from the body shop I'll be getting some savings together for the AMP power steps. Hoping to have those installed before the summer so my GF can stop falling out.
Just rusted on the edges towards the bottom, underneath everything is solid. The body shop tech said since I'm keeping it, might as well go ahead and get them replaced. All new metal for rockers and dog legs. $4000 and change.How bad are the dog legs?
The strip of metal between the rear wheel and the back door edge.What are the dog legs?


The strip of metal between the rear wheel and the back door edge.View attachment 369168View attachment 369167
I always thought the dog legs are the panels behind the rear wheels.

End play tolerance is .0015-.0078 in. so you should be good. That’s tested by moving the crank forward and backwards at a few locations as you turn it.Oh man, that makes me really wish I would have bought one without rust, lol.
So I checked my crankshaft thrust clearance today, and spinning the crank would make the dial move a couple thousandths, and I got readings between .0015 and .004 depending on where the crank was. I'm guessing that is in spec...
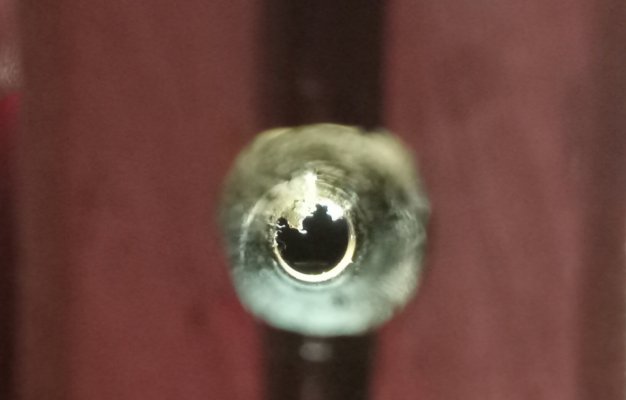
Decided to go ahead and pull the crank and cam back out to get this piece of "lint" by the number 4 cam bearings hole. Turns our it's a weird piece of casting or something, so I guess I'm gonna stick a magnet down there and maybe try to knock it off with a round file, idk
Picture is looking down from the crank bearing hole towards the cam bearing.
The first position I tested it in it was .0015, and I was a little worried being at the bottom end of the specs. I tried to measure the reluctor wheel wobble, whatever that's called, but I couldn't get the dial lined up, so I figured I would call it good for now, lol.End play tolerance is .0015-.0078 in. so you should be good. That’s tested by moving the crank forward and backwards at a few locations as you turn it.
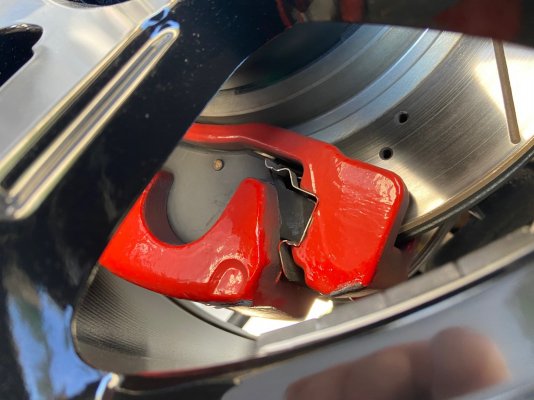
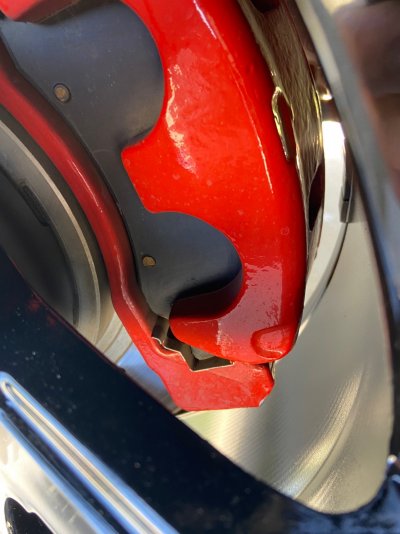
 Thankfully, with the help of my roommate, and his tools (hi-lift jack, and "lift mate" https://hi-lift.com/accessories/lift-mate/), we were able to release the wheel from the caliper -amazingly...
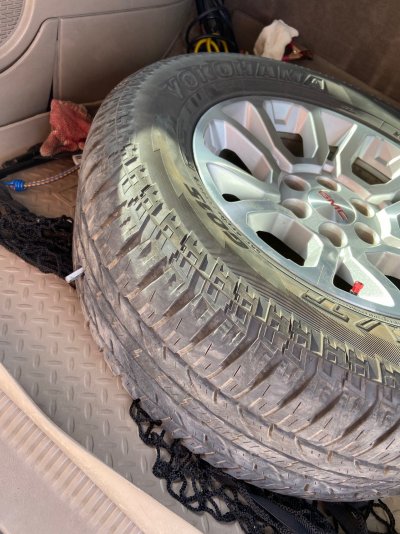
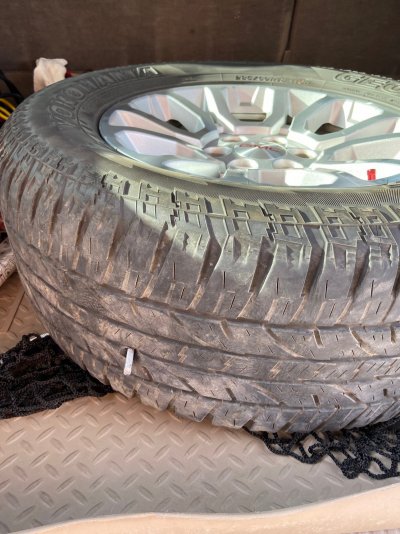
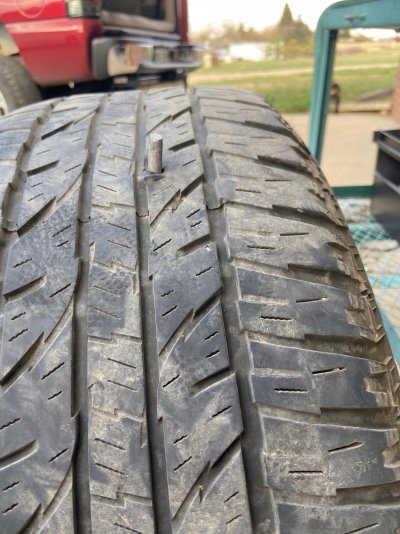
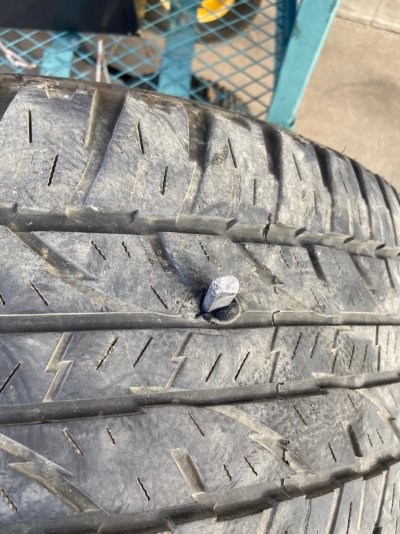
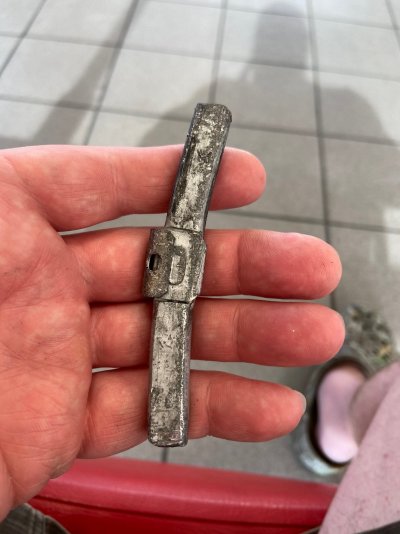
Here's what my tire ate.. I was planning to just plug it. but was unable to pull the offending wheel weight out without really tearing up the tire, so figured it would probably need to be replaced.. I headed to Discount today, and they have to order new tires (might as well get 2 right..?), which will not be here until Monday.. oh well, I needed a spare that fits, and hopefully will also fit in the spare location without issue.. I bought this cheapie 17", and a 265 / 70 17" for my new spare.. Damn good thing this happened close to home, and not out in the middle of my move to Tx..!Not today, but yesterday... I was driving back home, and just as I was turning into the dirt road I live on now, I heard the front tire run over something, and immediately after, that the awful thwhamp sound of the rear eating whatever the front threw in the air... argh..
Then, I installed my spare... Well, I had remembered the spare was a slightly different diameter from the 285 / 60 18 tires @ 265 /75 16.. although, a negligible difference, so I decided to move the rear spare up front, and put the front wheel out back.. what I had failed to recall.. was that I had installed the NNBS brakes, and they will NOT clear a 16" wheel... sooo... I didn't realize this until after torquing the spare onto the front, and thereby nearly welding it to the caliper..
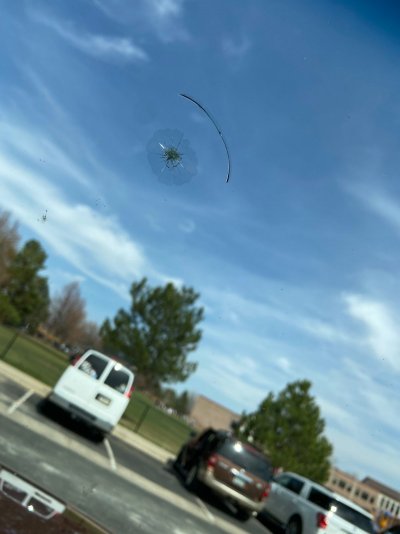
So I got the spare installed, everything properly torqued, and went for a spin, to ensure all was well, and no issues.... Oh, then a rock found my windshield.Here's what my tire ate.. I was planning to just plug it. but was unable to pull the offending wheel weight out without really tearing up the tire, so figured it would probably need to be replaced.. I headed to Discount today, and they have to order new tires (might as well get 2 right..?), which will not be here until Monday.. oh well, I needed a spare that fits, and hopefully will also fit in the spare location without issue.. I bought this cheapie 17", and a 265 / 70 17" for my new spare.. Damn good thing this happened close to home, and not out in the middle of my move to Tx..!
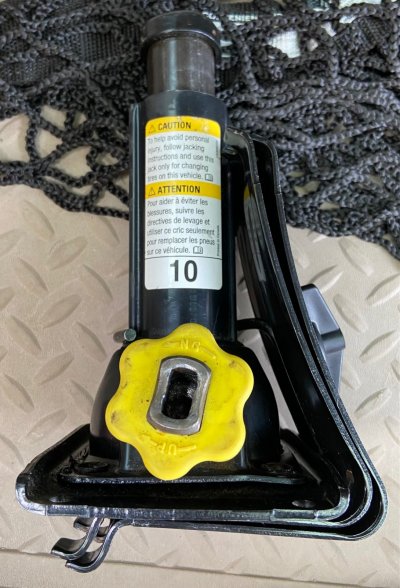
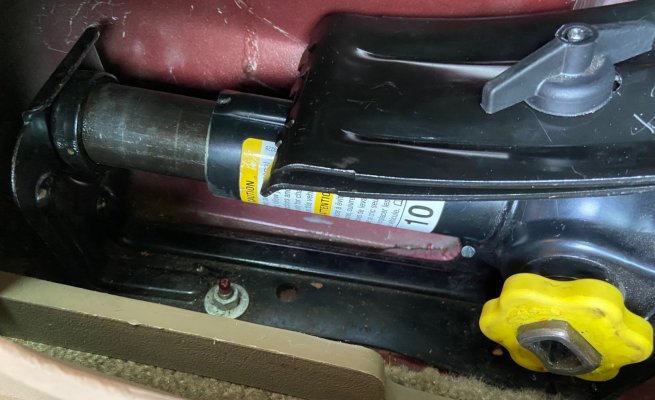
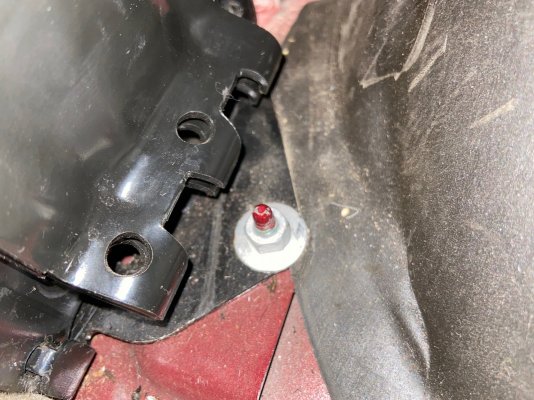
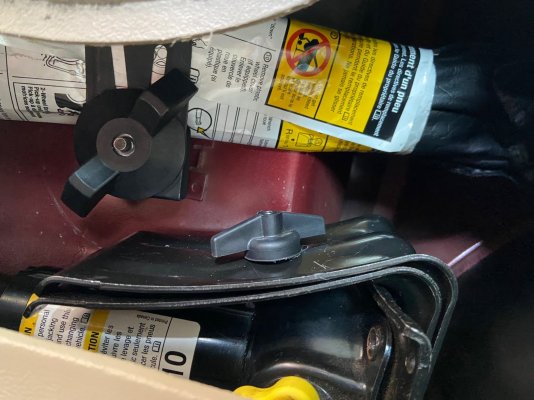
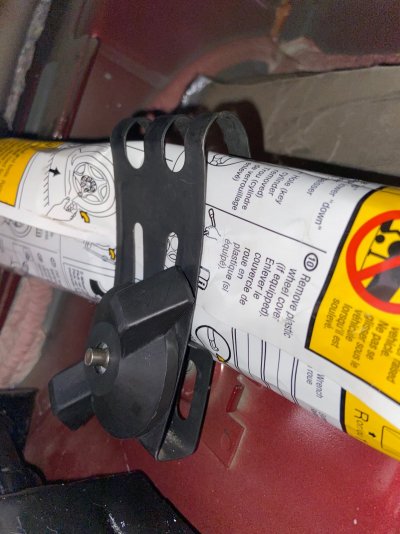
Ahem... so.. what the hell.. I've used the spare tool kit before, and had no idea how to properly reinstall it, so took the time today to figure that out.. what a PITA.. I didn't get much done on the Civic head gasket today.. I did get it back from the machine shop, and she's all ready, but I spent all my time on the stupid tire, so she'll have to wait a couple more days.. (looking at 5 properties in Tx tomorrow via facetime). So anyway, thought I'd share a couple pics of how I think this goes back together.. I know that I'm not the only one to ever suffer trying to put these parts back together the way they're supposed to be.So I got the spare installed, everything properly torqued, and went for a spin, to ensure all was well, and no issues.... Oh, then a rock found my windshield.
Your not the only one. Had the jack out once and when time to put it back, like you was confused on how it went. I stacked it all together and wrapped a couple microfiber towels around to prevent rattles. With your pics, I may try to put it in correctly now. Thx.Ahem... so.. what the hell.. I've used the spare tool kit before, and had no idea how to properly reinstall it, so took the time today to figure that out.. what a PITA.. I didn't get much done on the Civic head gasket today.. I did get it back from the machine shop, and she's all ready, but I spent all my time on the stupid tire, so she'll have to wait a couple more days.. (looking at 5 properties in Tx tomorrow via facetime). So anyway, thought I'd share a couple pics of how I think this goes back together.. I know that I'm not the only one to ever suffer trying to put these parts back together the way they're supposed to be.
Thanks. Yeah, still not 100% sure it's in there correctly, but it works, is tight with no rattles, and things appear to be properly where they belong. Works for me!Your not the only one. Had the jack out once and when time to put it back, like you was confused on how it went. I stacked it all together and wrapped a couple microfiber towels around to prevent rattles. With your pics, I may try to put it in correctly now. Thx.
Reduced wandering was what I was after. With zero toe I noticed that wind could blow me around on the highway, and road aberrations sent me off-course more than I liked.
The 1/2 rotation cleaned that up nicely. I am gonna go another 1/4 each and see how that is.
Thanks. Yeah, still not 100% sure it's in there correctly, but it works, is tight with no rattles, and things appear to be properly where they belong. Works for me!