Weatherstripping 2011 Tahoe LTZ

Disclaimer: Links on this page pointing to Amazon, eBay and other sites may include affiliate code. If you click them and make a purchase, we may earn a small commission.

The Grey Beast

Full Access Member
Joined
May 11, 2023
Posts
233
Reaction score
168
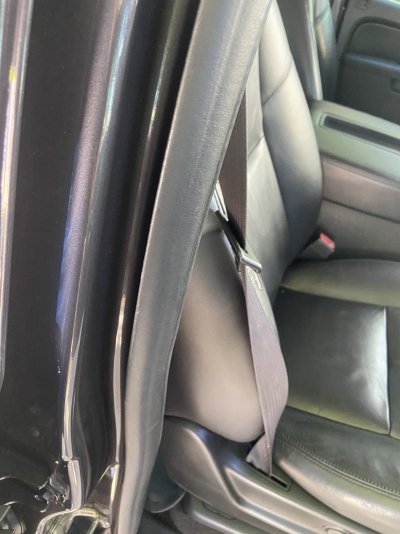
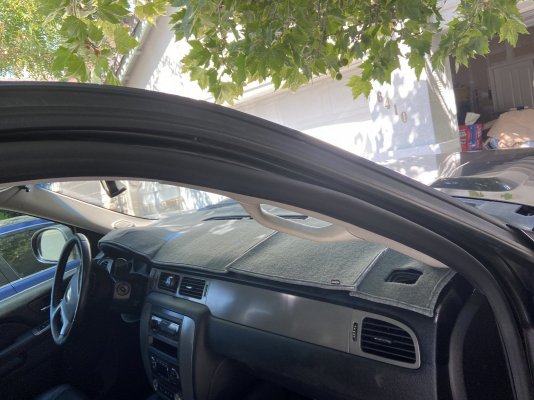
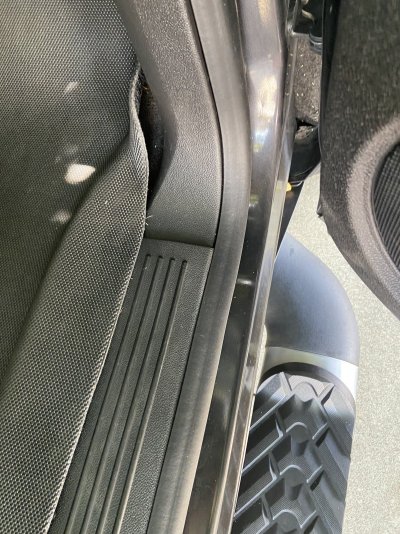
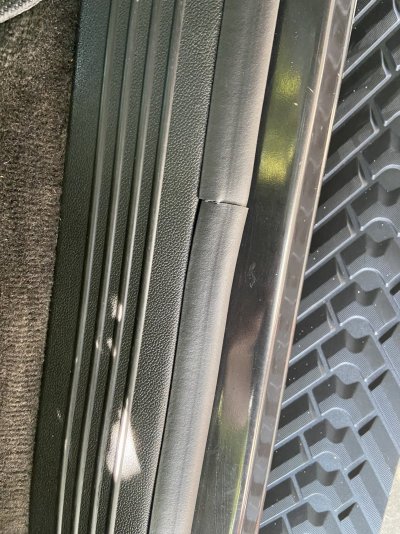
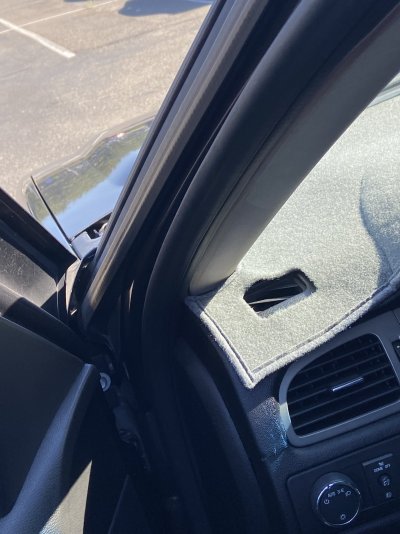
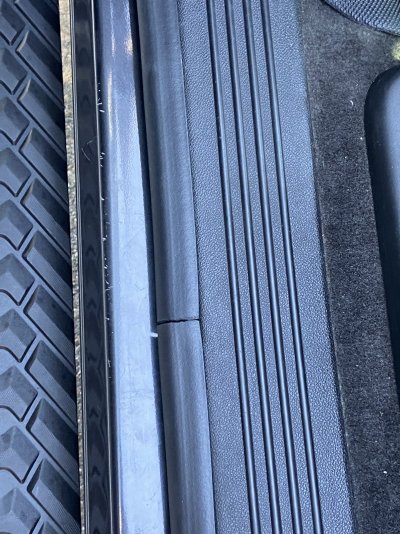
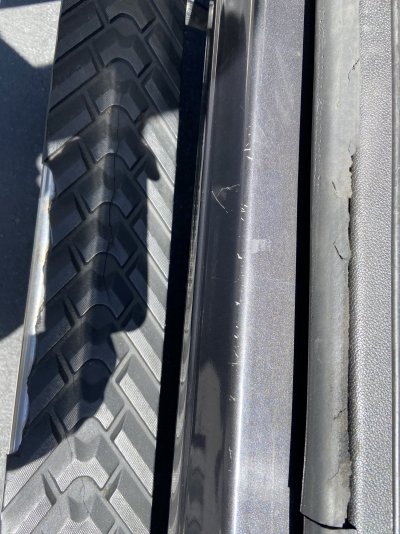
So I was very very frustrated. I took the old weatherstripping off a 2011 Tahoe and replaced it with OEM part on the drivers side. Removed the fuse box cover. The panel to the hood latch and the plastic floor board over the weatherstripping. I placed the new weatherstripping and had a devil of a time putting in properly and all back together. Well I got everything together but I can hear the wind driving on the freeway. So I looked up old posts and I think I put it in wrong. Backwards perhaps. Is adhesive recommended or required? Any suggestions? Tutorials that one could read or look at. Felt like a fool and wasted valuable time. I hate towing to the dealer. I’m a single dad with 3 kids at home.

Thank you.

Ken
 
OP
OP
The Grey Beast

The Grey Beast

Full Access Member
Joined
May 11, 2023
Posts
233
Reaction score
168
Lol I was right. I put the weatherstripping on backwards. I did break the one part but it still functional. I changed it at night around 1:30 am. No 7/11 run this time. It buzzed me the whole time I was at work that I had it on wrong. I was determined to get it right. The one thing was I trimmed one wedge. Took an inch off and it had a gap of the same length. Just pulled or stretched it together and it looks fine. Now I have the passenger side to do. Huh wish me luck.

Thanks for all the overall support.

Ken
 
Joined
Apr 11, 2018
Posts
7,124
Reaction score
14,375
Location
St. Louis
Are you talking about the continuous rubber piece that goes around the door opening on the body?

That one just presses on and starts/finishes at the bottom, next to the seat. There should be a little tube sticking out about an inch on one end that gets inserted into the other end where they meet to help keep it together at the seam.

Just start at the bottom and press it on working forward and up to the dash, A-pillar, roofline, down the B-pillar, then meet up at the bottom. Use your palm or even a rubber mallet to press/pound it onto the lip while installing it around the opening and pay close attention in the corners and make sure it's pushed on all the way.
 
OP
OP
The Grey Beast

The Grey Beast

Full Access Member
Joined
May 11, 2023
Posts
233
Reaction score
168
Are you talking about the continuous rubber piece that goes around the door opening on the body?

That one just presses on and starts/finishes at the bottom, next to the seat. There should be a little tube sticking out about an inch on one end that gets inserted into the other end where they meet to help keep it together at the seam.

Just start at the bottom and press it on working forward and up to the dash, A-pillar, roofline, down the B-pillar, then meet up at the bottom. Use your palm or even a rubber mallet to press/pound it onto the lip while installing it around the opening and pay close attention in the corners and make sure it's pushed on all the way.
Yes it’s the weatherstripping one pice that goes around the door. I was able to reverse my weatherstripping and make it work on the drivers side. A rubber mallet is a good idea. I am lacking in proper tools. I cut a pice off on the passengers side too. It’s all good but I would have liked to have that mallet.

Thank
You

Ken
 
OP
OP
The Grey Beast

The Grey Beast

Full Access Member
Joined
May 11, 2023
Posts
233
Reaction score
168
Lol I was right. I put the weatherstripping on backwards. I did break the one part but it still functional. I changed it at night around 1:30 am. No 7/11 run this time. It buzzed me the whole time I was at work that I had it on wrong. I was determined to get it right. The one thing was I trimmed one wedge. Took an inch off and it had a gap of the same length. Just pulled or stretched it together and it looks fine. Now I have the passenger side to do. Huh wish me luck.

Thanks for all the overall support.

Ken
Some photos.

Ken
 

Attachments

  • IMG_2912.jpeg
    IMG_2912.jpeg
    267.2 KB · Views: 35
  • IMG_2911.jpeg
    IMG_2911.jpeg
    310.9 KB · Views: 30
  • IMG_2910.jpeg
    IMG_2910.jpeg
    505 KB · Views: 36
  • IMG_2909.jpeg
    IMG_2909.jpeg
    507.2 KB · Views: 31
  • IMG_2908.jpeg
    IMG_2908.jpeg
    257.6 KB · Views: 37
Joined
Apr 11, 2018
Posts
7,124
Reaction score
14,375
Location
St. Louis
One thing you'll notice with the new weatherstripping is that you'll have to put a bit more effort when closing the doors to get them to close all the way
 

alpha_omega

Full Access Member
Joined
Mar 15, 2017
Posts
986
Reaction score
1,737
Location
Michigan
If you guys ever have any issues with them leaking air, you can add some rubber tube to the inside of the weatherstripping. I used warm soapy water to help add the tubing.
 

Forum statistics

Threads
137,748
Posts
1,991,145
Members
102,737
Latest member
048tahoe
Back
Top