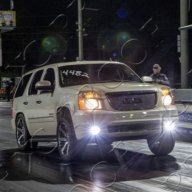
Randeez 2012 Budget Yukon Denali Build (stick on hood scoops galore)

Disclaimer: Links on this page pointing to Amazon, eBay and other sites may include affiliate code. If you click them and make a purchase, we may earn a small commission.

OP
OP
randeez

randeez

Full Access Member
Joined
Sep 29, 2017
Posts
8,187
Reaction score
25,924
Location
south florida
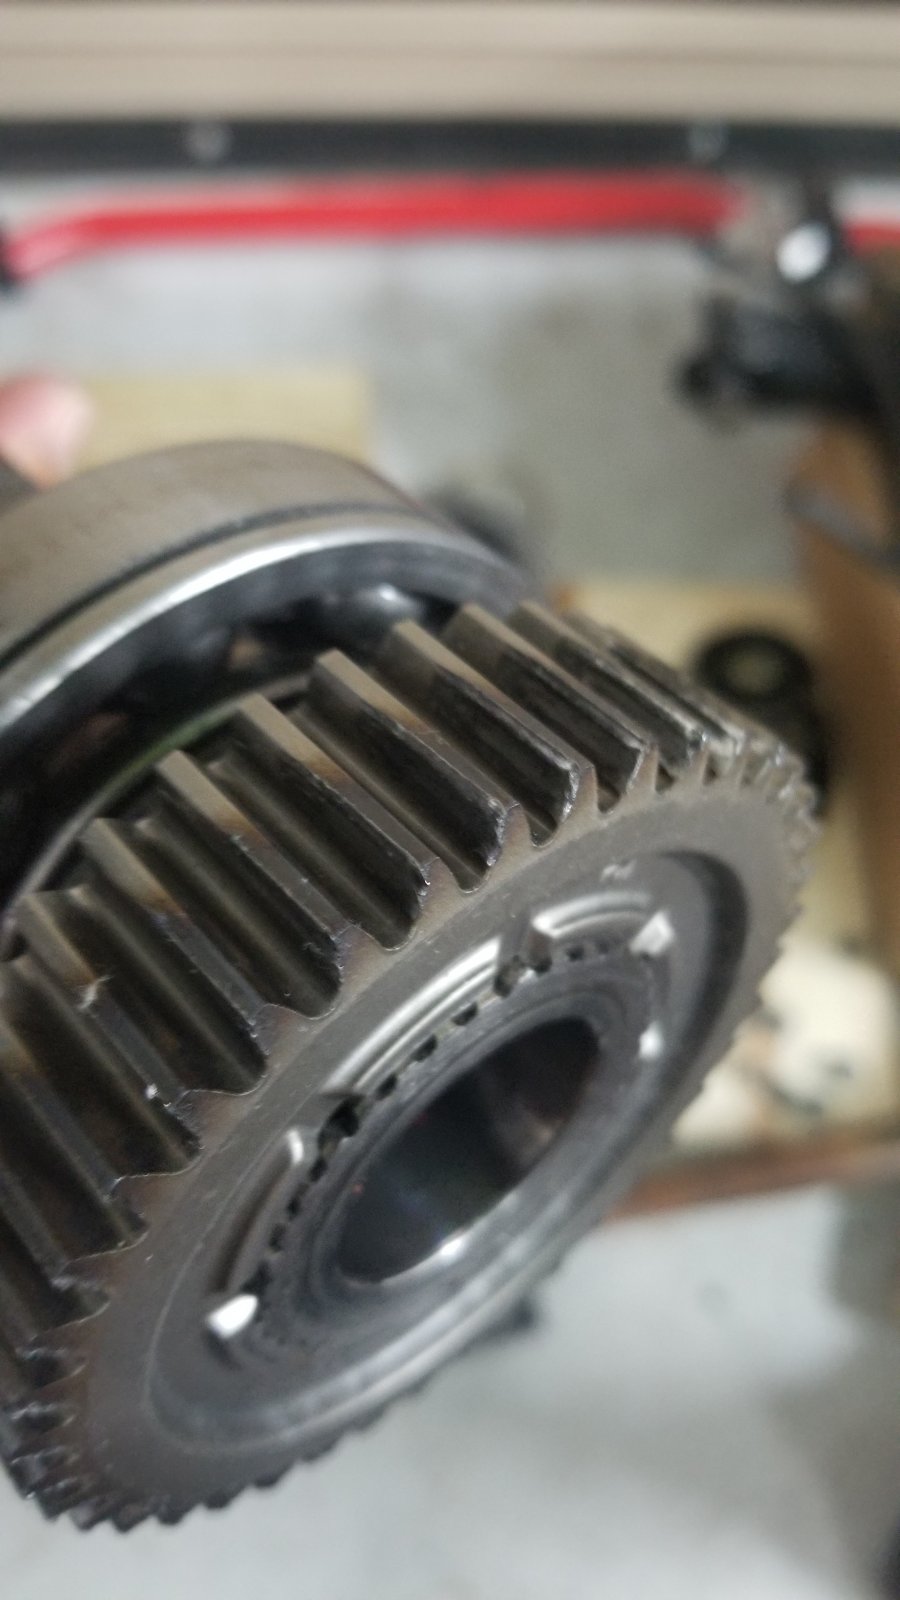
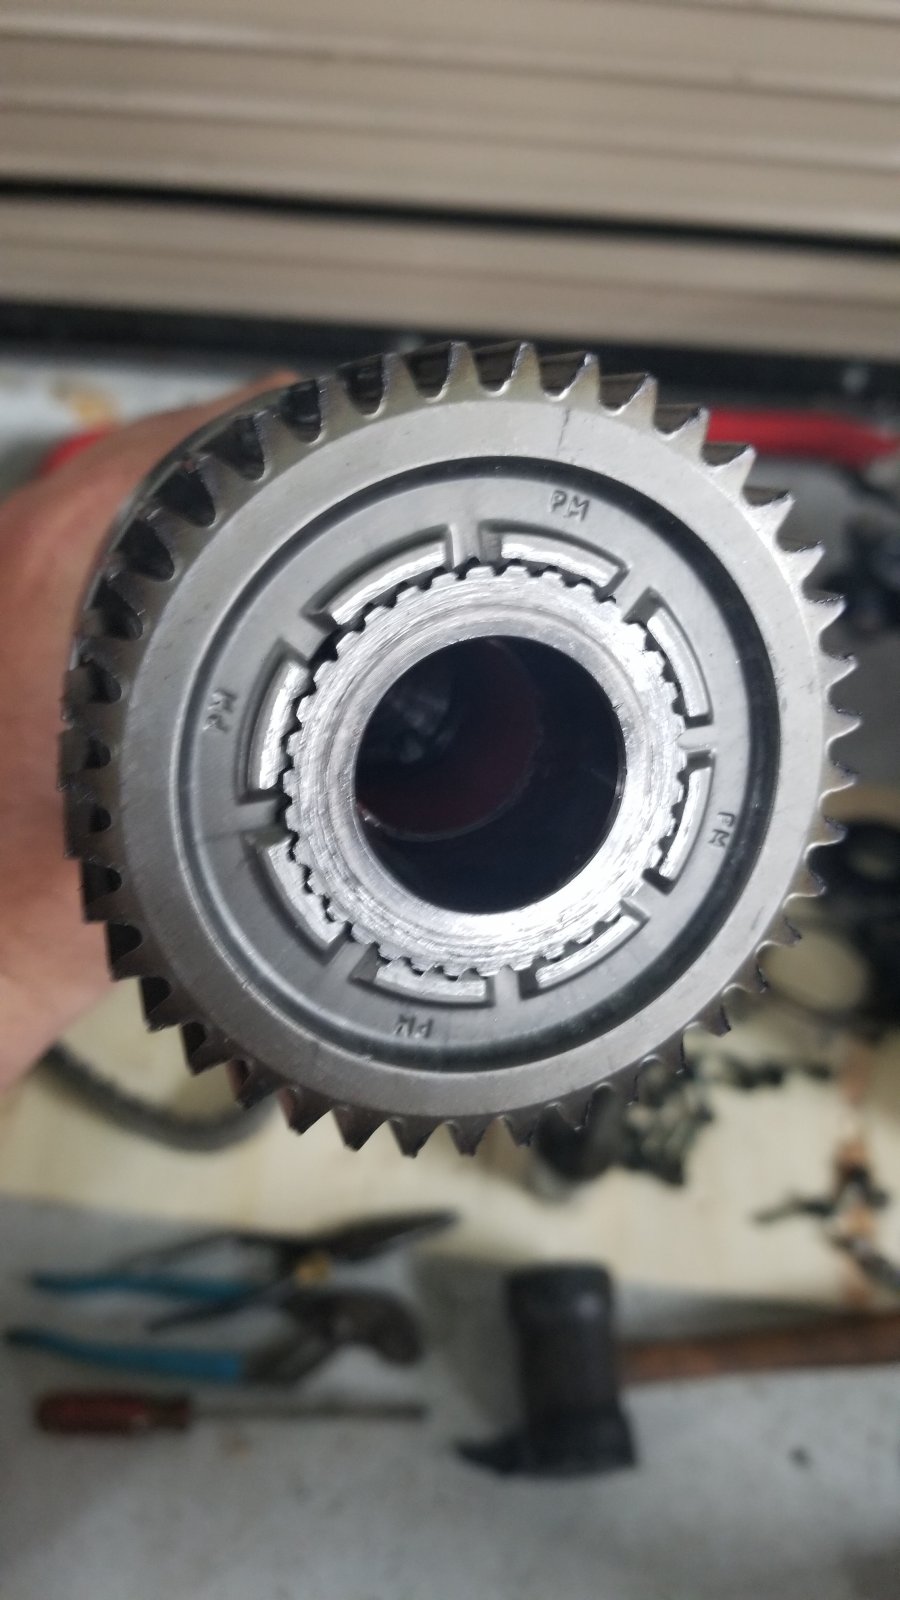
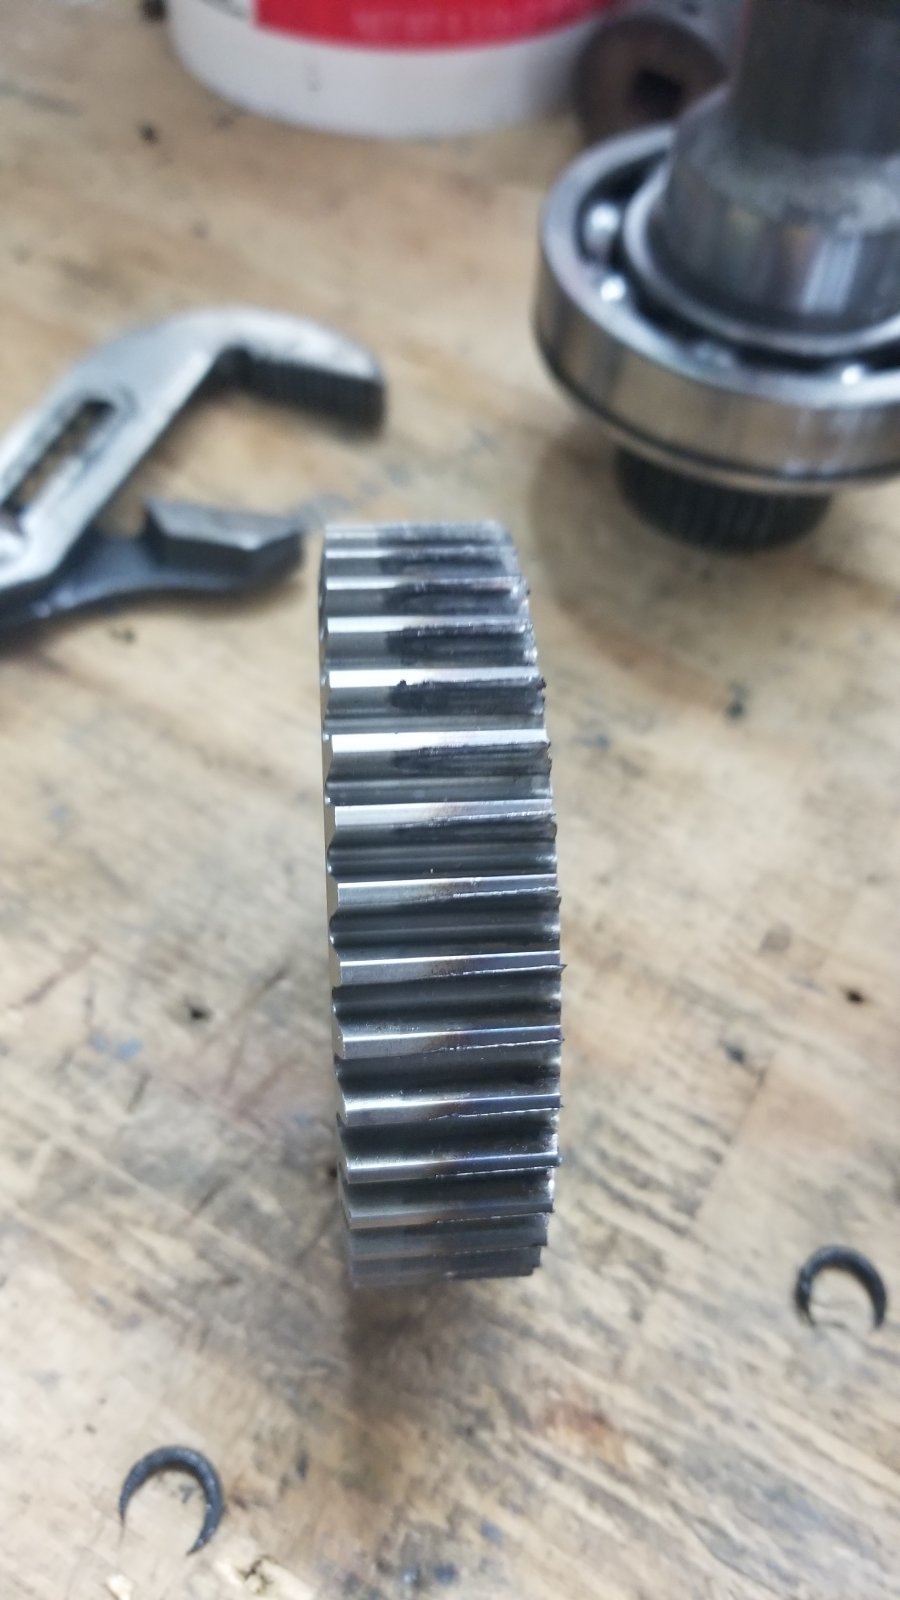
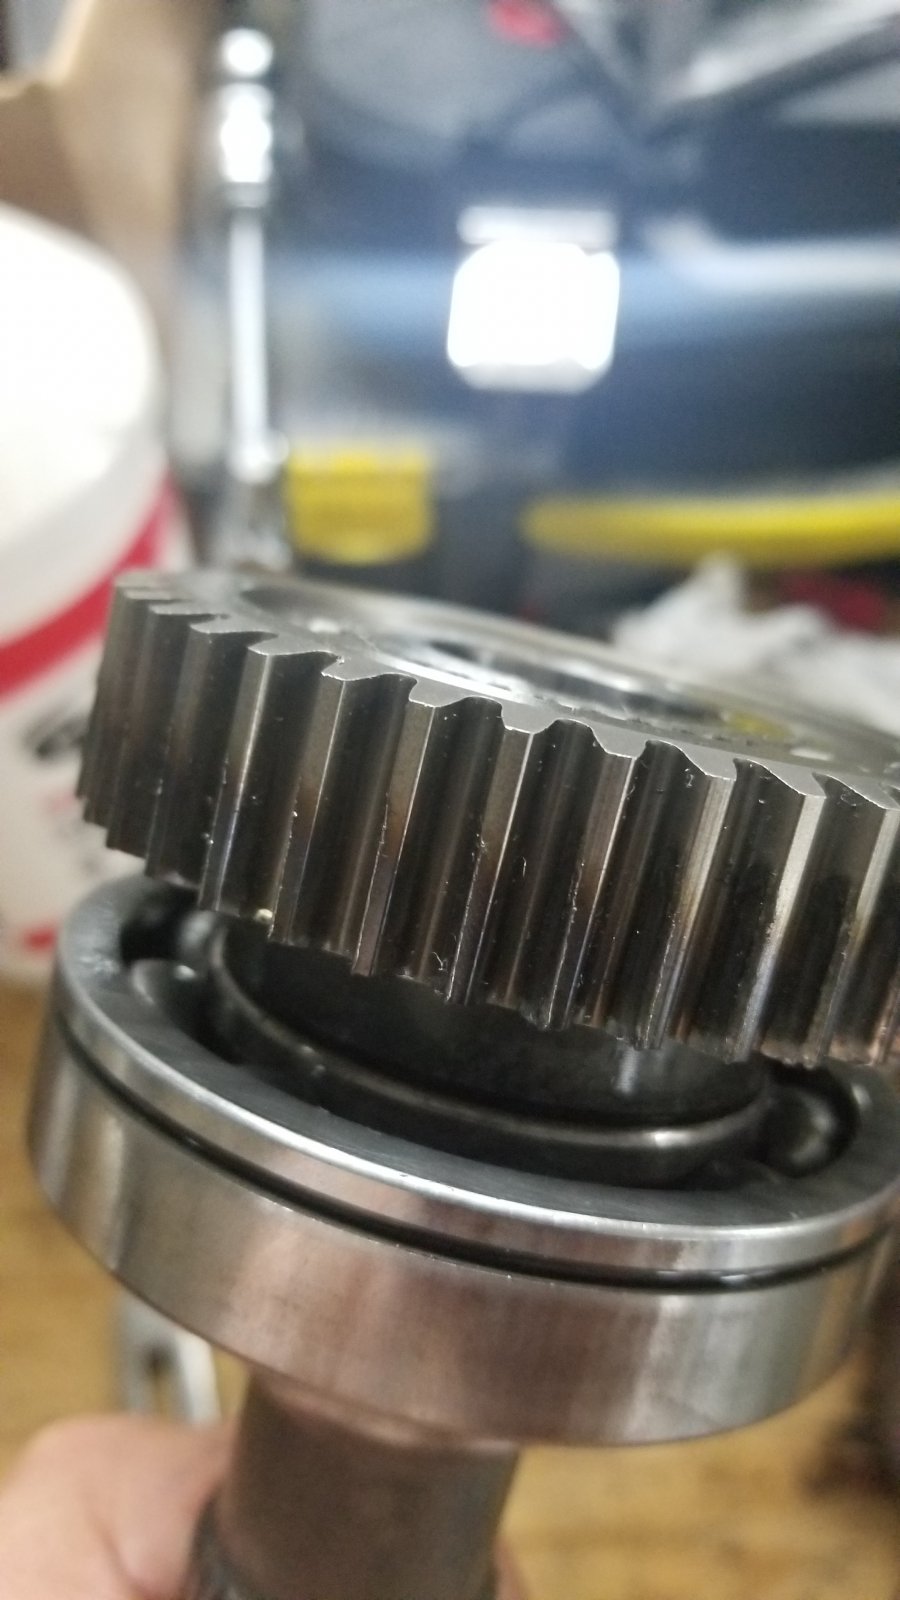
upon closer inspection...appears there is a little wear on the rear output gear.
Soo i pulled it off and flipped it over lol should work fine, it only contacts about 60% of the gear anyway it looks like
20190506_194505.jpg
20190506_194501.jpg
20190506_200001.jpg
20190506_200111.jpg
 

PG01

Elite Member
Supporting Member
Joined
Nov 6, 2016
Posts
15,919
Reaction score
21,828
Location
Up here to the right

bigfootchiro

Full Access Member
Joined
Jan 31, 2017
Posts
1,471
Reaction score
2,007
Location
Largo, FL
OP
OP
randeez

randeez

Full Access Member
Joined
Sep 29, 2017
Posts
8,187
Reaction score
25,924
Location
south florida
Started on hydroboost and its not going as smoothly as id hoped

so far the vac booster was easy to pull, 4 bolts thru the firewall and a bolt/clip holding the plunger. stock master cyl is just two bolts to it - the master cylinder i got accepts *my* stock brake lines. AC Delco 174-1189 it looks like there are 12mm and 14mm threaded hydroboost master cyls, but also suvs some come 12mm or 14mm flared fitting.
i planned on completely bleeding and replacing all my brake fluid so not much concern on keeping it closed up thru this.

the pedal - this is where the fun started. difference between HB pedal and non is the pin for the plunger is in a different location. i picked up a pedal for a 2500 yukon that also had adjustable pedals (cause mine also does) they sent somewhat of an assembly that would have been pretty easy to swap if it werent for the steering column in the way and i didnt really feel like doing all that, scratch that idea. second easy method i hoped i could do. the location of the HB pin is there on my nonHB pedal, the pin i thought was just riveted/gnarled over so i could grind the gnarl, drill/tap the other side of the pin, and simply install just the pin on my stock pedal, but after grinding the rivet end off and not being able to remove it - turns out it is also welded between on the pedal, so i still need to use the entire pedal. it has a bolt thru the top of the assembly , crushed steel locknut, not much room under the dash so it's 1/12th of a turn at a time to remove it, have to blindly hold one side of it on top of the assembly. what i assume is the brake light switch uses a welded tab on my stock pedal, this is not on the HB pedal so i had to drill out some welds and break it off my stock pedal, lay it out and weld it to the HB pedal in the same spot.

the hydrobooster itself has 3 of the 4 same bolt locations thru the firewall as the vac booster, the 4th one is different. no clue wtf they do to put the studs thru the hydrobooster but i beat the hell out the 4th one with a mini sledge, c-clamped, tried to unthread it, no idea but its real close to just getting cut off and i'll just nut/bolt the 4th one.

pedal im going to swap over a bushing from my stock one since its in a lot better shape, otherwise pedal is ready to go back in. hydrobooster/master cyl and brake lines should go back in easy. i grabbed the oem hydraulic hoses so power steering pump to hydrobooster should work fine. the HB to steering rack hose im going to have to get something made joining them on the flex section as the rack doesnt use any kind of fitting i can adapt to.
 
OP
OP
randeez

randeez

Full Access Member
Joined
Sep 29, 2017
Posts
8,187
Reaction score
25,924
Location
south florida
bearings/seals/chain for the transfer case should be here tomorrow i think so i'll throw it back together, wanted to clean up the case - any good products for bare aluminum or just brake clean it?

called rossler to check on two things: the output shaft, said theyre building it with standard length 4x4 output shaft (3") so good there. and going from a 6l80 truck on the column is only PRNDM- 4speed trucks use PRND321, so i will only be able to pull the trans down into 3rd and wasnt sure if i could use the transbrake (if i wanted to) but they said their D3 transbrake works dropping it into 3 which is the only gear i can "drop" the shifter into. never really big into roll racing so not being able to drop it into 2nd isnt to big of a deal to me. i think i can program the tow/haul button to hold 2nd gear if i find i ever really need to.
 

Sam Harris

Elite Member
Supporting Member
Joined
Sep 26, 2018
Posts
7,445
Reaction score
14,977
Location
Texas
bearings/seals/chain for the transfer case should be here tomorrow i think so i'll throw it back together, wanted to clean up the case - any good products for bare aluminum or just brake clean it?

called rossler to check on two things: the output shaft, said theyre building it with standard length 4x4 output shaft (3") so good there. and going from a 6l80 truck on the column is only PRNDM- 4speed trucks use PRND321, so i will only be able to pull the trans down into 3rd and wasnt sure if i could use the transbrake (if i wanted to) but they said their D3 transbrake works dropping it into 3 which is the only gear i can "drop" the shifter into. never really big into roll racing so not being able to drop it into 2nd isnt to big of a deal to me. i think i can program the tow/haul button to hold 2nd gear if i find i ever really need to.
Damn that’s a lot of work! Keep up the good stuff!
 
OP
OP
randeez

randeez

Full Access Member
Joined
Sep 29, 2017
Posts
8,187
Reaction score
25,924
Location
south florida
You bought the Apple one?!

i guess i have no choice but to buy that one. hoping right part comes in because searches either turn up the one i pictured above (i need) or a different sliding style one that looks like its just a min/max switch for the adjustable pedals aka pedal position switch.

starting to miss my hotrod :nono: glad you dumbasses encouraged me to just start fixing it asap :kiss1:

PCM of NC harness came in, its about 99% plug and play - the 6l80 uses only a round plug, this harness has the female side of that plug broken out to the 2 plugs for the 4l80 and just needs 2 wires spliced/terminated to the pcm. their directions just say plug it in and read the tune lol so hoping all goes smooth.

i really want to clean up the wiring in the engine bay, remove (or atleast tie back somewhere) some of wiring not used anymore (rear o2, vlom...re route the stuff that has moved front o2s, maf, battery amperage, prob some more stuff. may wait tho kinda want to move coils off of the valve covers, different intake, but want to repin connectors and crap, have to reloom everything after, more i think about it less i want to do it , so thatll prob wait.

am still hunting the transfer case rear output bushing, have ordered two so far with no luck, last one looked like i had it whipped, matched right up to the destroyed one removed. cleaned up the case halves this afternoon - was going to install the rear output (bearing on it doesnt get changed) in the case. went to put the bushing in first anddddd its just not the right one, can push the bushing straight thru. still at a standstill, bearings/seals/chain not going to be here untill tuesday it looks like so no big deal really.

 
OP
OP
randeez

randeez

Full Access Member
Joined
Sep 29, 2017
Posts
8,187
Reaction score
25,924
Location
south florida
Not much doin...I'm going to prob move fuel pressure regulator next to hydro boost, route fuel lines a little different and need to secure them under truck still. They ran behind the aux trans cooler before it will prob no longer be there
20190511_164023.jpg

20190511_164034.jpg
 
OP
OP
randeez

randeez

Full Access Member
Joined
Sep 29, 2017
Posts
8,187
Reaction score
25,924
Location
south florida
Waiting on bushing for transfer case rear output, new bearings and about all the seals are in. The rear output shaft has a retainer that holds it to the back half of the case but should go back together pretty easy
Got that brake pedal position switch in also, it sucked was about ready to pull the drivers seat so I could get two hands under but I managed to get it
and torque converter is done/paid and on its way back.
20190515_181229.jpg
20190515_181224.jpg
20190515_181230.jpg

20190515_214322.jpg
 
Last edited:
OP
OP
randeez

randeez

Full Access Member
Joined
Sep 29, 2017
Posts
8,187
Reaction score
25,924
Location
south florida
Finally found the right bushing after 3rd or 4th? Try. Something stupid but I can finish putting tcase back together. Need to find some cups to draw the bushing in...I dont think hammering is going to work on it. Picture of one of the other bushings that didnt work, so close but wrong one.
20190516_214225.jpg
20190516_214300.jpg
20190516_214256.jpg
 
OP
OP
randeez

randeez

Full Access Member
Joined
Sep 29, 2017
Posts
8,187
Reaction score
25,924
Location
south florida
disconnected fuel lines to the regulator, going to run them a little differently, they will prob end up shorter so i need to redo the ends. :emotions122:
i started laying out the hoses for the hydro boost, the factory hose from pump to brake booster is too long, kind of odd but it may be with the 2500 frame being taller that the booster to the pump is a different length, need to stop by hose place and see if they can open the existing crimp, shorten, and reuse.
the other, hose booster to steering rack, looked like i should be able to cut and join each side in the flexible hose will prob look kinda halfassed though so not sure what i want to do - the hardlines look like standard 3/8" not sure how much pressure is really on it i could prob change it over to AN with a compression adapter, use braided line and flar adapters at the hydroboost unit.
 
OP
OP
randeez

randeez

Full Access Member
Joined
Sep 29, 2017
Posts
8,187
Reaction score
25,924
Location
south florida
Bushing done and case back together...nowwww I wait
Knock for 1-1/4 i think conduit fit inside and caught perfect

also theres two grooves and a notch in the bushing.... after i installed the thing i thought - huh maybe that is supposed to line up with the opening at the bottom to allow dexron to drain lol. the old one wasnt lined up either so not to worried about it
measured the amount that the output sticks out from the tcase... will need to know when i order driveshaft
20190517_181636.jpg
20190517_184247.jpg
20190517_181121.jpg
20190517_181442.jpg
20190517_181433.jpg
 
Last edited:
OP
OP
randeez

randeez

Full Access Member
Joined
Sep 29, 2017
Posts
8,187
Reaction score
25,924
Location
south florida
just a heads up
ac delco - dexron vi 1 gal for $19/ea on amazon? seems like a pretty good deal, i grabbed 3 gallons. between trans and t-case i'll prob need even more.

seem to remember paying $8+/qt last time i changed filter
 
OP
OP
randeez

randeez

Full Access Member
Joined
Sep 29, 2017
Posts
8,187
Reaction score
25,924
Location
south florida
Boredness....

Should have enough wire to tuck it all back. Was bothering me after moving maf, o2, rcv going to repurpose/repin the vlom wiring for the flex fuel sensor. Driverside front o2 is always a nightmare to plug in cause the tail from harness comes from above the trans so I'm moving it closer to where it is in the crossover
20190518_193743.jpg
20190518_193740.jpg
20190518_193749.jpg
 
Last edited:

Forum statistics

Threads
138,101
Posts
1,999,130
Members
103,029
Latest member
brice715
Back
Top