AzCoronaDog
TYF Newbie
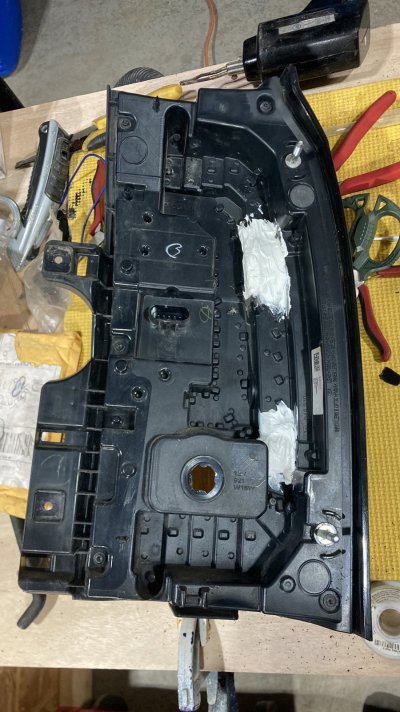
I just bought a 2017 Yukon XL Denali and I discovered the passenger side brake light was not working. (Shame on the dealer for not catching this!)
What would have been a $2 bulb on my 1990 Suburban is a $500+ assembly on this one!
So, Google being my best friend, I discovered this is a common problem for this model series. A manufacturing defect in my opinion, but GM will never admit that.
I also discovered you can fix it yourself pretty easily, or at least try before you shell out the big bucks.
I found a good YouTube video (after I did it the harder way carefully removing the lens... LOL), titled "2016 GMC Yukon LED Brake Light Repair"
Here is the link:
Be sure to watch it all the way through, the guy realized he should have been neater about sealing the holes.