CheatCodeSlim
Member
- Joined
- Jul 12, 2021
- Posts
- 50
- Reaction score
- 63
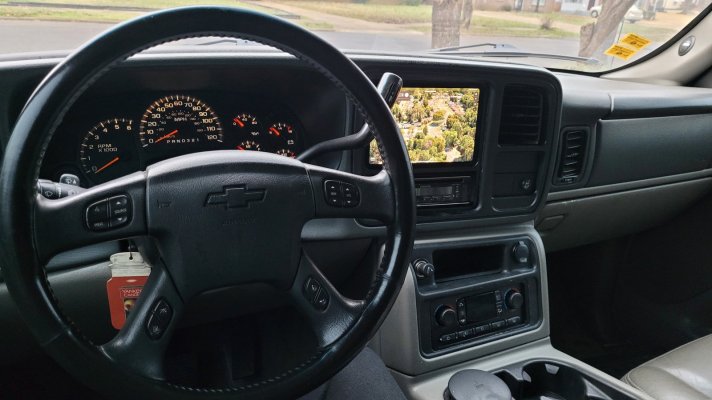
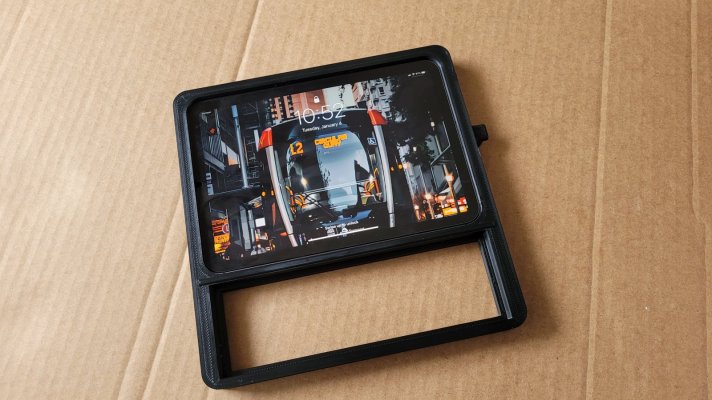
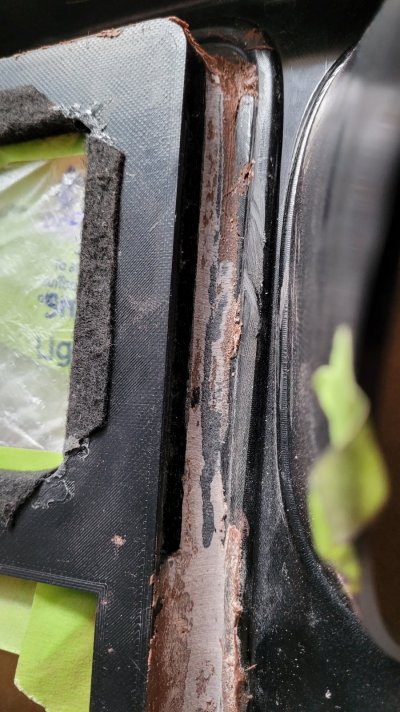
I wanted to go the typical route of a doule din in my dash but I just hated the idea of another big bulky box in the dash. So I searched aroynd and foynd alot of ppl who used an ipad or an ipad mini as their "entertainment center" so i looked into it. I saw a few guys going the route of fiberglass (which didn't interest me in the least), others basically molded it to the from of the dash bezel (hated how it looked and a couple even blocked the a.c. control module). I got tired of seeing those as the only options or the only way to do it, so I 3d printed my own along with an AC relocation bracket (all parts are available if anyone needs them). It does take some "Fab" knowledge and some wiring but I can't complain about the (almost) finished product. It also slides in and out and has a charging port that attatches to my headunit. ***The video is PRE AC control relocation bracket***
View attachment 344671View attachment 344672
View attachment 344670
Let,me know what you guys think
View attachment 344671View attachment 344672
View attachment 344670
Let,me know what you guys think