i put mine up in the engine area as far as i could, without it getting too close to anything hot (or moving haha). there are a couple places to zip tie them under the extra battery compartment and same on the other side. For me thats what took the longest. It took about 30 minutes for all the bulbs but about 2 hours to find the best place for the ballasts to go. I just wanted mine to be fully secure without moving or banging around. Zip ties are the greatest!
zipties are the best! yeah I figured thats what would take the longest. you get a little bit of slack but not mush with these things. might give mine a try today. they have been sittin around forever


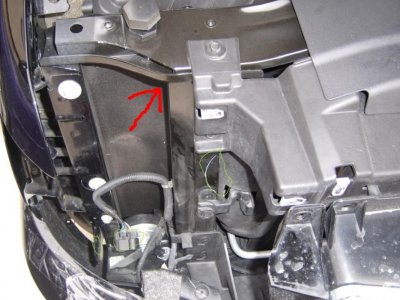
 , Ill take pics of mine soon but I also used the tape and zip ties to ultra-secure it.