_GMAN_
Full Access Member
- Joined
- Aug 25, 2024
- Posts
- 129
- Reaction score
- 156
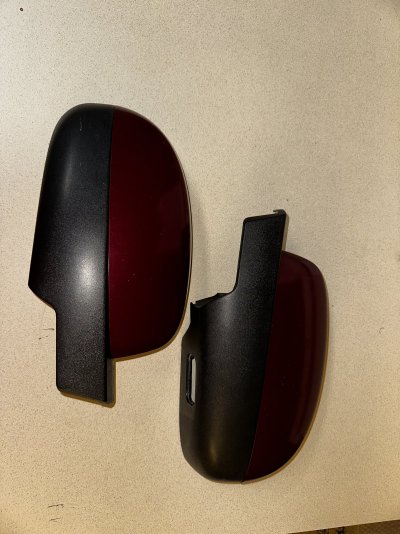
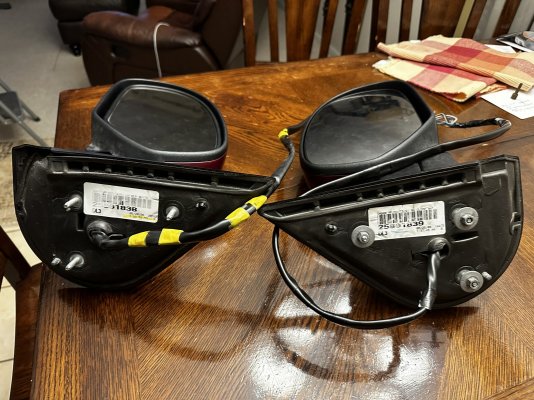
the best thing about owning an older vehicle is the ability to to tinker, and knowing there is an abundance of spare parts. I completed my power folding mirror upgrade in a previously thread. I now have two sets of DL3 mirrors, both of which the motor was fried. I decided to replace the motors since they aren’t that expensive. there’s ’a a YouTube video by Dan’s Garage NC fixing the mirror on his Yukon. I used that for reference. First I took the outer cover assembly off
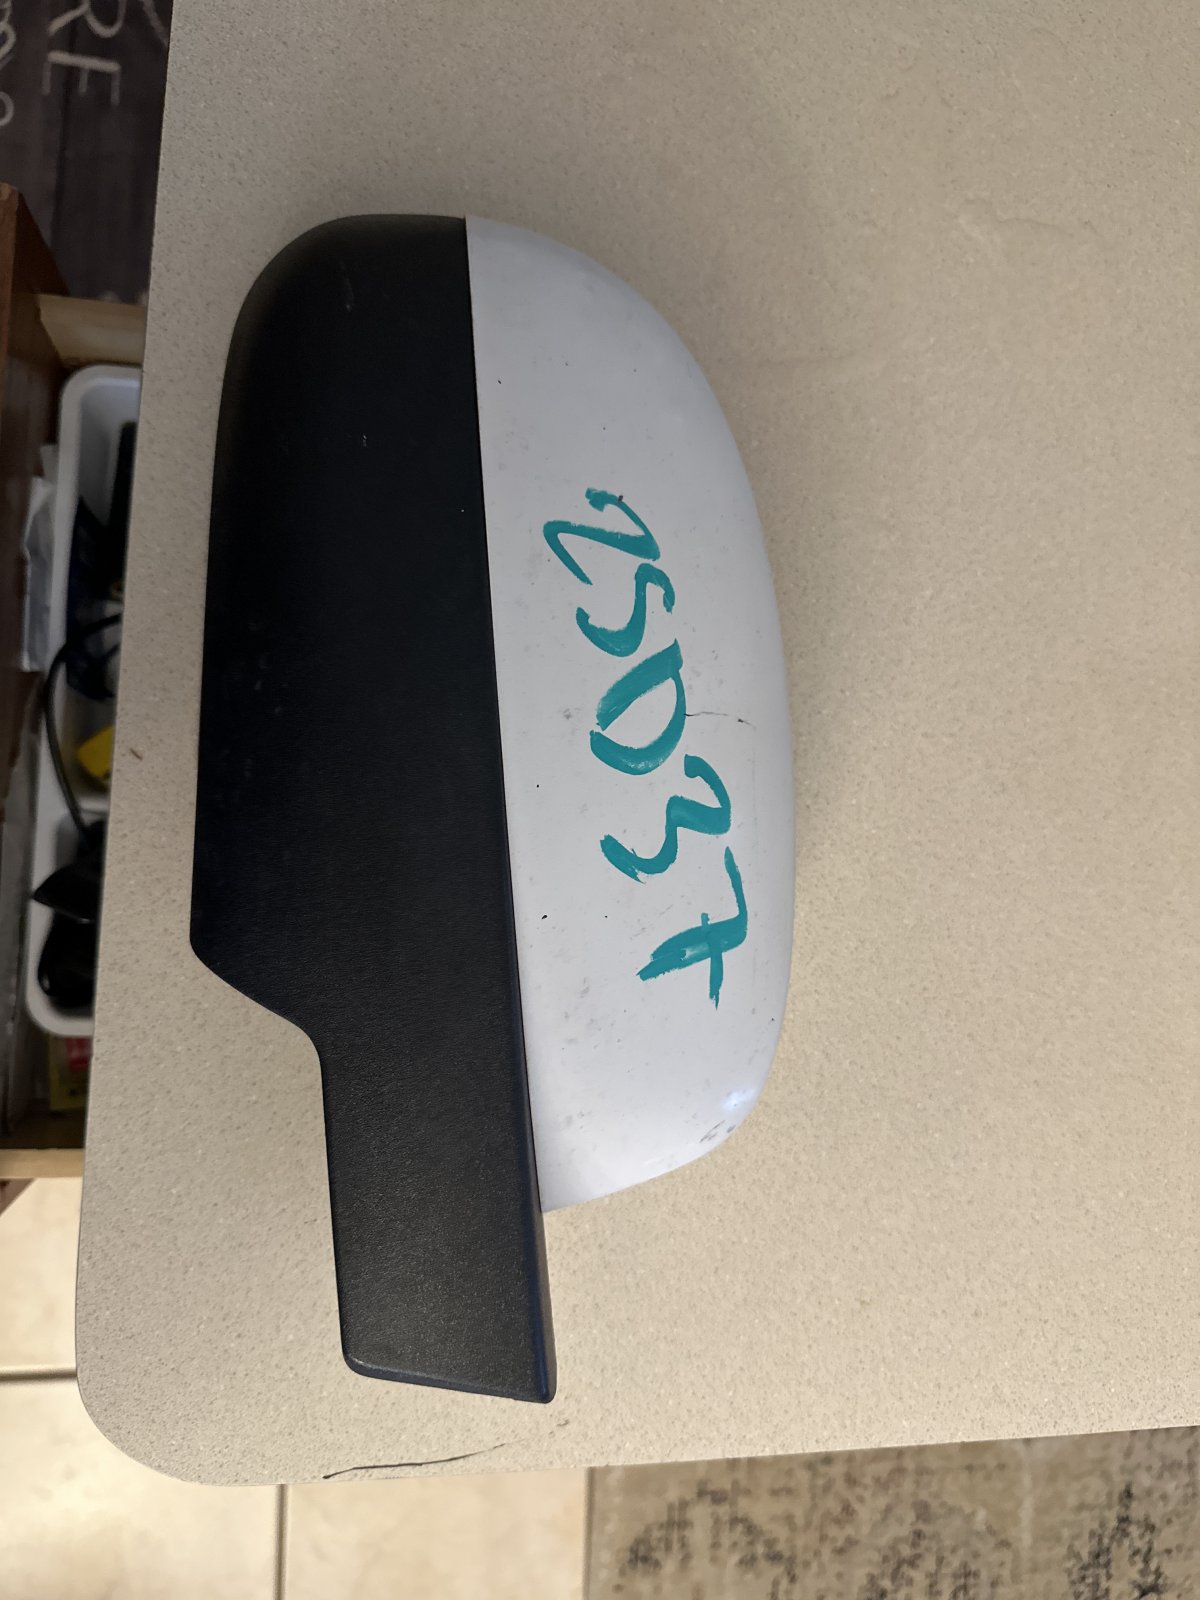
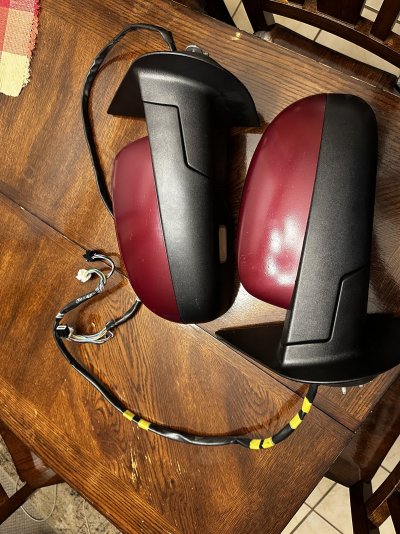
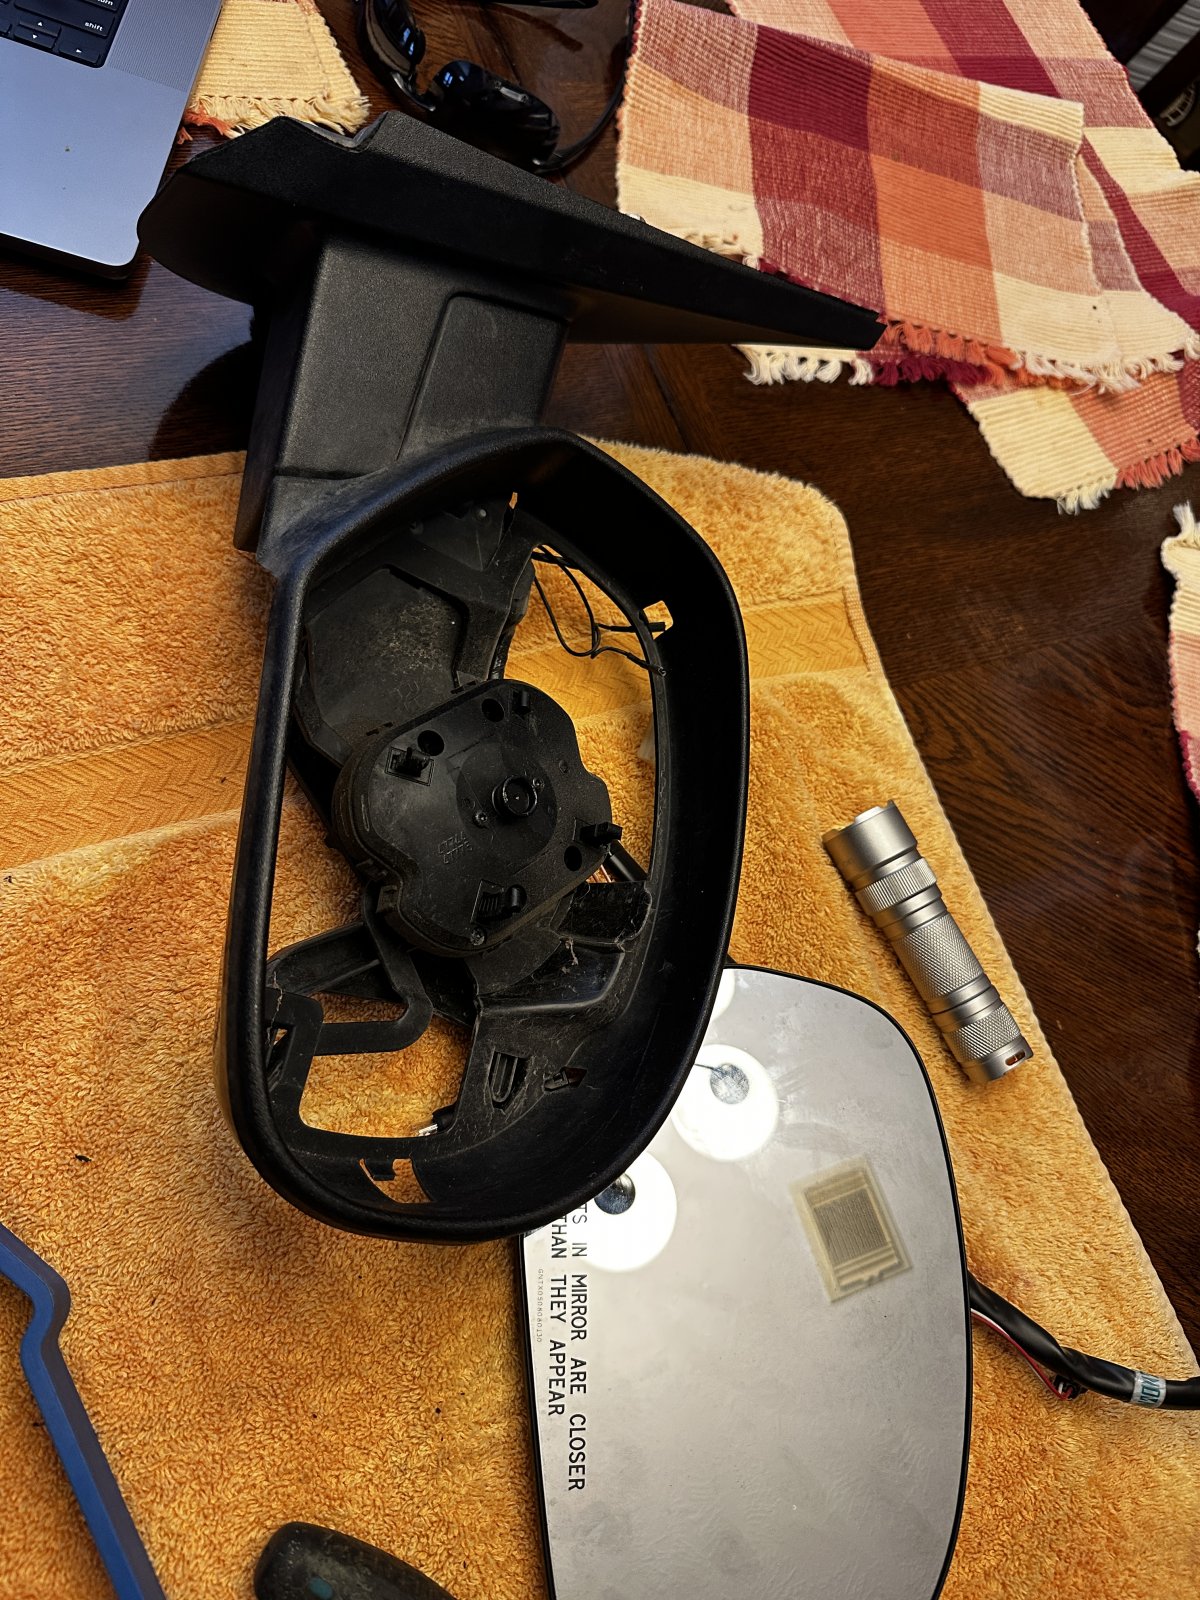
the clips are really held together tight. I worked my way around the sides until I was able to get everything loose. This is the mirror without the backing.
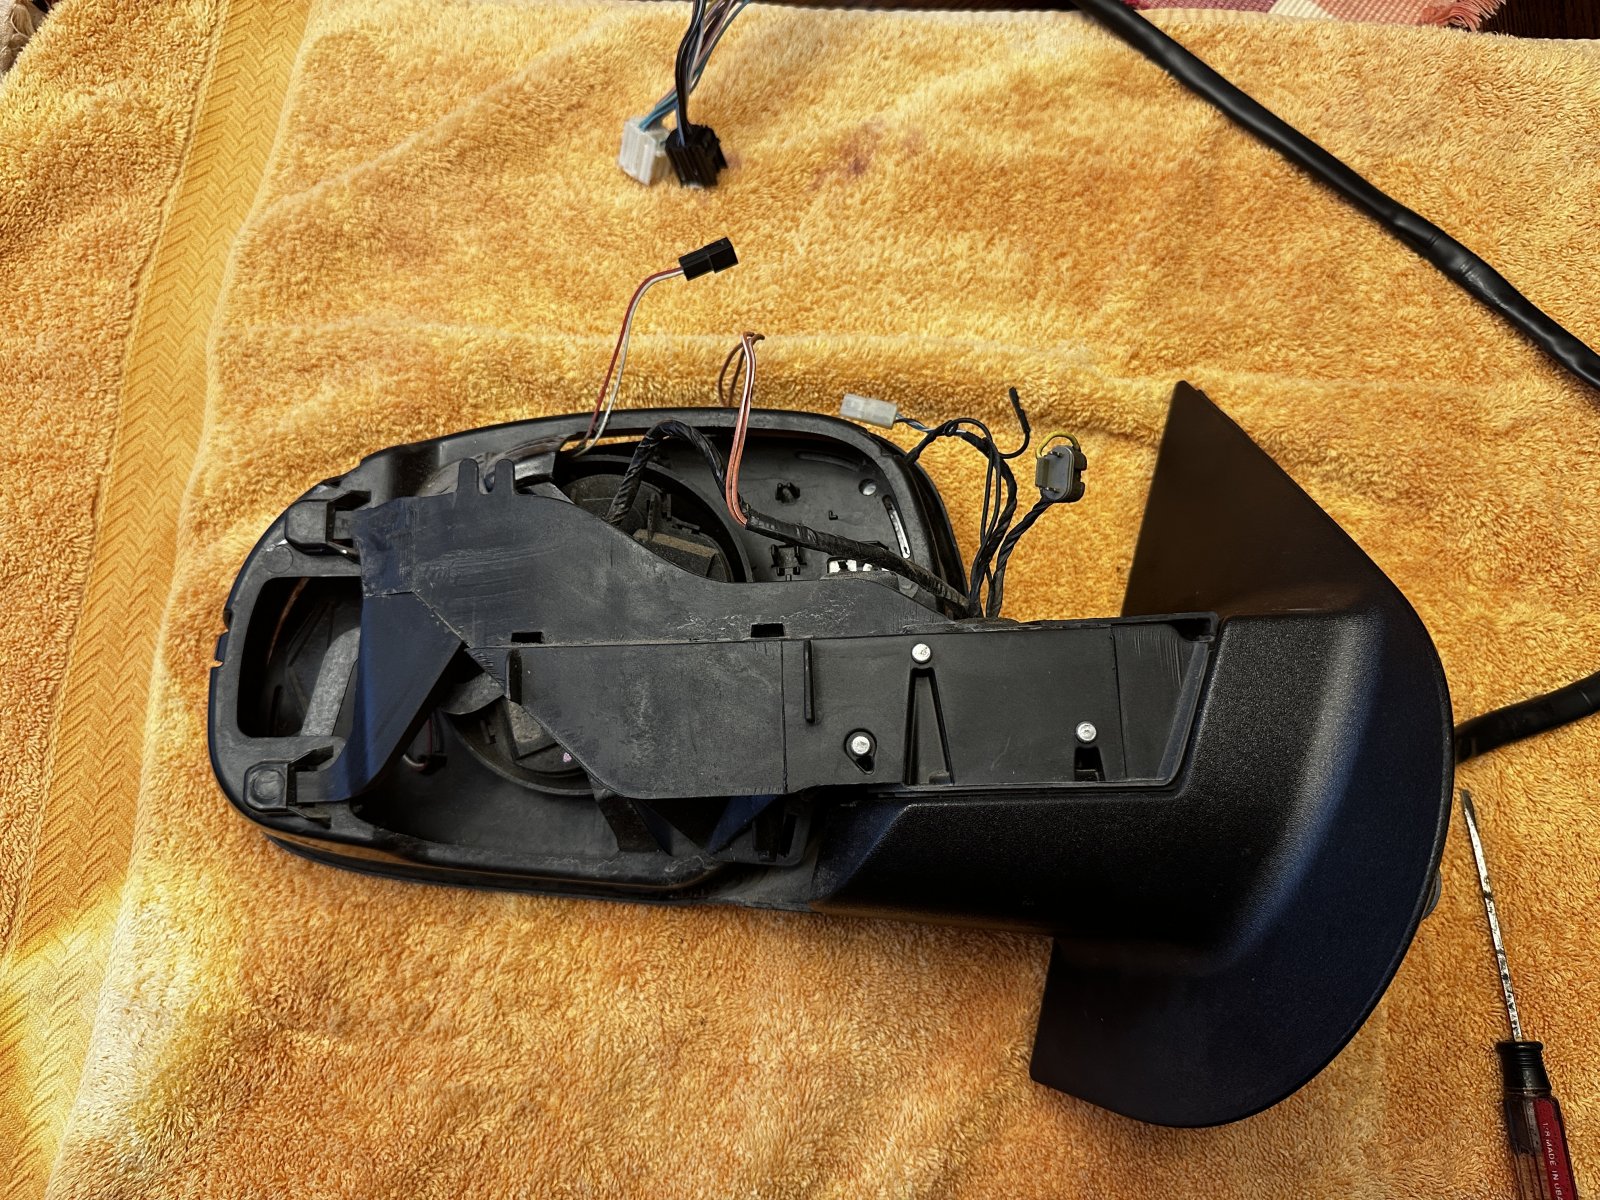
Next I had to remove the mirror. The leads to the heated mirror are on there pretty good. Be careful when pulling on them. I use a small flathead screwdriver to get leverage on them.
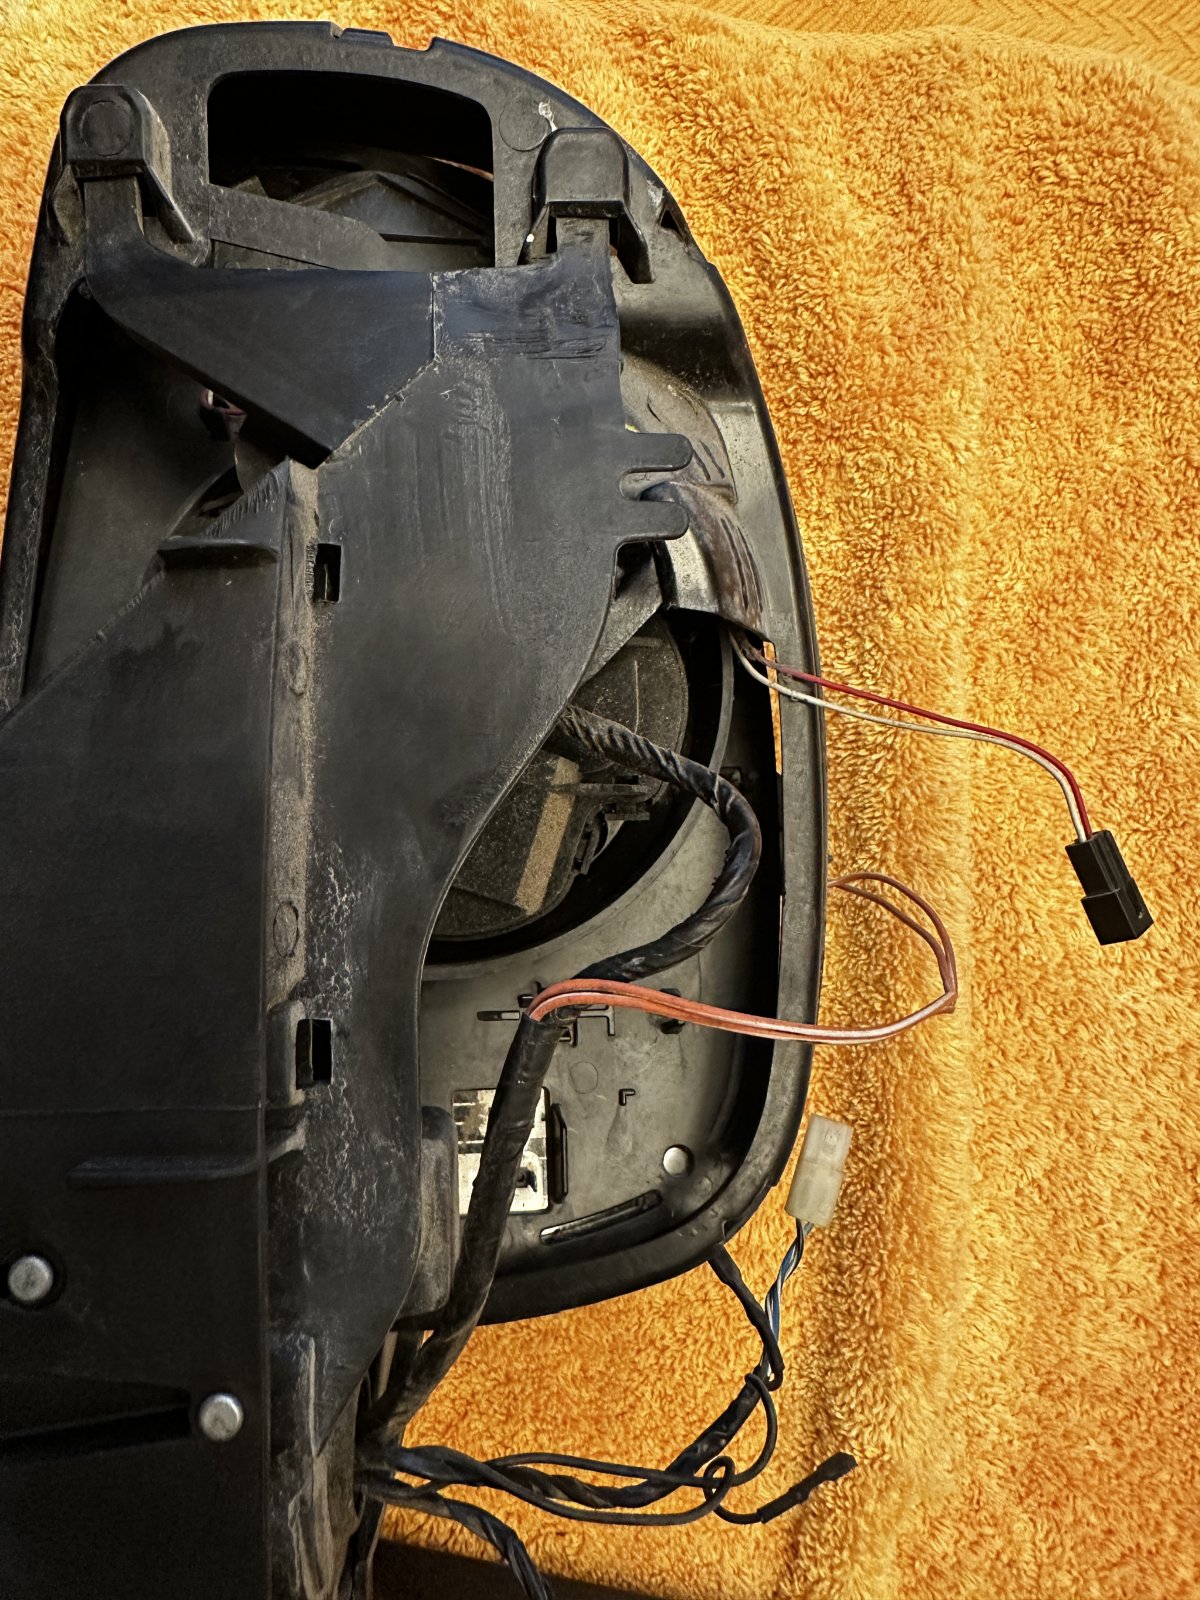
Popping out the mirror can be a little challenging. I was worried I was going to break it, but I got it out.
Next you have to remove the power mirror motor. This is held in with 4 T-10 Torx screws.
Once the power mirror motor is out, unplug the wire and snake it thru. You can now remove the inner mirror casing. (Sorry no pic of me removing the inner casing).
Now you have full access to the power folding motor. The motor is held to the inner black plastic housing with three pins. I forgot to get a photo of that. You need a small punch and a hammer to push them thru. It's pretty straight forward. Then you remove the motor. It’s held in with 4 T-20 Torx screws. Snake all the wires through the hole of the motor and remove the motor. Then reverse everything with your new motor.
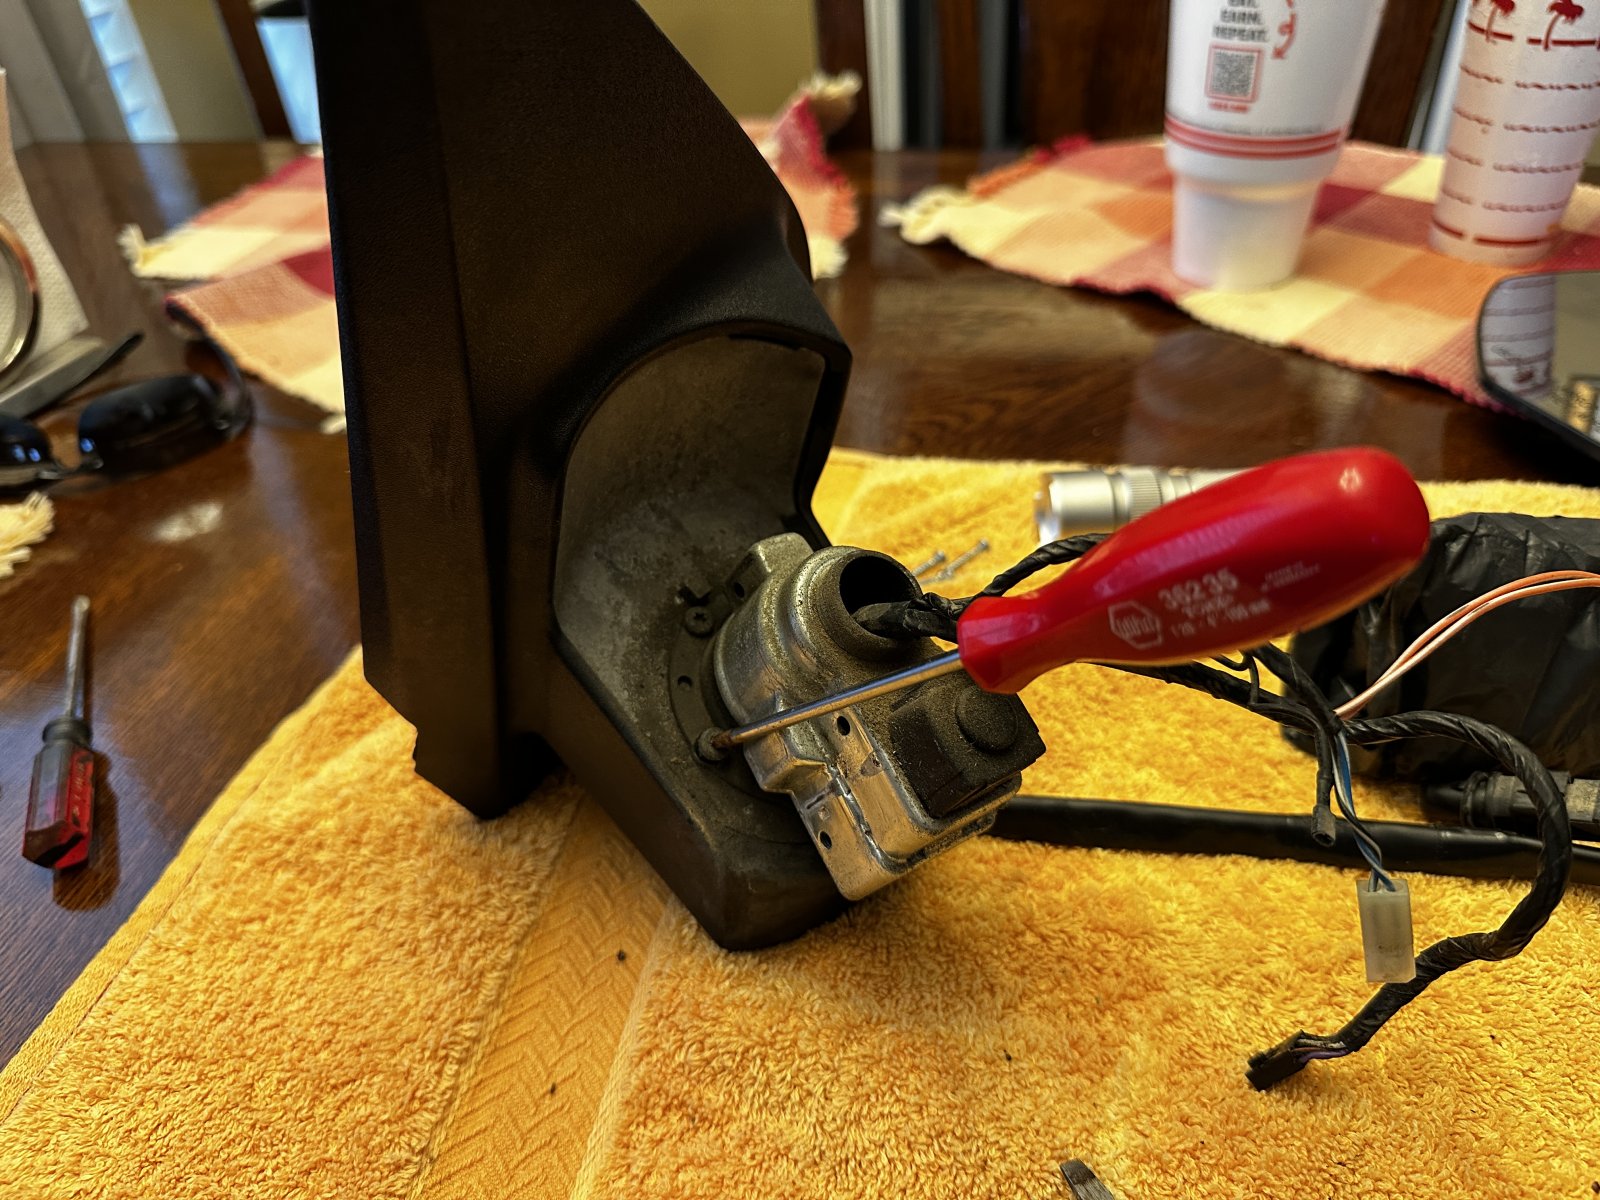
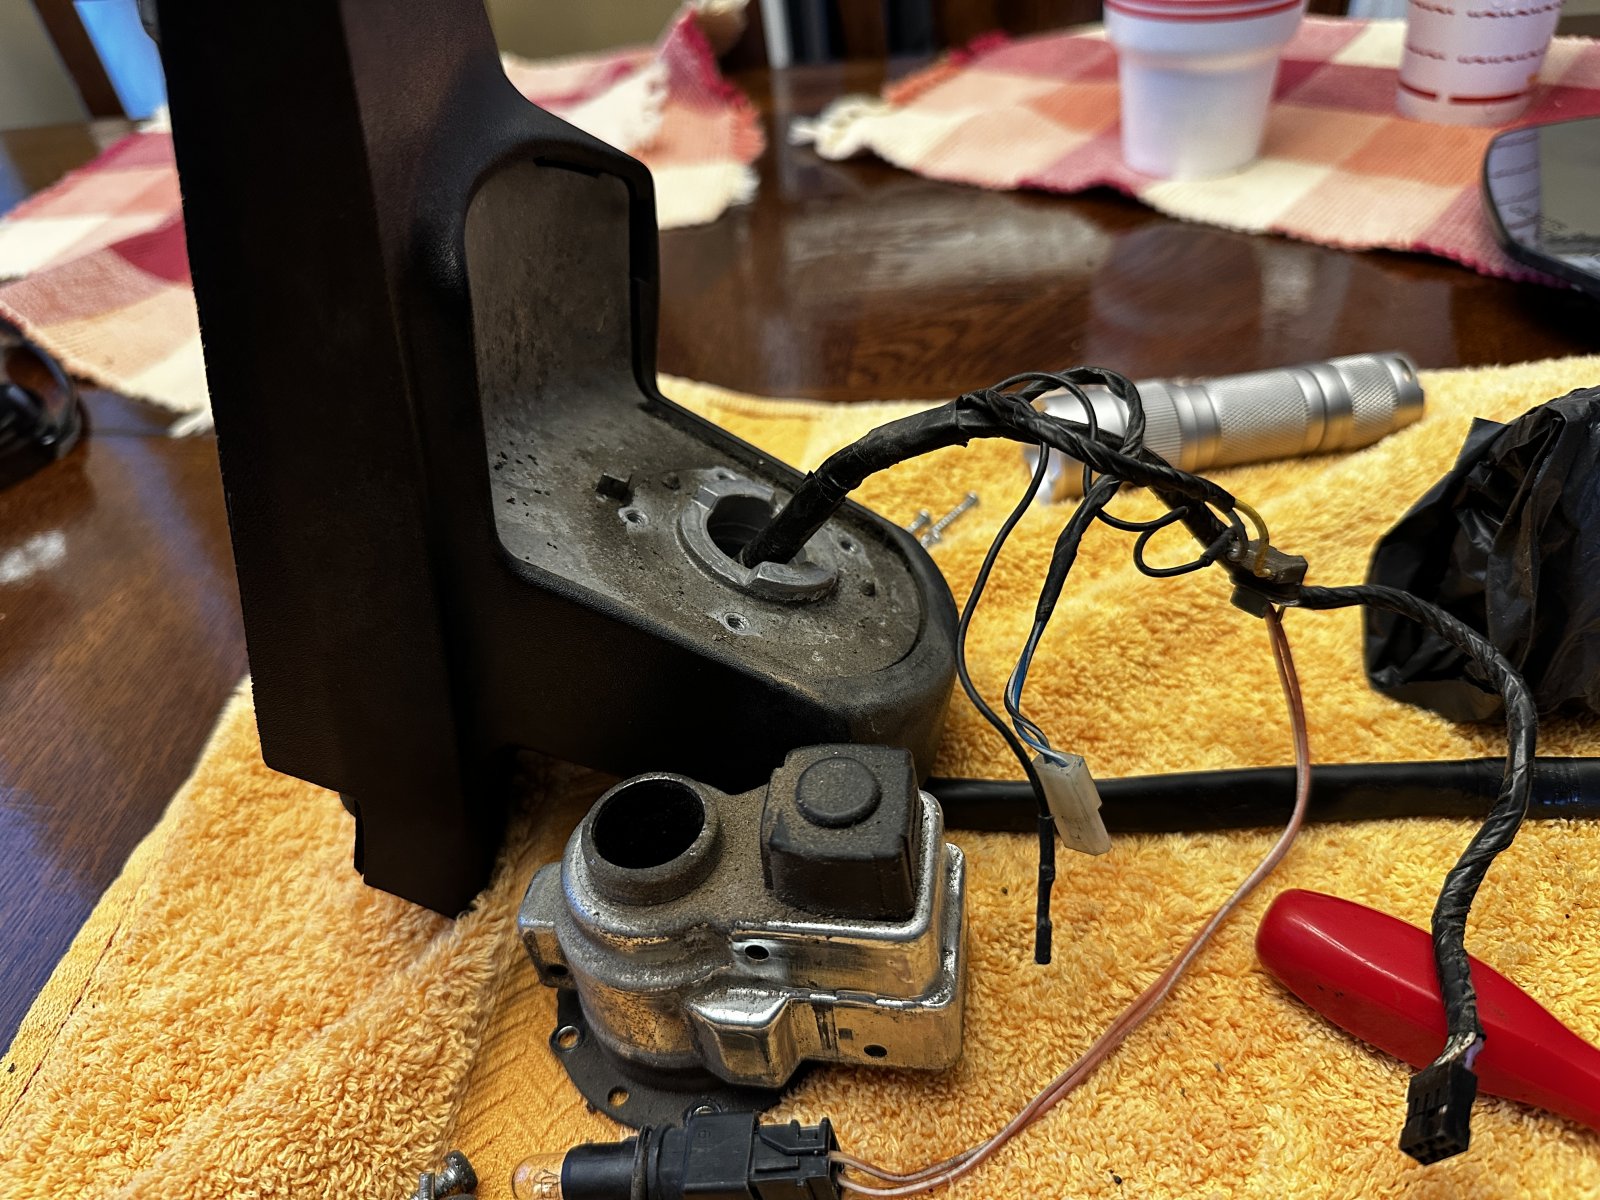
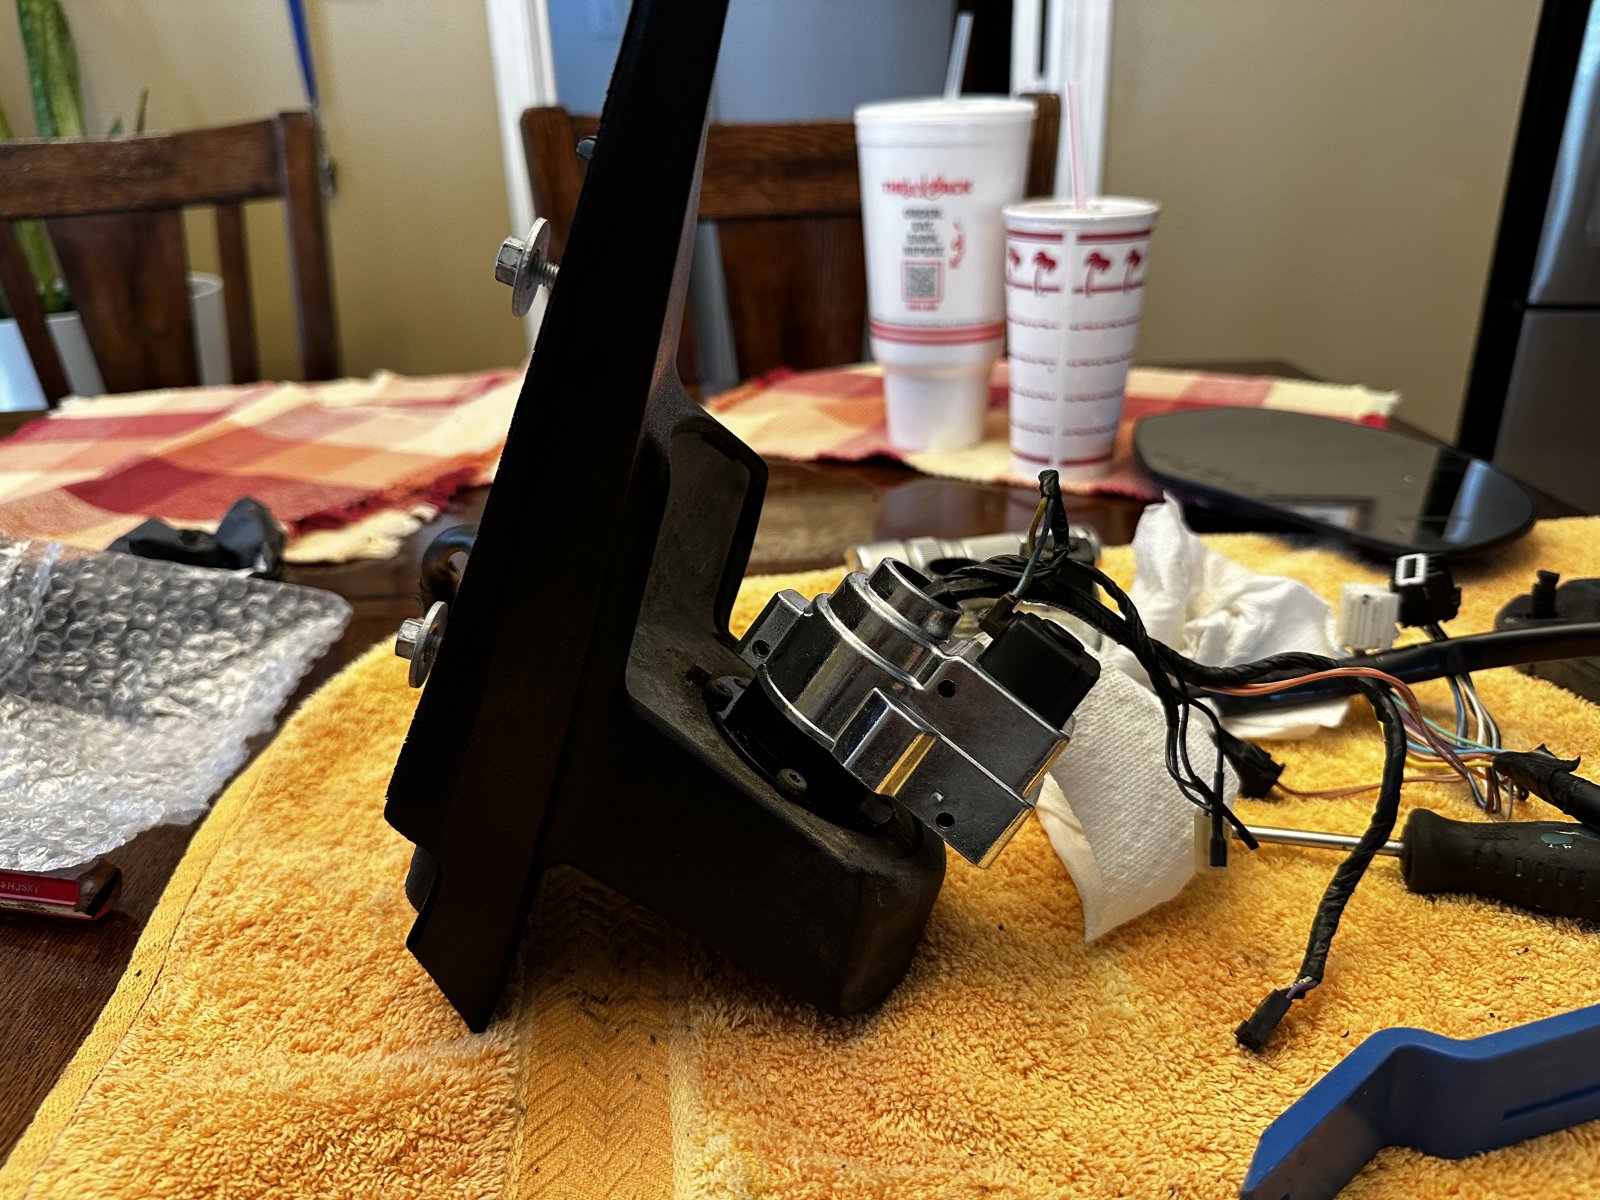
This is just the beginning. This would be the time now that I would add my cameras to the mirrors . But I have hit a bit of a snag. Drilling a hole into the housing, I will have to go through the outer and inner shell. So I have to rethink my cameras. I am going to add BSD to the Suburban. I have mirrors coming and the system from Amazon. That’s all for now.
the clips are really held together tight. I worked my way around the sides until I was able to get everything loose. This is the mirror without the backing.
Next I had to remove the mirror. The leads to the heated mirror are on there pretty good. Be careful when pulling on them. I use a small flathead screwdriver to get leverage on them.
Popping out the mirror can be a little challenging. I was worried I was going to break it, but I got it out.
Next you have to remove the power mirror motor. This is held in with 4 T-10 Torx screws.
Once the power mirror motor is out, unplug the wire and snake it thru. You can now remove the inner mirror casing. (Sorry no pic of me removing the inner casing).
Now you have full access to the power folding motor. The motor is held to the inner black plastic housing with three pins. I forgot to get a photo of that. You need a small punch and a hammer to push them thru. It's pretty straight forward. Then you remove the motor. It’s held in with 4 T-20 Torx screws. Snake all the wires through the hole of the motor and remove the motor. Then reverse everything with your new motor.
This is just the beginning. This would be the time now that I would add my cameras to the mirrors . But I have hit a bit of a snag. Drilling a hole into the housing, I will have to go through the outer and inner shell. So I have to rethink my cameras. I am going to add BSD to the Suburban. I have mirrors coming and the system from Amazon. That’s all for now.
Last edited: