Clear bra install - 3M Scotchgard Pro

Disclaimer: Links on this page pointing to Amazon, eBay and other sites may include affiliate code. If you click them and make a purchase, we may earn a small commission.

jl449

Full Access Member
Joined
Nov 25, 2014
Posts
284
Reaction score
42
Location
Salinas, Ca.
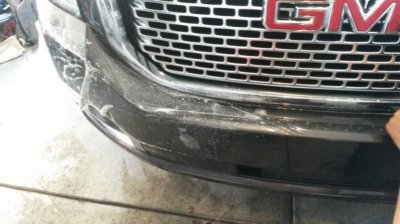
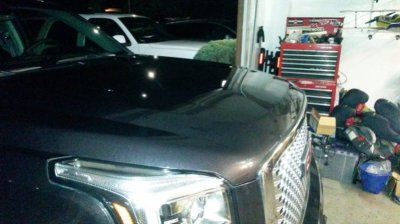
Little weekend project on the Denali. Installed the 3M Scotchgard Pro clear bra. Self installation kit I got from Invisiblemask.com .
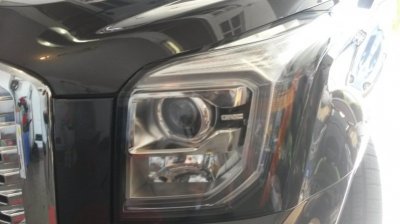
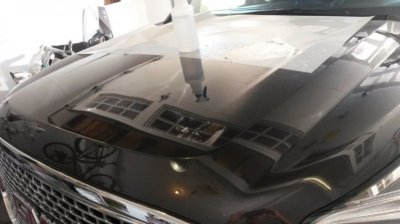
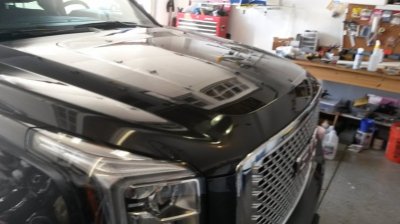
Front hood (18"), bumper, headlights including fogs, mirrors, and door protectors. This was my first install on clear bra. Installation took a little bit longer than I expected but it came out pretty good. The local shop wanted over $650 headlight and mirrors not included and it was the Venture shield. To upgrade to 3m Scotchgard pro, headlights and mirrors they wanted an additional $250. There is a few flaws on my install but you really have to look for them.
I ordered the completed kit for about $400. And a thanks to scryfst (Dave) for the link and install advice.
 

Attachments

  • Bumper.jpg
    Bumper.jpg
    72.1 KB · Views: 111
  • Headlights.jpg
    Headlights.jpg
    51.8 KB · Views: 104
  • Hood.jpg
    Hood.jpg
    53.6 KB · Views: 105
  • Hood2.jpg
    Hood2.jpg
    60.9 KB · Views: 102
  • Hood4.jpg
    Hood4.jpg
    68.2 KB · Views: 98

mwardncsu

Member
Joined
Feb 11, 2015
Posts
35
Reaction score
2
Location
NC
Looks good - I have been going back and forth about trying to do it myself vs. getting a shop to do it..... headlights no problem... hood probably no problem... not sure about the bumper - the curves/transitions do not look too bad, but its just a wide piece and I worry about getting dirt in it before applying...
 
OP
OP
J

jl449

Full Access Member
Joined
Nov 25, 2014
Posts
284
Reaction score
42
Location
Salinas, Ca.
The bumper was pretty hard. It's definitely a 2 man job. The bends and curves were a big challenge but a stronger alcohol to water solution on the tough areas sure help to anchor them down. The other hard part was cutting out the holes for the parking sensors. I had nervous hands. My friend ended up cutting out the holes.
What we did was sprayed down the bumper and anchor down the left side and rolled it out on the bumper. Then line it up and anchor the middle part and worked from the center to one side then the other.

There is some flaws. but you really have to look for them. My first piece had one finger print because I touched it when it was dry. rookie mistake. There are few bubbles about 4 or 5. today I poked most of them and now are pretty unnoticeable.

Over all I don't think its all that difficult. Just give yourself some time and make sure you have plenty of water/soap/alcohol solution. I ran out in the middle of one piece.
 

Daunntlessone

Full Access Member
Joined
Jul 19, 2014
Posts
97
Reaction score
1
I had Xpel installed and then drove 2000 mile round trip to Colorado in very rough weather. My windshield has numerous nicks now, but the truck does not have one flaw.
 

vishnu619

Member
Joined
Feb 4, 2015
Posts
94
Reaction score
51
Looks good, I payed $750 to get my hood, front bumper, mirrors and fenders done.
 

justinb181

TYF Newbie
Joined
Jun 4, 2015
Posts
25
Reaction score
1
I had Xpel installed and then drove 2000 mile round trip to Colorado in very rough weather. My windshield has numerous nicks now, but the truck does not have one flaw.


How much for the xpel install? Did you do bumper, hood, fenders, mirrors?
 

justinb181

TYF Newbie
Joined
Jun 4, 2015
Posts
25
Reaction score
1
How much for the xpel install? Did you do bumper, hood, fenders, mirrors?

I have a quote from a local Xpel dealer to do the full hood, fenders, mirrors, front bumper and grill for $900 with tax installed. Ok quote?
 

Forum statistics

Threads
129,332
Posts
1,814,106
Members
92,465
Latest member
thydrick
Top