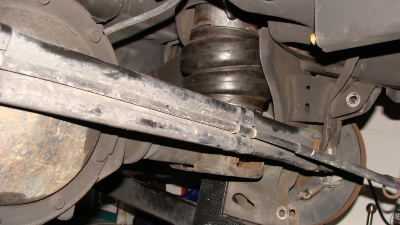
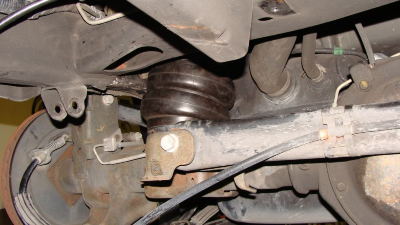
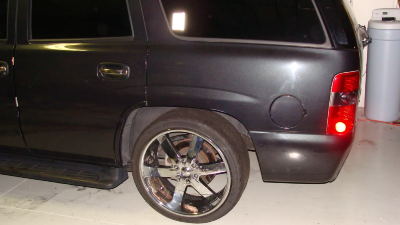
Well I've finally started. I'm bagging my 2003 Tahoe. I started tonight on the rear and hope to have everything finished by tomorrow (or Sunday at the latest since this is my daily driver).
What I'm running
2 - Viair 480c Compressors
2 - 5 gallon aluminum air tanks
4 - Parker 1/2 air valves (fill)
4 - Parker 3/8 air valves (dump)
1/2 inch airline run to all four corners
1 - EAI 5 switch switchbox
3 - AVS dual needle guages w/ blue LEDs
DJM RK2000 rear trailing arm relocators and sway bar end links
DJM Drop Control Arms
McGaughy Drop Spindles
CoolCars rear air bag brackets
AVS torsion style front air bag brackets
Socal Diesel Overhead gauge mount (for front and rear bag PSI)
Custom gauge mount in dash (for tank PSI)
All the wiring and plumbing for airlines has already been completed (I started doing it on the weekends).
I'll try to take as many pics as possible so hopefully it will help others if/when they decide to do it. If there's anything you want pics of, let me know and I will try and get them.
With that being said....on to the pics!
Sitting in the garage ready to go
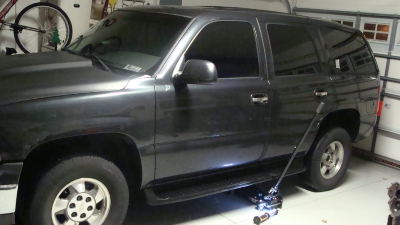
Sway bar endlinks and bottom shock mounts disconnected to allow the axle to drop down.
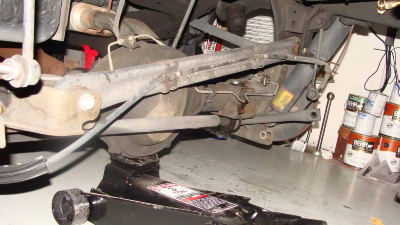
Starting to cut the bumpstops (DJM Free Travel Mod)
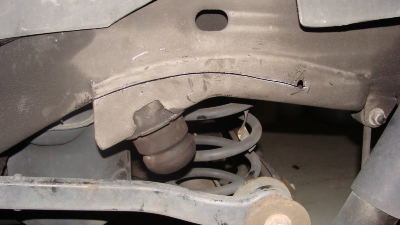
Prying it open to get the back side
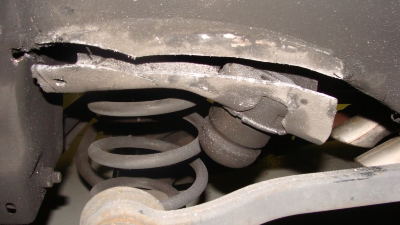
Cut off bumpstop (before being grinded down)
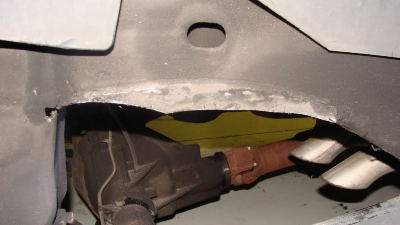
Bottom bag mounts (these can be shortened if you want)
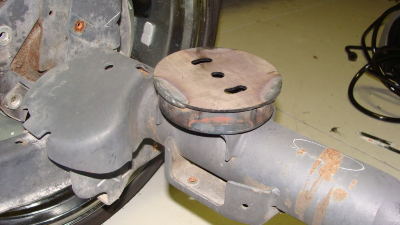
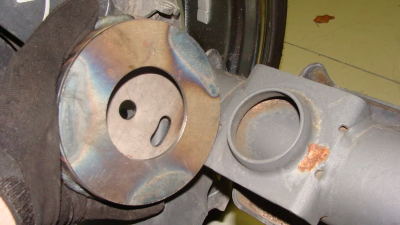
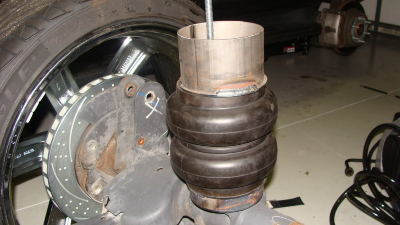
Mock-up of what bag setup would look like (on a spare rear axle I have)
What I'm running
2 - Viair 480c Compressors
2 - 5 gallon aluminum air tanks
4 - Parker 1/2 air valves (fill)
4 - Parker 3/8 air valves (dump)
1/2 inch airline run to all four corners
1 - EAI 5 switch switchbox
3 - AVS dual needle guages w/ blue LEDs
DJM RK2000 rear trailing arm relocators and sway bar end links
DJM Drop Control Arms
McGaughy Drop Spindles
CoolCars rear air bag brackets
AVS torsion style front air bag brackets
Socal Diesel Overhead gauge mount (for front and rear bag PSI)
Custom gauge mount in dash (for tank PSI)
All the wiring and plumbing for airlines has already been completed (I started doing it on the weekends).
I'll try to take as many pics as possible so hopefully it will help others if/when they decide to do it. If there's anything you want pics of, let me know and I will try and get them.
With that being said....on to the pics!
Sitting in the garage ready to go

Sway bar endlinks and bottom shock mounts disconnected to allow the axle to drop down.

Starting to cut the bumpstops (DJM Free Travel Mod)

Prying it open to get the back side

Cut off bumpstop (before being grinded down)

Bottom bag mounts (these can be shortened if you want)


Mock-up of what bag setup would look like (on a spare rear axle I have)


