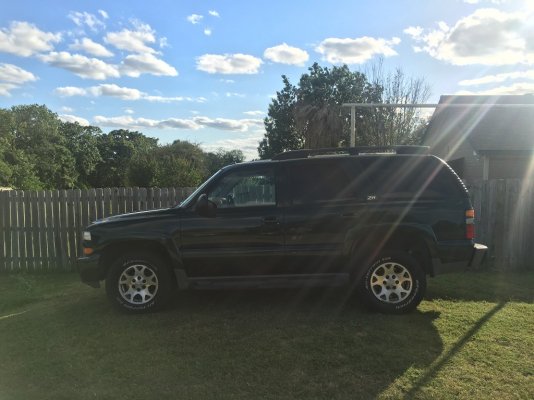
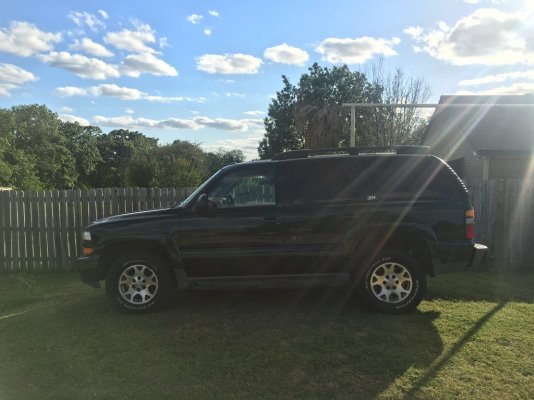
04 Tahoe Z71 Project

Disclaimer: Links on this page pointing to Amazon, eBay and other sites may include affiliate code. If you click them and make a purchase, we may earn a small commission.

OP
OP
L

LTG515

Member
Joined
Sep 17, 2019
Posts
97
Reaction score
50
UPDATE:

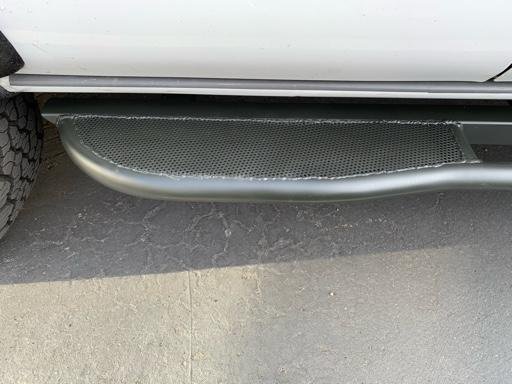
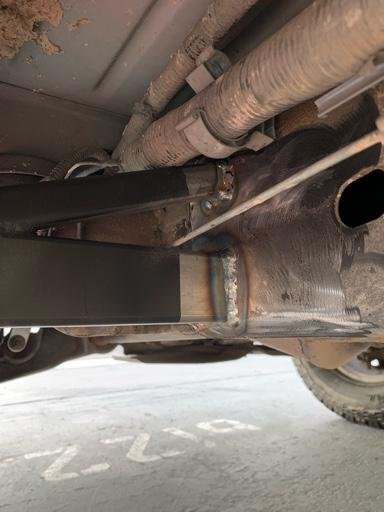
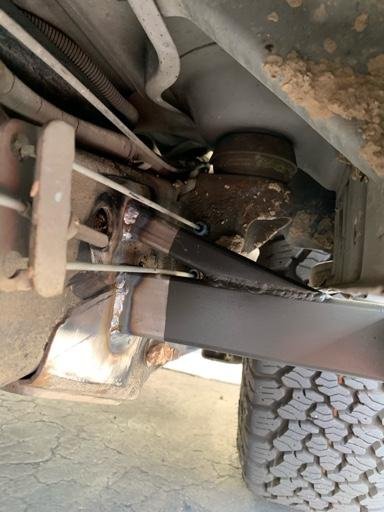
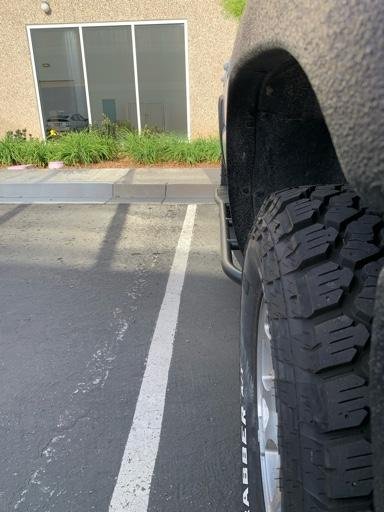
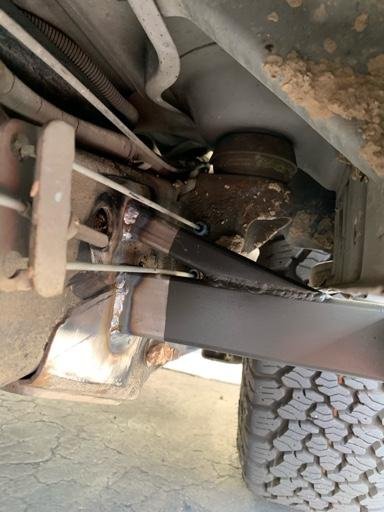
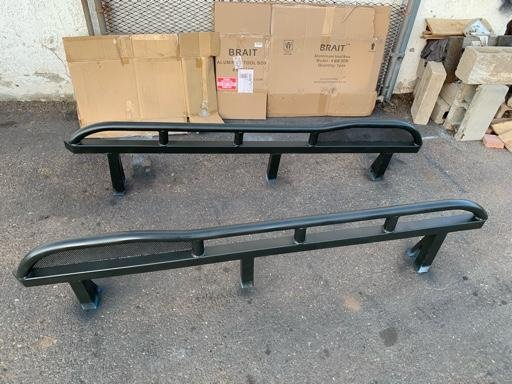
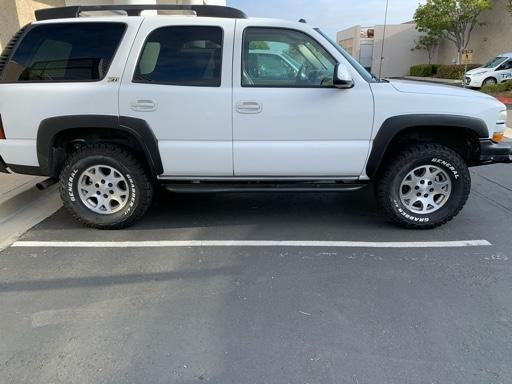
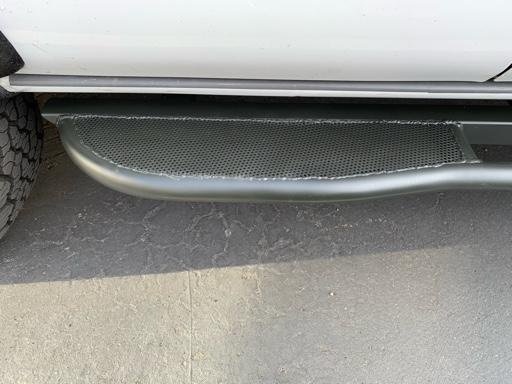
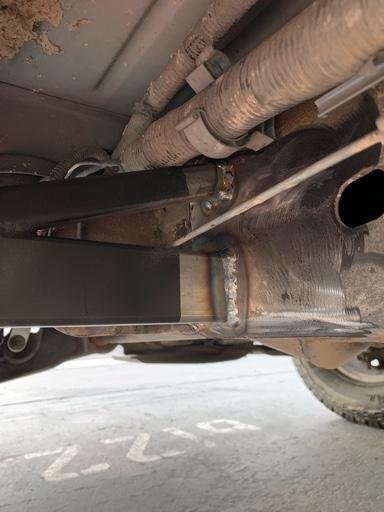
Sliders are on and am stoked on how they came out! I have them at 0 degrees so that I can use them as a little step as well. I also plated in the back kick out with a hole cut mesh type sheet. Came out nice! You’ll see in the pictures the design we did allowed us to brace the legs as well as clear the parking brake cable and wiring loom. The passenger side was more simple but kept the same support design for strength.
ac072791be650893c2fdae8fc686f3cf.jpg
65629d8e69b2ed2838e7b793791a9cb8.jpg
5ab2a7c957a5b76da9fea88f6a538c80.jpg
6ede0f621180e5305341dbe8d175a804.jpg
510cee577301085ed2b1f89d880b3d09.jpg
Front driver

3cb64ee98d7547faac0f718d2c073a2e.jpg

Rear driver.

Still need to paint the welds. It was dark and late.

Anyways, real happy with how they came out and will have to put them to the test soon! This is most likely the last major thing I do to the Tahoe for a while.


Sent from my iPhone using Tapatalk
 

HiHoeSilver

Away!
Joined
Feb 28, 2017
Posts
10,919
Reaction score
14,571
Location
Chicago
UPDATE:

Sliders are on and am stoked on how they came out! I have them at 0 degrees so that I can use them as a little step as well. I also plated in the back kick out with a hole cut mesh type sheet. Came out nice! You’ll see in the pictures the design we did allowed us to brace the legs as well as clear the parking brake cable and wiring loom. The passenger side was more simple but kept the same support design for strength.

ac072791be650893c2fdae8fc686f3cf.jpg
65629d8e69b2ed2838e7b793791a9cb8.jpg
5ab2a7c957a5b76da9fea88f6a538c80.jpg
6ede0f621180e5305341dbe8d175a804.jpg
510cee577301085ed2b1f89d880b3d09.jpg
Front driver

3cb64ee98d7547faac0f718d2c073a2e.jpg

Rear driver.

Still need to paint the welds. It was dark and late.

Anyways, real happy with how they came out and will have to put them to the test soon! This is most likely the last major thing I do to the Tahoe for a while.


Sent from my iPhone using Tapatalk

This. Is. Awesome.
 

RikFlairWoo

TYF Newbie
Joined
Apr 27, 2017
Posts
14
Reaction score
5
UPDATE:

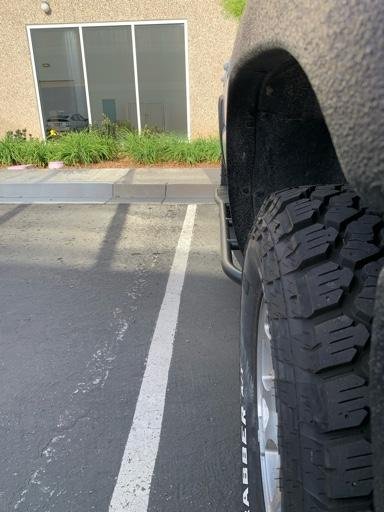
Sliders are on and am stoked on how they came out! I have them at 0 degrees so that I can use them as a little step as well. I also plated in the back kick out with a hole cut mesh type sheet. Came out nice! You’ll see in the pictures the design we did allowed us to brace the legs as well as clear the parking brake cable and wiring loom. The passenger side was more simple but kept the same support design for strength.


Sent from my iPhone using Tapatalk

Man those sliders are perfect. How can I get a set of those!

I am getting my 04 Tahoe ready for Dove season. Had it down on the beach recently, t-case leaked all of it's fluid out somewhere along the way, and she **** a fuel pump, all while a hurricane was coming in. 250k miles and that was the worst problem I have ever had with the truck.

They really are a sleeper platform as far as bang for your buck, especially with the SBC aftermarket.

ugBnyv.jpg
 
OP
OP
L

LTG515

Member
Joined
Sep 17, 2019
Posts
97
Reaction score
50
Man those sliders are perfect. How can I get a set of those!

I am getting my 04 Tahoe ready for Dove season. Had it down on the beach recently, t-case leaked all of it's fluid out somewhere along the way, and she **** a fuel pump, all while a hurricane was coming in. 250k miles and that was the worst problem I have ever had with the truck.

They really are a sleeper platform as far as bang for your buck, especially with the SBC aftermarket.

ugBnyv.jpg
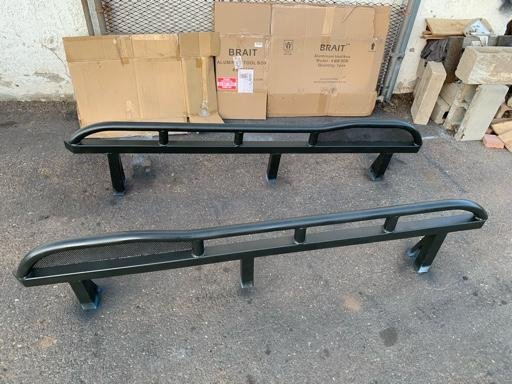
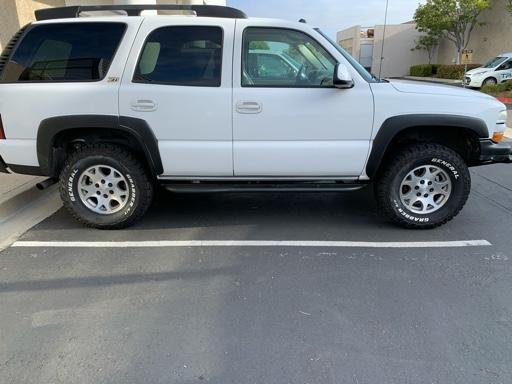
I found a guy on OfferUp who makes sliders for Tacoma’s and I liked the overall design he made with the kick out so I asked if he could make the same design, just different length. I measured what I thought would be a good length and he whipped them up in a couple says. I had my brother in law help me with mounting them to the frame.


Sent from my iPhone using Tapatalk
 
OP
OP
L

LTG515

Member
Joined
Sep 17, 2019
Posts
97
Reaction score
50
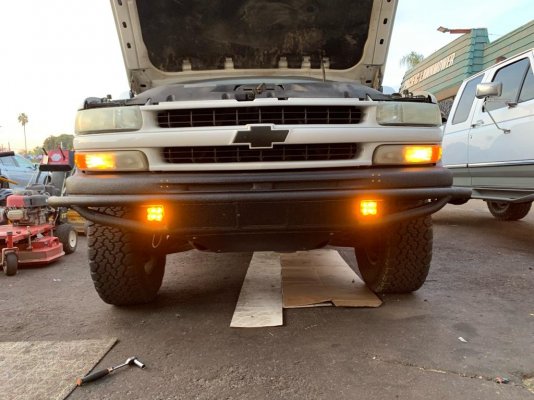
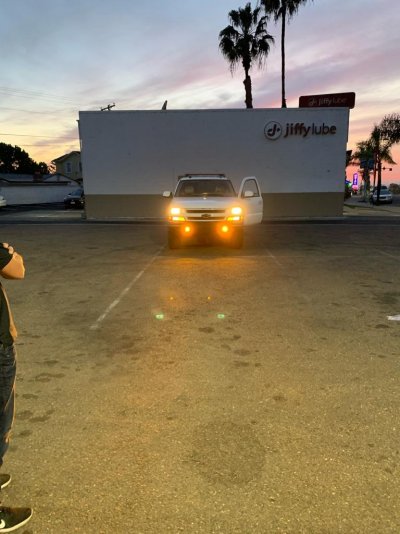
Added some KC HiLites C3 amber LED spots to my bumper. Wired them into the existing fog light wiring so that I could utilized the fog light button already on the dash.
498596fb789992d06f35e8d5e553bd5a.jpg
c1797eff185c4500190f50bf1e05e814.jpg


Sent from my iPhone using Tapatalk
 
OP
OP
L

LTG515

Member
Joined
Sep 17, 2019
Posts
97
Reaction score
50
ONBOARD AIR:

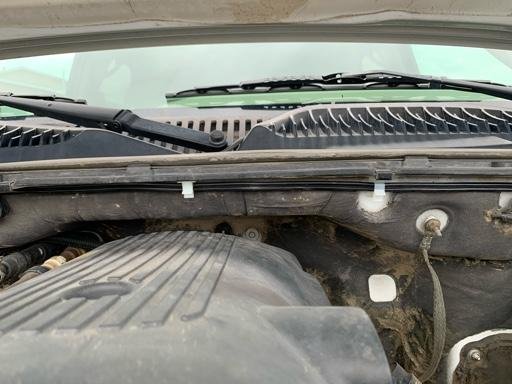
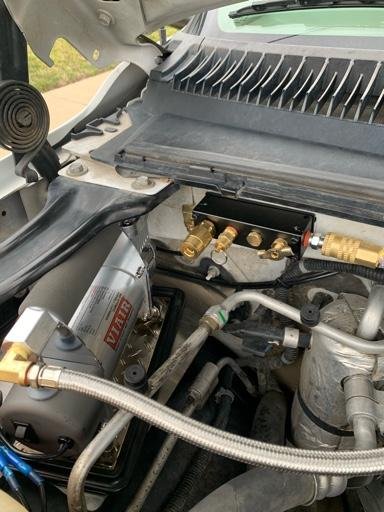
Installed a Viair 400P-auto in my engine bay as a “hard mount”. I used a portable compressor as a permanent solution for a couple reasons. 1, I wanted to have some nice rubber bushings to minimize vibration and have some give when off-roading. 2, I wanted the ability to still use it as a portable if I want/need to. So that’s why I went with a portable.

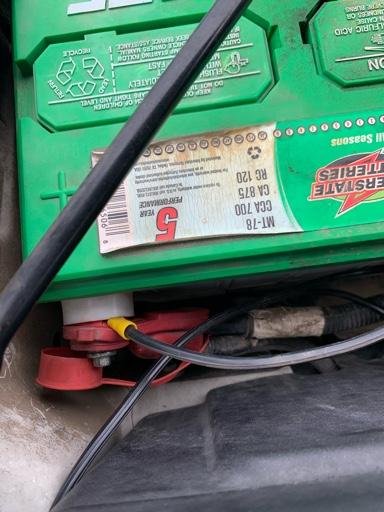
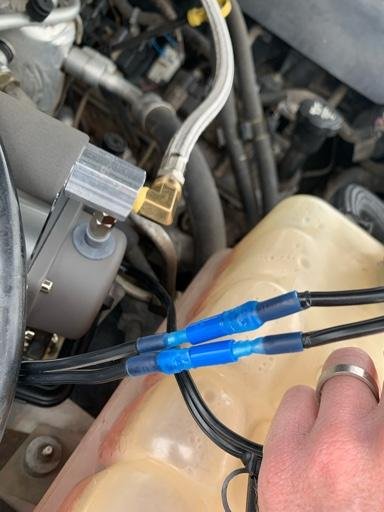
Ran a permanent wire from the battery to the compressor.
6efc5e4a5dcaa9430f30af66ffc2839a.jpg
97165e2f02dbd9d466091a11d18e523b.jpg

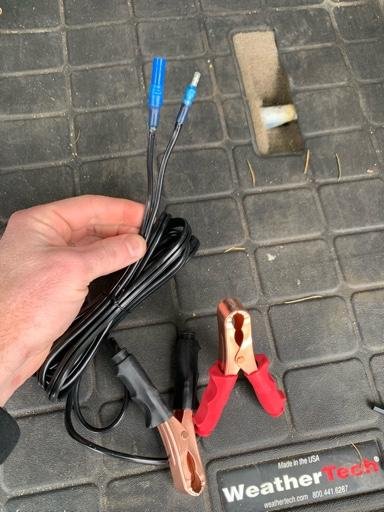
I then used bullet connectors that can be unplugged from the permanent wire and plugged back into the alligator clips that the compressor came with.
0baebd8976251f1044ebba2143a31235.jpg
d2a9c7daa8c8fd6fe95a2eebf73ecdae.jpg

The compressor itself is plumbed to an air manifold with a leader hose and female quick connect. I used a quick connect so that it could be easily removed if desired. The manifold itself has another quick connect for an air line for my front tires, compression fitting running a line to the rear bumper, safety valve, and pressure release valve.
4608045af4d1bbd63c1b6e42d3a57bad.jpg

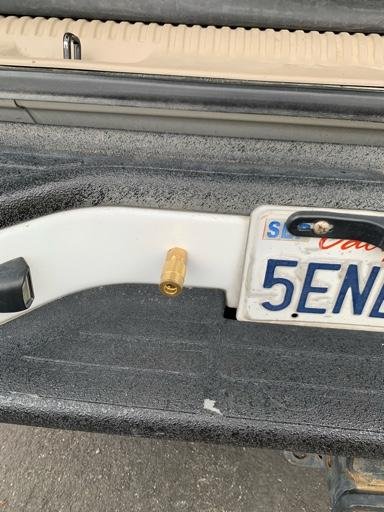
Lastly, installed a quick connect on my rear bumper to easily fill my rear tires.
101e0bbe4701d8d6e704efe0adcc6145.jpg


Sent from my iPhone using Tapatalk
 

Forum statistics

Threads
129,220
Posts
1,812,326
Members
92,321
Latest member
rick3645
Top