MassHoe04
Full Access Member
Boyo back-up cam from Crutchfield installed yesterday.
 www.crutchfield.com
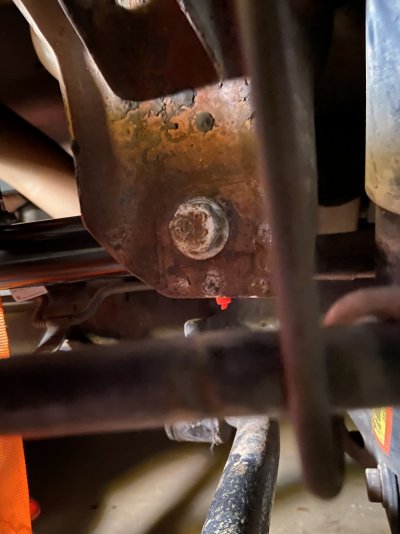
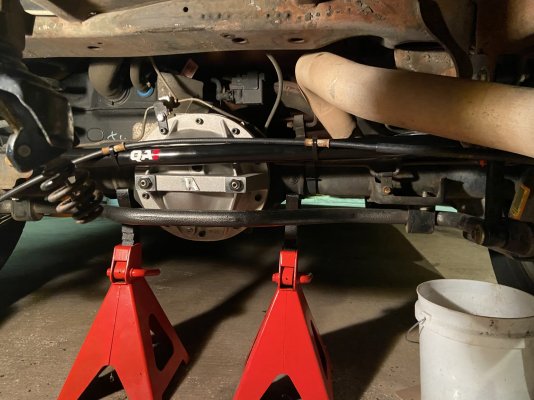
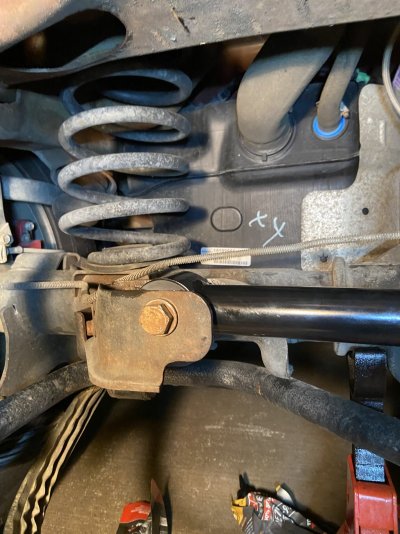
I put a crimp-on fork terminal connector on the ground wire on the back end of the harness. I slipped the flat connector under the metal clip that the screw holding the tail light assembly in goes. Ground wire contacts clip, clip contacts screw, screw contacts body.
Ran the wire up front along the bottom of the trim panels on the passenger side, into the glove box area and out at the new Boss radio I installed last weekend.
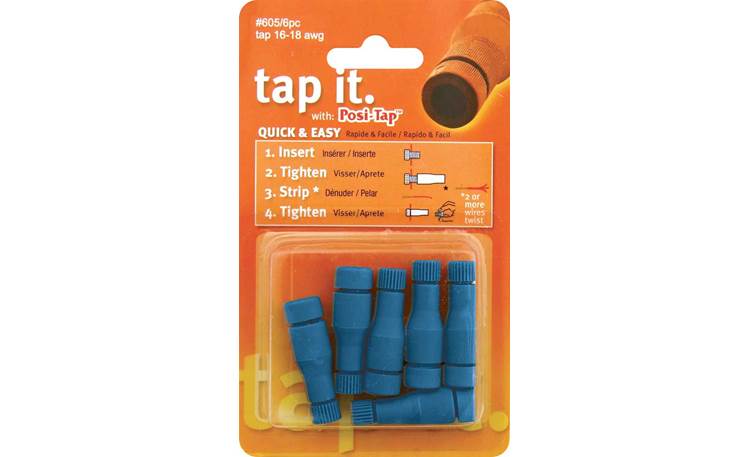
Plug the video feed in and use a Tap-it wire connector to connect the power.
 www.crutchfield.com
The Crutchfield Ready Harness already uses the factor Reverse Trigger, so no need to tap anything on reverse lights or the trailer harness. Just the ground and plug-in camera harness connector in the back.
Having that dedicated "Rear Cam PWR 12V+" wire on the radio eliminates the need to figure out where to tap accessory power wires under the dash. You could tap the reverse light bulb wire for power, but your cam would only function while actively in Reverse. Using the feed provided on the cam, provides power with key on. You can fire up the cam to see what is behind you any time, not just in reverse. That could be handy if checking a trailer behind you.
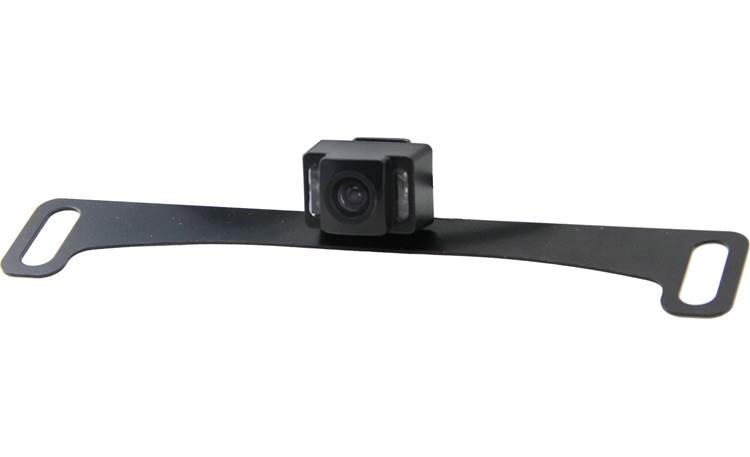
Image quality is really sharp. The Boyo cam has infrared LED things that make the cam have a 0 LUX light requirement. Other cams need a little more light (1-3 LUX) to really be clear at night. This one "sees" great when totally dark!

Wide angle lens has a great view of the surroundings.

Boyo VTL17ir
Universal backup cam with infrared night vision — license-plate-mount
www.crutchfield.com
I put a crimp-on fork terminal connector on the ground wire on the back end of the harness. I slipped the flat connector under the metal clip that the screw holding the tail light assembly in goes. Ground wire contacts clip, clip contacts screw, screw contacts body.
Ran the wire up front along the bottom of the trim panels on the passenger side, into the glove box area and out at the new Boss radio I installed last weekend.
Plug the video feed in and use a Tap-it wire connector to connect the power.
Posi-Products™ Wire Connectors
6 tap connectors — tap into 16- to 18-gauge wire for 18- to 24-gauge accessory wiring without cutting
www.crutchfield.com
The Crutchfield Ready Harness already uses the factor Reverse Trigger, so no need to tap anything on reverse lights or the trailer harness. Just the ground and plug-in camera harness connector in the back.
Having that dedicated "Rear Cam PWR 12V+" wire on the radio eliminates the need to figure out where to tap accessory power wires under the dash. You could tap the reverse light bulb wire for power, but your cam would only function while actively in Reverse. Using the feed provided on the cam, provides power with key on. You can fire up the cam to see what is behind you any time, not just in reverse. That could be handy if checking a trailer behind you.
Image quality is really sharp. The Boyo cam has infrared LED things that make the cam have a 0 LUX light requirement. Other cams need a little more light (1-3 LUX) to really be clear at night. This one "sees" great when totally dark!
Wide angle lens has a great view of the surroundings.