Putting a 2018 Silverado/Sierra Jump Seat into a 2016 Suburban/Tahoe/Yukon?

Disclaimer: Links on this page pointing to Amazon, eBay and other sites may include affiliate code. If you click them and make a purchase, we may earn a small commission.

KCB2015

TYF Newbie
Joined
Jan 11, 2020
Posts
18
Reaction score
20
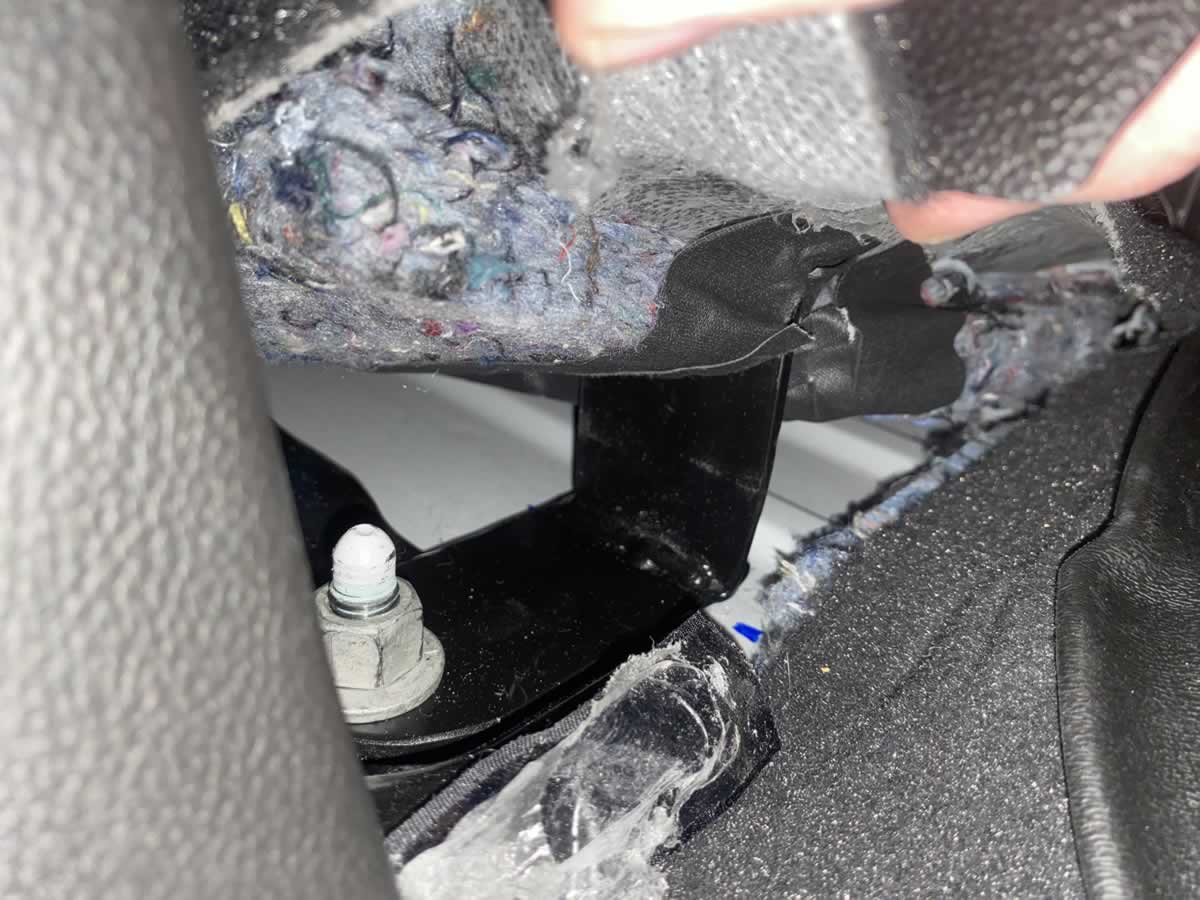
I lucked out on a coco dune leather jump seat out of a 2017 this forum proved to me it can be done and look nice . Thanks everyone for your input :) I plan on posting the details as I tackle the project here for others , thanks again :) .
 

wjburken

Supporting Member
Joined
Dec 26, 2017
Posts
9,708
Reaction score
26,299
Location
Eastern Iowa

K2 Kaiju

Full Access Member
Joined
Feb 17, 2015
Posts
642
Reaction score
636
Location
The Depths
That's exactly what I did. I made two L brackets and bolted to the existing seat mount. The current seat mounts aren't equal distance apart from the center line. So, I had to fab the brackets separately after centering the jump seat. You could do the same to the rear seat if you wanted to, however, I was not going to use it as a seat so I didn't. The added bonus of not mounting the rear part of the jump seat is that it folds up. This makes for easy cleaning under it and might just let people get to the 3rd row seat easier. But, who uses the 3rd row seats? I always have them down for added cargo space.

seat6.jpg


I put some gaffers tape on the underside of the carpet before I cut it just to help keep the fibers intact.
Thats a great view of front attachment, here is what I used for rear. A $20 amz seat bracket kit with a couple extra screw bracket thinggies I had left over from a aries nerf install kit (pic 2). You can see it all come together in 3rd pic behind red wire. Red wire feeds gang panel in console; it was fished under carpet/panels to driver side 3rd row power outlet - just pull up cupholder and solder it up under there. Used a 3d printer to fab covers for old armrest holes to finish up...270516773db34eefa1ab3b19bb12683f.jpgb3b413429f725e1a3e008fe4ba9f4c42.jpg6a5c7b74e960885b00ebbfb6798a3b1f.jpg4a18f9417815aec7fac5c0ee5b0c8723.jpgf2161079c83834b8459bb6dfb85b16f4.jpga77d1fad28eff4cb6ff2940910095887.jpg

Sent from my SM-G975U using Tapatalk
 

K2 Kaiju

Full Access Member
Joined
Feb 17, 2015
Posts
642
Reaction score
636
Location
The Depths
Those little covers for the armrest pine are very nice!
Thanks. Bout the only useful thing that creality ender has made. They have held up nicely for 6 months with a dab or gorilla glue on the metal...

Sent from my SM-T580 using Tapatalk
 

Hani orfali

Member
Joined
Oct 22, 2018
Posts
30
Reaction score
33
Thats a great view of front attachment, here is what I used for rear. A $20 amz seat bracket kit with a couple extra screw bracket thinggies I had left over from a aries nerf install kit (pic 2). You can see it all come together in 3rd pic behind red wire. Red wire feeds gang panel in console; it was fished under carpet/panels to driver side 3rd row power outlet - just pull up cupholder and solder it up under there. Used a 3d printer to fab covers for old armrest holes to finish up...270516773db34eefa1ab3b19bb12683f.jpgb3b413429f725e1a3e008fe4ba9f4c42.jpg6a5c7b74e960885b00ebbfb6798a3b1f.jpg4a18f9417815aec7fac5c0ee5b0c8723.jpgf2161079c83834b8459bb6dfb85b16f4.jpga77d1fad28eff4cb6ff2940910095887.jpg

Sent from my SM-G975U using Tapatalk

Hello Texas. Where you get the cap to hide the arm hole
 
Last edited by a moderator:

Forum statistics

Threads
128,791
Posts
1,805,516
Members
91,774
Latest member
jkavros

Latest posts

Top