Engine cover revived

Disclaimer: Links on this page pointing to Amazon, eBay and other sites may include affiliate code. If you click them and make a purchase, we may earn a small commission.

Jeff Groves

Retired Demo Expert. I don't need to run anymore!
Joined
Mar 26, 2019
Posts
533
Reaction score
558
Location
Nevada, Ohio
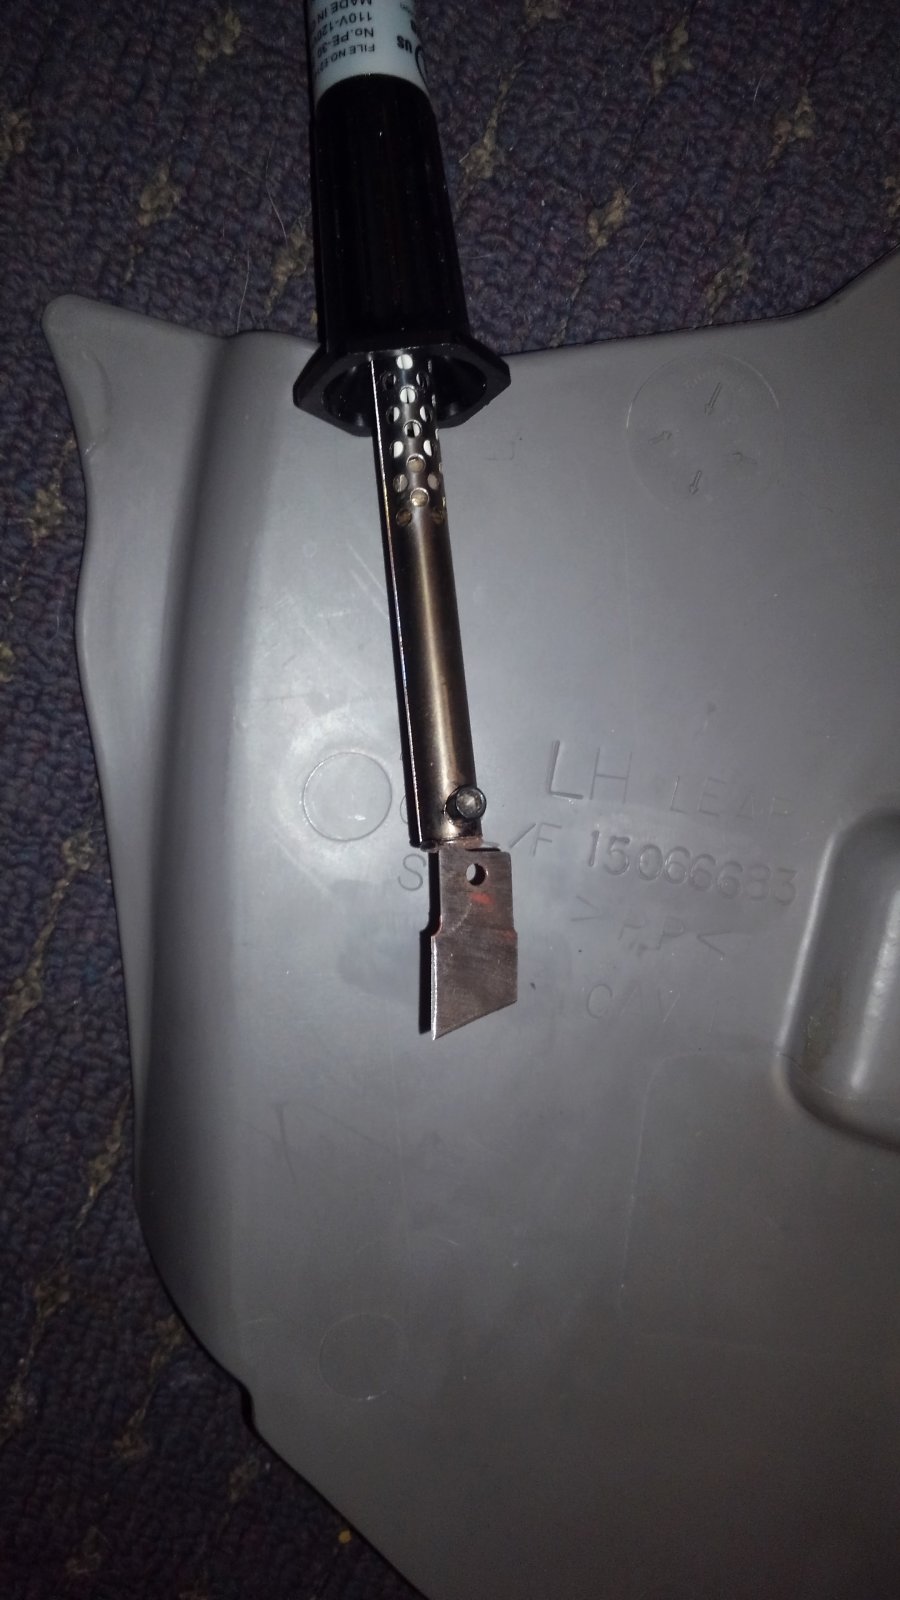
Started on the cover by removing the liner inside. I used a small screw driver to bend the retainer ears and popped everything out. I need to cut some areas to clear the heater hose and such so decided to make a hot knife out of a soldering iron.
I started with a sawzall blade.
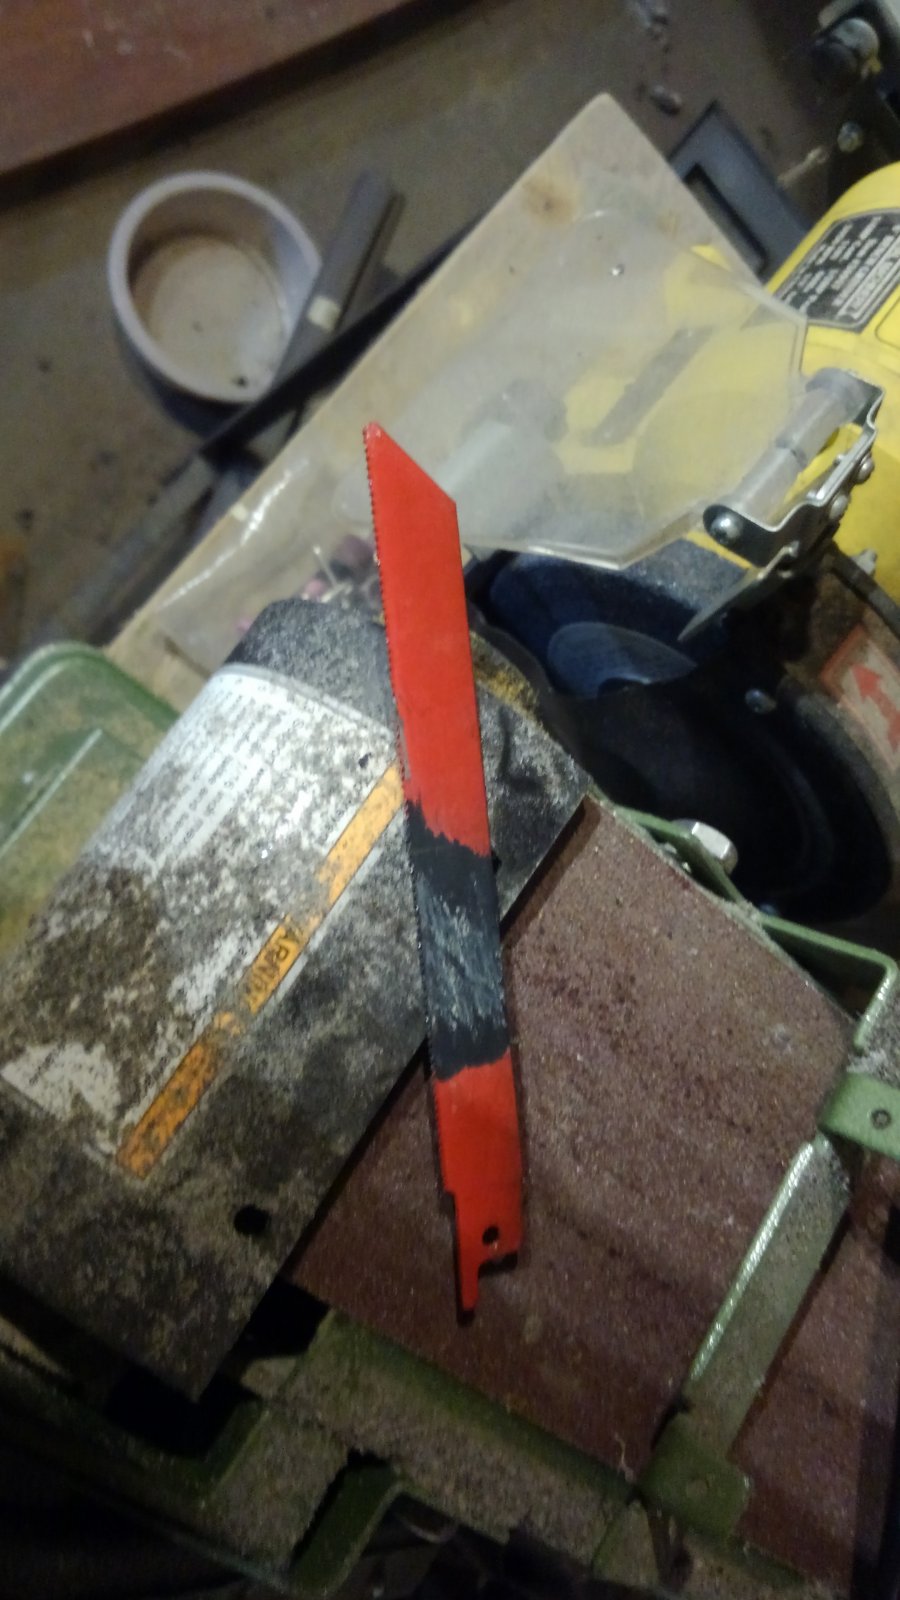
sawzall-blade.JPG


I used the bench grinder and belt sander to cut it down and remove the paint.
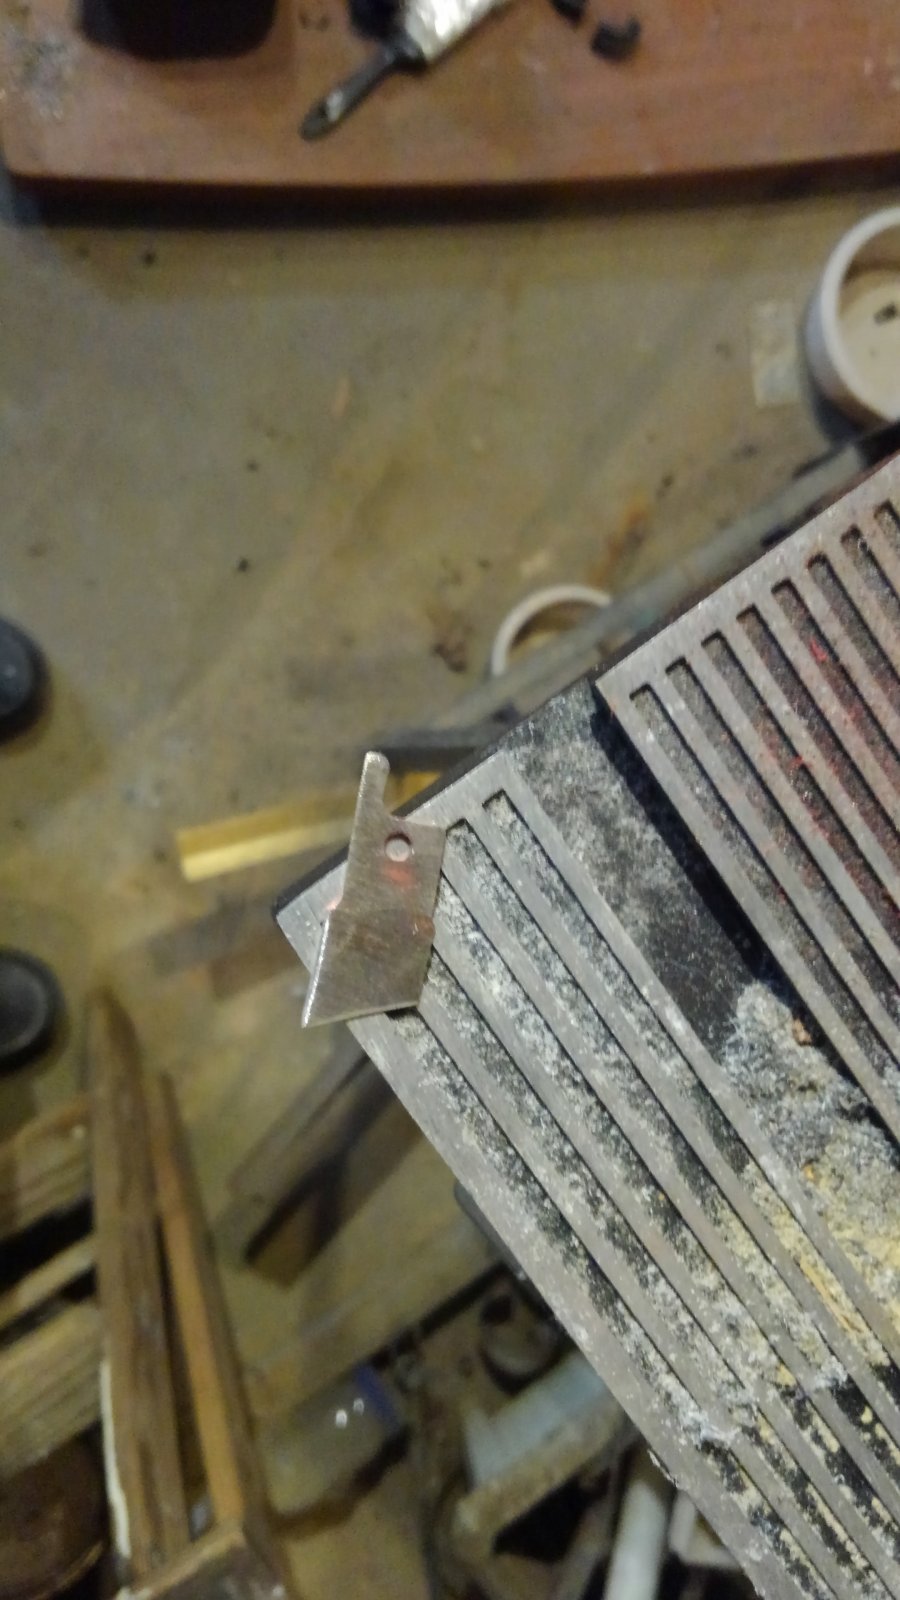
sawzall-blade-2.JPG


Here is the final result.
Hot-knife.JPG


The hot knife will give me finer control on some cuts. Then I'll use a Dremel to clean up the cut areas.

 

Tonyrodz

Resident Resident
Joined
Feb 16, 2012
Posts
33,341
Reaction score
51,827
Location
Central Jersey
Started on the cover by removing the liner inside. I used a small screw driver to bend the retainer ears and popped everything out. I need to cut some areas to clear the heater hose and such so decided to make a hot knife out of a soldering iron.
I started with a sawzall blade.
View attachment 221873

I used the bench grinder and belt sander to cut it down and remove the paint.
View attachment 221874

Here is the final result.
View attachment 221875

The hot knife will give me finer control on some cuts. Then I'll use a Dremel to clean up the cut areas.

Pretty ingenious.
 

Jeff Groves

Retired Demo Expert. I don't need to run anymore!
Joined
Mar 26, 2019
Posts
533
Reaction score
558
Location
Nevada, Ohio
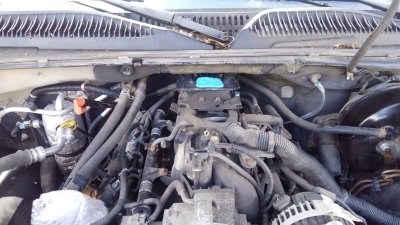
Using the hot knife and a propane torch to assist it I have it to this point now.
Engine cover-1.JPG


I need a small area cut out near the trans dip stick yet and you can see a ground strap that needs adjusted on the right rear corner. Then some cutting to clear the alternator. I'll have to do something about the oil fill tube also.
The oil dip stick and trans dip stick I was able to bend out a bit with no problem.

Oh. I had to rotate one of the heater hose clamps also.
 
Last edited:

mountie

Elite Member
Supporting Member
Joined
May 9, 2018
Posts
7,229
Reaction score
14,062
Location
Wellington, Fl., (formally Kalifornia)
Huh..... first time reading this thread..... My cover is a bit different/ Maybe I don't know the year model I see in the pics. ( fortunately my cover is still like new )

But my cover is a boring shape.

Also I guess, living in Florida, my minimal cover is better to allow cooler air around the ignition.

If I was farther north, the Camero covers are nice.

......... and what's with the additional weird posts???? I could join them... but better not!!!

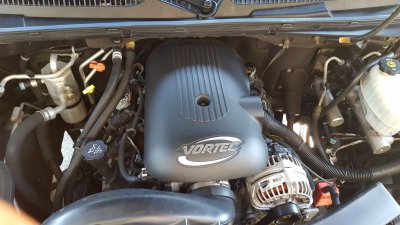
Yukon Vortec cover front.jpg Yukon Vortec cover logo.jpg
 

Jeff Groves

Retired Demo Expert. I don't need to run anymore!
Joined
Mar 26, 2019
Posts
533
Reaction score
558
Location
Nevada, Ohio
What weird posts?
And I have always hated the stock engine covers. Now the SSR covers?
Thinking the Wife has that electric heater to close to the bath tub.;)
 

Jeff Groves

Retired Demo Expert. I don't need to run anymore!
Joined
Mar 26, 2019
Posts
533
Reaction score
558
Location
Nevada, Ohio
Final clearance taken care of and it starts to rain! WTF?
Goodsofar.JPG


I need to add a part to the back to hook into the stock engine cover mount then something for the front. I may just drill a hole and use the stock position.
I have the oil fill tube inside now to see what I need to do to mod it.
 

Jeff Groves

Retired Demo Expert. I don't need to run anymore!
Joined
Mar 26, 2019
Posts
533
Reaction score
558
Location
Nevada, Ohio
Stainless steel screws I'll be adding. I need 24 of them.
SS-Screws.JPG


I can drill the hole small enough they screw in then JB weld the back side.
 
Last edited:

Jeff Groves

Retired Demo Expert. I don't need to run anymore!
Joined
Mar 26, 2019
Posts
533
Reaction score
558
Location
Nevada, Ohio
I'll take a sawzall to cut this area out of the stock engine cover then attach it with an aluminium angle to the Camaro Cover.
Stock-mounts.jpg


That will hold the back of the new cover.
I hate to drill a hole and use the stock front mount but it's the easiest way.
Will probably do some kind of cover for it.
 
Last edited:

Jeff Groves

Retired Demo Expert. I don't need to run anymore!
Joined
Mar 26, 2019
Posts
533
Reaction score
558
Location
Nevada, Ohio
So fans of the ugly stock cover might find this offensive but I butchered mine.
butchered.JPG


I'll put that in place then put the Camaro cover in to figure out the spacing.
 

Jeff Groves

Retired Demo Expert. I don't need to run anymore!
Joined
Mar 26, 2019
Posts
533
Reaction score
558
Location
Nevada, Ohio
It's kind of hard to get the measurement for attaching the rear part from the old cover to the new cover due to how tight it fits.
So I'll use an old trick to get that. I'll take some clay I use to cast parts and place it on the old cover while it's in place.
Then press the new cover into it to get a mark!

One thing I am going to do is make a template of the cuts I had to make in the cover then post them. Then it will be easier for anyone else to do this if they wish.
 
Last edited:

Jeff Groves

Retired Demo Expert. I don't need to run anymore!
Joined
Mar 26, 2019
Posts
533
Reaction score
558
Location
Nevada, Ohio
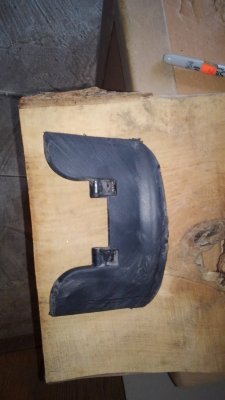
So here's the clay trick applied. I put a layer of clay on the part cut from the old cover and snapped it in place.
Clay-1.JPG


I put the new cover in and pushed it down into the clay. That cut the clay and I ended up with this on the new cover.
Clay-2.JPG


Now I pulled the old cover part off and have a perfect rough measurement!
clay-3.JPG


I'll adjust that to get a clean line since it is a tad off. But that gives me the information for attaching the old part to the new cover.

butchered.JPG Clay-1.JPG
 

Tonyrodz

Resident Resident
Joined
Feb 16, 2012
Posts
33,341
Reaction score
51,827
Location
Central Jersey
So here's the clay trick applied. I put a layer of clay on the part cut from the old cover and snapped it in place.
View attachment 221966

I put the new cover in and pushed it down into the clay. That cut the clay and I ended up with this on the new cover.
View attachment 221967

Now I pulled the old cover part off and have a perfect rough measurement!
View attachment 221968

I'll adjust that to get a clean line since it is a tad off. But that gives me the information for attaching the old part to the new cover.

View attachment 221964 View attachment 221965
Good trick.
 

Jeff Groves

Retired Demo Expert. I don't need to run anymore!
Joined
Mar 26, 2019
Posts
533
Reaction score
558
Location
Nevada, Ohio
I may have to cut one of the baffles off the stock air intake system but that is no big deal. I'll just put a patch over the hole for now. The Oil fill tube will need modded as I want it in the hole in the Camaro cover.
I'll get to that after I get a good attachment of the cover.
 

iamdub

Full Access Member
Joined
Apr 23, 2016
Posts
20,821
Reaction score
45,014
Location
Li'l Weezyana
I may have to cut one of the baffles off the stock air intake system but that is no big deal. I'll just put a patch over the hole for now. The Oil fill tube will need modded as I want it in the hole in the Camaro cover.
I'll get to that after I get a good attachment of the cover.

An AIRAID MIT would be the easy and clean way out but cutting the resonator chamber off is much cheaper. Before I found a deal on my MIT, I planned to trim the chambers off mine and patch it with this stuff:

50139_Black_Plastic_Bonder_Syringe_FLT.jpg


It cures to a hard, black plastic very much like what the duct is made of. I've fixed a couple of mounting tabs on headlights and they've never broken.
 

Jeff Groves

Retired Demo Expert. I don't need to run anymore!
Joined
Mar 26, 2019
Posts
533
Reaction score
558
Location
Nevada, Ohio
What I'd like to see is someone modding the stock air intake by cutting baffles and putting that on a dyno test.
Then compare to the high dollar stuff. I did my own intake mod on a 2005 Triumph SpeedMaster and dyno proved I did a better job then the high dollar stuff being sold.
And way cheaper! Not that I'm cheap but you better prove I'm getting what I pay for.

The baffles in the stock system are to keep the noise down as far as I've found.
So no reason we can't just cut them off and patch them with in reason.

What I mean by 'with in reason' is do it in a way that does not create an air dam.
The stock system creates air dams that suck up the sounds you get from the after market systems. Anyone that has done air flow work with flow metering systems understands that effect and why it's used.
 
Last edited:

Jeff Groves

Retired Demo Expert. I don't need to run anymore!
Joined
Mar 26, 2019
Posts
533
Reaction score
558
Location
Nevada, Ohio
Looked at the Hoe real close to see how it's getting air. I'll be adding a wing to the area near the front wheel to scoop in more air. It's actually in a near dead air space as it is and if I put the front dam on? It will be worse!
 

Forum statistics

Threads
138,096
Posts
1,998,919
Members
103,022
Latest member
scottd

Latest posts

Back
Top