MadDogDelpho
Texcellent
I get the feeling you have some experience with this kinda stuff 
Disclaimer: Links on this page pointing to Amazon, eBay and other sites may include affiliate code. If you click them and make a purchase, we may earn a small commission.
I dig the hell outta that bottom rig. Looks mean.I said "prerunner", but I was thinking "fabricated", like this:

I guess you're talking something more like this?:
...A 2x3 rectangle tube slides right into the factory mount with some persuasion. This will provide many weld and reinforcement points.

Damn this thread is interesting, seriously good stuff here thank you for posting.
I'm still trying to do coilovers up front but I need some new UCA's first and I don't know who the hell to get them from. Im thinking Cognito or have the guy who did my bumpers make them. I'm probably gonna need to go with NNBS CV's since mine are nearly shot anyway, and the Atomic Coilover conversion with Fox or Bilstein Remote res. shocks.
Definitely gonna stay tuned here for updates.
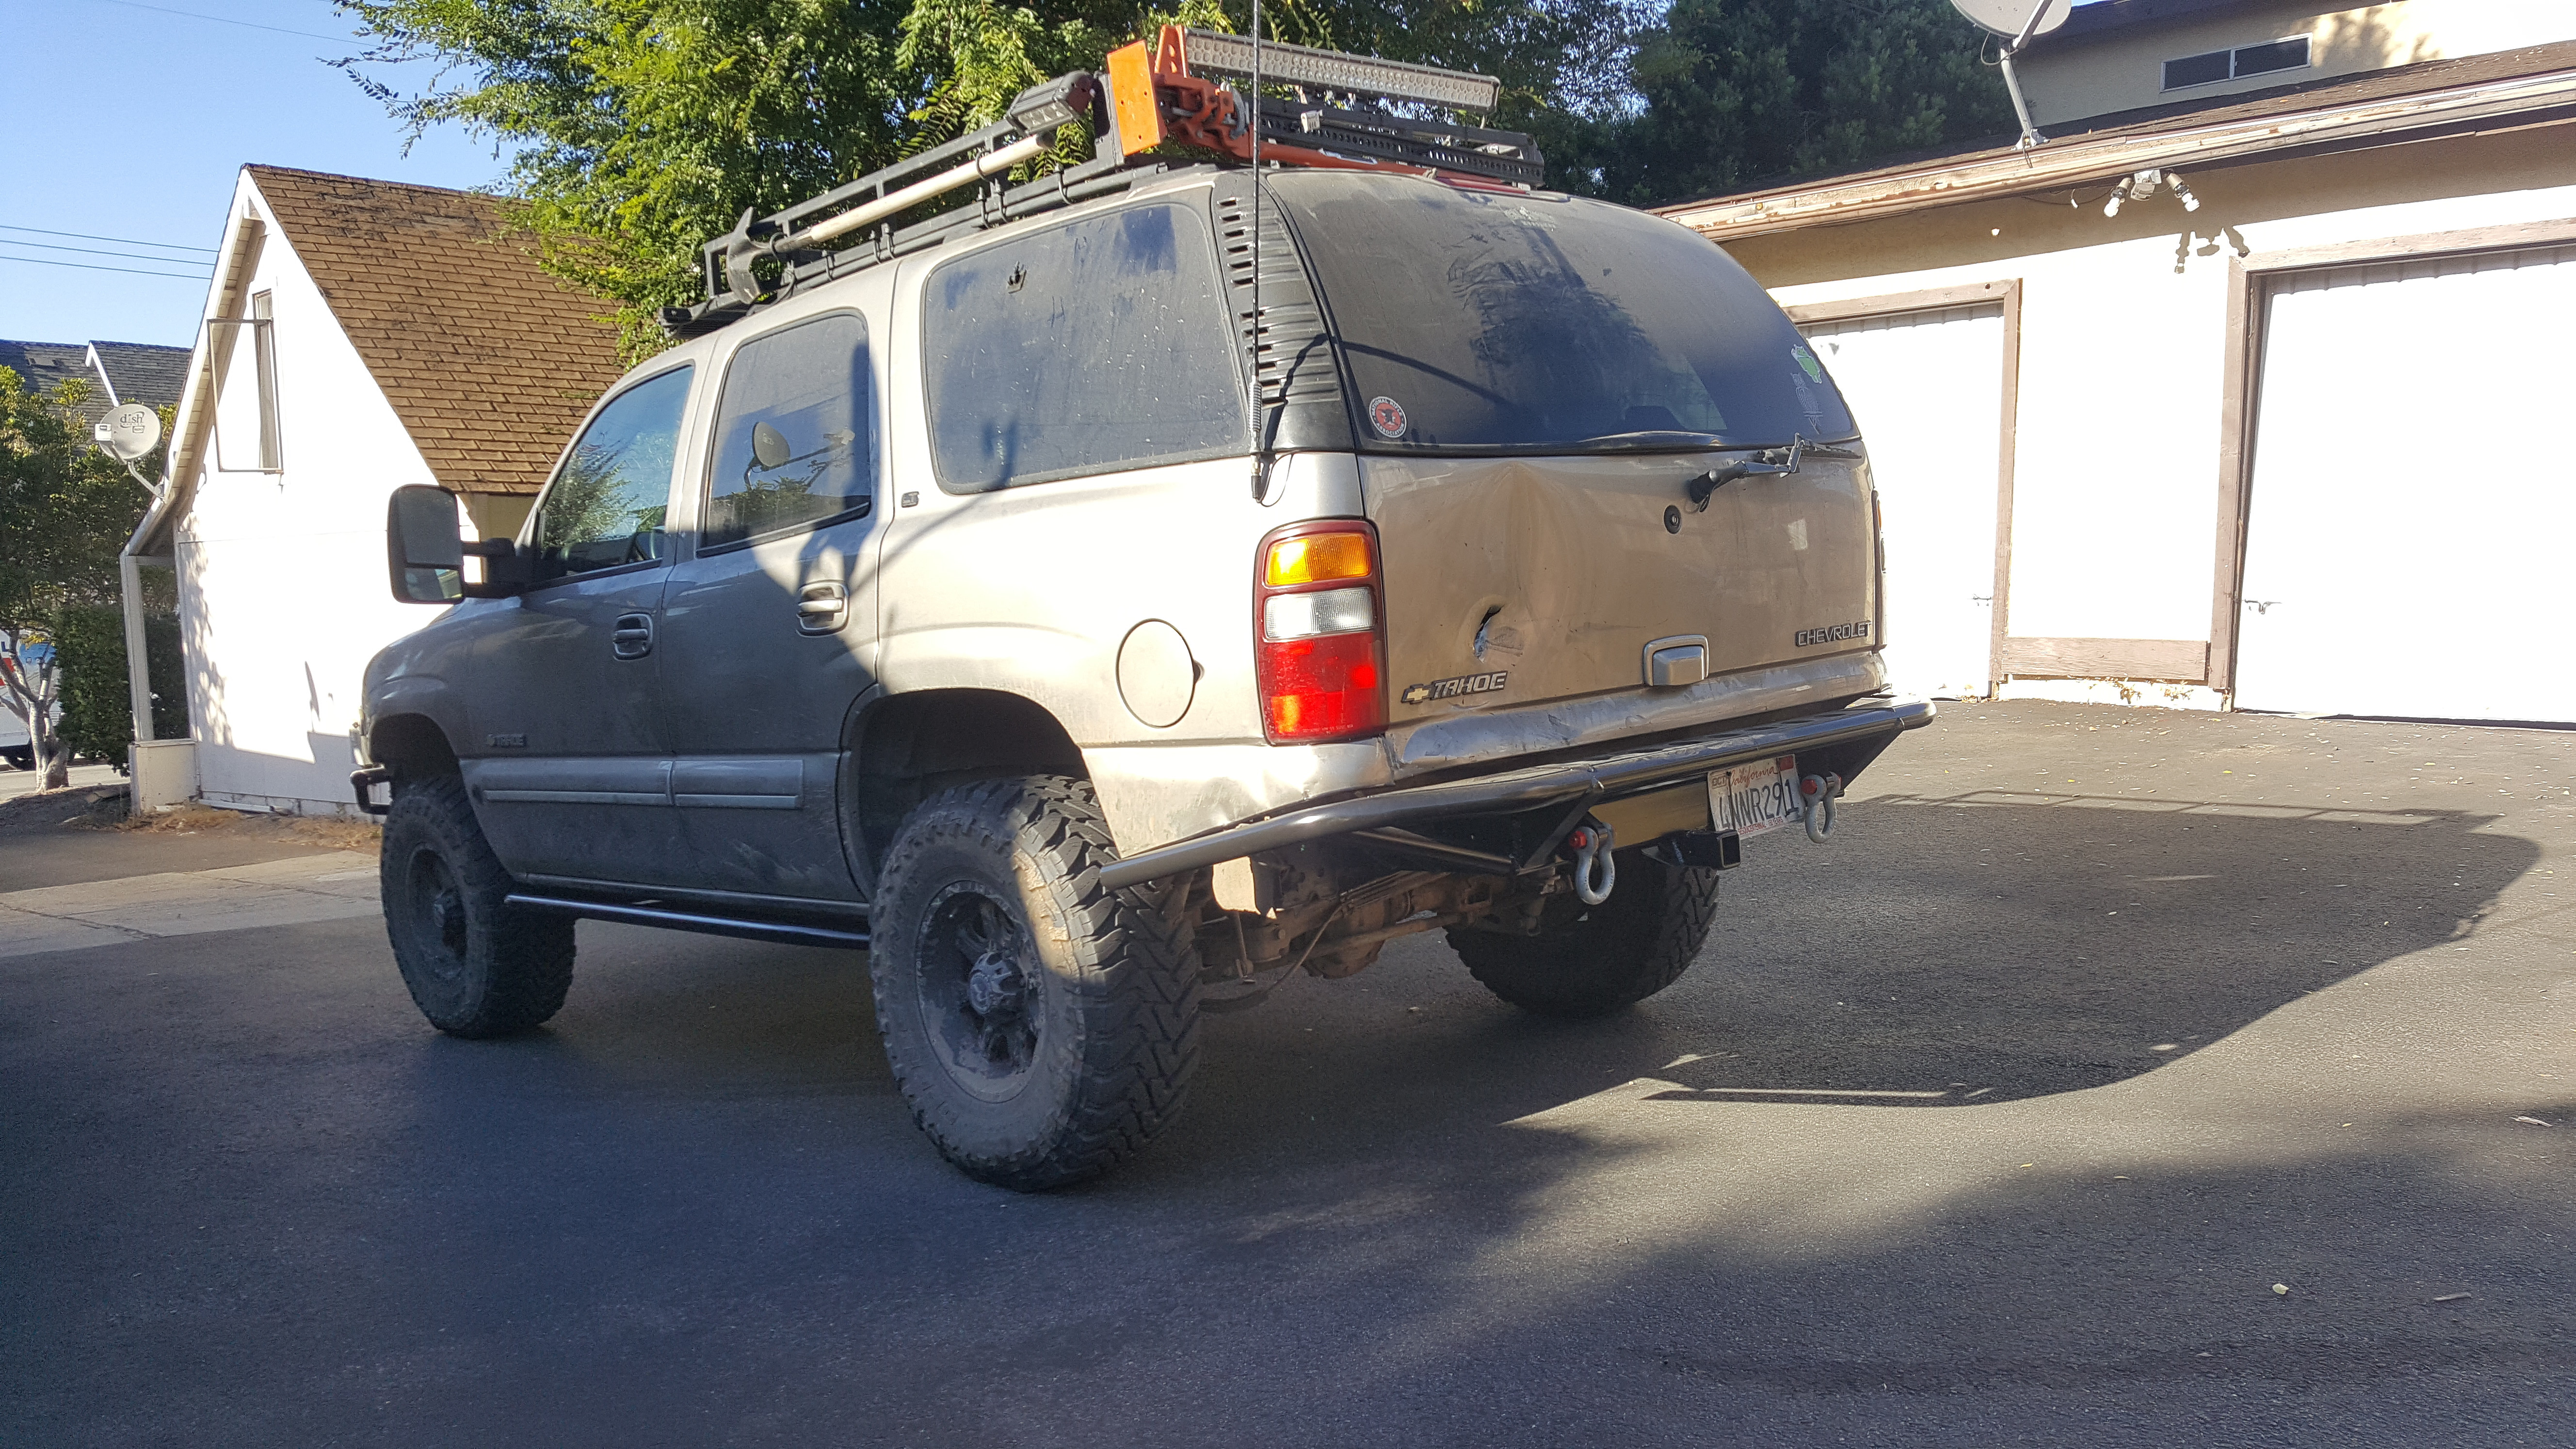
Your Hoe looks great. Where in Cali are you located? You're going to like what I've got planned for up front.
I know you said you were trying to avoid cutting the rear fenders, but you could always do more of a boxed rear bumper similar the Mazzulla offroad ones.