NorCal Fender Mod Going Well

Disclaimer: Links on this page pointing to Amazon, eBay and other sites may include affiliate code. If you click them and make a purchase, we may earn a small commission.

Jason in DLH

Cheeseburger and Fries
Joined
Sep 4, 2020
Posts
1,400
Reaction score
1,562
Location
MN
Decided to do the NorCal fender mod found here...
https://norcaltruck.com/2007-5-2013-chevy-gm-large-fender-mod

Rust was my friend for this mod as no cutting was needed! o_O

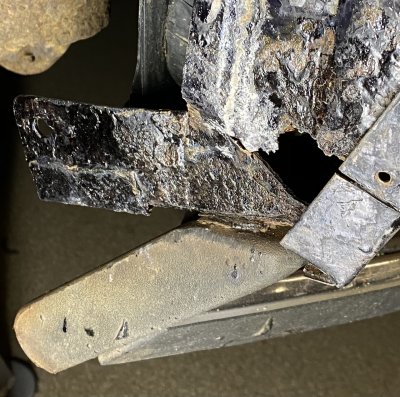
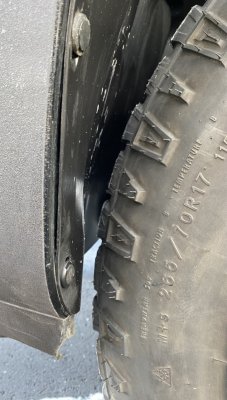
Before:
6E16C437-66BF-430A-9F53-9F0A5F7B3280.jpeg

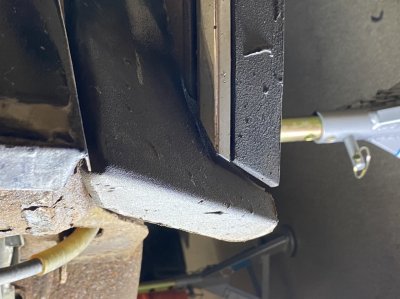
I simply pulled the bottom out first and then pounded it back to the pinch weld (will be getting new fenders sometime and didn’t want to waste too much time cutting and bending the pinch weld).

After:
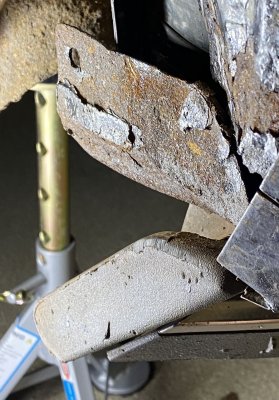
80D4B50C-89D5-4969-9DA2-222CB0A95396.jpeg

Next, I took a Sawzall to the running board...
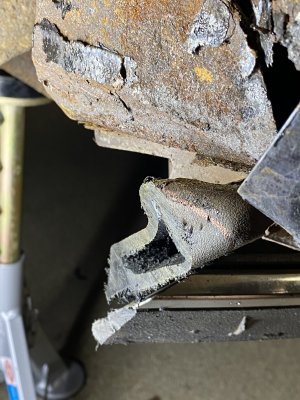
B8A7DE6B-F2A3-434B-8C51-B1598FBCC41F.jpeg

I thought it would have been solid. I’ll simply place a backer rod in there and caulk it up. Easy peezy. Just gained about 1” of clearance. When I get my new fenders I’ll go ahead and cut the pinch weld to gain 2” of clearance.

Plan is for a drop with 24” wheels with a slightly aggressive stance.
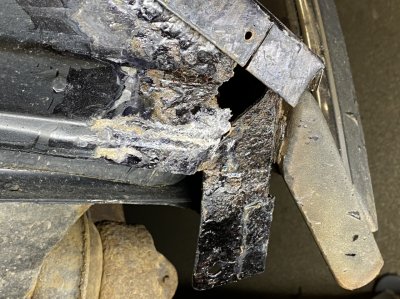
BB946D97-E8AD-4699-8B28-2FBC0536AF15.jpeg E4618642-DE6A-47CF-9853-A9B49A332A72.jpeg
 
Last edited:
OP
OP
Jason in DLH

Jason in DLH

Cheeseburger and Fries
Joined
Sep 4, 2020
Posts
1,400
Reaction score
1,562
Location
MN
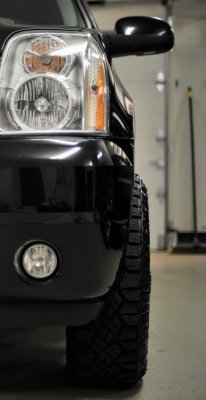
Here’s my current stance....

BA2E610D-C3B2-4A9F-AA3E-E39460B45FB8.jpeg

With a 2” lift I didn’t have to do the NorCal mod (minimal rubbing in that area). Definitely had to gain clearance in the front of the fender though.
 
OP
OP
Jason in DLH

Jason in DLH

Cheeseburger and Fries
Joined
Sep 4, 2020
Posts
1,400
Reaction score
1,562
Location
MN
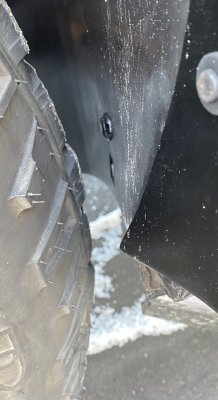
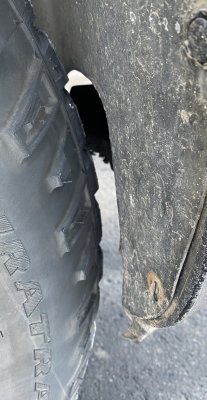
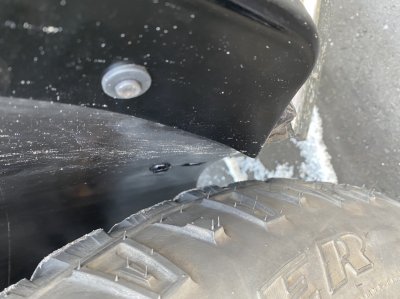
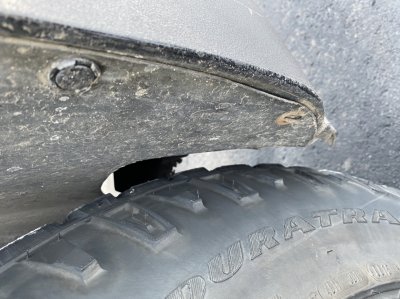
Alrighty...here are some before and after pics of the NorCal fender mod...

BEFORE (the dark mark on liner is from tire when I have the suspension articulated and turning)

76D8556C-4D89-453C-9B50-E0B73E79B8B3.jpeg

AFTER (Plenty of room now especially after trimming running board):

7253FF98-B3B3-4E6C-A673-D09249D7BE17.jpeg

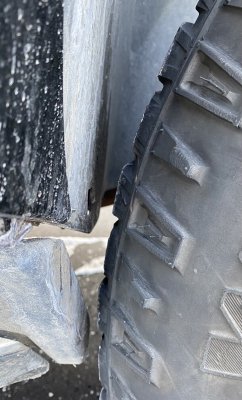
Here is the front....

BEFORE (I simply cut a hole):

CC6AECB7-C3B2-44F6-A2C1-30AC994FDBD3.jpeg

AFTER (Ordered new liners after reading a post on here to simply heat it to remold it): 6486A3BF-D21C-4752-88E4-461ABB45498D.jpeg 89CAFFF9-B0A7-40D0-A43F-20F0FBD0A226.jpeg
 
OP
OP
Jason in DLH

Jason in DLH

Cheeseburger and Fries
Joined
Sep 4, 2020
Posts
1,400
Reaction score
1,562
Location
MN
Tire has plenty of clearance now.

Previous picture looks like it would hit, but just the angle of camera as there’s plenty of space!
 

iamdub

Full Access Member
Joined
Apr 23, 2016
Posts
20,750
Reaction score
44,588
Location
Li'l Weezyana
Nice! This is on my to-do list one day. It needs to be done before I lower it more.
 

iamdub

Full Access Member
Joined
Apr 23, 2016
Posts
20,750
Reaction score
44,588
Location
Li'l Weezyana
What’s your current height? How low ya gonna go?

I don't have my measurements on hand, but it's right at a 3.5" front, 4.5" rear drop. Planning to go to a full 4/5. Currently, it rubs with the wheels at only about 1/2 to 3/4 of their maximum turning angle.
 

Dustin Jackson

Full Access Member
Joined
Aug 9, 2018
Posts
1,401
Reaction score
1,545
I’m going to do this soon. I seem to be rubbing more than I used to and, while I’ve considered removing the wheel spacers and 2.5 inch lift blocks, I cannot deny I absolutely love the look of the setup I am currently running.

Street driving it isn’t bad but when off-road any turns while there is an elevation change my Tahoe and tires eat each other.
 
Top