Z71 Suburban Camper

Disclaimer: Links on this page pointing to Amazon, eBay and other sites may include affiliate code. If you click them and make a purchase, we may earn a small commission.

NOSOK

Full Access Member
Joined
Oct 13, 2020
Posts
123
Reaction score
169
Location
Colorado
Thought I'd start a thread detailing my Suburban camper build. My girlfriend and I have been working remotely since March (and will for the foreseeable future) so our commute is nonexistent. We decided to sell our relatively boring cars and consolidate down to one vehicle more suitable for long road trips and camping. We looked at a few other SUVs and vans/minivans but the Suburban or Yukon XL was really the only candidate. There are compromises to every camper platform, but we wanted something that was both decent to drive around town and reasonably competent off road and in snow.

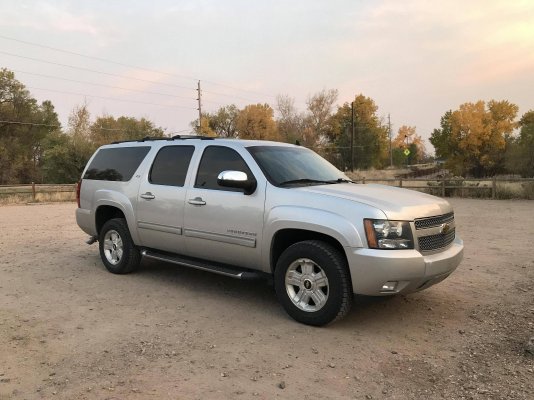
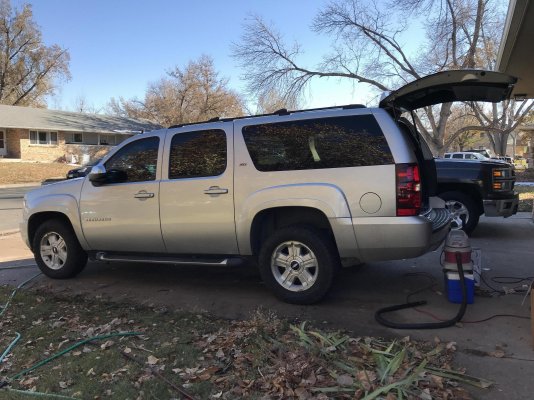
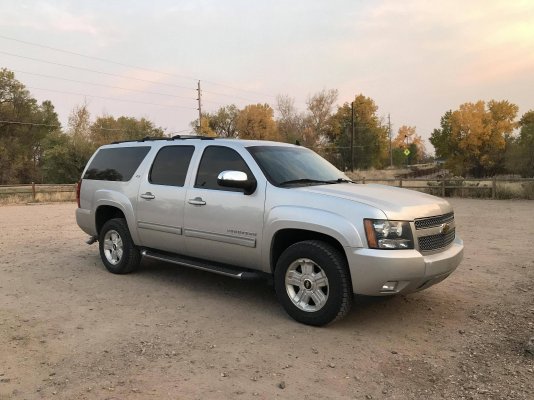
So we picked up a 1 owner 2011 Z71 Suburban 4x4 with 147k around a month ago. The G80 diff was a must for me, and a 2 speed transfer case was highly preferable. In hindsight we probably would've been better served with Autoride since the vast majority of our miles are on pavement, but the Z71 is comfortable enough and we got a great deal on this.

yri2P7Q.jpg

More to come...
 

Tonyrodz

Resident Resident
Joined
Feb 16, 2012
Posts
30,979
Reaction score
45,115
Location
Central Jersey
Thought I'd start a thread detailing my Suburban camper build. My girlfriend and I have been working remotely since March (and will for the foreseeable future) so our commute is nonexistent. We decided to sell our relatively boring cars and consolidate down to one vehicle more suitable for long road trips and camping. We looked at a few other SUVs and vans/minivans but the Suburban or Yukon XL was really the only candidate. There are compromises to every camper platform, but we wanted something that was both decent to drive around town and reasonably competent off road and in snow.

So we picked up a 1 owner 2011 Z71 Suburban 4x4 with 147k around a month ago. The G80 diff was a must for me, and a 2 speed transfer case was highly preferable. In hindsight we probably would've been better served with Autoride since the vast majority of our miles are on pavement, but the Z71 is comfortable enough and we got a great deal on this.


yri2P7Q.jpg

More to come...
Looking forward to all the updates:D
 
OP
OP
NOSOK

NOSOK

Full Access Member
Joined
Oct 13, 2020
Posts
123
Reaction score
169
Location
Colorado
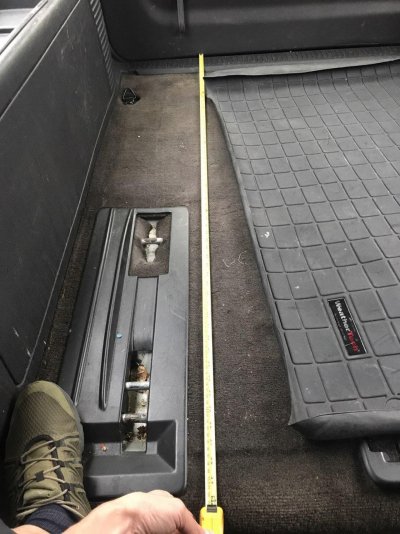
First step was to remove the seats and take some measurements. The rear seats (2nd row captains, 3rd row bench) weigh over 200 lbs BTW, so that offsets most if not all of the camper build. Also removed the metal seat mounts and the plastic covering them seen in the 2nd pic. The plastic covers were glued to the carpet, so the removal is permanent.

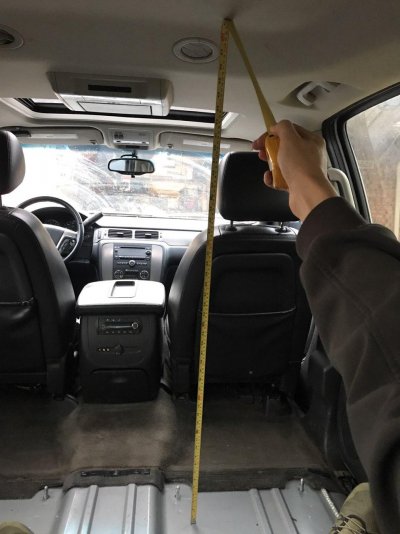
Important measurements were the length and width of the trunk/3rd row area, as well as ceiling heights.

The rear area is basically 49" x 60". Rear ceiling is ~41" and 2nd row ceiling is ~46".


XekVjao.png

js3YfV5.jpg

o27TYdJ.jpg

xMCvWqD.png
 
OP
OP
NOSOK

NOSOK

Full Access Member
Joined
Oct 13, 2020
Posts
123
Reaction score
169
Location
Colorado
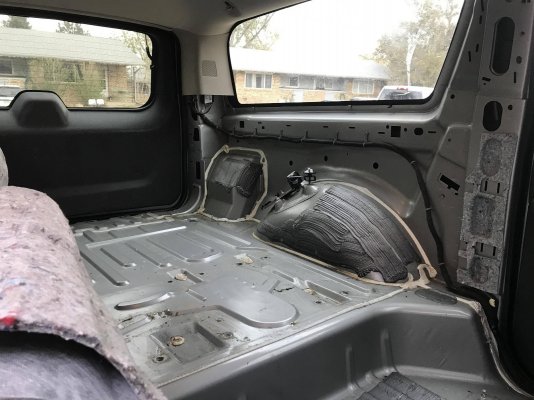
We had also removed the driver side rear interior panels (as seen in the pic below), with the intent to build additional storage, but that idea was scrapped and the panels reinstalled. It would've taken a fair amount of work to get something that looks nice, and we did not want to obscure any of the windows (unlike a lot of the camper builds I've seen on Youtube).

YpgM7Fn.jpg

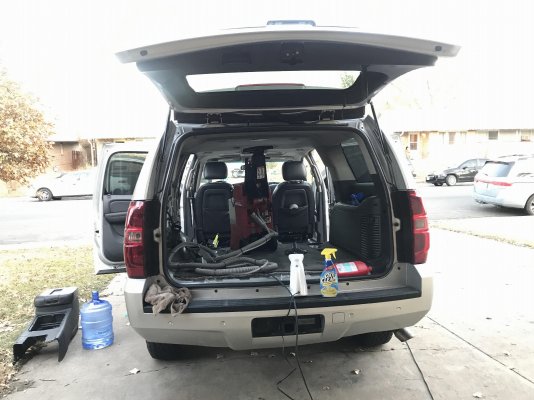
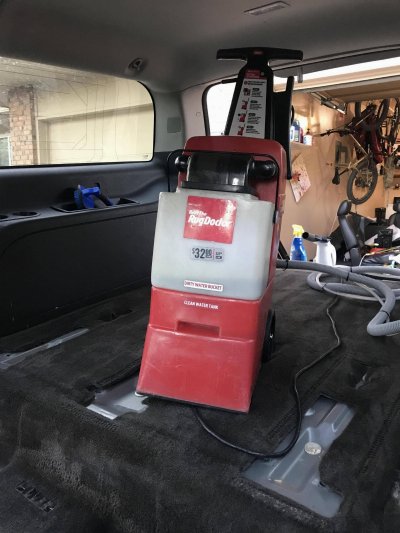
The next step was to decide on the floor covering. Decided to just go with the factory carpets/padding. Any other option (while it might offer more insulation/sound dampening) would require a ton of fitment work as the floor is ribbed. The existing carpet was subject to 10yrs of the previous owner's kids and while it generally looked clean, it didn't smell great. The areas around the holes in the carpet were particularly gross.

So we rented a Rug Dr and spent a day cleaning the carpet, and as much padding as we could reach. Not the most fun, but I'm glad we did it as it feels dramatically cleaner now.

ujq4slT.jpg

42Oyqro.jpg
 
OP
OP
NOSOK

NOSOK

Full Access Member
Joined
Oct 13, 2020
Posts
123
Reaction score
169
Location
Colorado
Along the way I started getting caught up with some maintenance...these are all DIY except the ATF.
Front diff fluid
Rear diff fluid
Spark plugs and wires
ATF flush
Air filter

There's a lot left to do, but I got the critical stuff done ASAP.

Removed the door mouldings as well since they were falling off. This will probably be the only cosmetic 'mod'.

L84ZBmS.jpg
 
OP
OP
NOSOK

NOSOK

Full Access Member
Joined
Oct 13, 2020
Posts
123
Reaction score
169
Location
Colorado
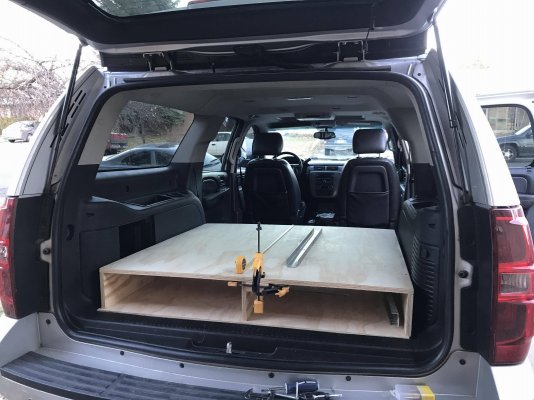
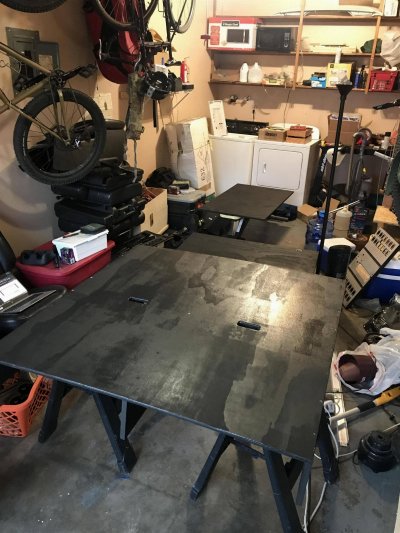
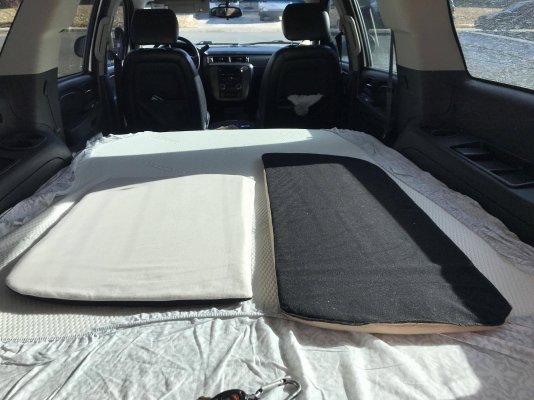
The bed platform is made out of 3/4" plywood. Basically a 47" x 48" piece with 3, 6" tall supports running the length of it, attached with construction screws and a few corner brackets for extra support. The end of the bed is a 2.5' folding section. The main platform is about 1ft shorter than the rear raised hatch area, to give the option (when folded) of sitting in front of it for eating/cooking. I also angled the front legs slightly to serve as a simple backrest.

The bottom is 1/2" plywood attached with a bunch of construction screws. It wasn't strictly necessary to have the bottom 1/2" piece, but I wanted something to protect the carpets and make it easy to slide stuff in and out (skis for example).

Doing some test fits here:
VrcD3dB.jpg

I routed the edges with a roundover bit, sanded everything, and then painted it black with some house paint. I also made some hand holds so I could easily move the platform around by myself while building it.

aTbEQCy.jpg

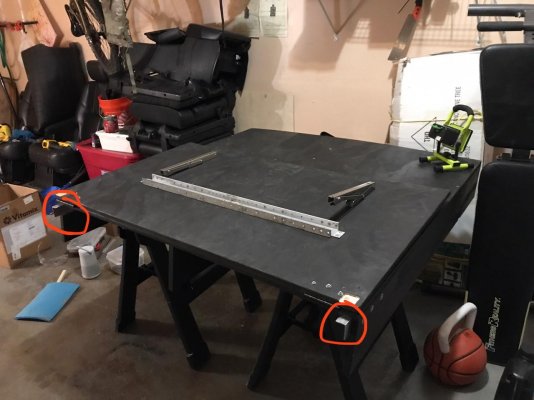
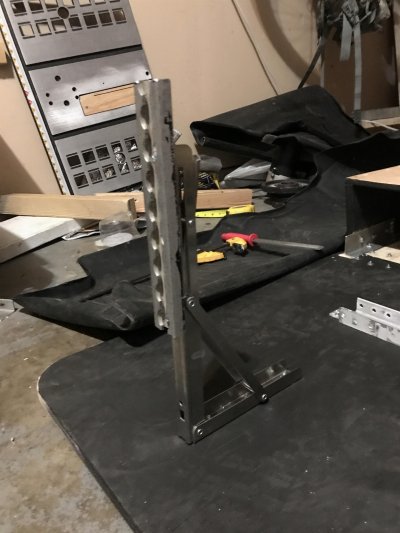
Here's the folding section. This is attached with 2 door hinges, supported at the edge with some L braces (circled in red) on the corners, and supported at the end with the folding legs. I routed out the depth of the hinges and support braces so they fit as flush as possible. The hinges were attached with a variety of spare hardware I had - mostly 8-32 screws and some loctite. In the future I might attach the hinges with some pop rivets. The L braces were structural so I wanted those a bit stronger. Each is held with 3, 1/4" bolt/t-nut combos.

JQKOZ4g.jpg


The folding hinges weren't quite long enough, so I had to add about 2" of extension.

aqPgARG.jpg

What may be evident in the pics above, and was the most frustrating part of this project, was the bowing of the plywood. I spent several days wetting the concave side of the wood and then adding weights on top in an attempt to flatten it. It worked ok for the main platform, but the folding section still has an annoying amount of bend in it. In a last ditch effort, I screwed a piece of C channel on to flatten it a bit. Might rebuild it, but the bend is only cosmetic.
 
OP
OP
NOSOK

NOSOK

Full Access Member
Joined
Oct 13, 2020
Posts
123
Reaction score
169
Location
Colorado
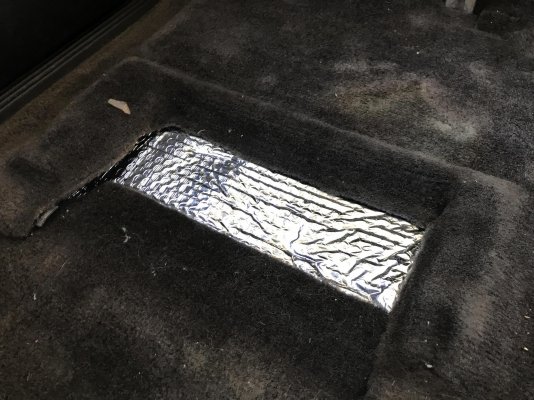
Before installing the platform, we stuffed some full width sheets of 48" Reflectix under the carpet padding as extra insulation and to cover up the bare metal where the seats were mounted.

SO3g6cp.jpg

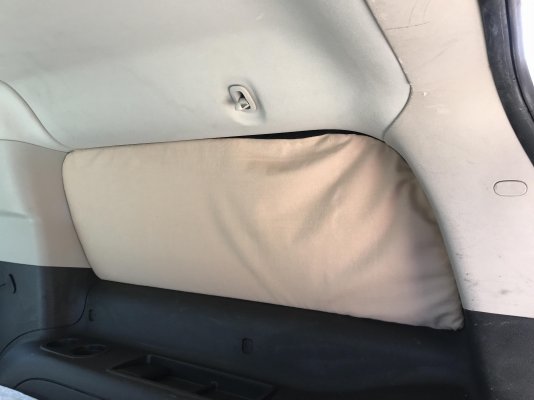
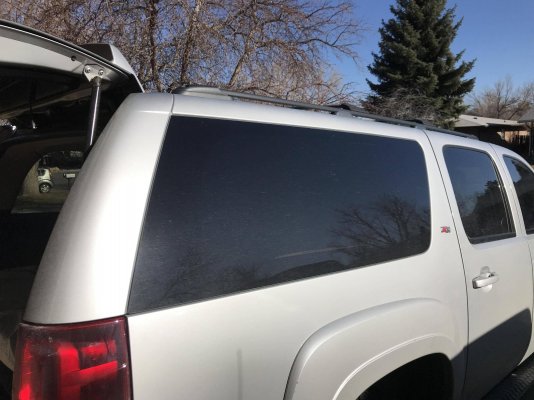
My girlfriend made window covers for the rear 4 side windows and hatch. These were made with 2 layers of Reflectix, separated by a piece of corrugated plastic to add rigidity and an extra air barrier, and then fabric on both sides. They are slightly oversized so they stay in place once you stuff them in the window frames. Once installed, they're practically invisible outside, and definitely an effective insulator. We're still figuring out a solution to cover up the front windows - we will likely go with some type of curtain that can just be pulled shut. Once that's in place, the truck should black out any interior light.

bRlKqZ7.jpg

TU7Ahxp.jpg

rZoJfXD.jpg
 

wjburken

Supporting Member
Joined
Dec 26, 2017
Posts
9,794
Reaction score
26,667
Location
Eastern Iowa
Looks great!


What may be evident in the pics above, and was the most frustrating part of this project, was the bowing of the plywood.

One thing to think about with the plywood is the span covering strength of plywood, particularly sheathing, is typically inline with the grain on the face veneers. Since your platform is 47 x 48, might consider rotating the grain direction of the plywood so it runs side to side.
 
OP
OP
NOSOK

NOSOK

Full Access Member
Joined
Oct 13, 2020
Posts
123
Reaction score
169
Location
Colorado
Looks great!

One thing to think about with the plywood is the span covering strength of plywood, particularly sheathing, is typically inline with the grain on the face veneers. Since your platform is 47 x 48, might consider rotating the grain direction of the plywood so it runs side to side.

Good to know about the grain direction with sheathing. I considered rotating the legs once I saw the warp, but decided it against mostly out of laziness but also because the 47" side would create a [slightly] larger gap against the sides.
 

Forum statistics

Threads
129,130
Posts
1,810,926
Members
92,223
Latest member
PeskarS

Latest posts

Top