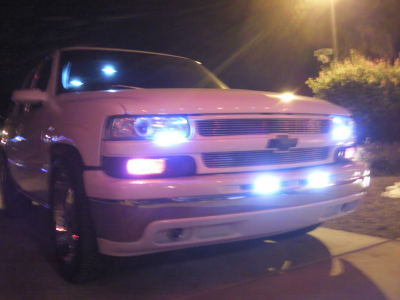
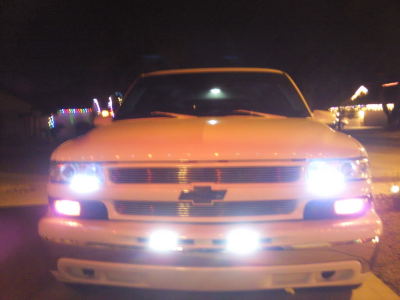
I know alot of people have these headlights, and I finally got a set the other day. Pretty nice, and I have HID, and the light output is pretty good for holagen headlights. Well I wanted to mod the projectors so... I was gonna do a write up on how to do it, but these cutoff/projector/ztail/prism tail/washer mod writeups are everywhere, and think everyone knows how to do it by now, and my pictures I took got erased by my kid so... Wish I had pics to help everyone out, but don't, but will explain the best I can to help anyone interested in doing this. So pretty much just got my heatgun and took out the projector, pretty easy, much safer then baking, would diffenently suggest using a heatgun. Once out, just unscrew the 4 scews and pull apart the lens holder from the reflector. Now the shield is a seperate peice, which isn't connected to the lens holder, actually makes it easier. What I did was take a pop can and cut it up. You will the make a straight line in the can using a ruler(make sure it's perfectly straight). I suggest one at a time, tried to do both, made it harder. Once flat what I did was then put it up against the shield, marked it off, trimmed the excess off to fit the shield perfectly. I then made a z-tail mod into my new shield. JVXDriver does a great write up on how to make a shield, google it, he's the man. Now, I made a pretty big step, and z-tail, makes it more unique. Once my new shild was made I glued it to the original shield then used aluminum tape to guarantee it's secure, since that tape can withstand high temps. I then used high temp flat black paint to paint the back of the shield facing the bulb, and high temp blue facing the shield. I wanted a blue look when it's lit. By doing the flat black it suppose to add more color along cutoff. Sure everyone already knows hopefully what I'm talking about and why I did it, much research done. Ok, then I did the washer mod. I took small washers, grinded one edge( makes it fit better, would suggest doing that) and placed four washers between the shield and the lens holder. By doing this I added more color, sure everyone knows this too. Again, research done. That's it. Next is just adjusting. Would highly suggest not putting back into housing, but hooking up to your ballast and check for proper alignment of cutoff, horizontal, vertical, smiley face or frowning. mine where frowning, so i had to adjust my shield accordingly. again, much research done one how to fix. by moving shield forward(toward lens) or backwards(towards bulb) will fix this problem. also, make sure shield is even side to side for proper lighting across cutoff. Again, JVXDriver helped alot. Now, the final output of all of this is just awesome!!! Now, I'm using 6k headlight bulbs, OEM fog light bulbs. Now, end result is just the coolest, and will diffently leave your lights being super unique amongst others. I ended up with just the coolest prism effect. Blues, Purples, Greens, Yellows, and even Reds. I will post a video soon. Now, really sorry I don't have pics to help through process, but very easy if you know what I'm talking about, and do your research. Heres a pic against the wall of what my cutoff looks like.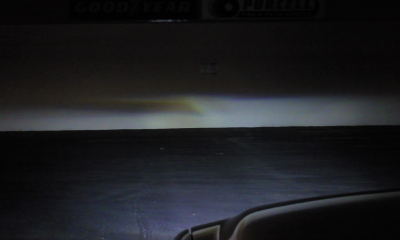
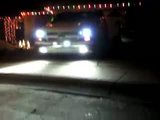
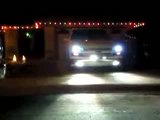
Now, also doing research I wanted my colors visible from a far, not just close, so in this pic, about 25ft from wall, z-tail middle is yellow, but from 50-100ft is just crazy!!! and even up close!! forget about it, insanely blue and purple, washer mod. Heres a pic up close, see the blue.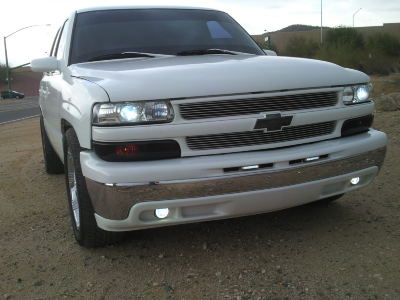
You can also see my custom HID projector fog lights I made from BMW headlights, well just took the projectors and used them, custom brackets, full custom mod. Hope you guys like thanks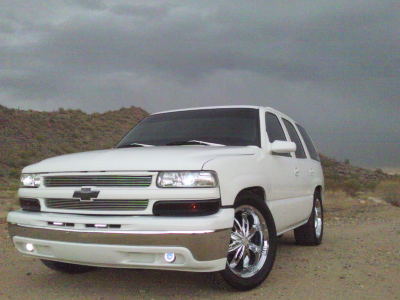

Now, also doing research I wanted my colors visible from a far, not just close, so in this pic, about 25ft from wall, z-tail middle is yellow, but from 50-100ft is just crazy!!! and even up close!! forget about it, insanely blue and purple, washer mod. Heres a pic up close, see the blue.

You can also see my custom HID projector fog lights I made from BMW headlights, well just took the projectors and used them, custom brackets, full custom mod. Hope you guys like thanks


