CHOO CHOO
BackPagePhil
Tools:
10mm socket, extension, and rachet
Small flathead
Trim removal tool
painters tape
Time: 30min each window (more than plenty)
Now I only replaced the rear panels on driver's and passengers side so the front may be different. I will add the videos I watched to help me as I thought they were helpful at the end of this thread.
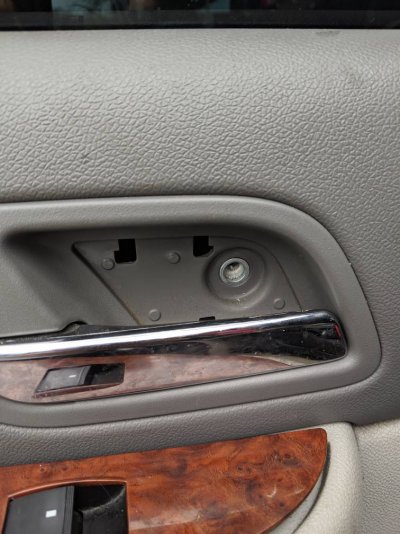
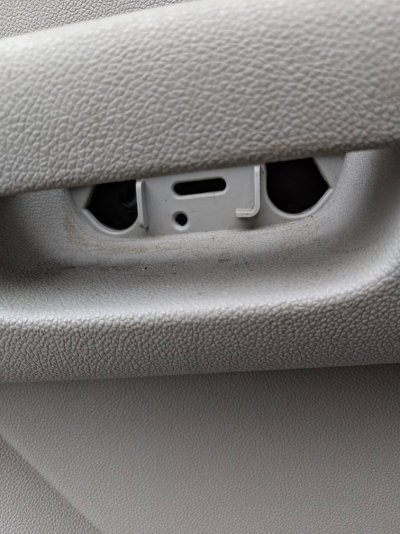
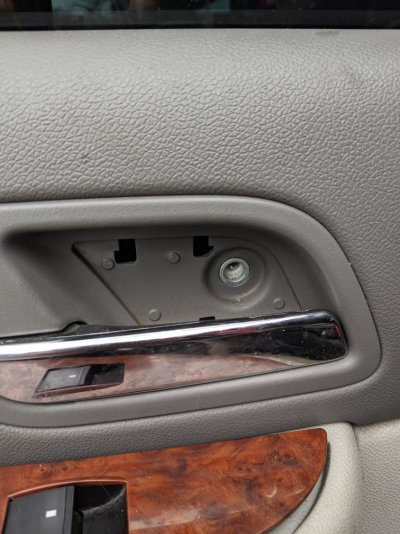
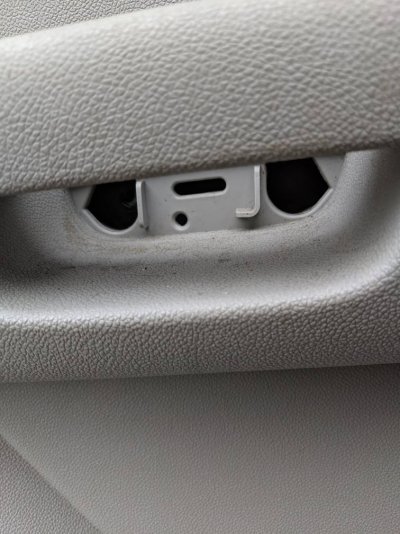
Take your flathead and remove the two trim covers by the door handle and armrest.
There is one or two 10mm bolts behind each of them (I think it depends on trim package LTZ or lower). Go ahead and remove them.
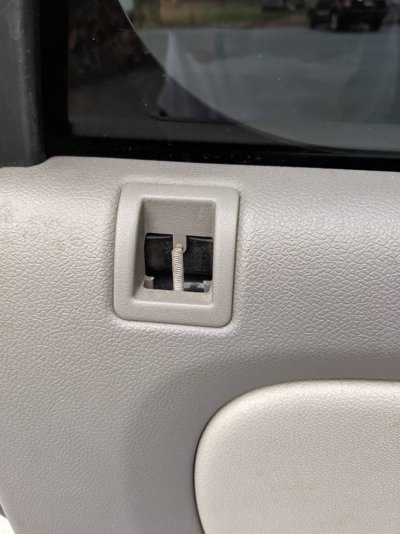
Use a small flathead and remove the door lock on the top of the door trim.
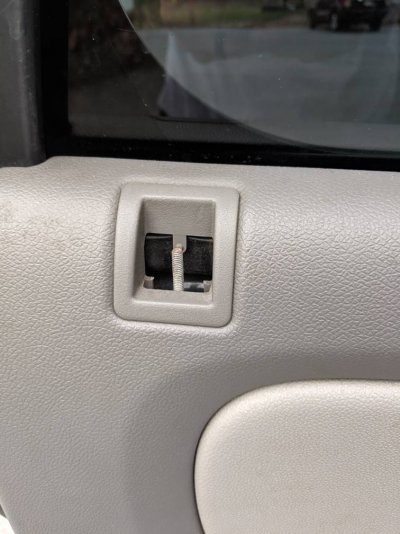
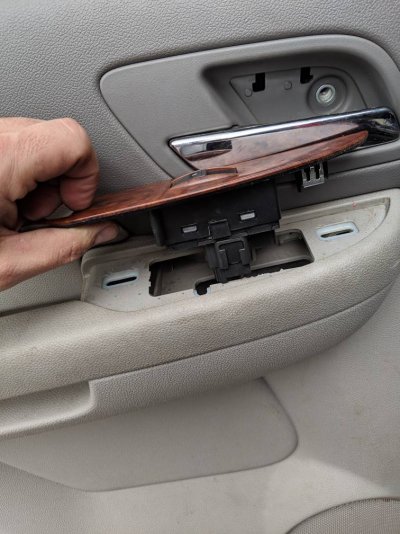
Use the small flathead or trim tool to pop up the window control and trim and disconnect the plug.
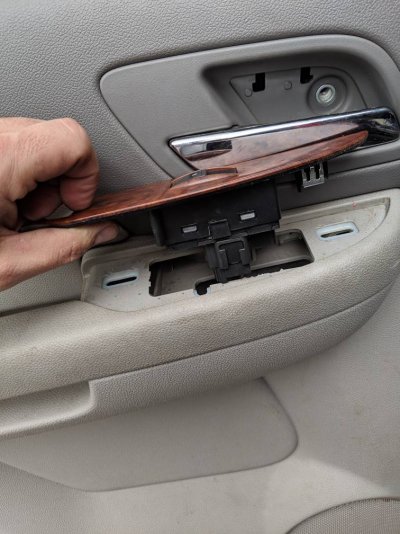
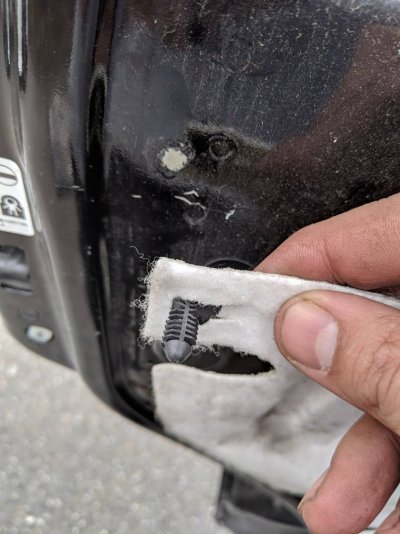
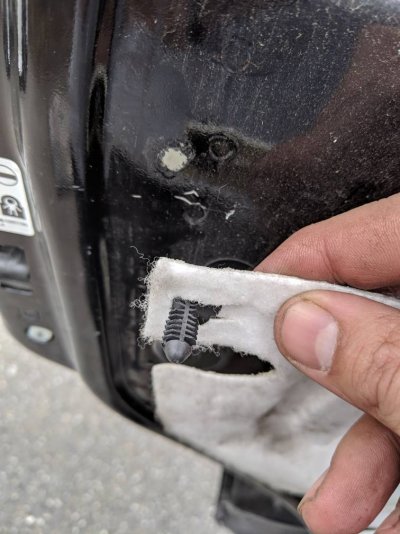
Use a trim removal tool or flathead and work your way around the door popping out the plastic inserts. There are two black push button tabs on the foam behind the door panel located on the bottom front and upper back parts of the panel. Be careful as they tear the foam easily. After that's removed, it was easier for me to pull up and out and the panel came off easy. I'd definitely suggest a trim tool vs a flathead otherwise use some sort of cushion or you will damage your door panel.
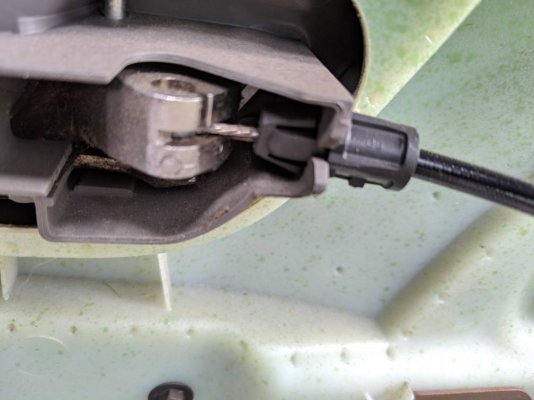
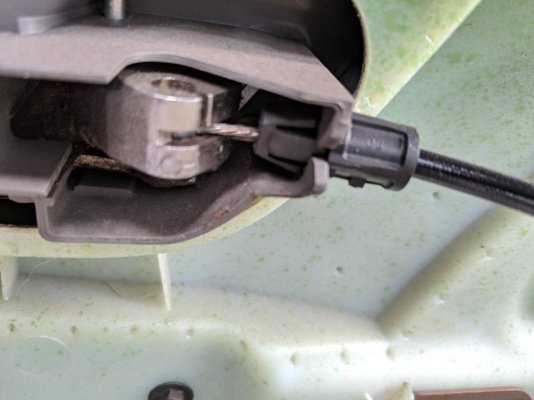
Take the small flathead and push the tabs in for the door handle wire and slide out.
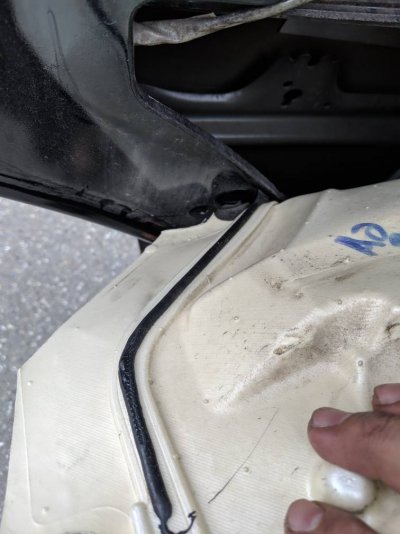
Remove the foam pad carefully by slowly pushing/pulling on the black adhesive. It should come off fairly clean and easily.
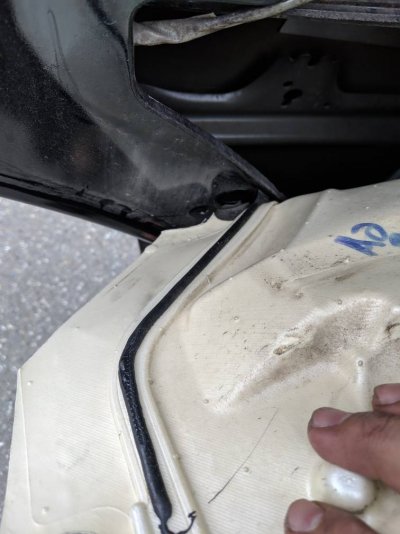
Take the painters tape and place as much as desired to hold up the window.
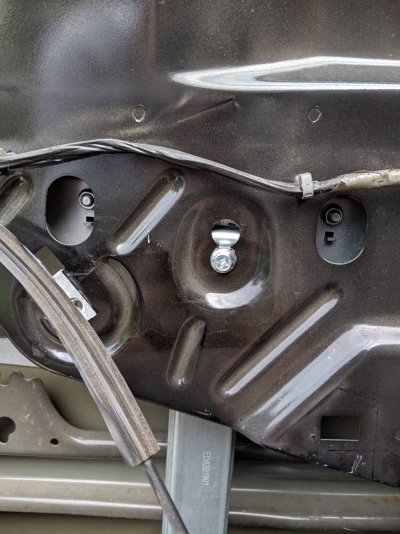
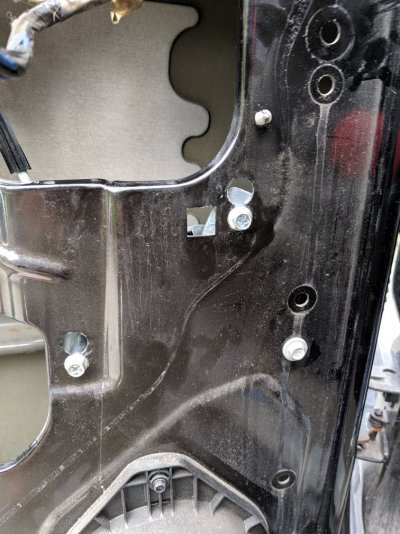
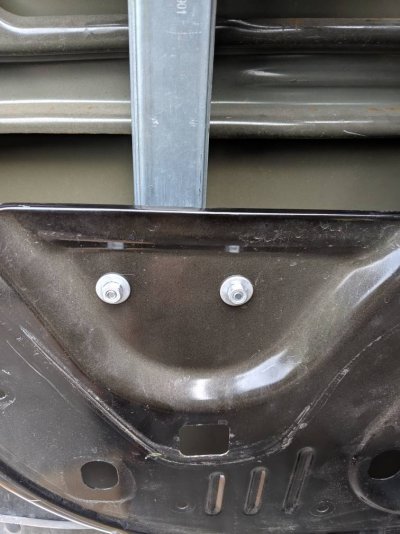
Unscrew the two bolts and that should release the glass from the clamps. Then work your way around and loosen/remove all the bolts/nuts. There should be three for the motor, one below the glass clamps and two at the bottom. All 10mm.
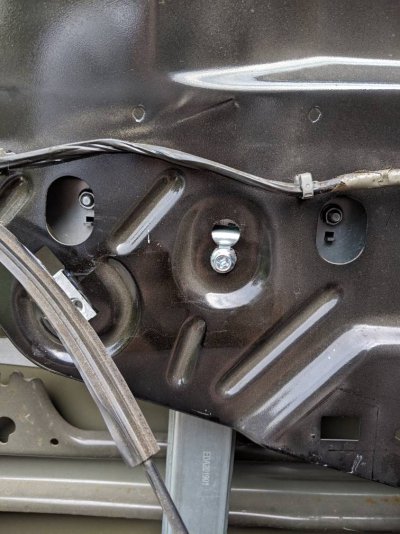
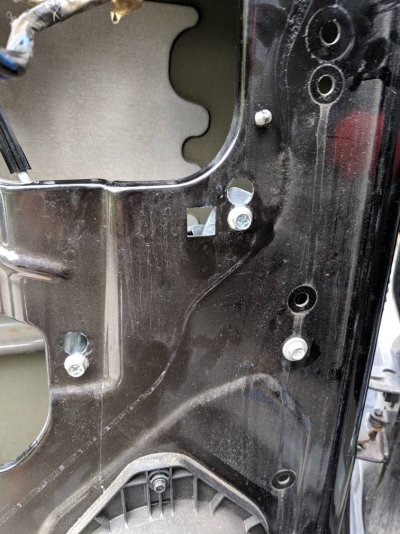
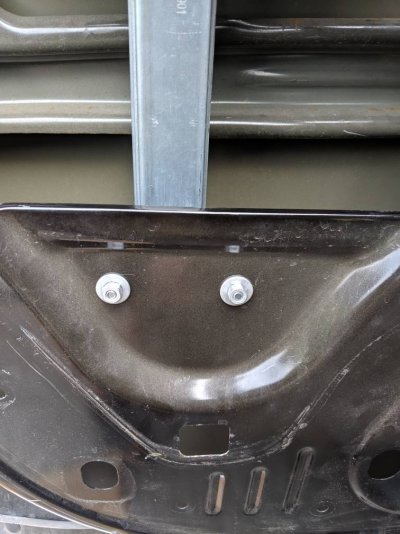
Unplug the connection and removed said regulator and motor.
Now when I put the new one back in, I had to hook up the switch and raise it a little bit as it was barely getting a good clamp on the glass.
Now just reverse your steps and you should be good to go!
These are the videos I watched that helped guide me through it. I'm going to add the front video as well even though I did not attempt it.
10mm socket, extension, and rachet
Small flathead
Trim removal tool
painters tape
Time: 30min each window (more than plenty)
Now I only replaced the rear panels on driver's and passengers side so the front may be different. I will add the videos I watched to help me as I thought they were helpful at the end of this thread.
Take your flathead and remove the two trim covers by the door handle and armrest.
There is one or two 10mm bolts behind each of them (I think it depends on trim package LTZ or lower). Go ahead and remove them.


Use a small flathead and remove the door lock on the top of the door trim.

Use the small flathead or trim tool to pop up the window control and trim and disconnect the plug.

Use a trim removal tool or flathead and work your way around the door popping out the plastic inserts. There are two black push button tabs on the foam behind the door panel located on the bottom front and upper back parts of the panel. Be careful as they tear the foam easily. After that's removed, it was easier for me to pull up and out and the panel came off easy. I'd definitely suggest a trim tool vs a flathead otherwise use some sort of cushion or you will damage your door panel.

Take the small flathead and push the tabs in for the door handle wire and slide out.

Remove the foam pad carefully by slowly pushing/pulling on the black adhesive. It should come off fairly clean and easily.

Take the painters tape and place as much as desired to hold up the window.
Unscrew the two bolts and that should release the glass from the clamps. Then work your way around and loosen/remove all the bolts/nuts. There should be three for the motor, one below the glass clamps and two at the bottom. All 10mm.


Unplug the connection and removed said regulator and motor.
Now when I put the new one back in, I had to hook up the switch and raise it a little bit as it was barely getting a good clamp on the glass.
Now just reverse your steps and you should be good to go!
These are the videos I watched that helped guide me through it. I'm going to add the front video as well even though I did not attempt it.
Last edited:

